

Some of the wood for the guitar. Sitka Spruce top and Padauk back and sides, both from the Somogyi wood collection. Cocobolo for the fretboard.

The Padauk sides have grain running at an angle. They are wide enough though to cut out the sides with straight grain.

Trimming the sides.

Thicknessing the sides for bending.

Marking out the sides.

Starting the bending by hand.

The bending is roughed in by hand, and then the sides are put into the bending machine.

Sides in the bending machine.

Double sides bent, and head and tail blocks made.

Laminating the double sides.

Scraping the sides clean after laminating.

Sides laminated.

Mahogany strips for the solid lining.

These are all bent by hand and then bent in the bending machine.

Then they are laminated together, with the actual sides inside of the form too, to give them the correct shape.

Clamping setup for laminating the lining.

Solid lining cut out to follow the dome of the top and back.

Preparing the Padauk back for joining.

Back joined, and index holes drilled. Marking the back.

The back is roughly cut out.

Back and sides.

Preparing the Sitka Spruce top for joining.

Top joined, and marked.

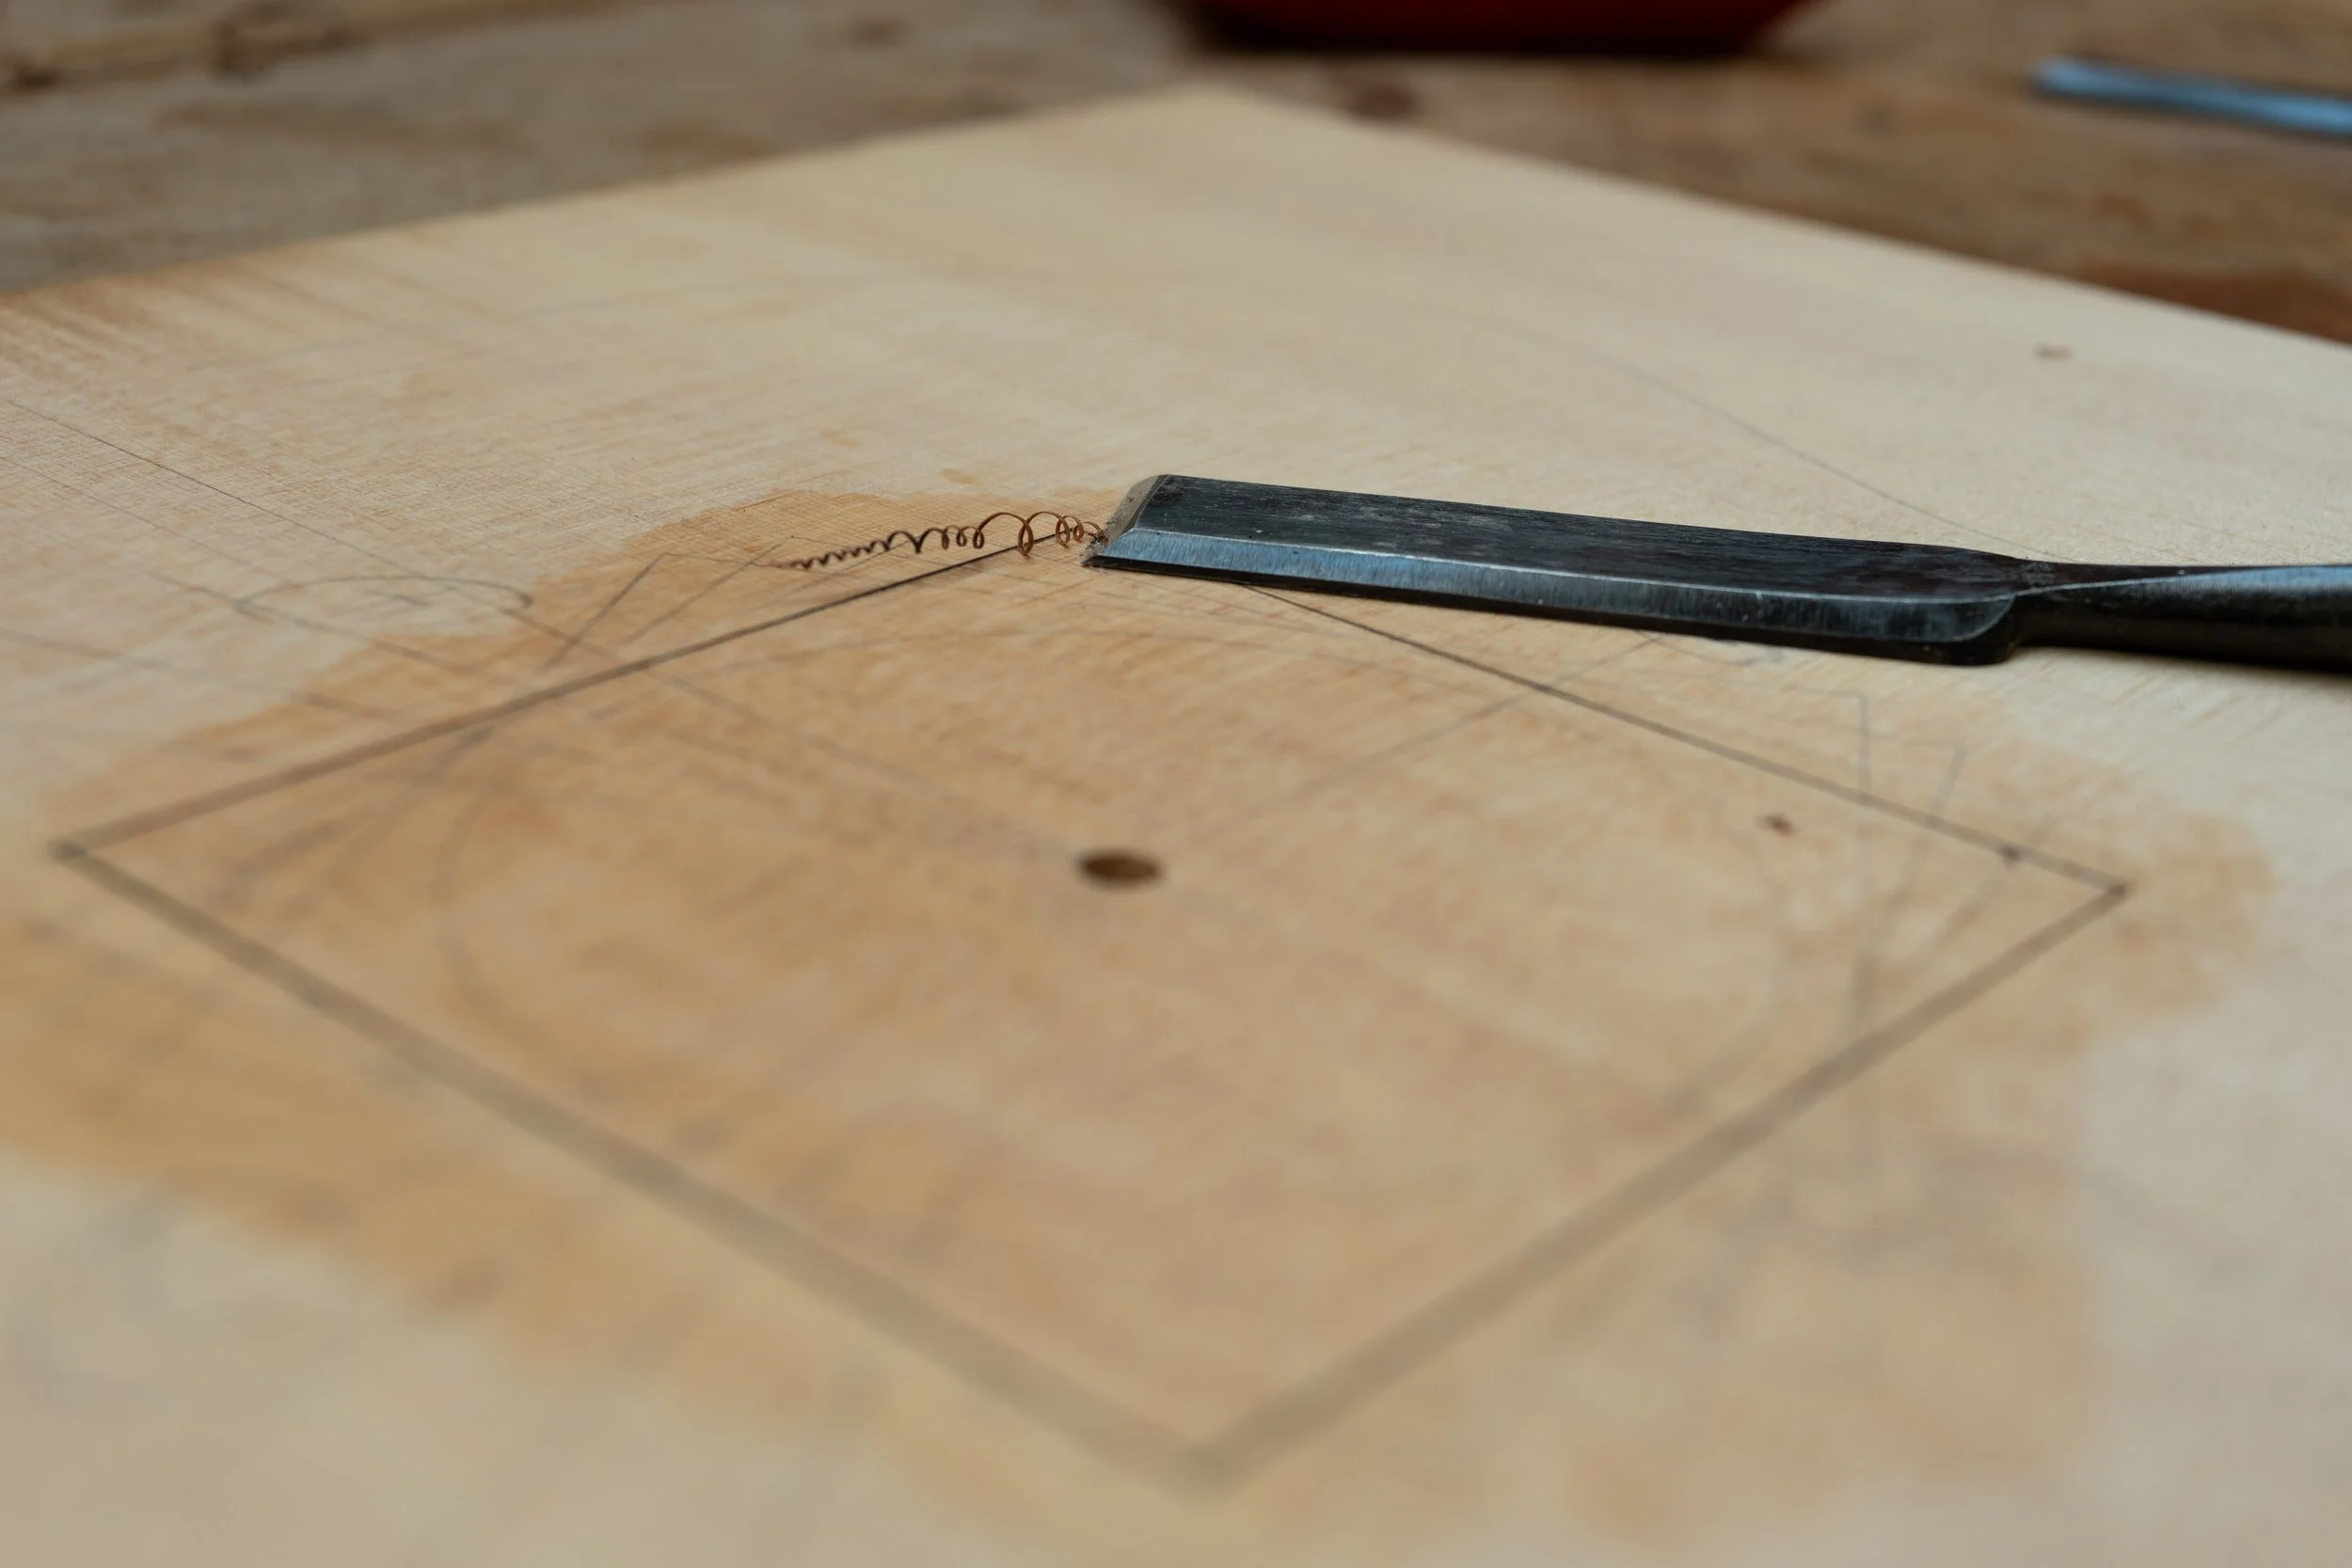
Marking the rosette.

Rosette marked.

Top, back, and side.

I taped a square template in place, and used a Dremel tool with a .5mm bit to cut most of the way.

The Dremel will make rounded corners, so for sharp edges it needs to be done by hand. I used a knife and a small chisel.

The first square cut, and ready to fit and inlay the strips.

Cocobolo for the squares.

4 strips inlaid.
And then trimmed flush.

Second square in the process of being inlaid.

Square 2.

Square 4, with cocobolo.

Square three is inlaid with Padauk.

After some cleanup sanding, the rosette is complete.


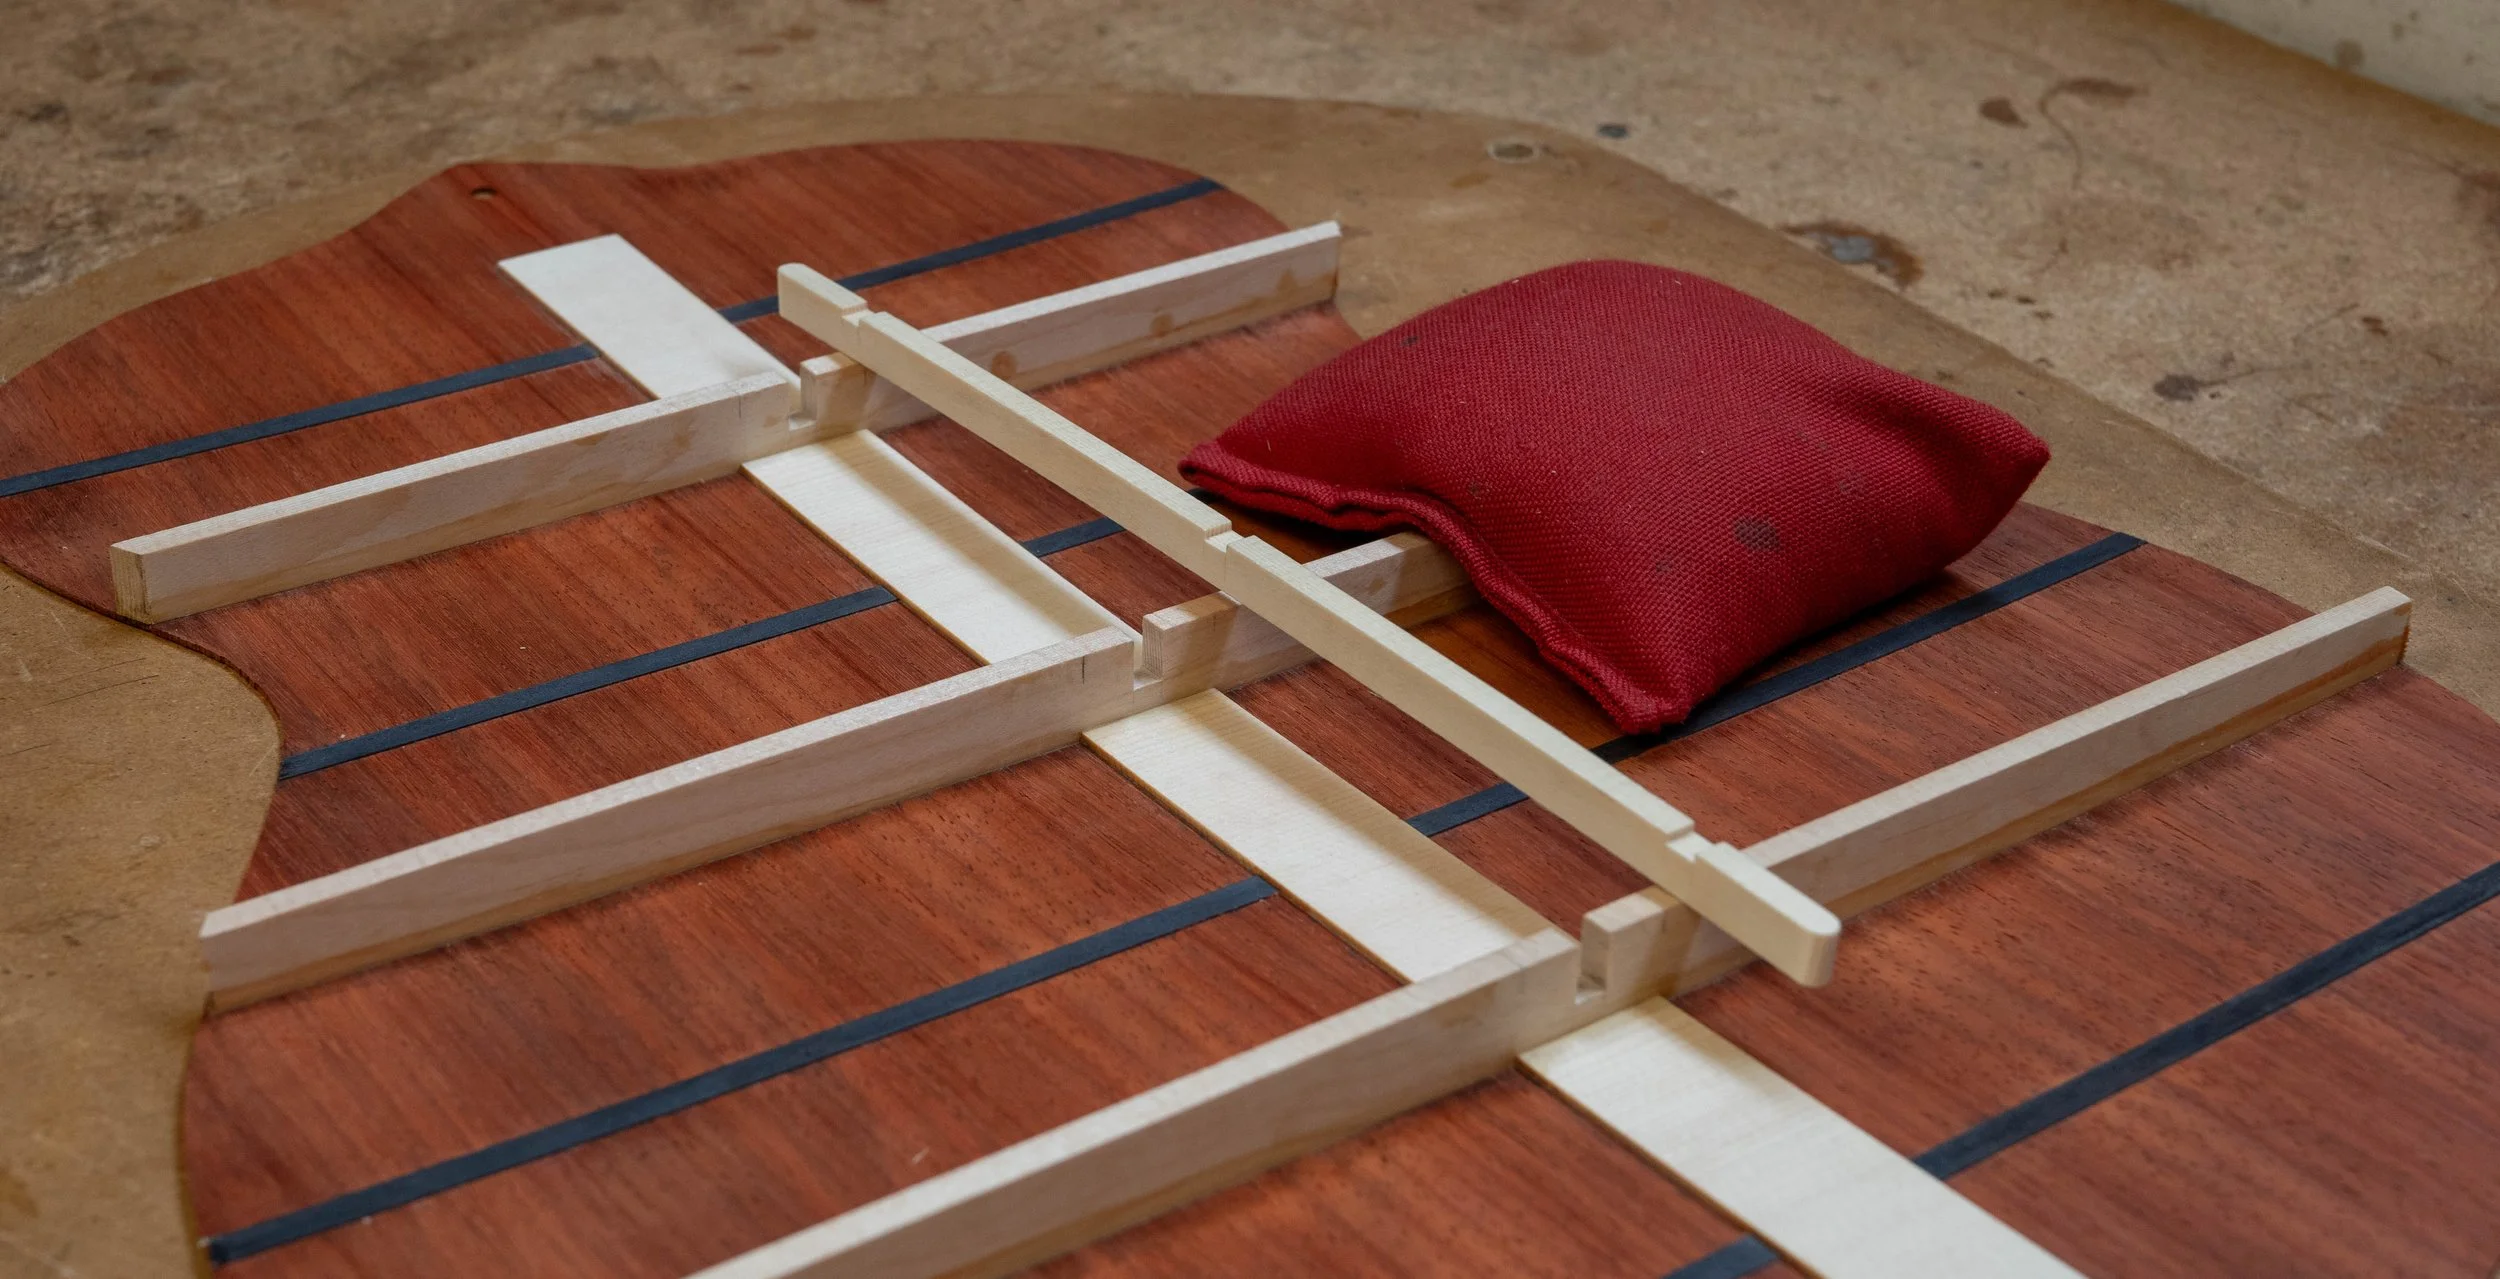
Glueing the centre strip onto the back.

And then cutting notches in the centerstrip to fit the back braces.

Glueing the back braces.

Glueing the back reinforcing strips.

Notching the back braces for the floating back brace. This is an innovation by luthier Jeff Traugott, which helps to maintain the shape of the back dome.

Glueing the floating back brace.

Planing the back braces flush with the floating brace.

After doing the rosette, the top is brought down close to final thickness.

The top is roughly cut out.

Making the X brace.

Making the lattice brace using Ervin's jig.

Glueing together the lattice brace.

Glueing some braces onto the top.

Glueing the head block onto the rim.

Marking the top of the rim with chalk.

Radiusing the top of the rim.
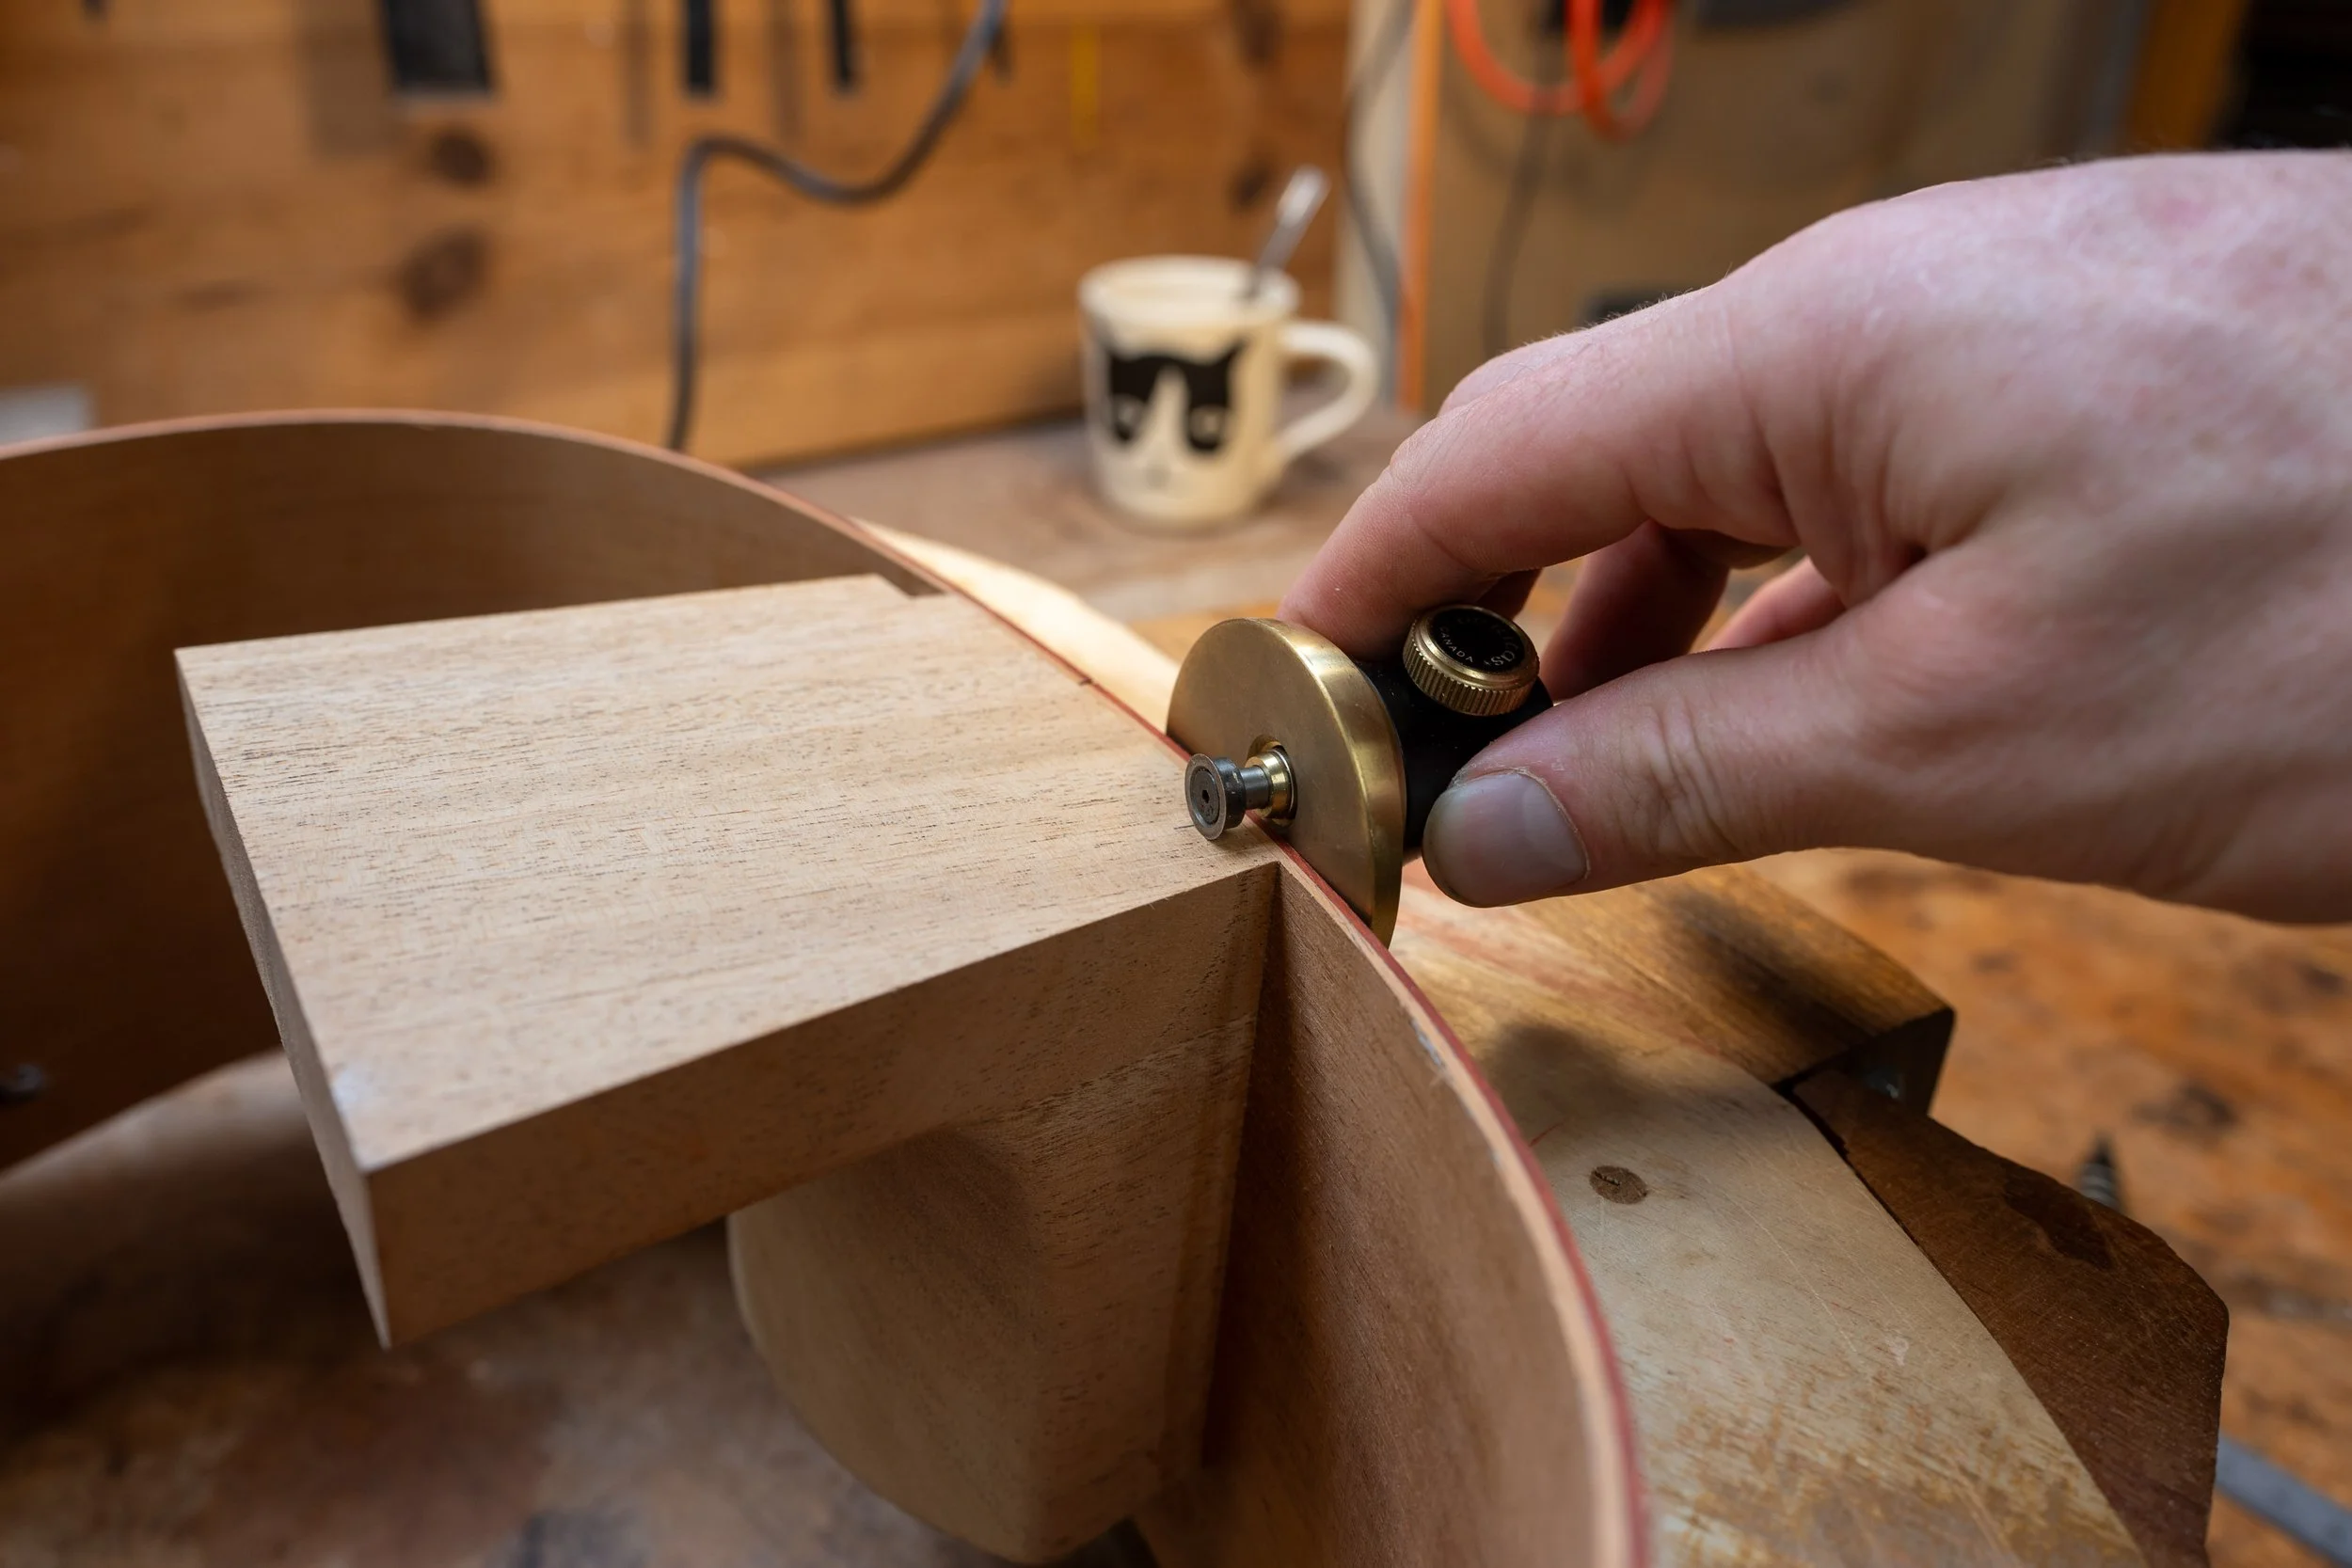
Cutting notches for the top lining in the blocks.

Notching the lining into the tail block.

And the head block.

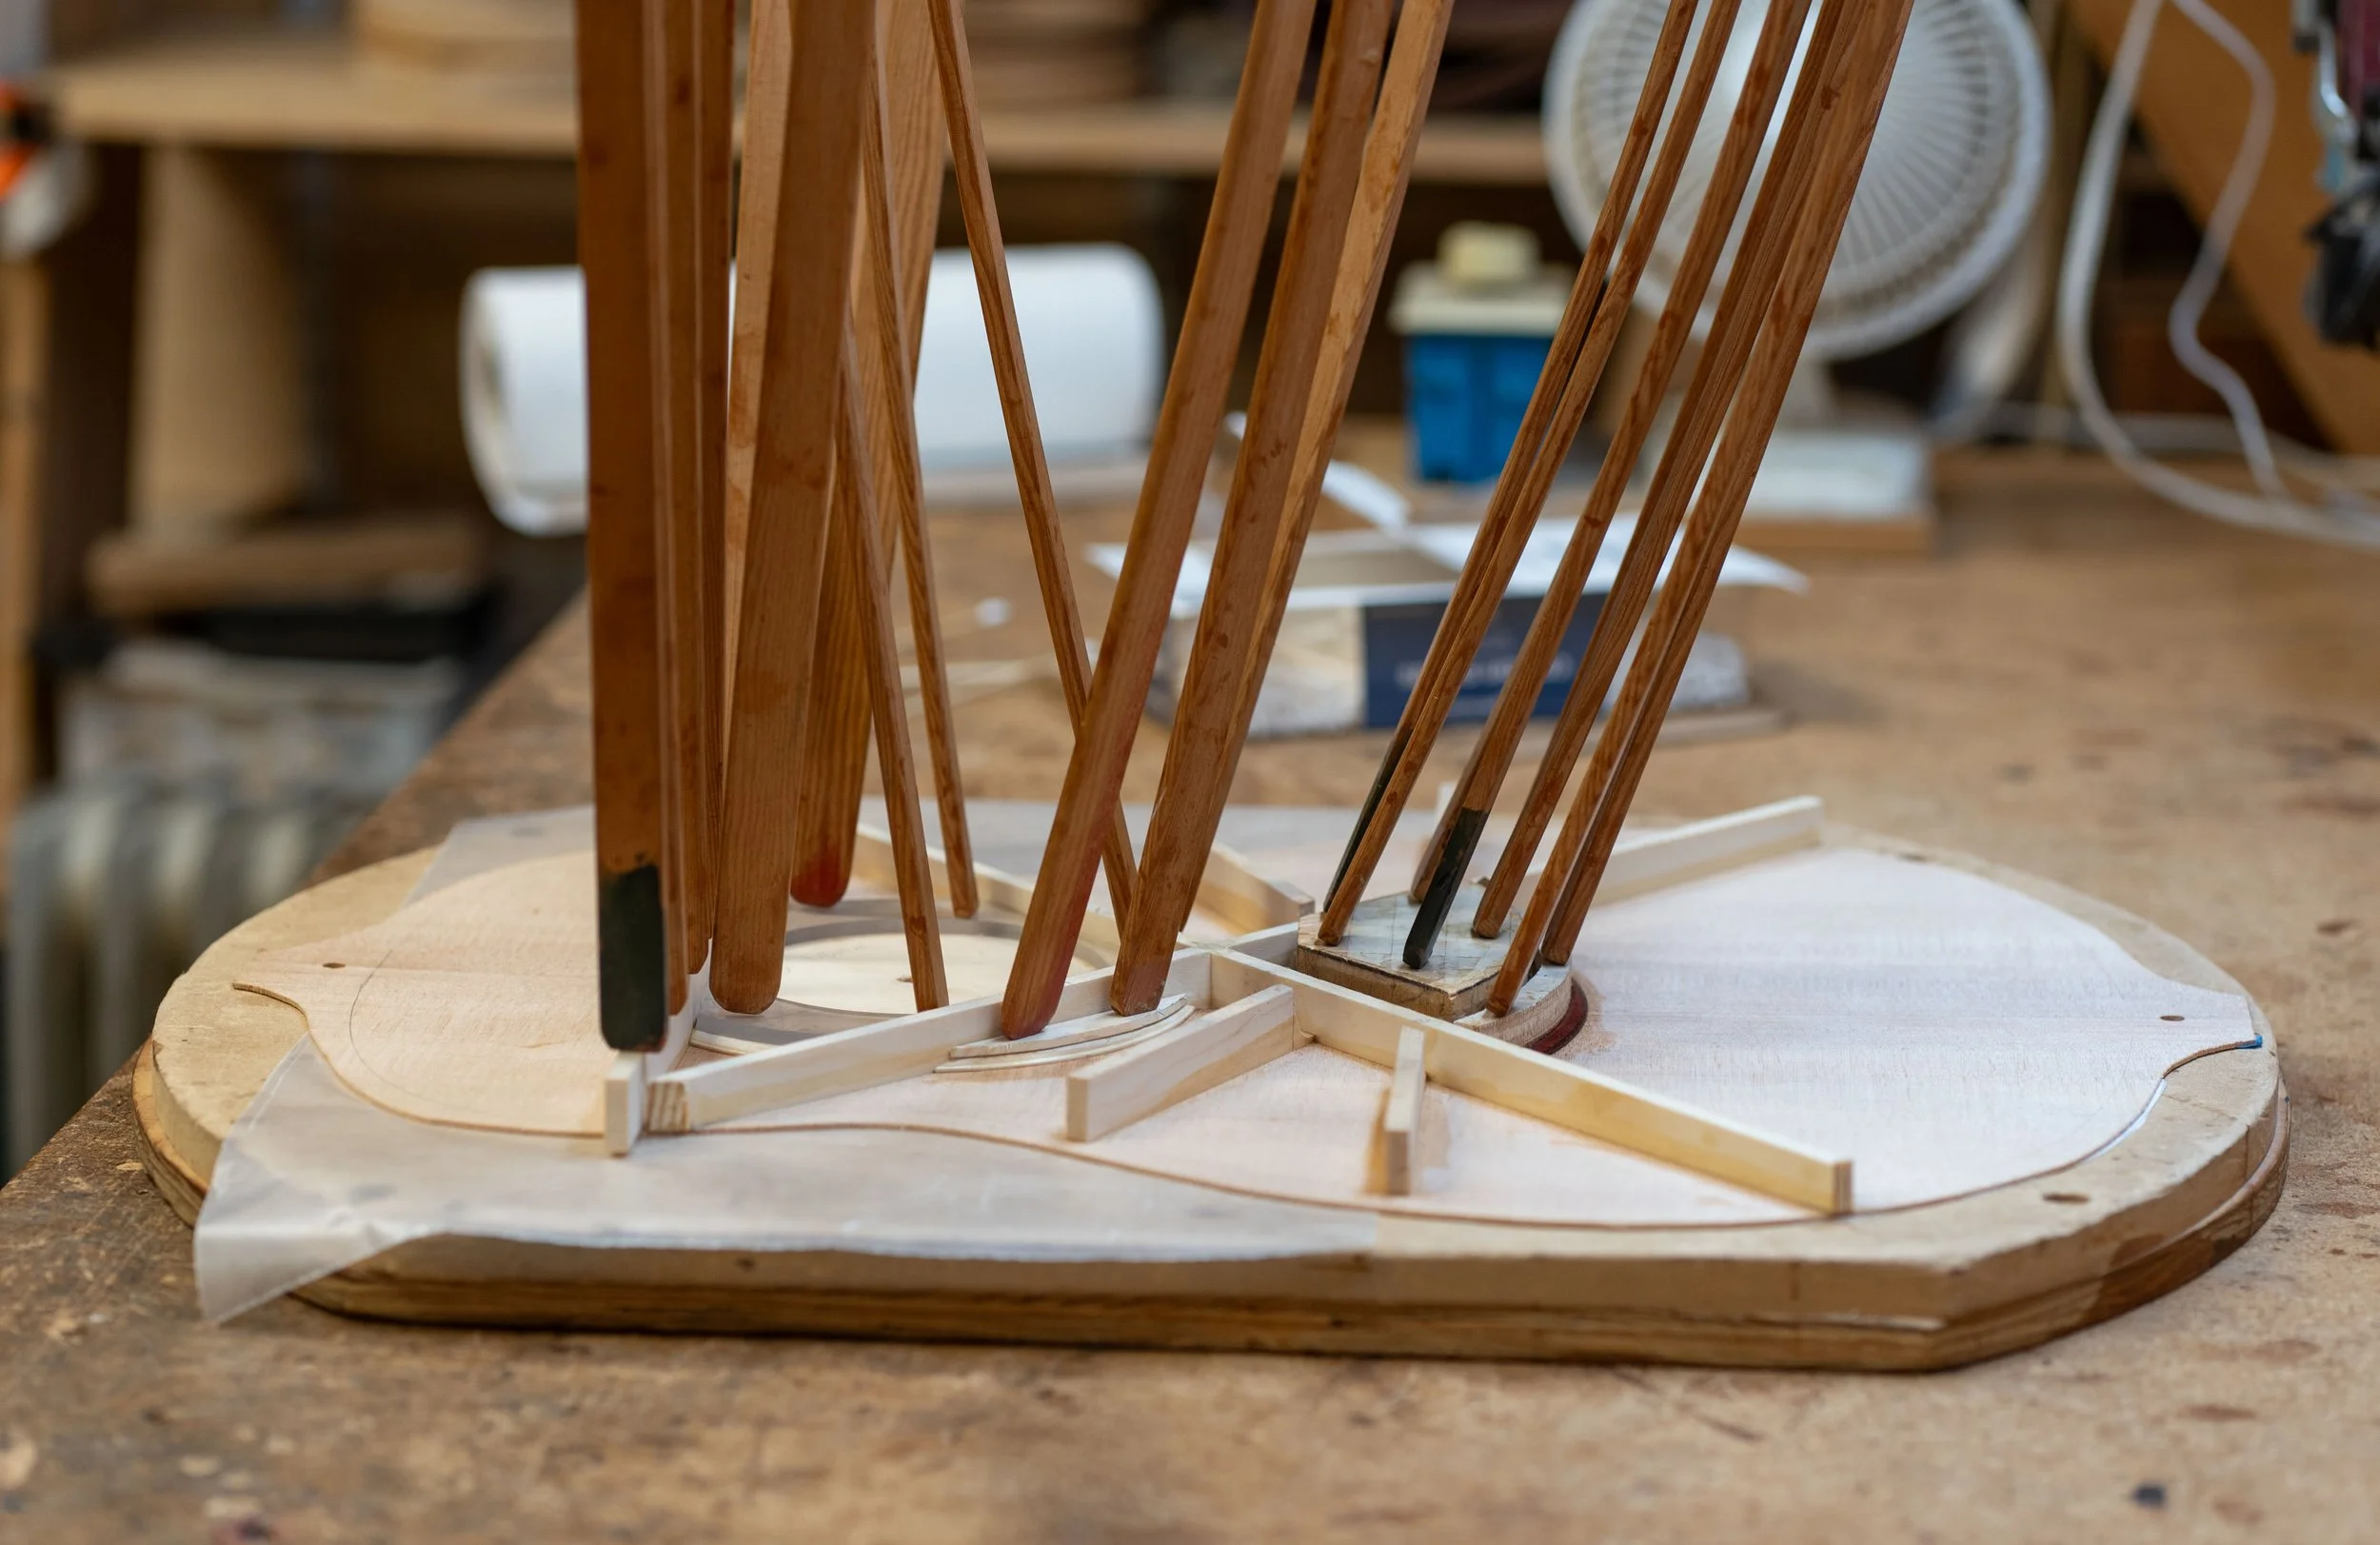
Glueing in the top lining.

Planing the Cocobolo fretboard.