
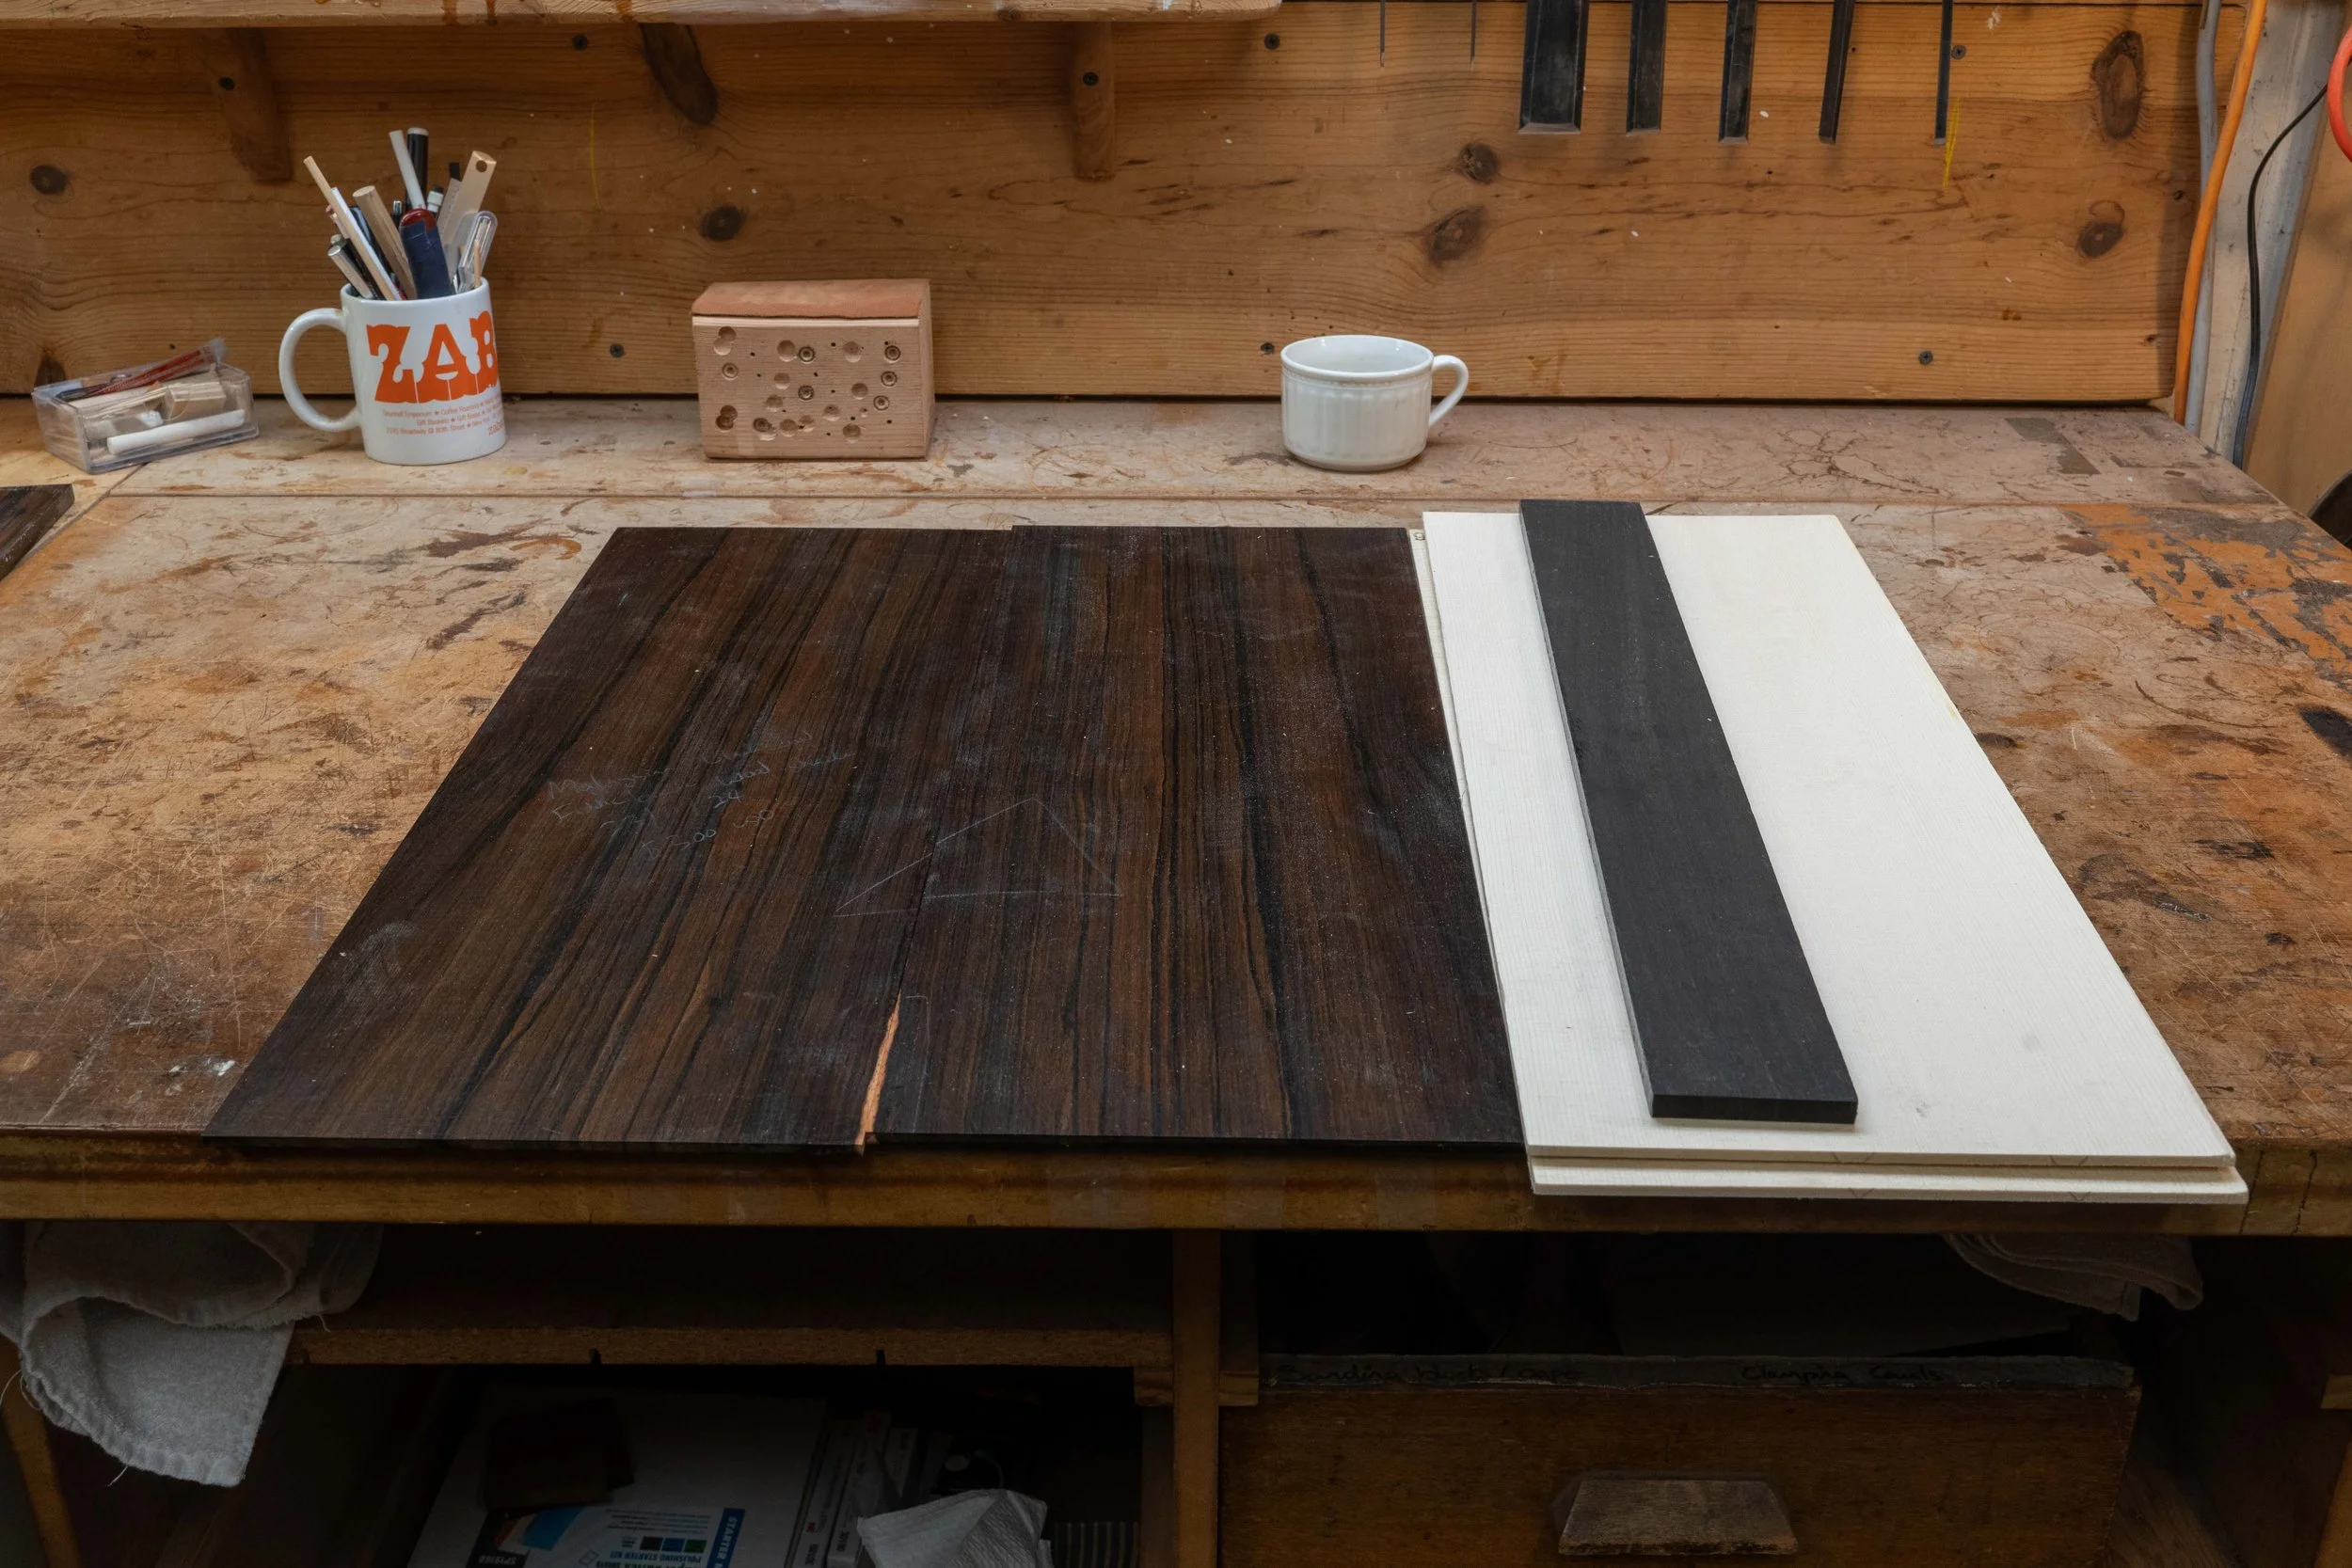
Some of the wood for this MD build.
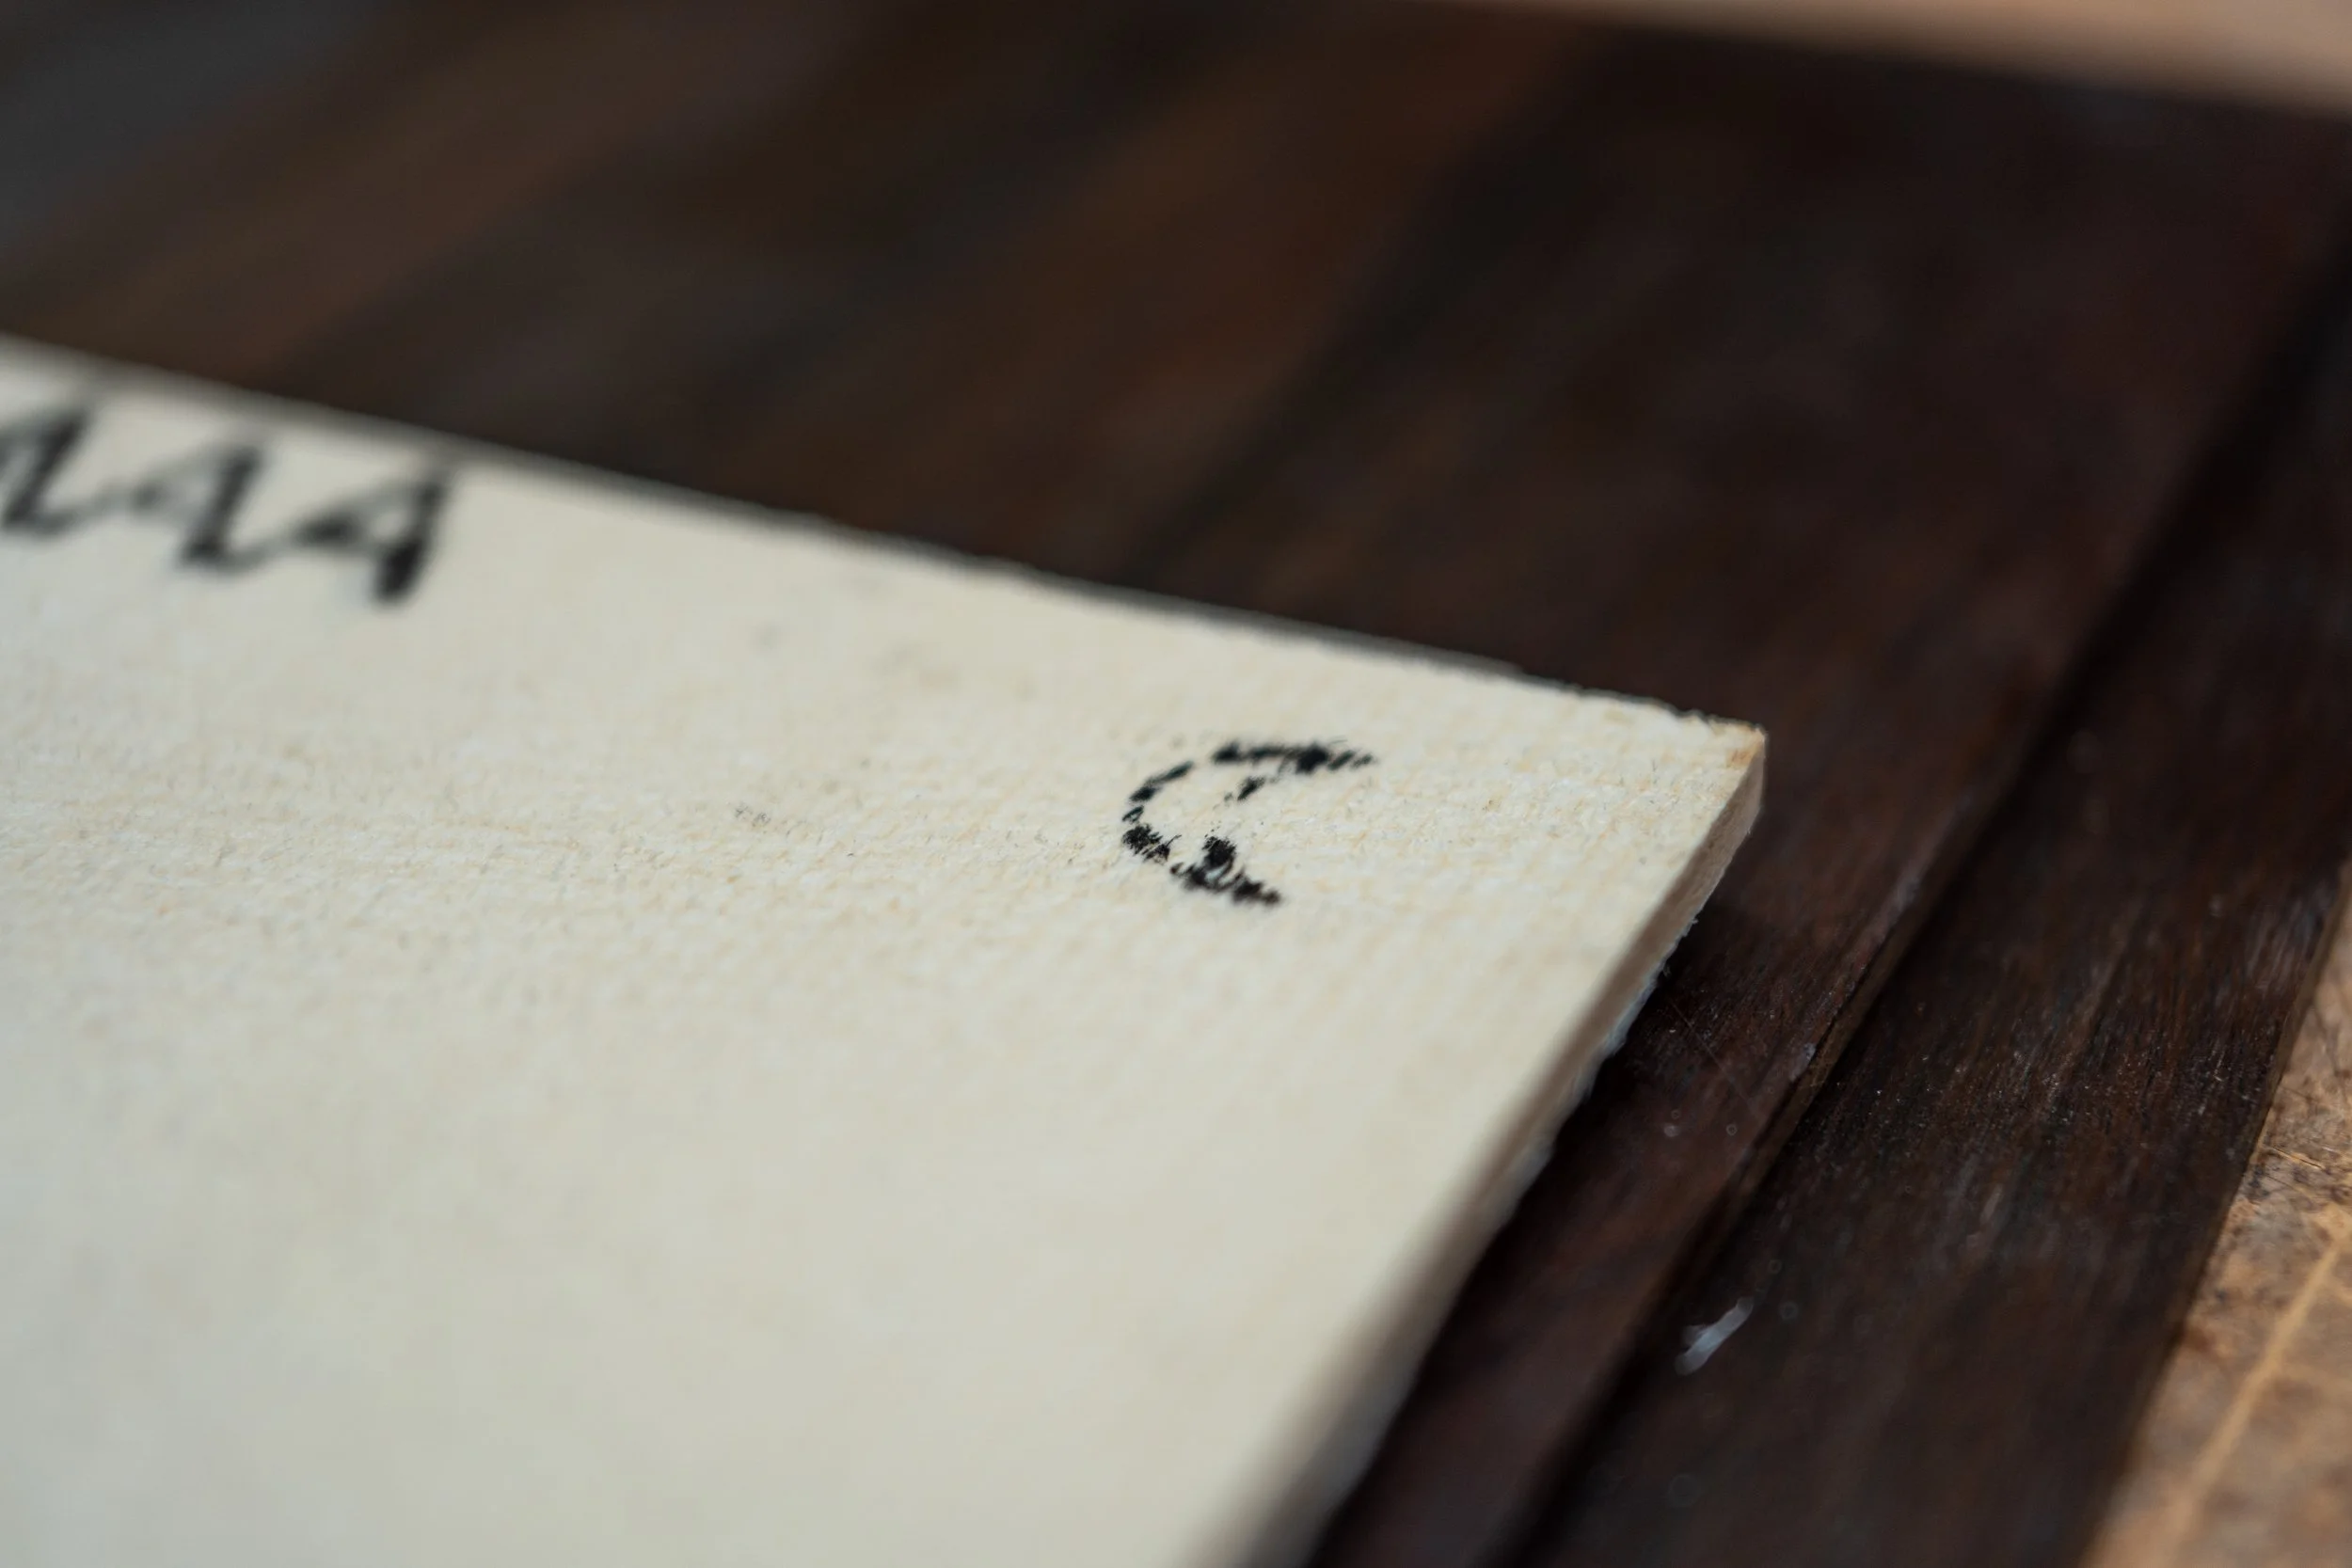
Swiss Moon Spruce top.
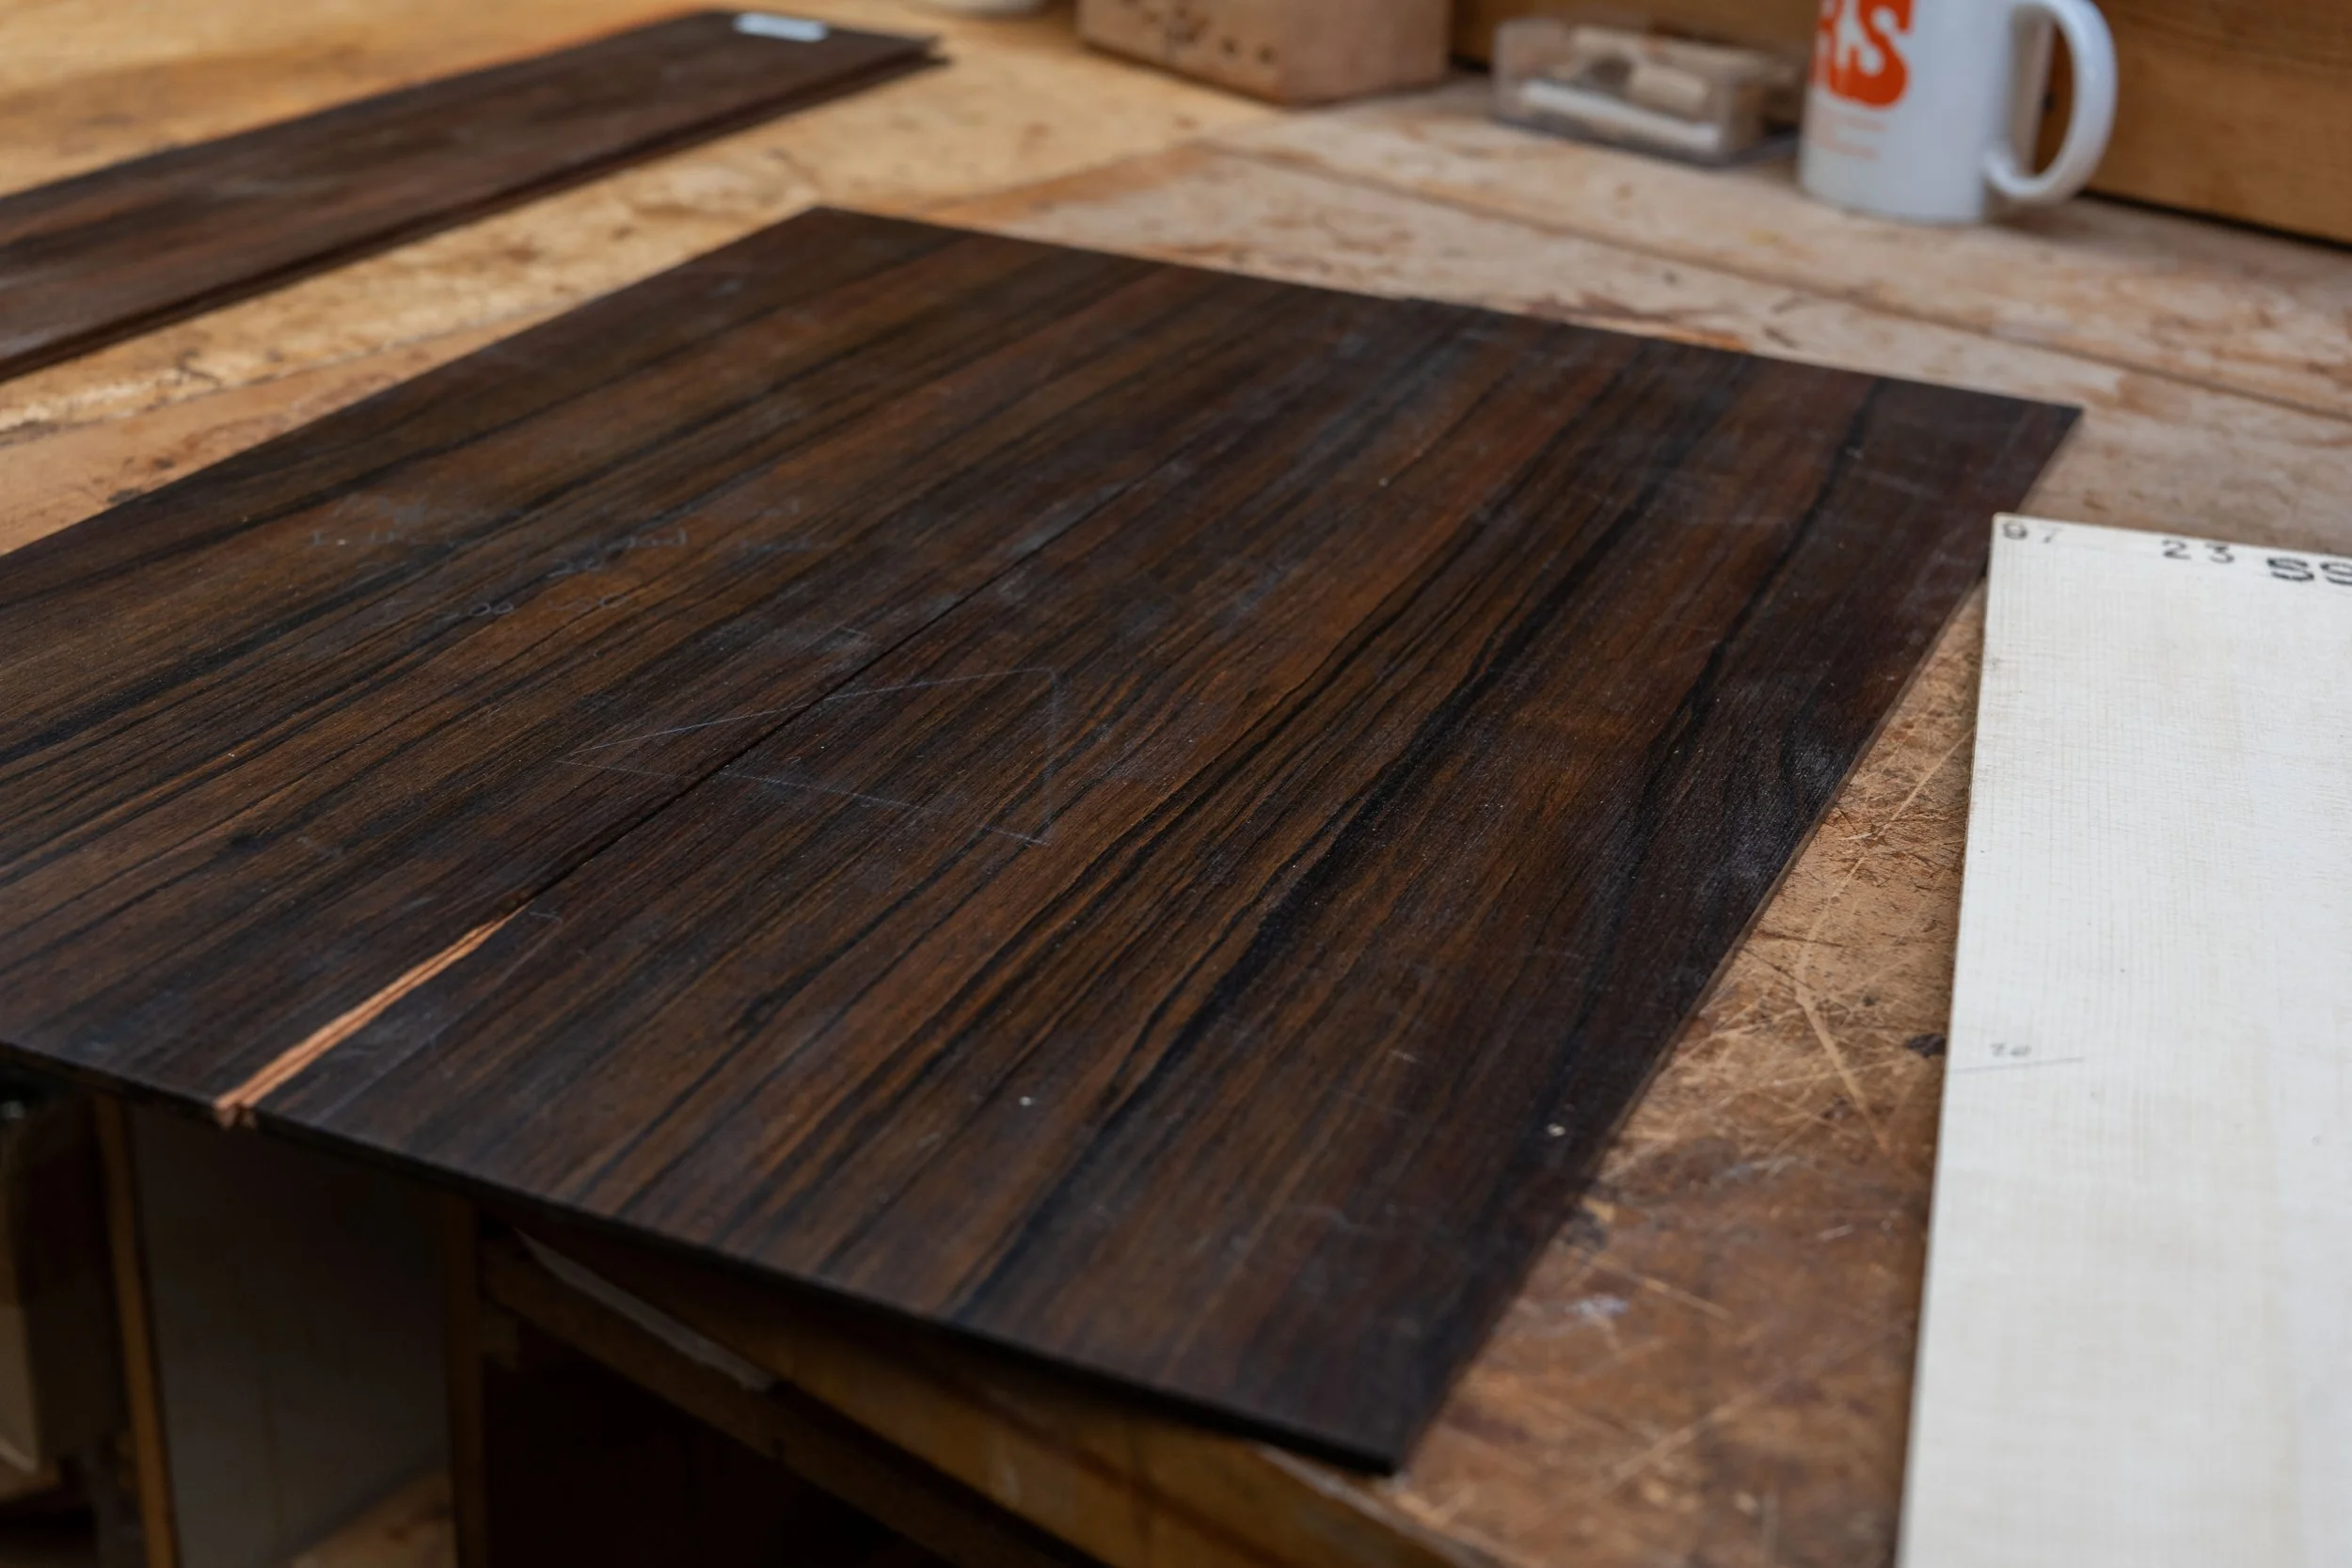
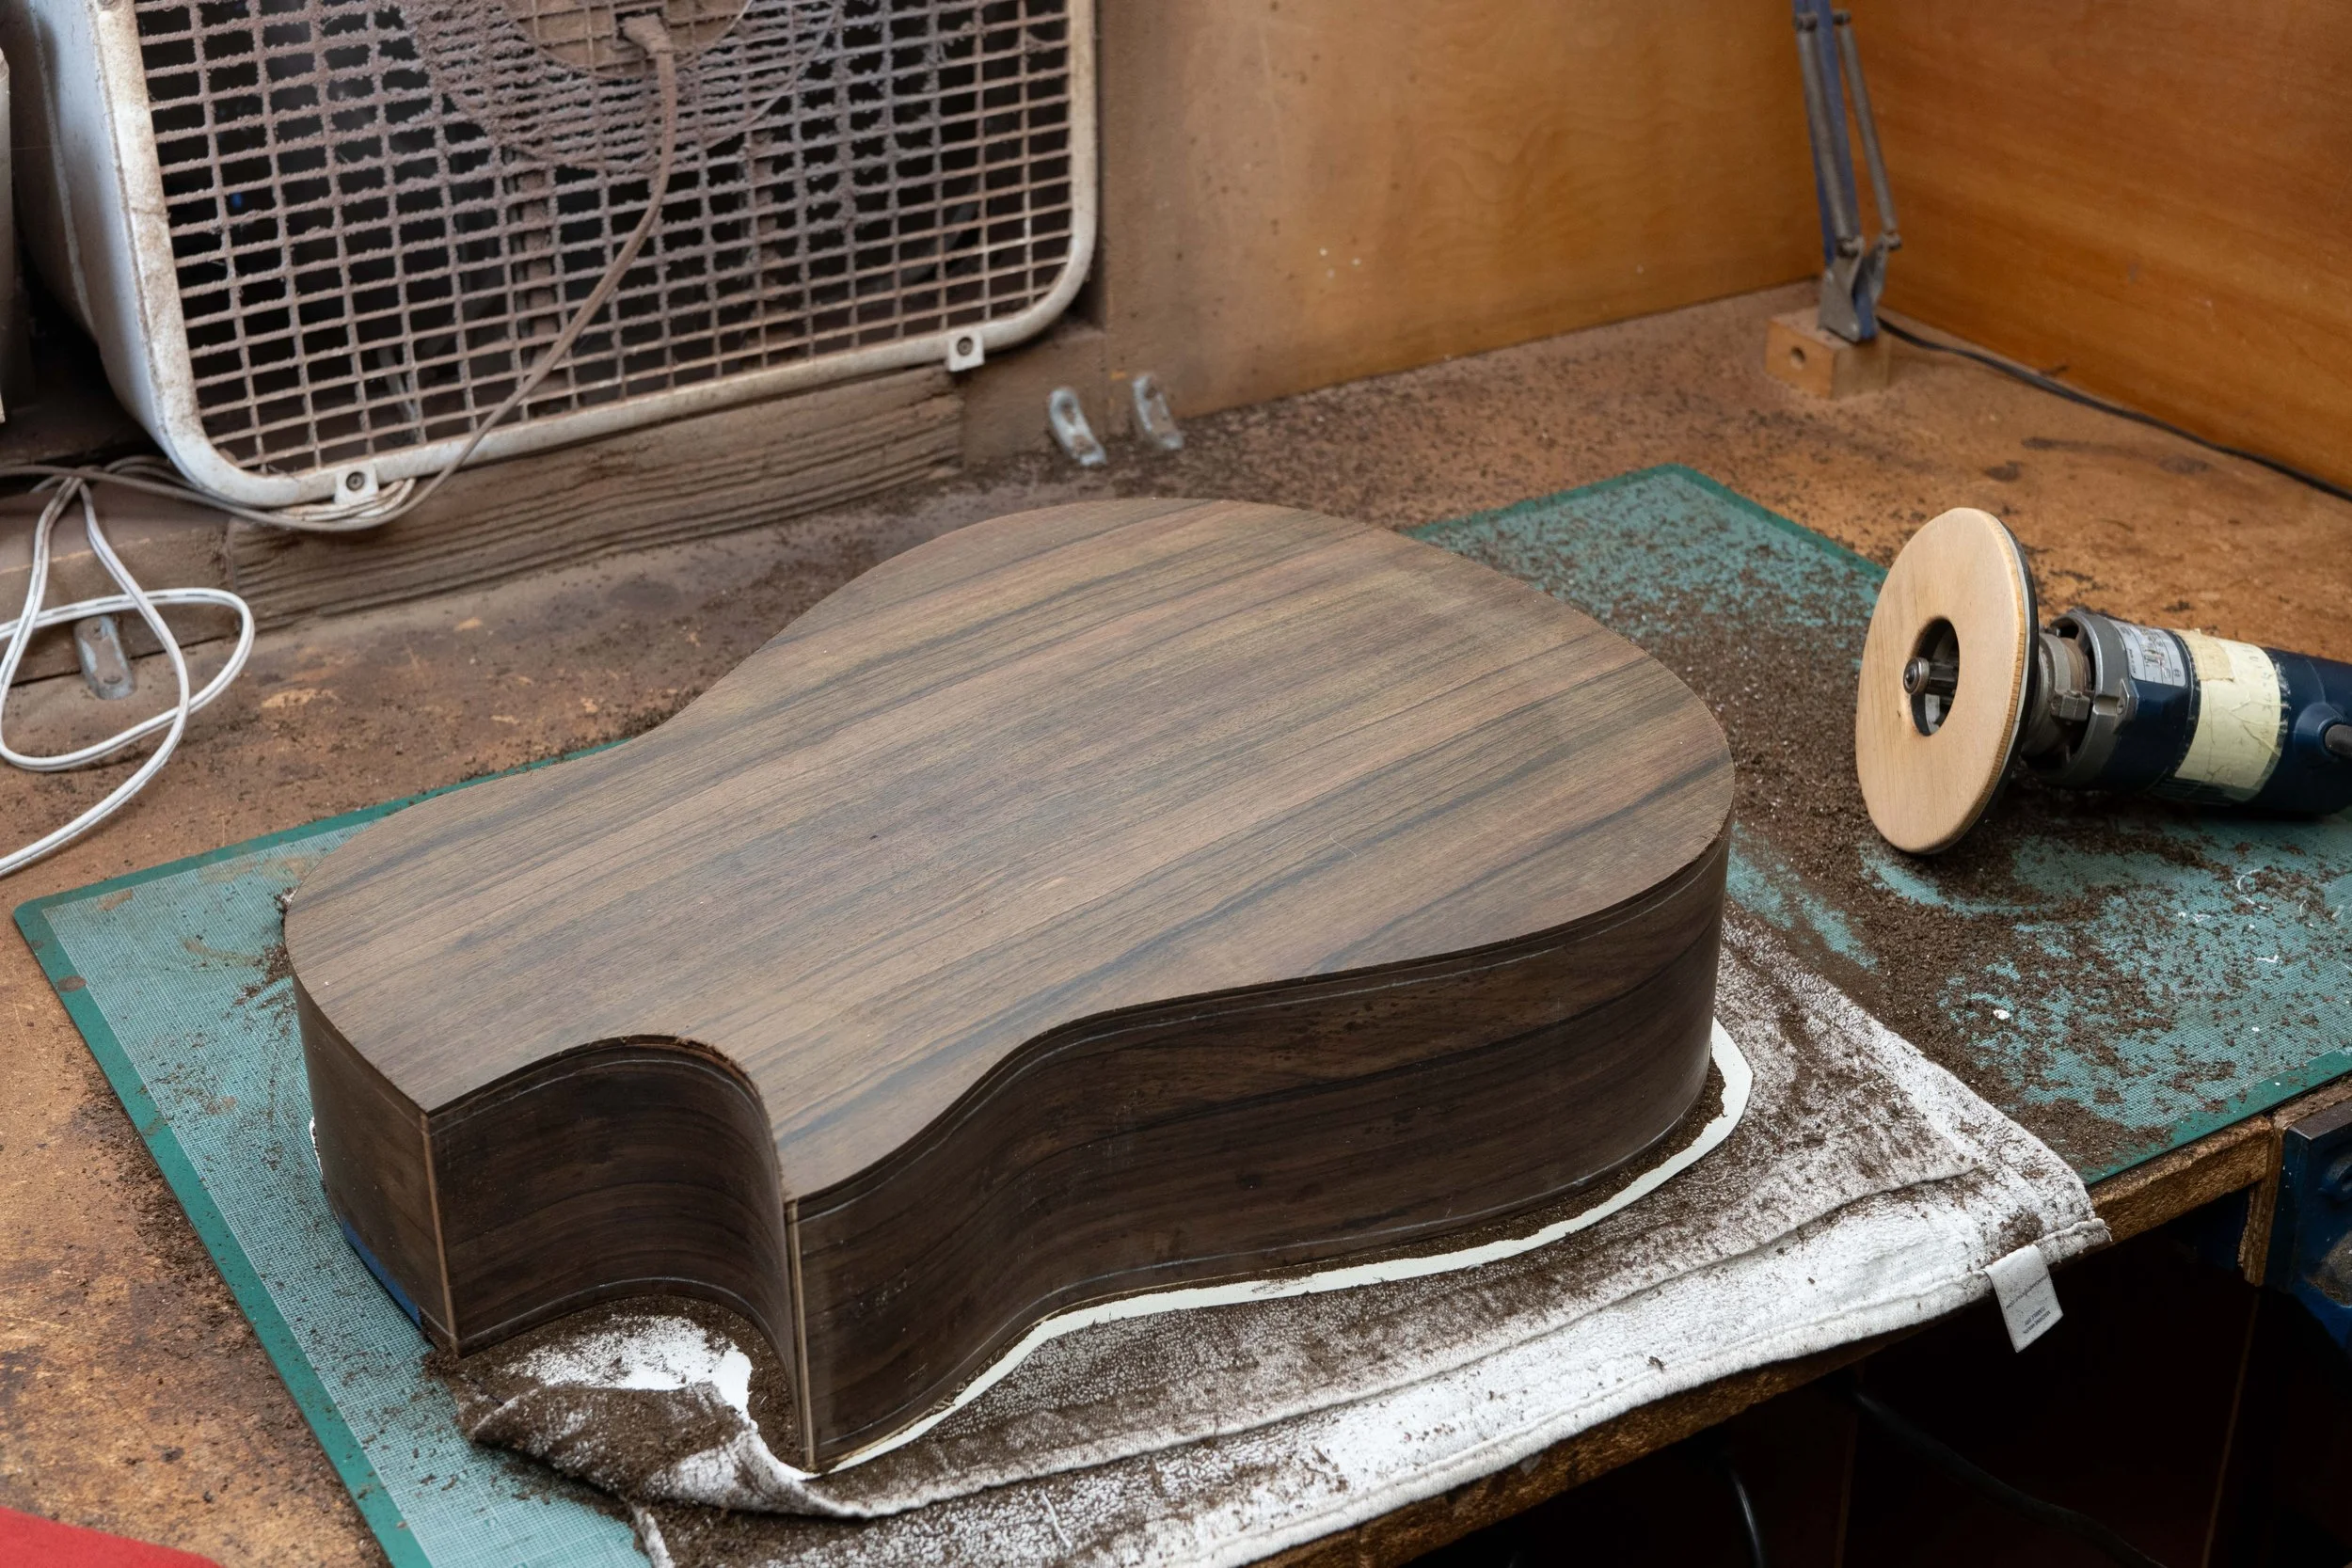
Malaysian Blackwood back and sides.
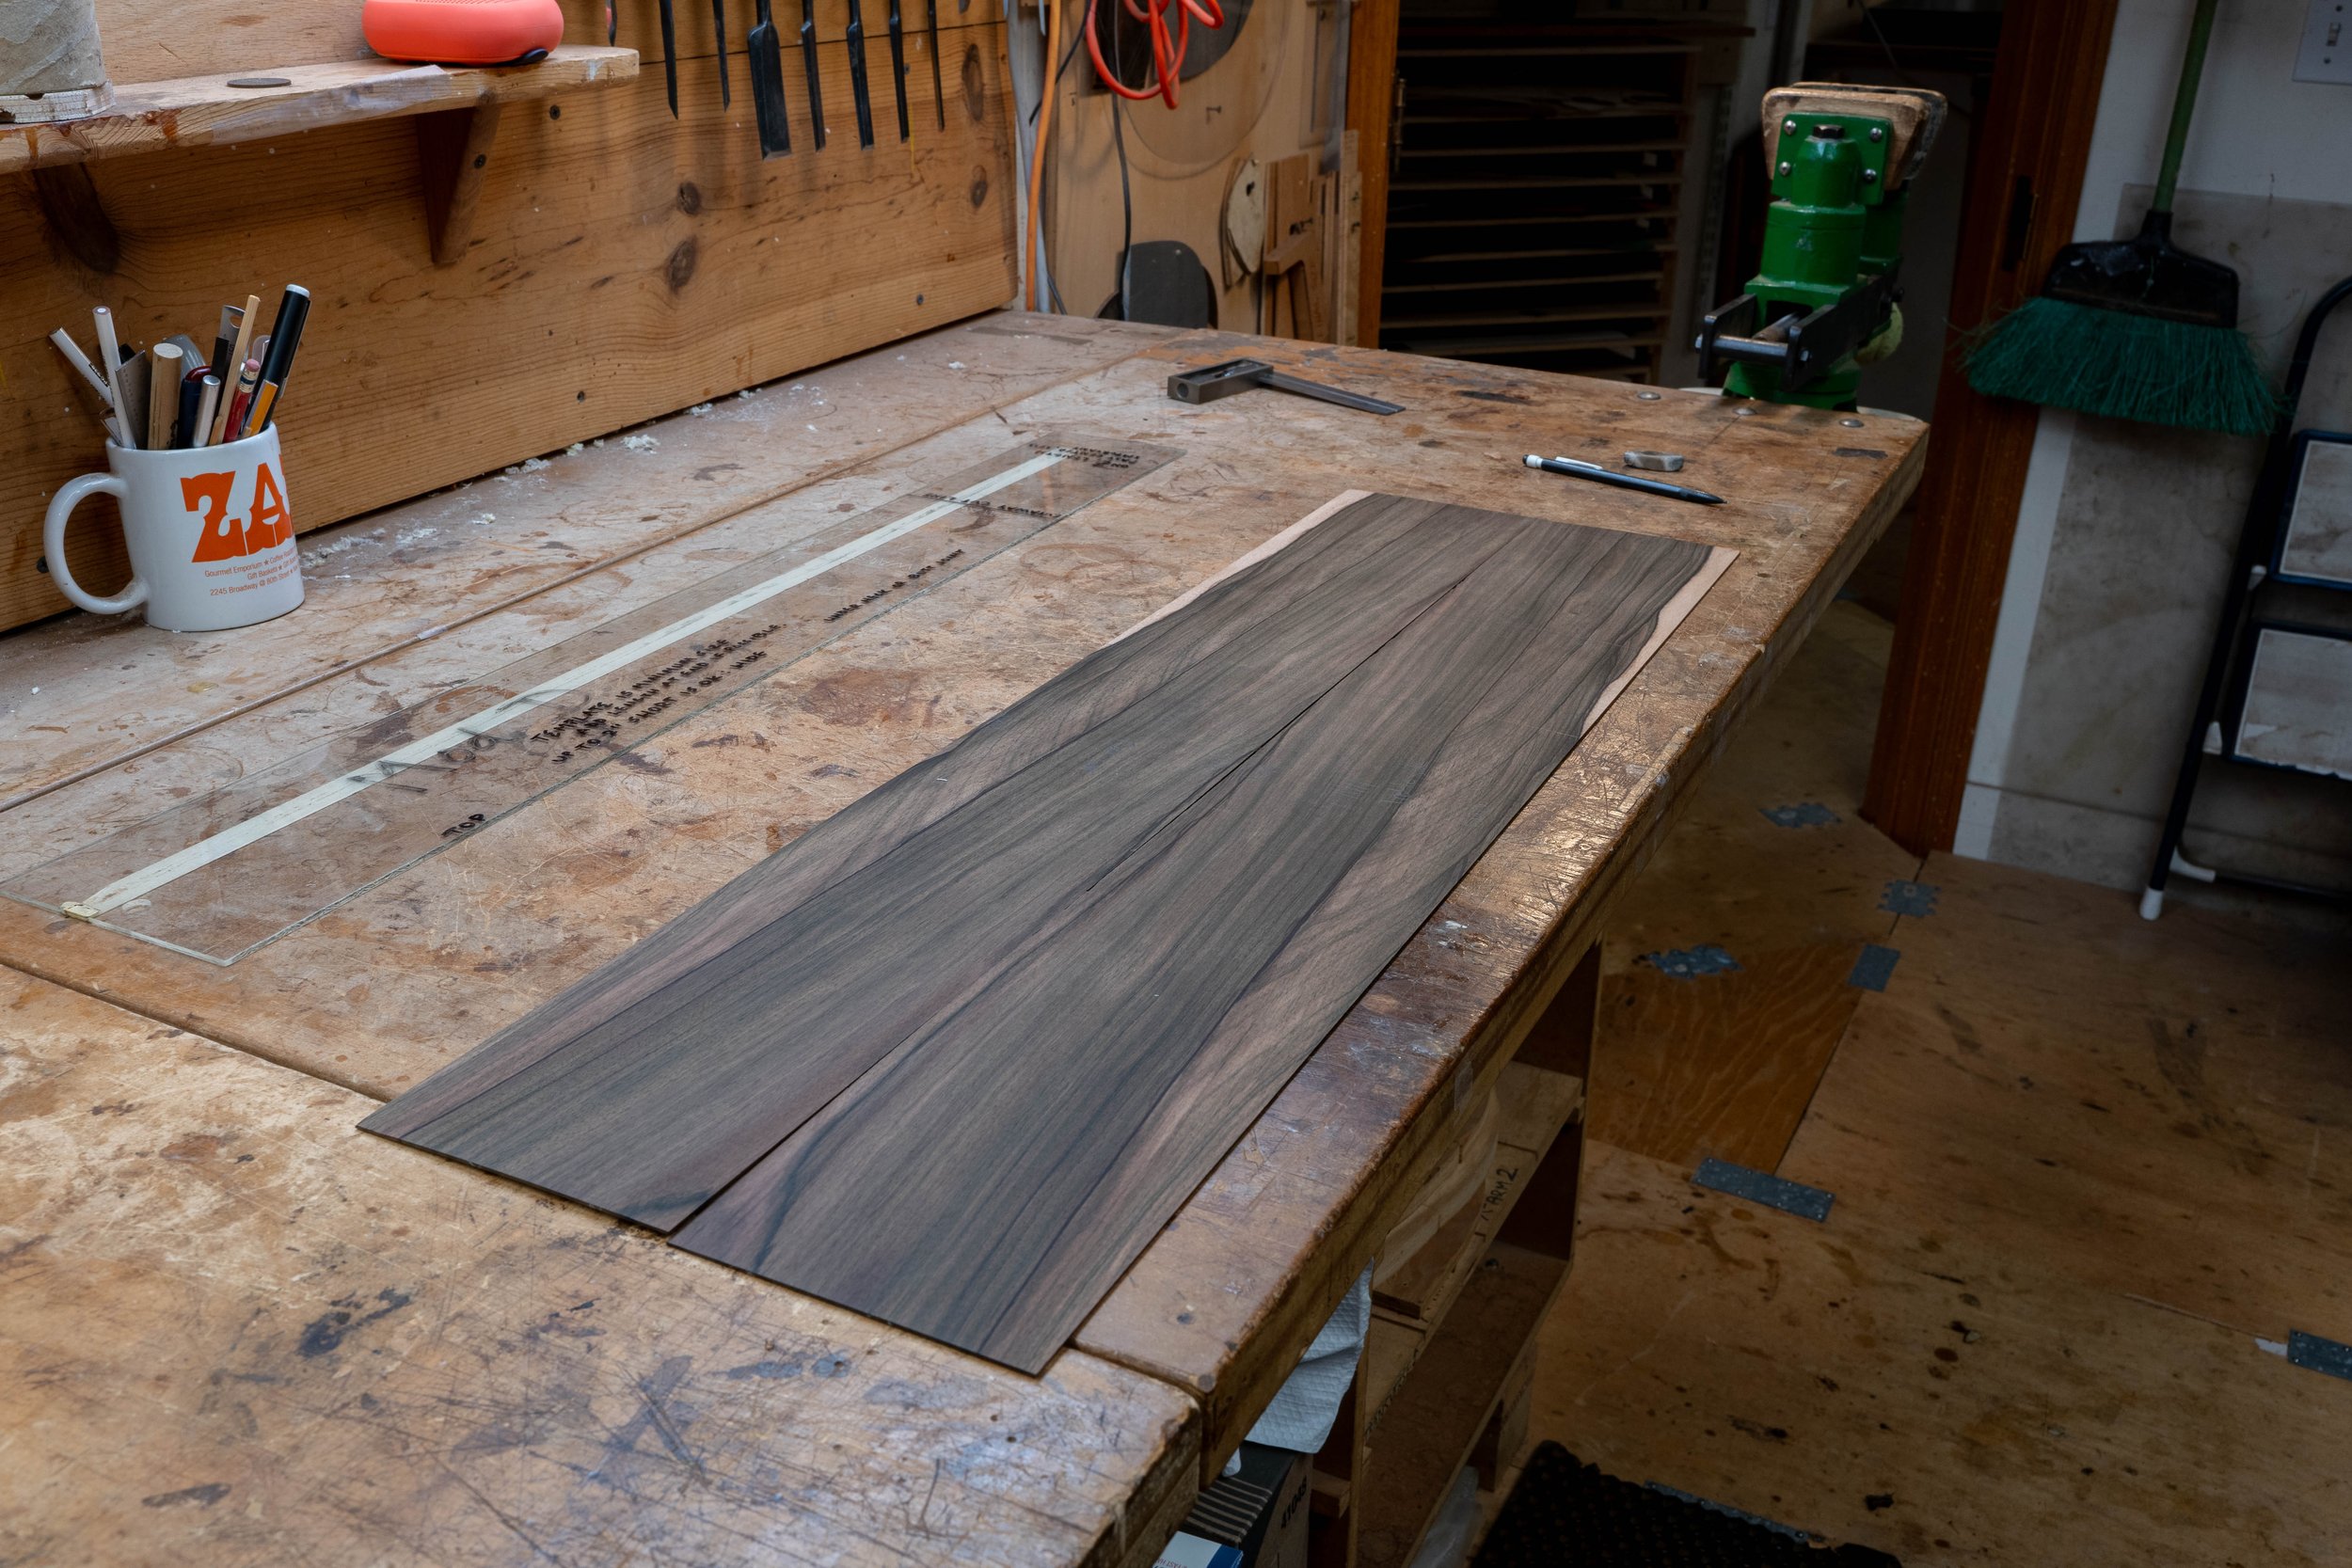
The Malaysian Blackwood had some shellac on it for protection. Here it is after sanding down to bending thickness.
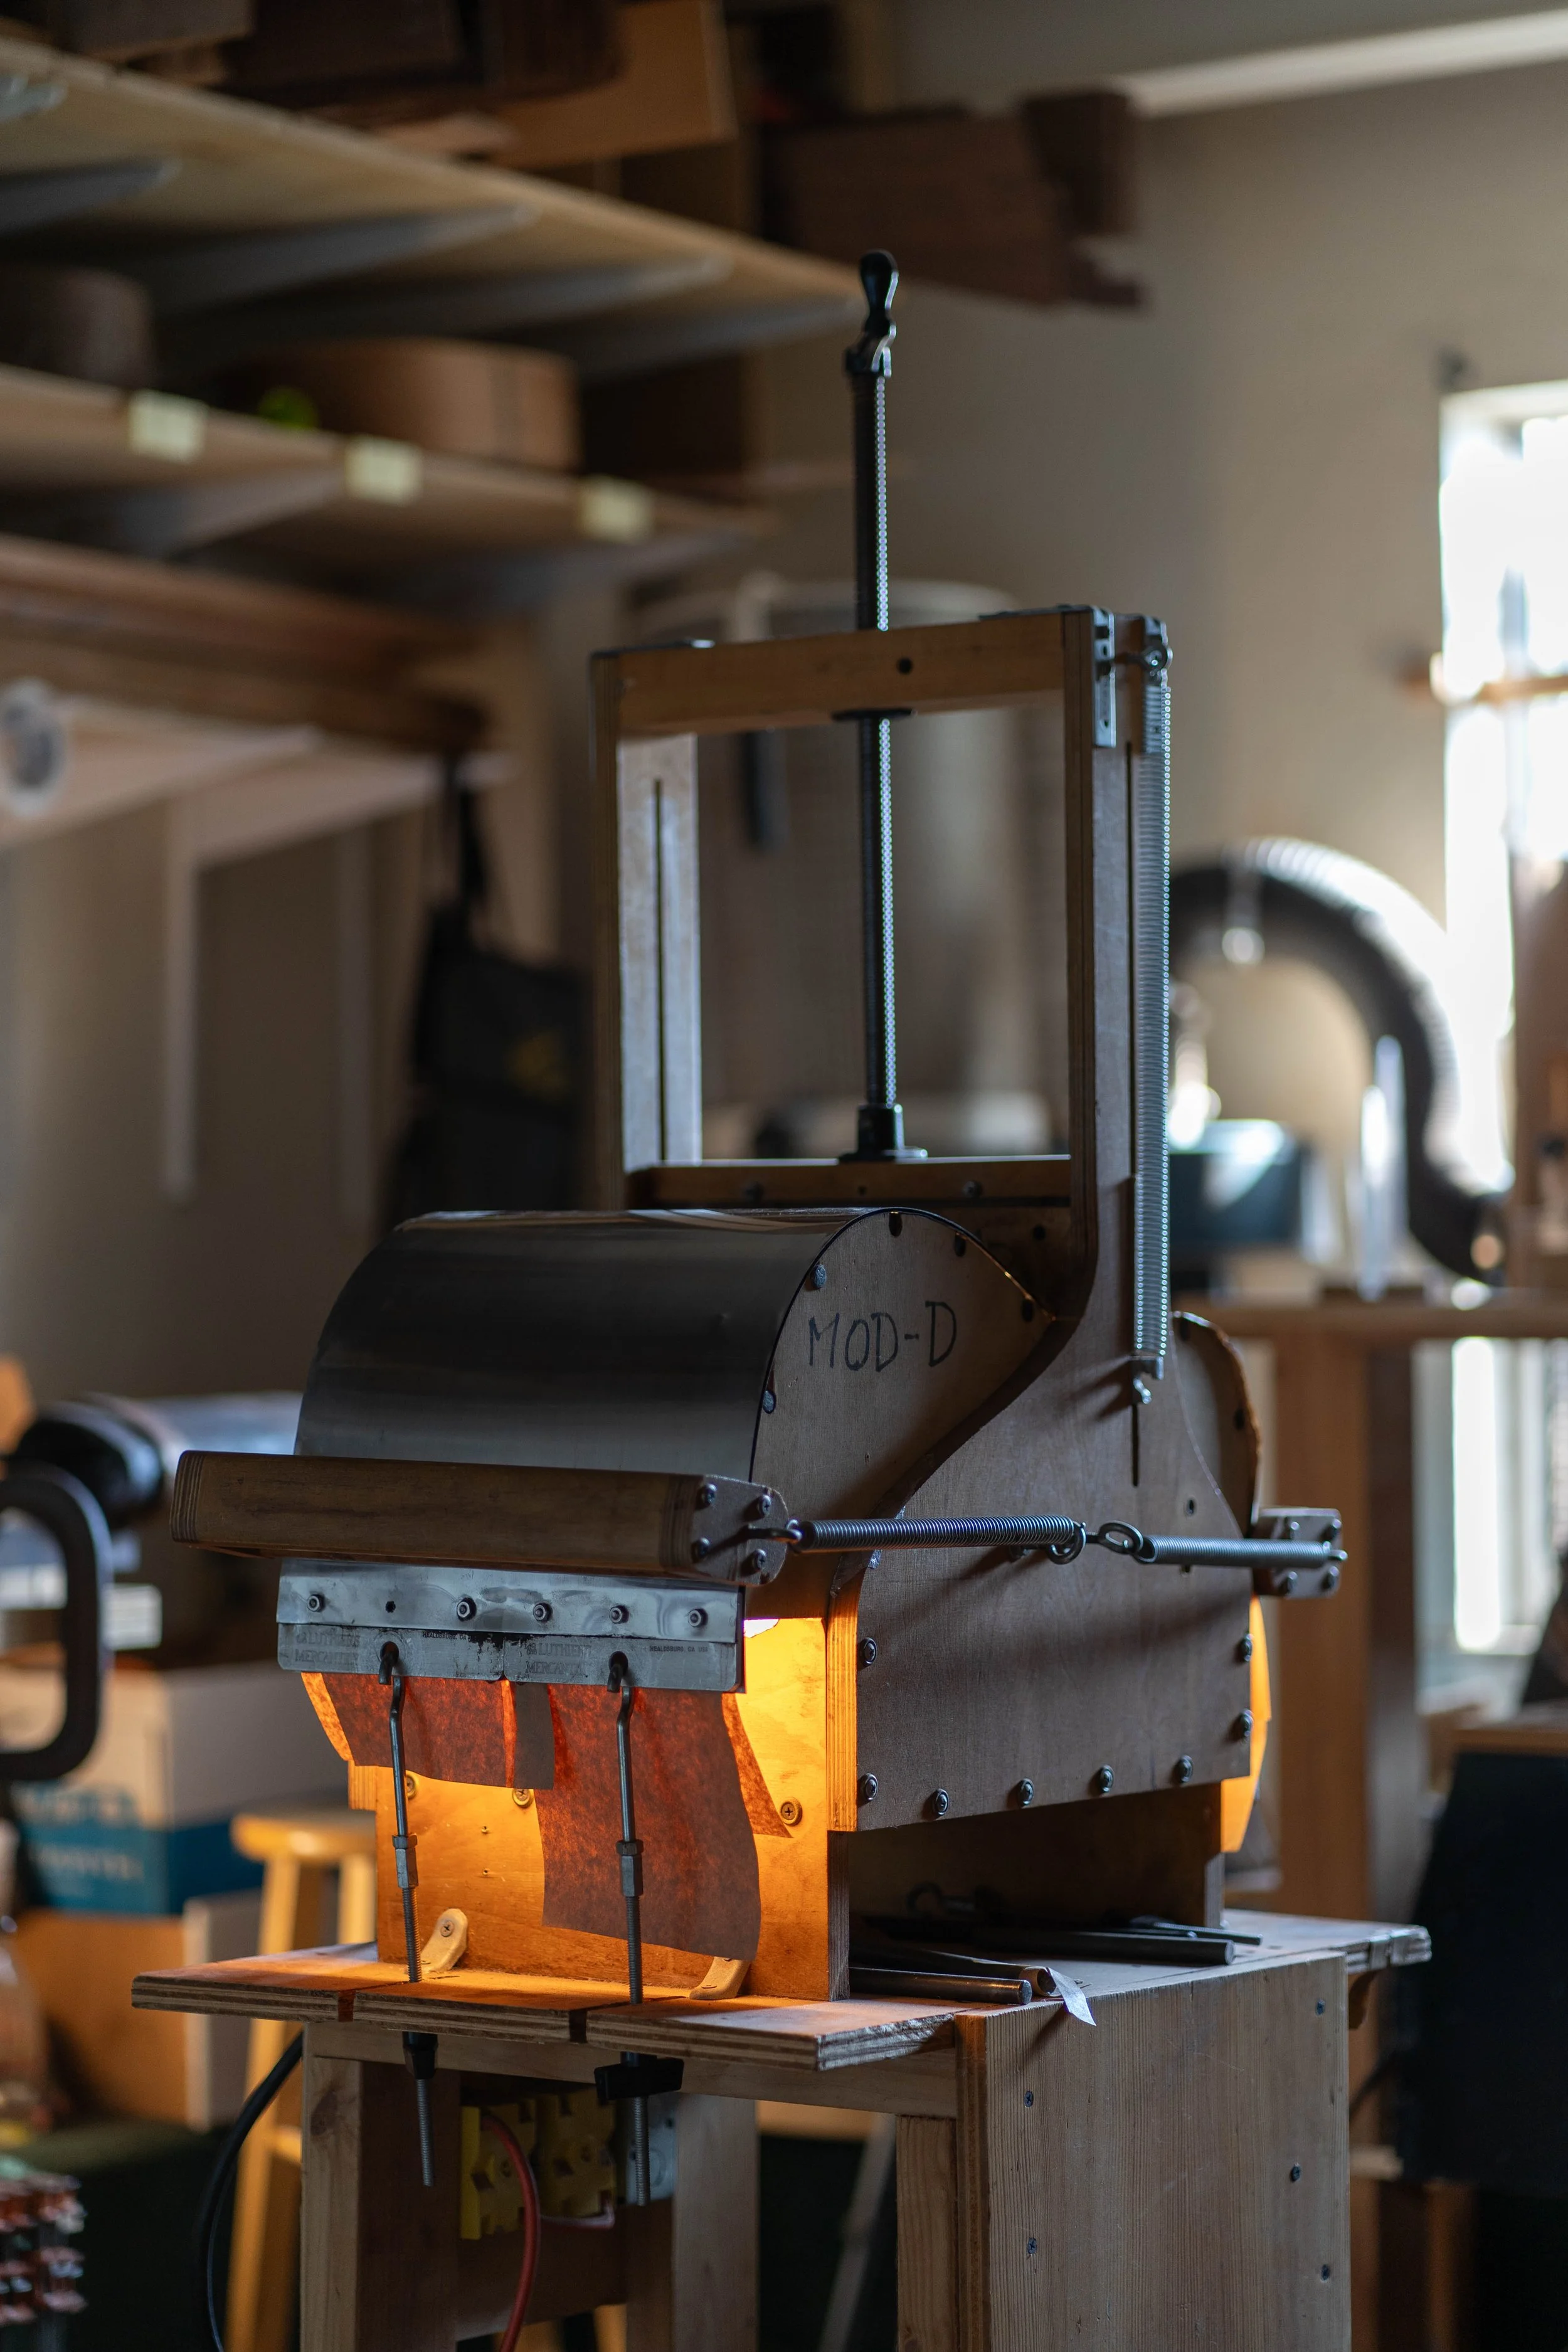
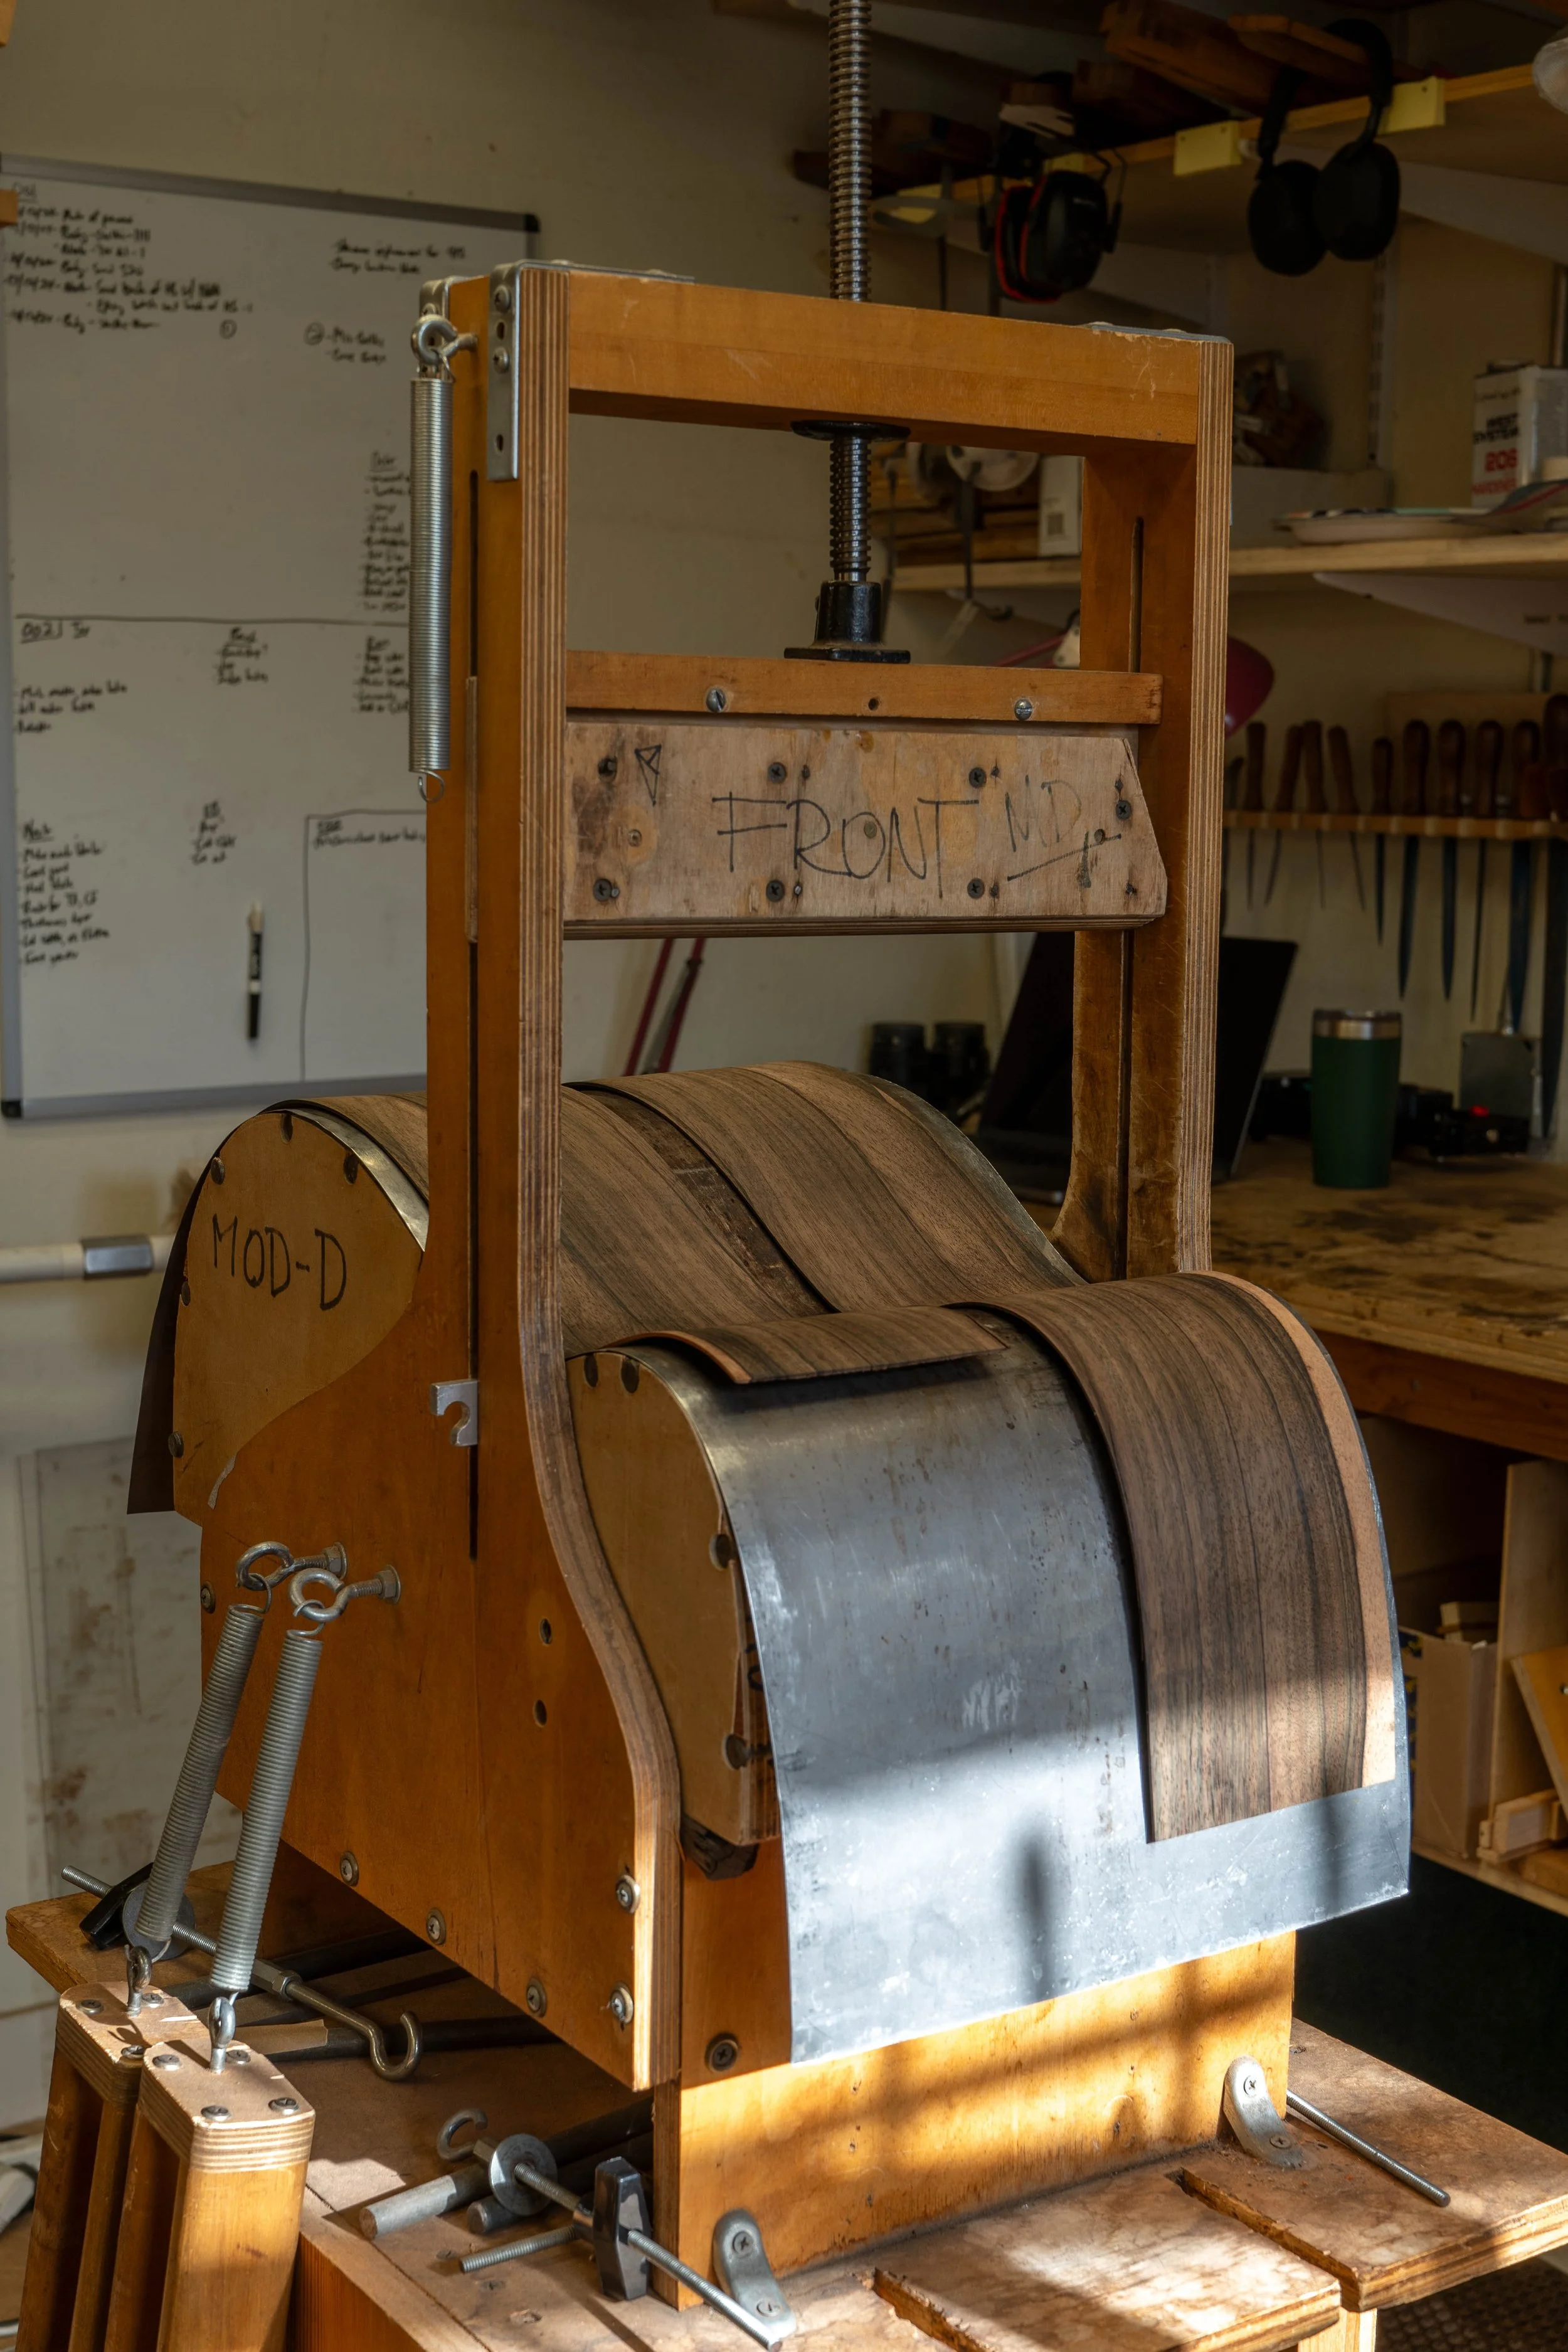
The sides in Ervin's bending jig. They need to be bent by hand first so they can fit in the jig.
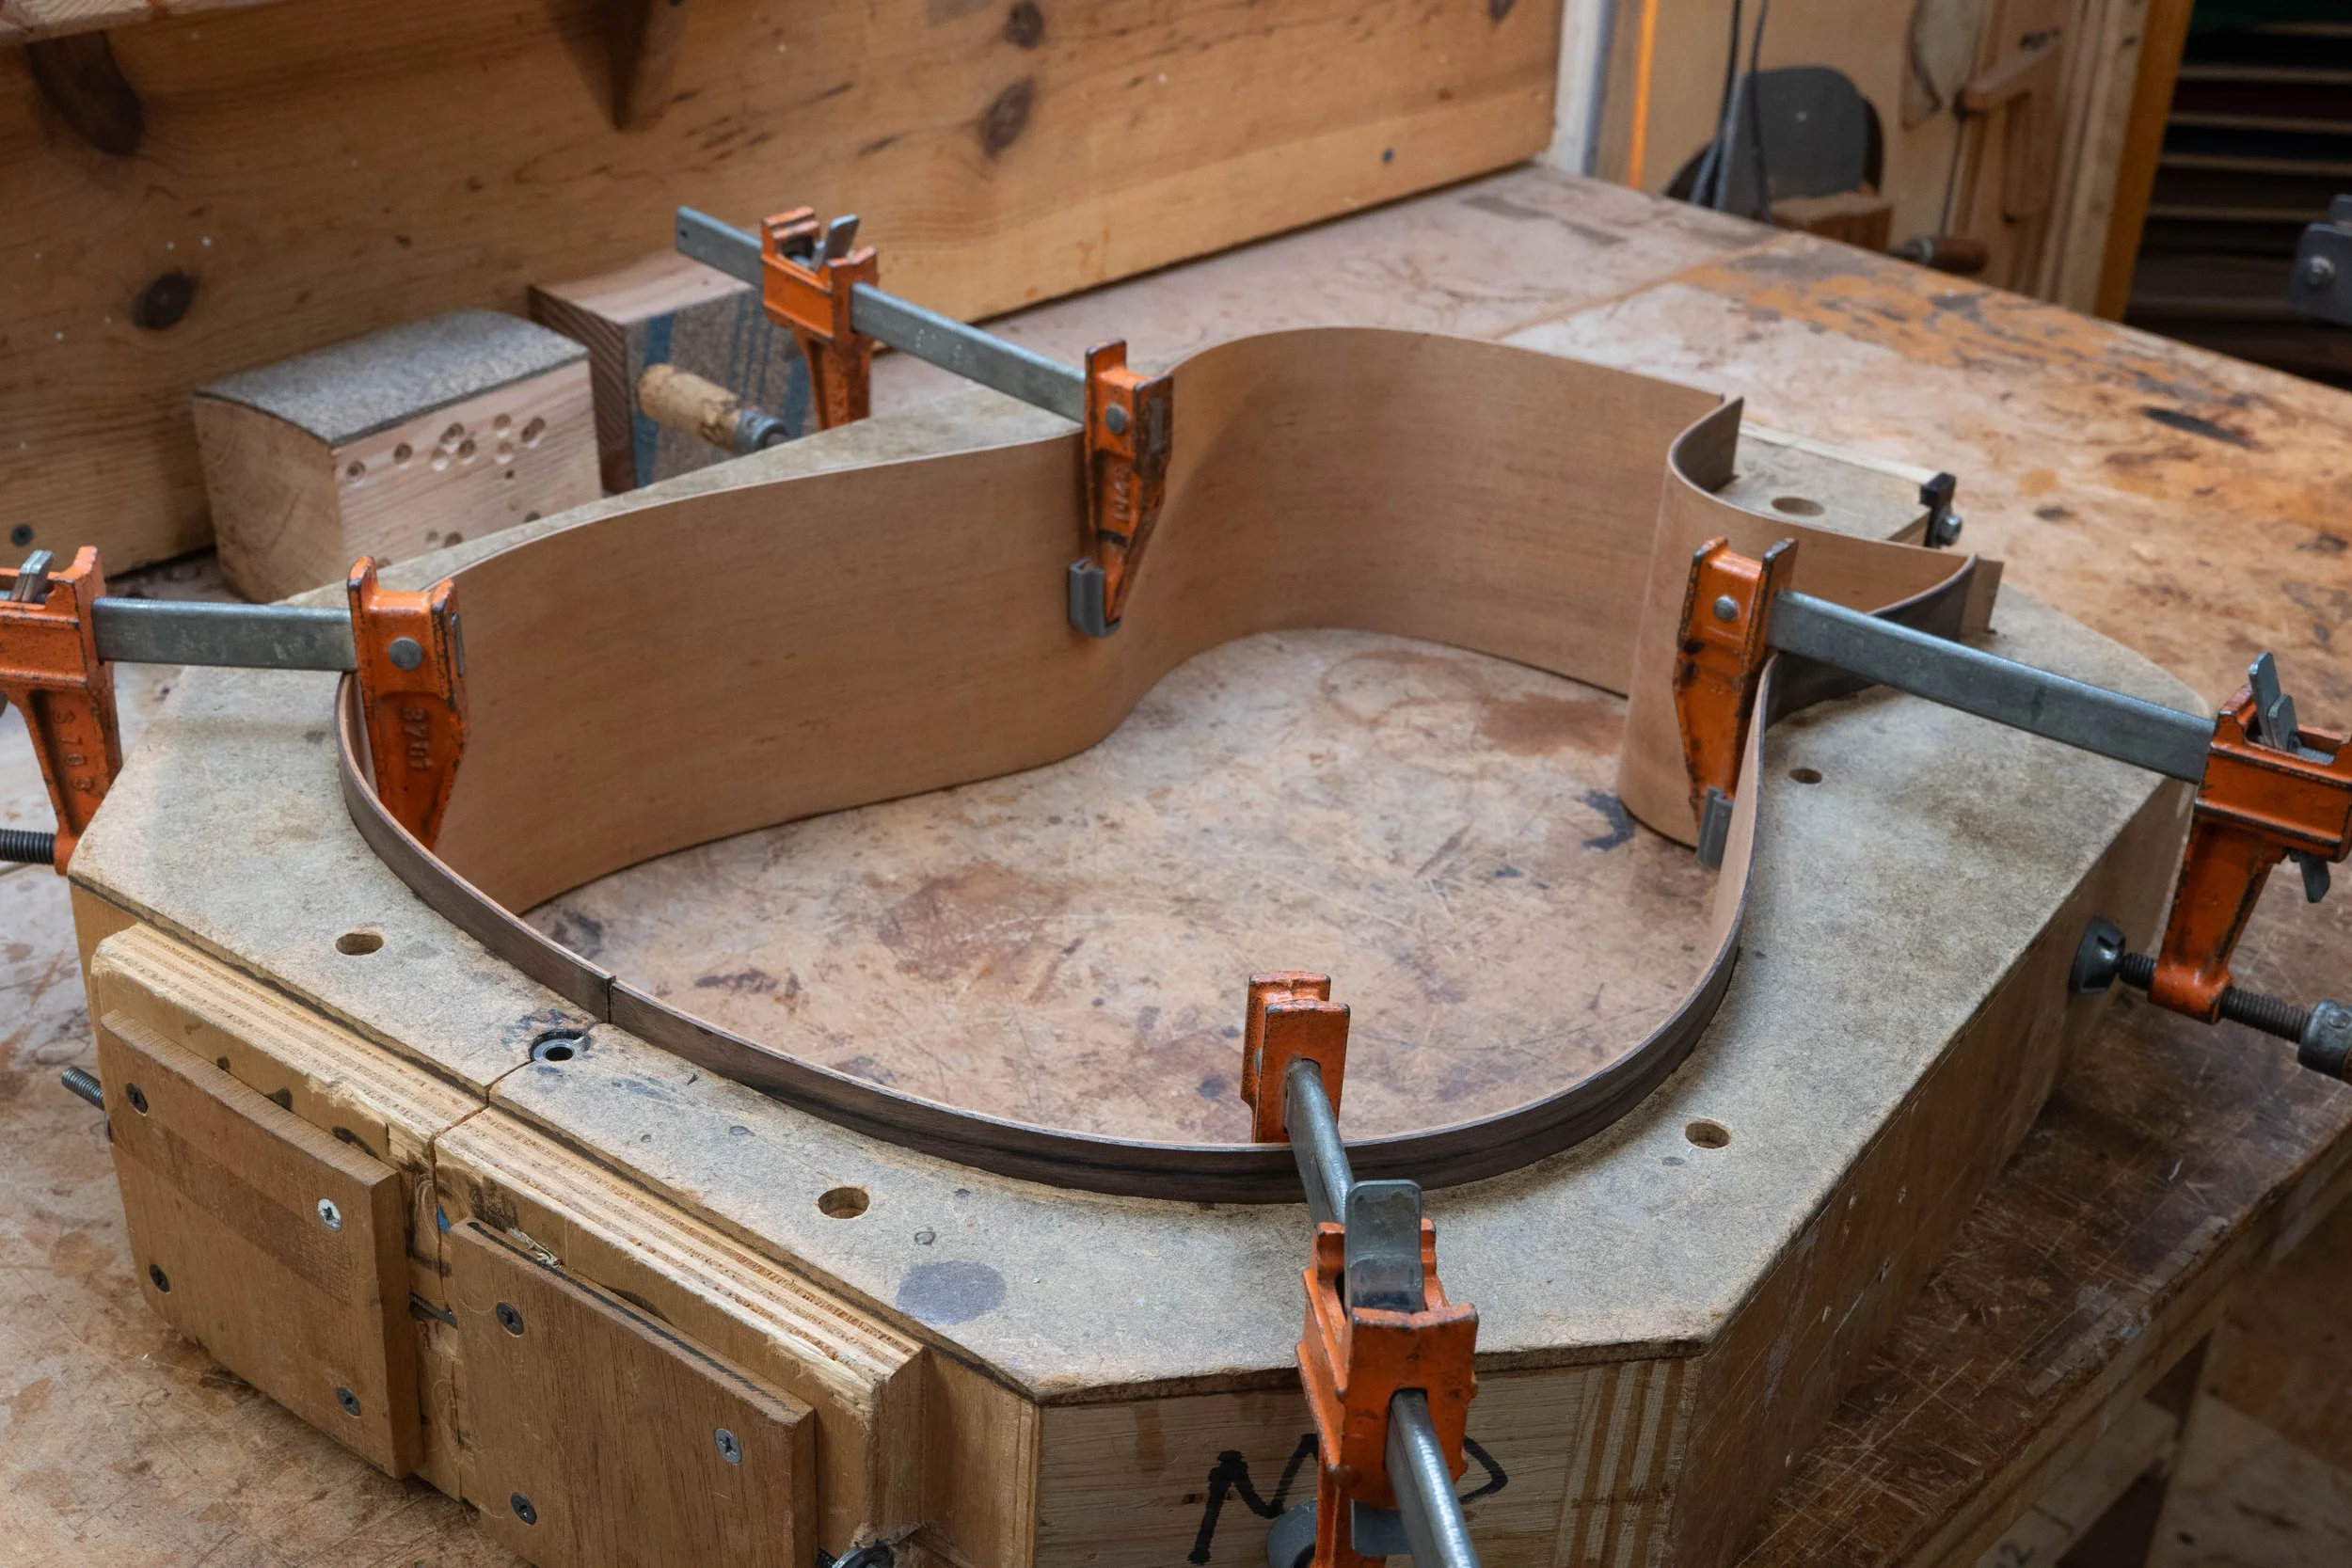
Sides after bending.
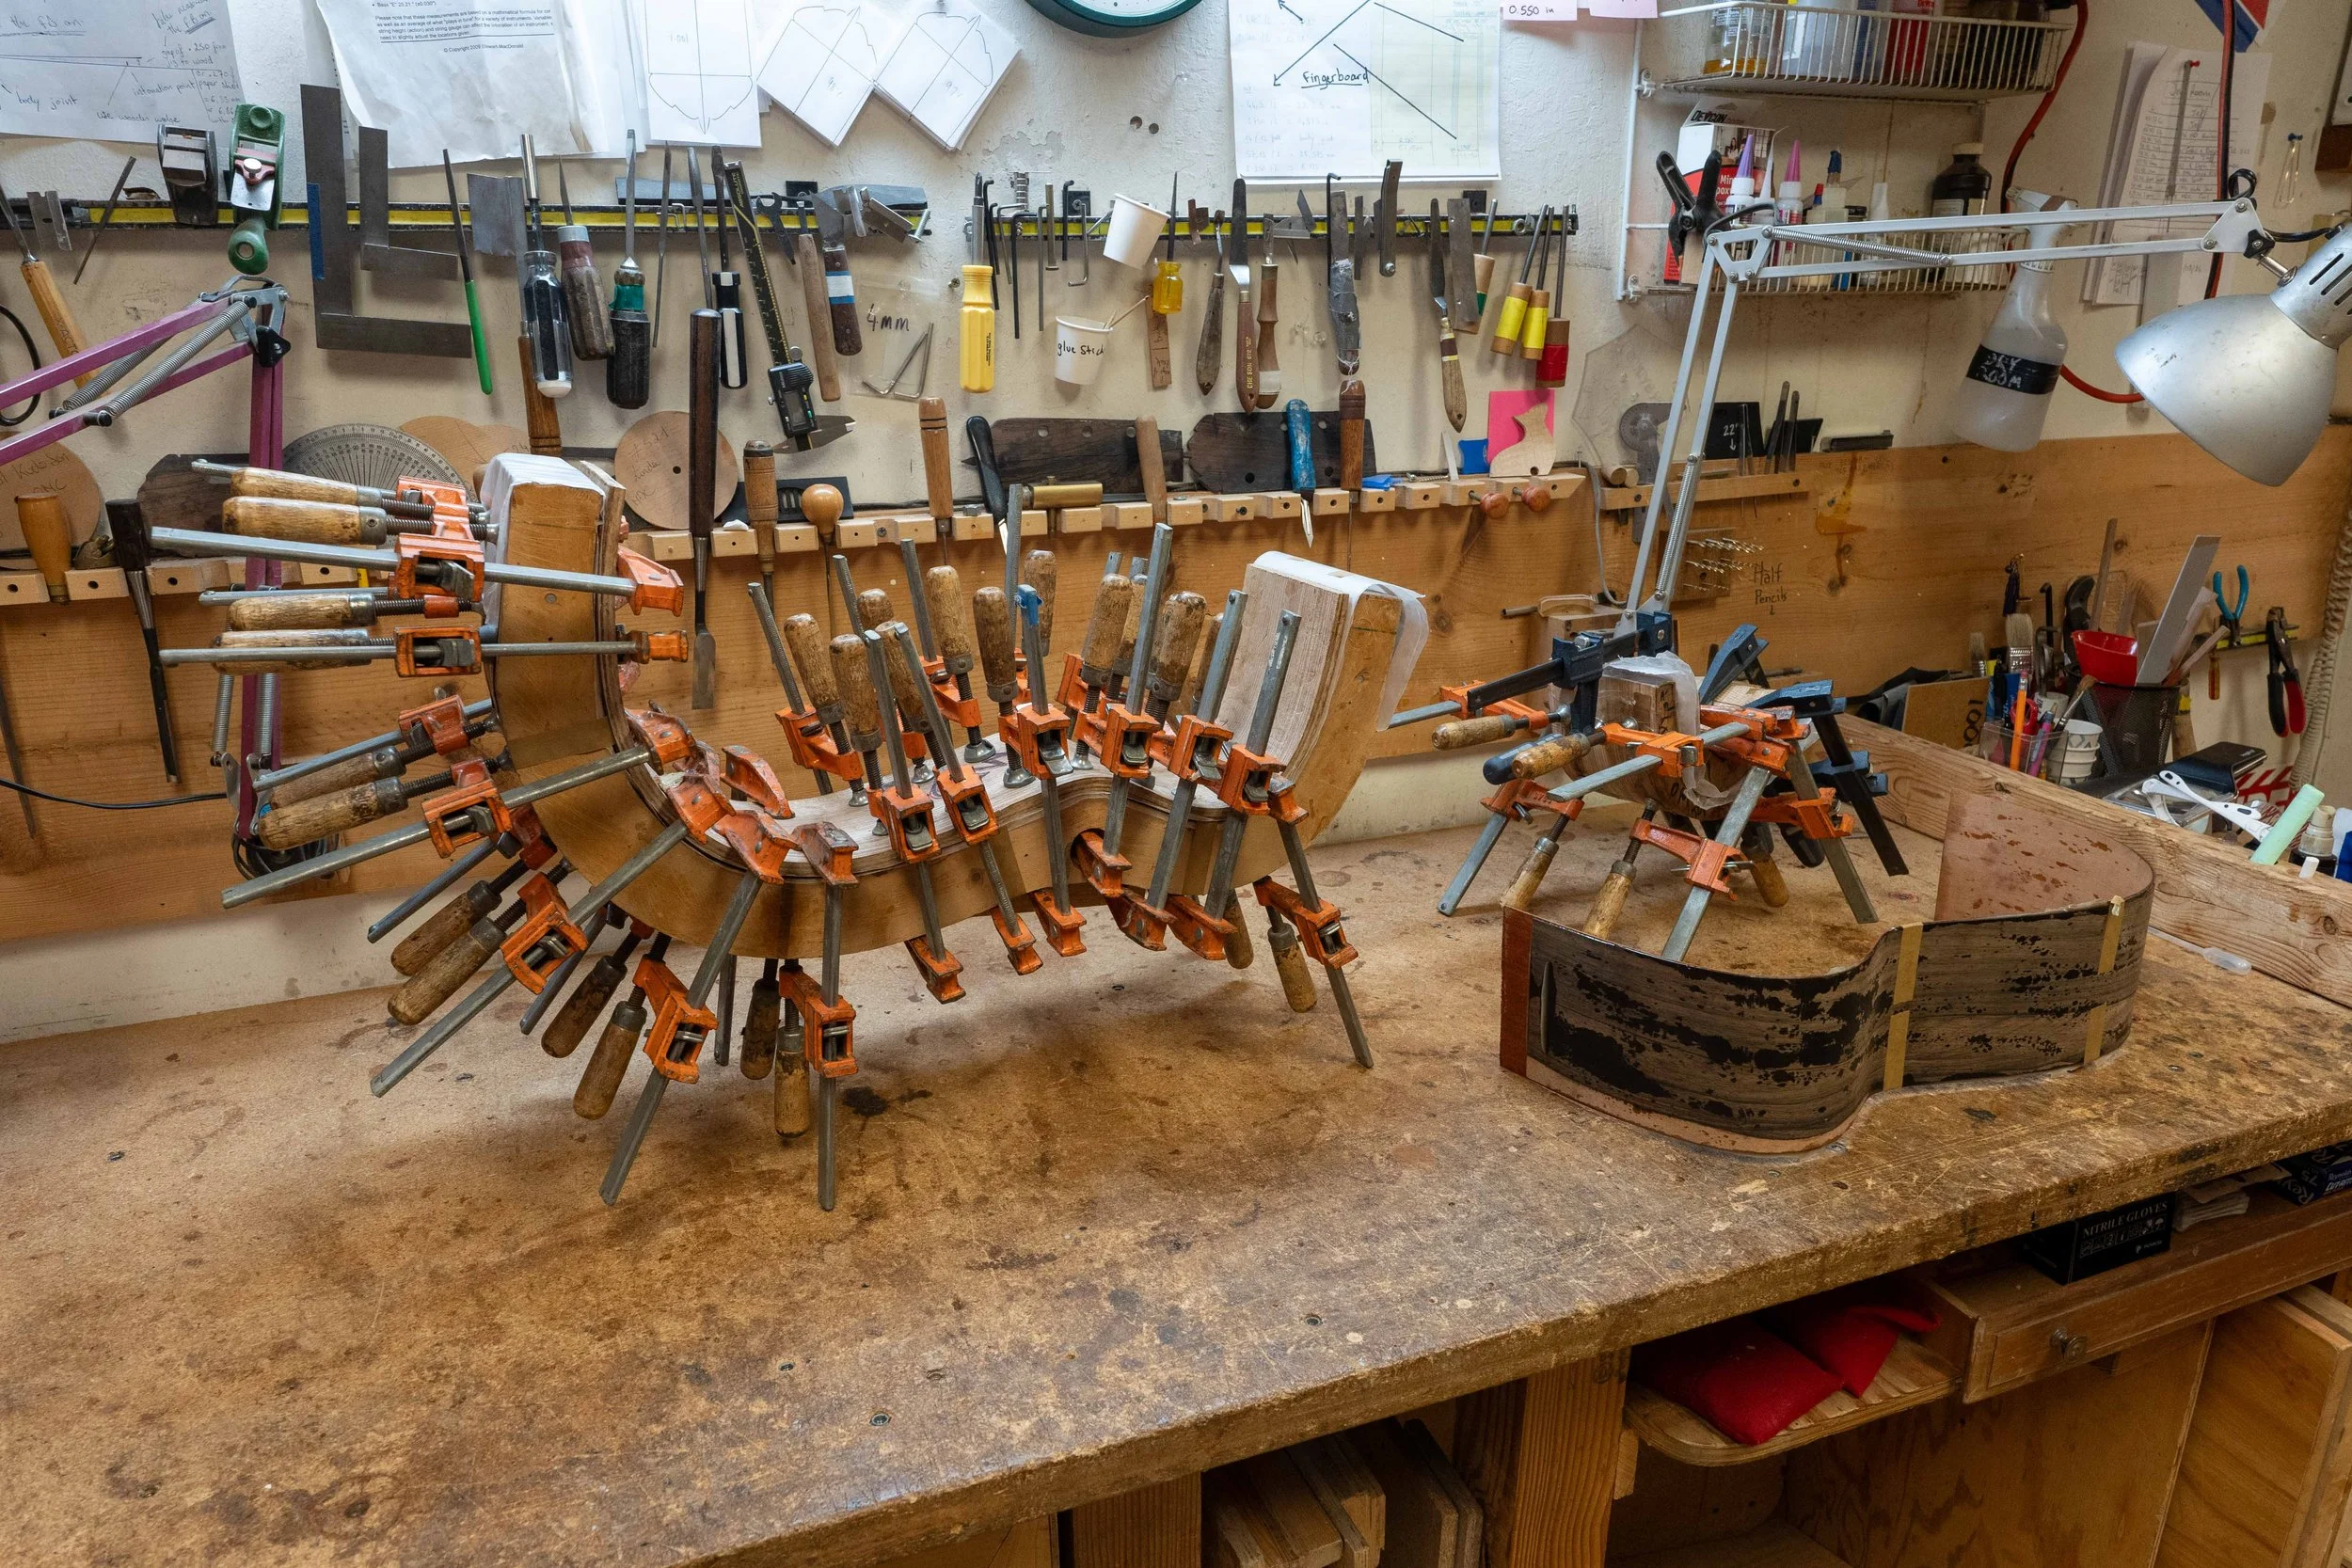
Laminating the inner and outer sides.
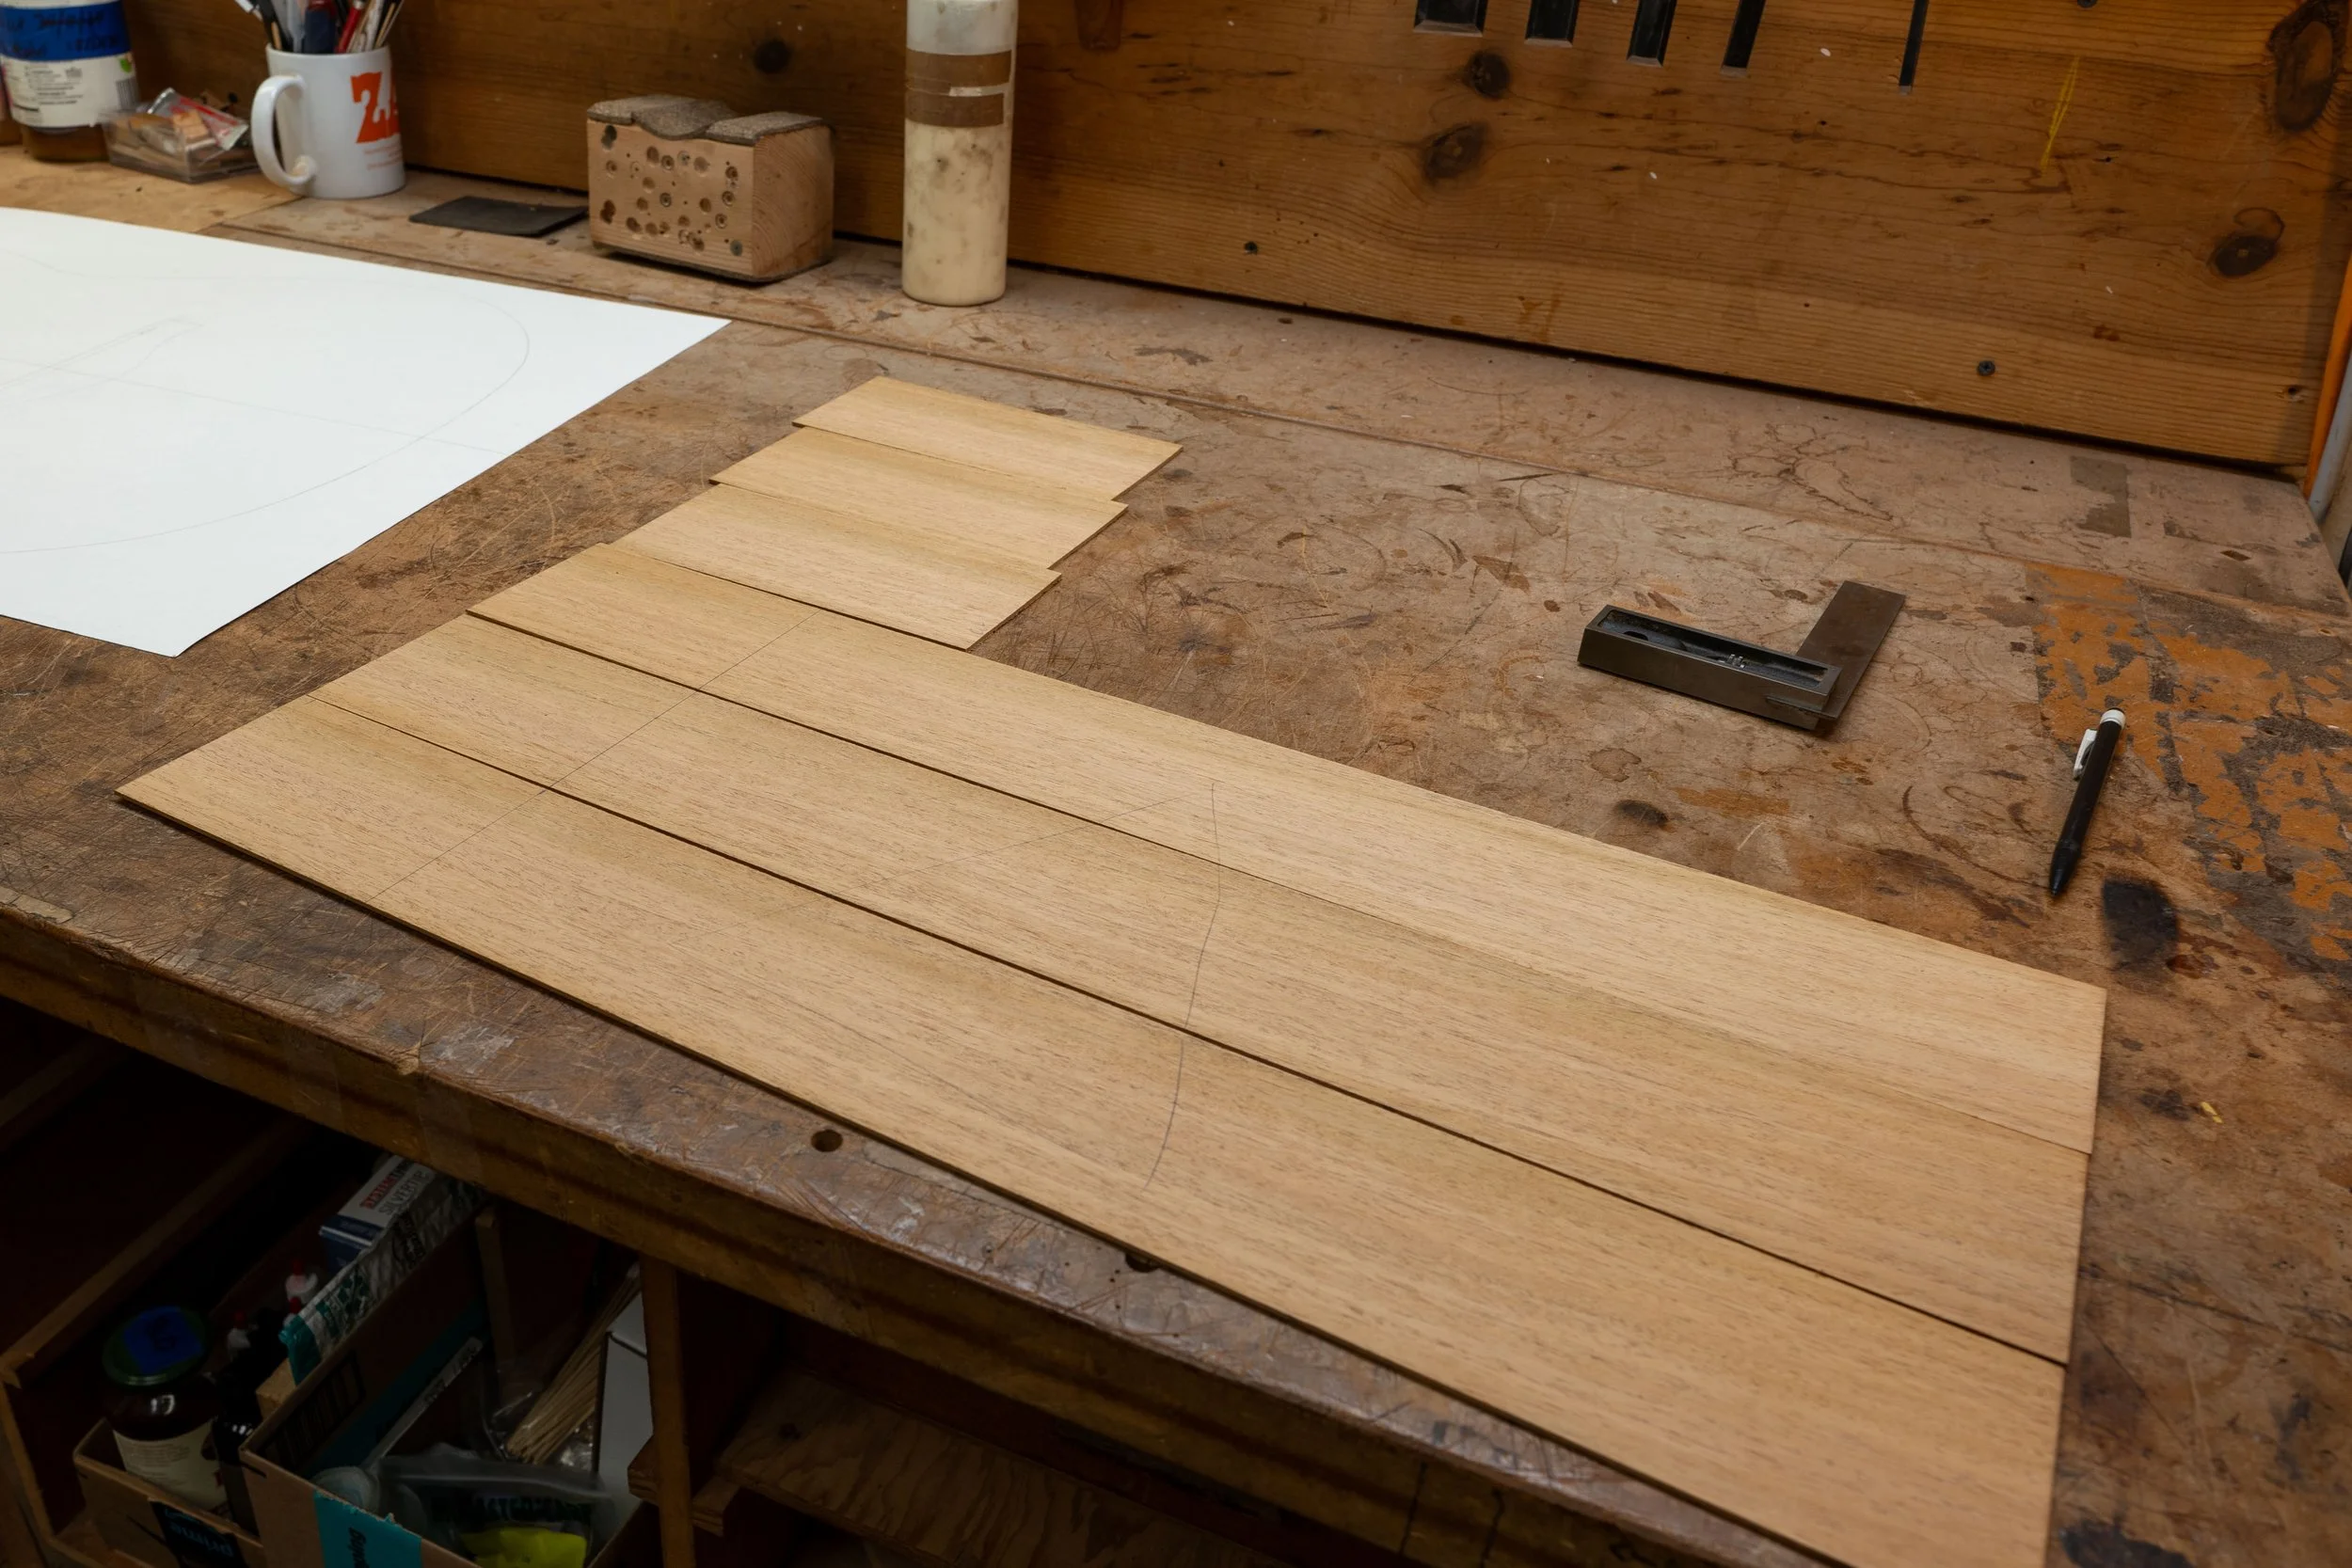
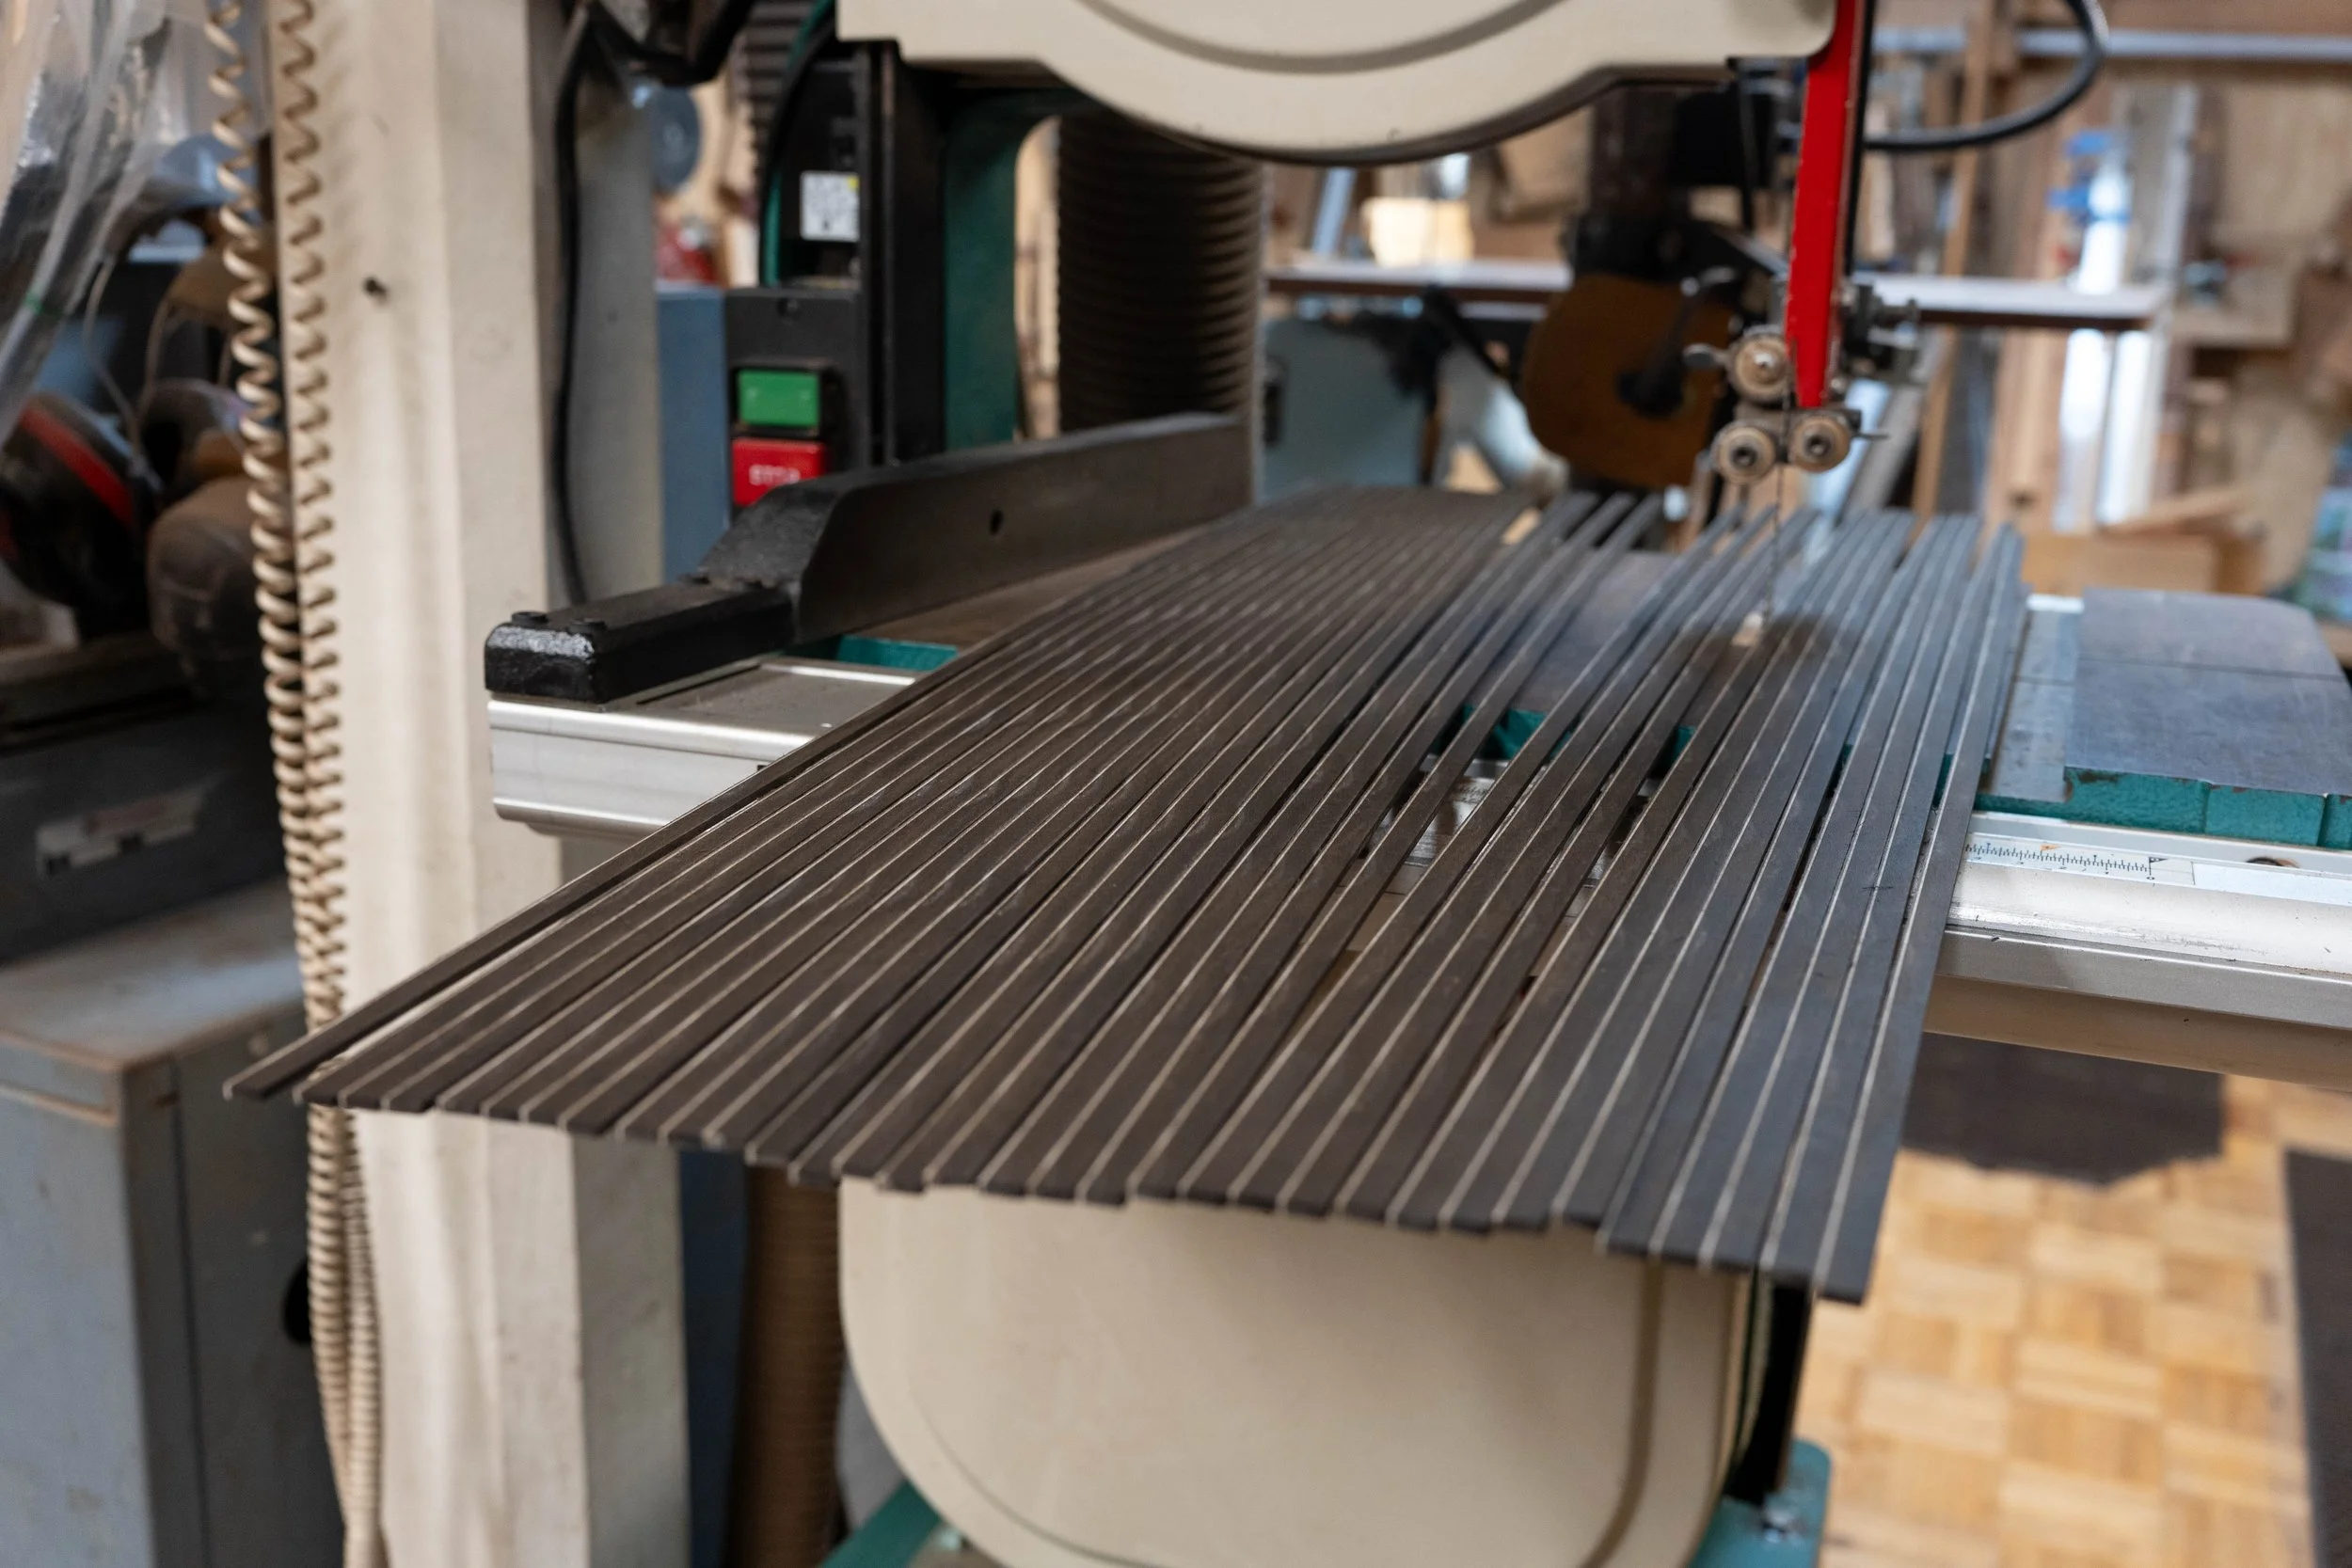
Wood for the solid lining. These get bent in the same way as the sides and laminated together. Then strips are cut for the lining.
Laminating the wood for the cutaway lining.

The linings for the top and back
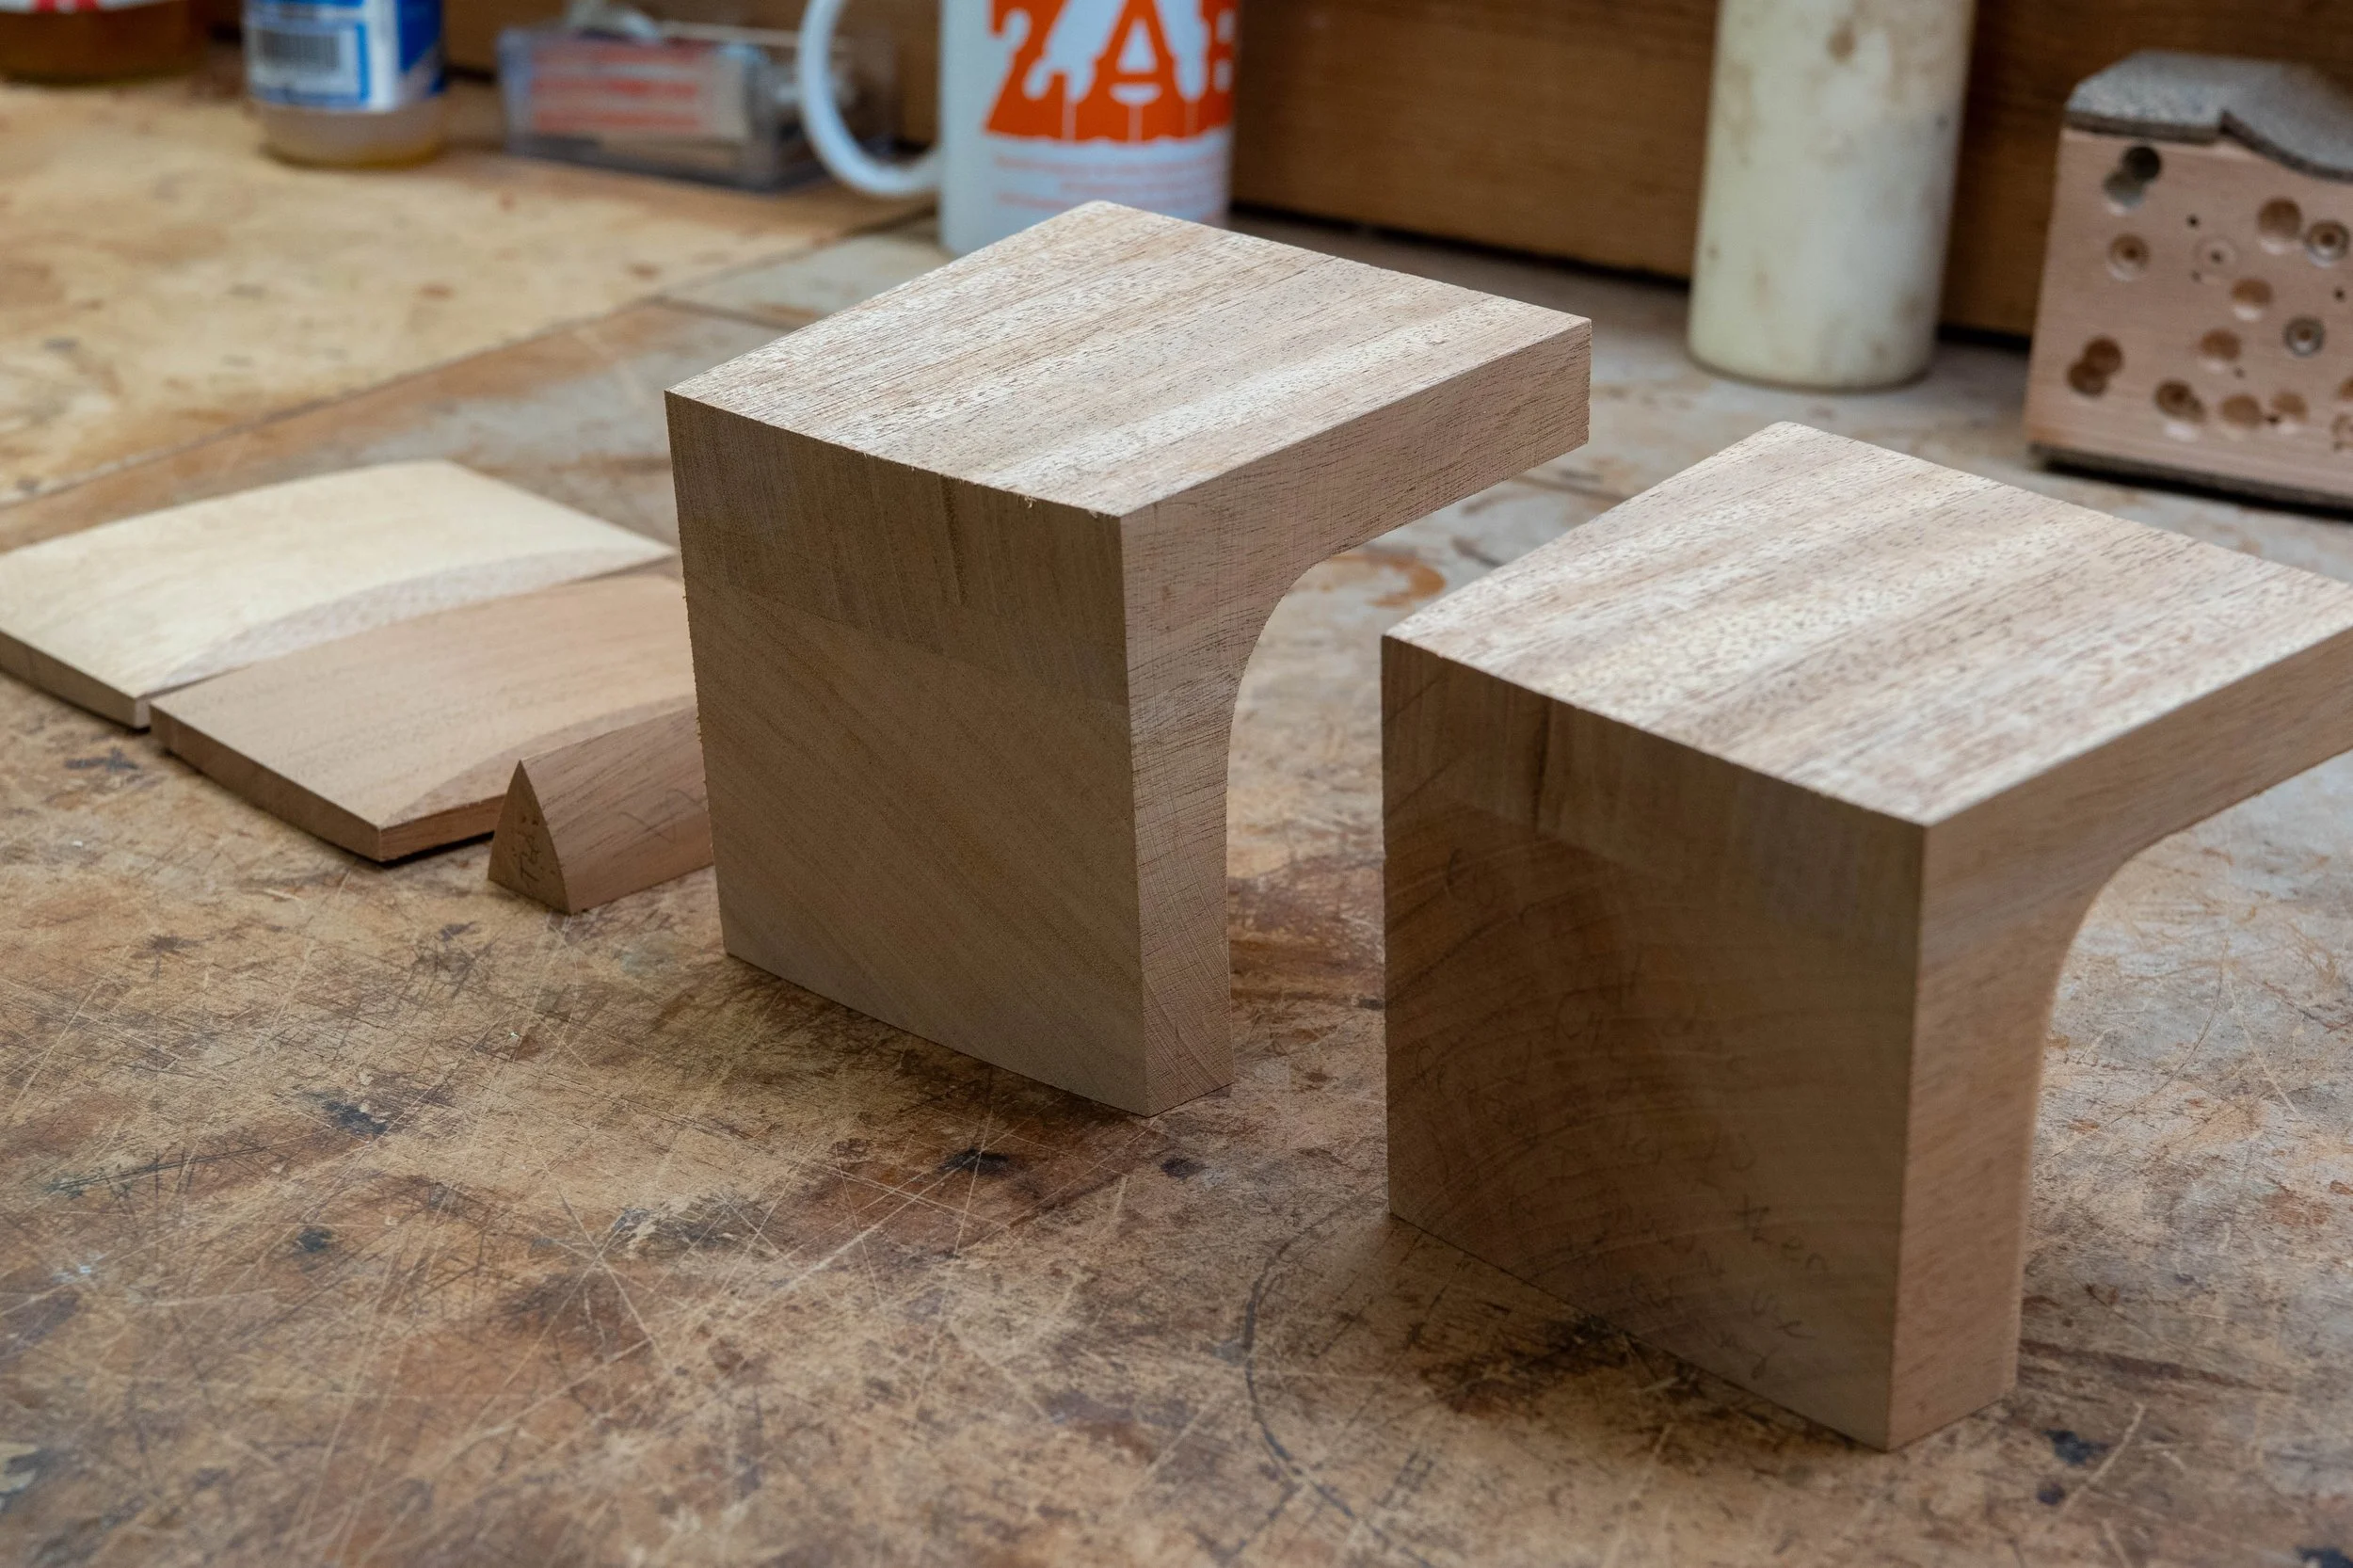
Head, tail, and corner blocks made for two guitars.
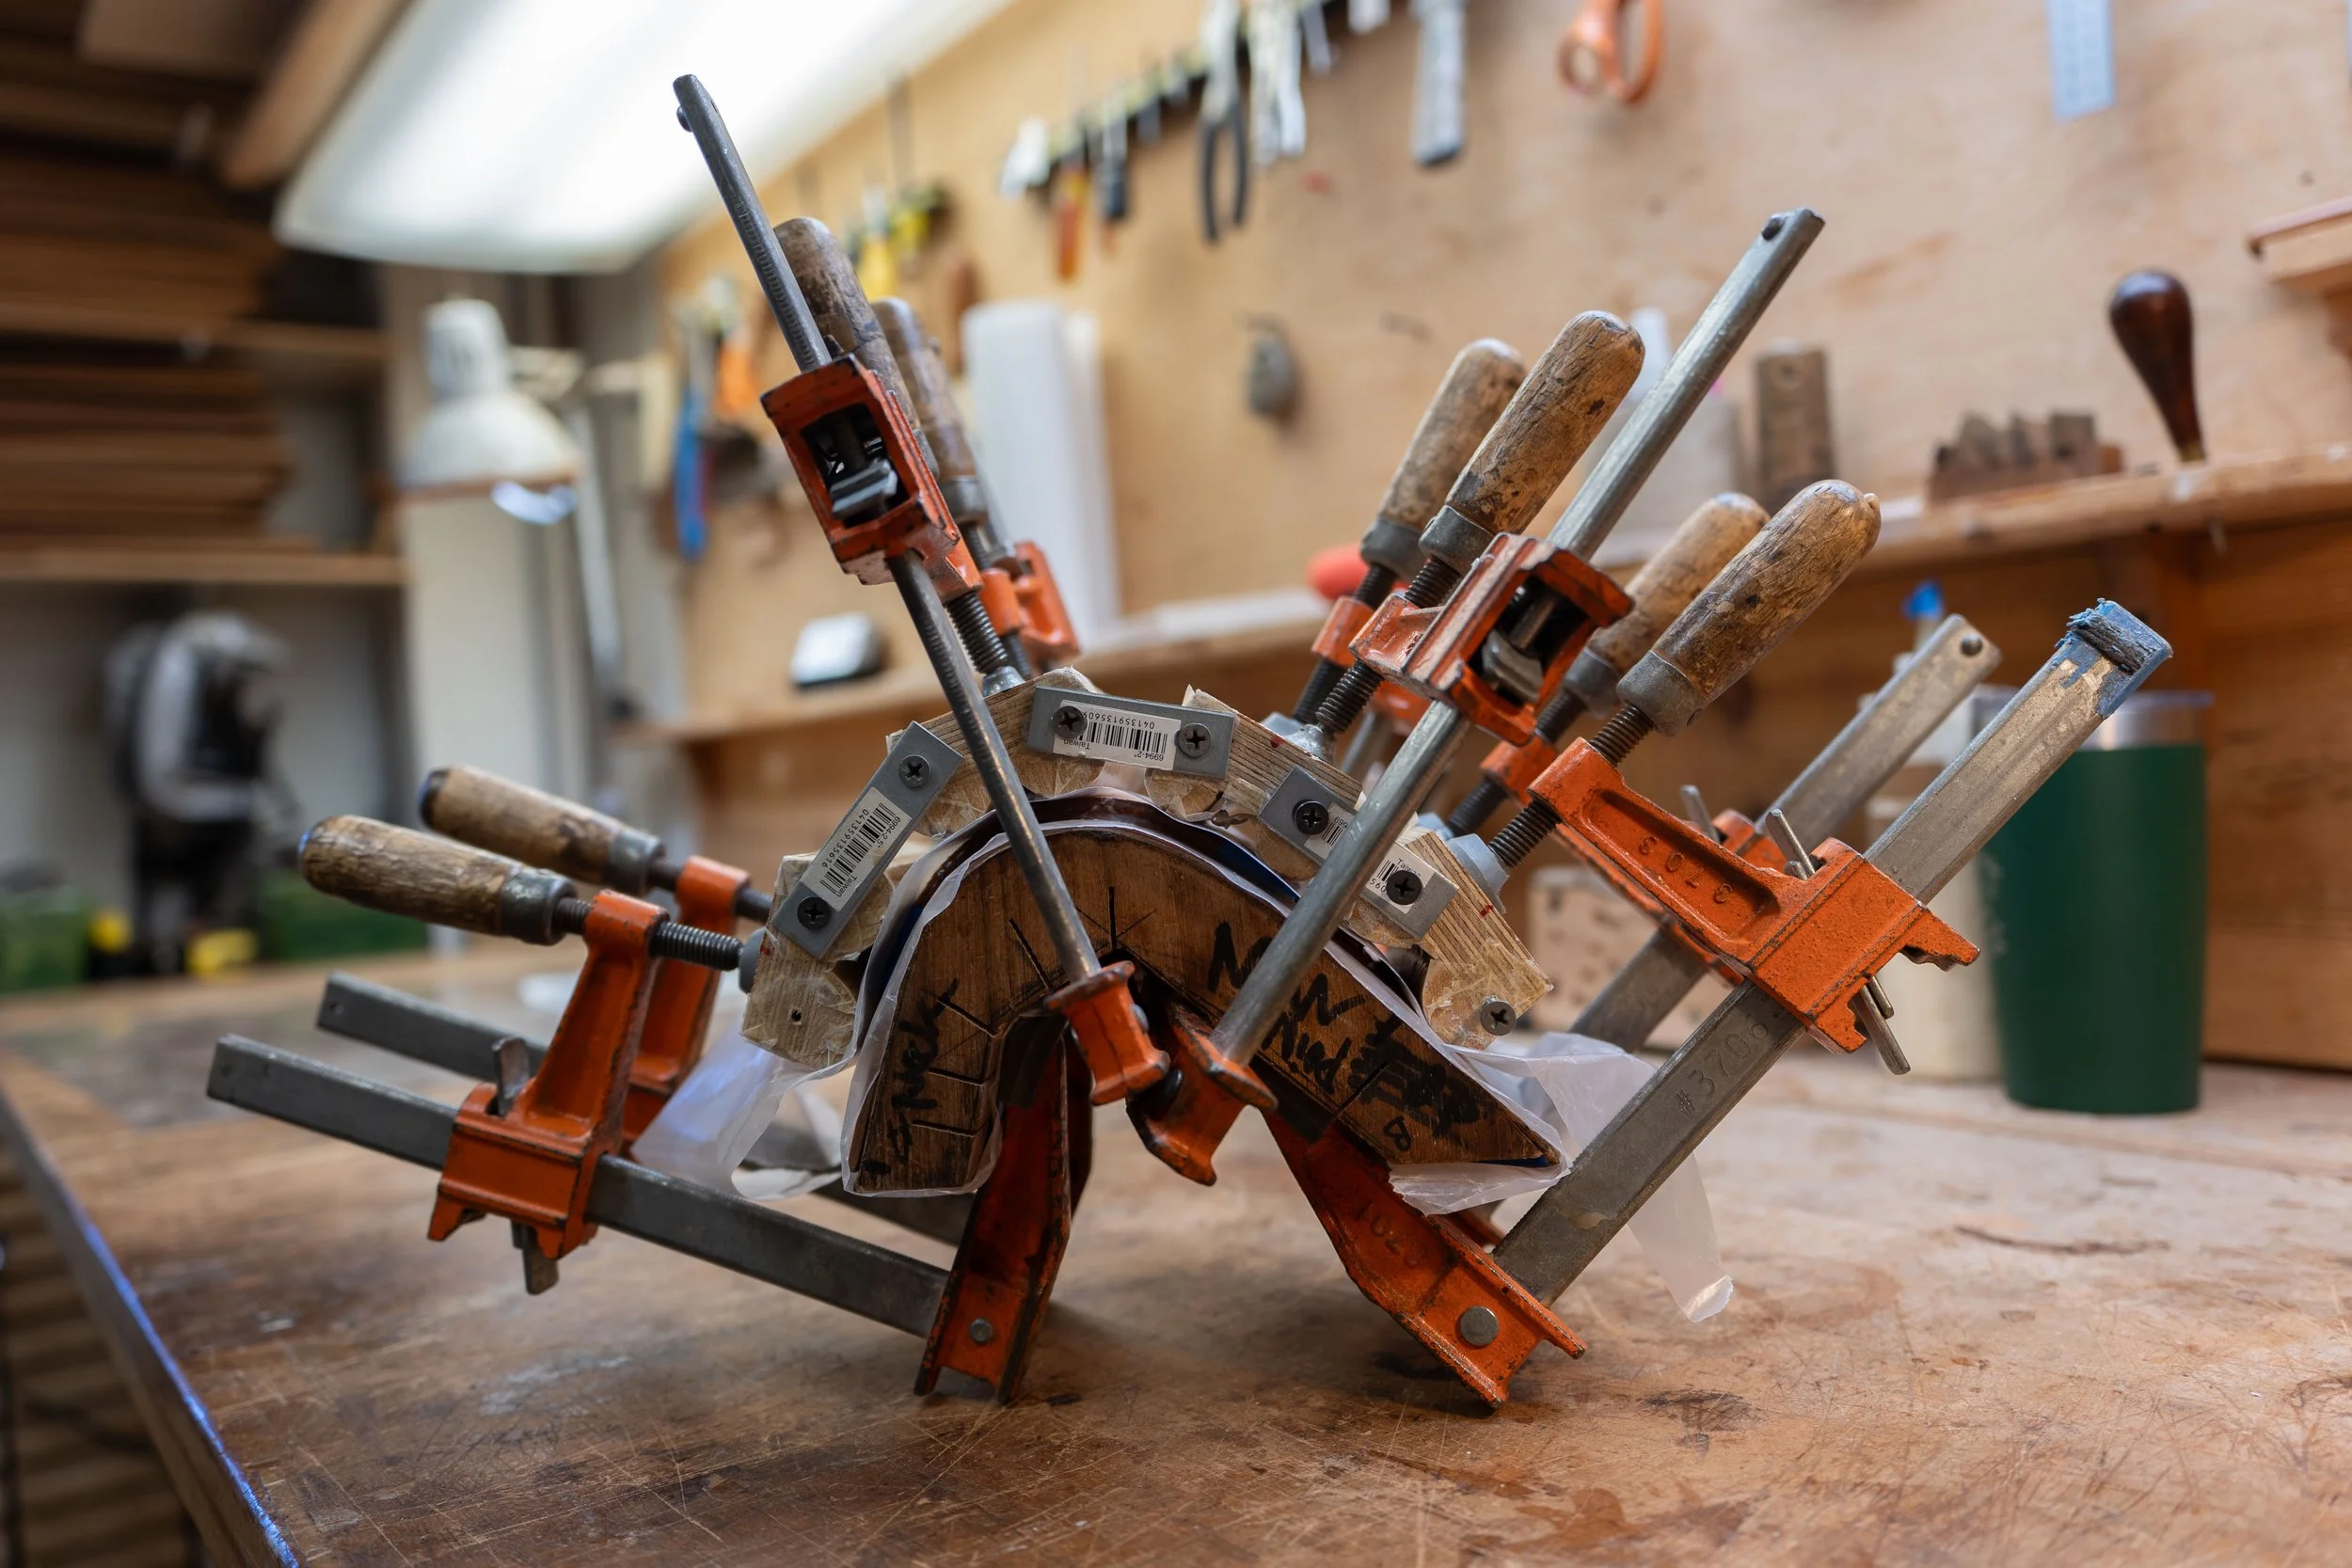
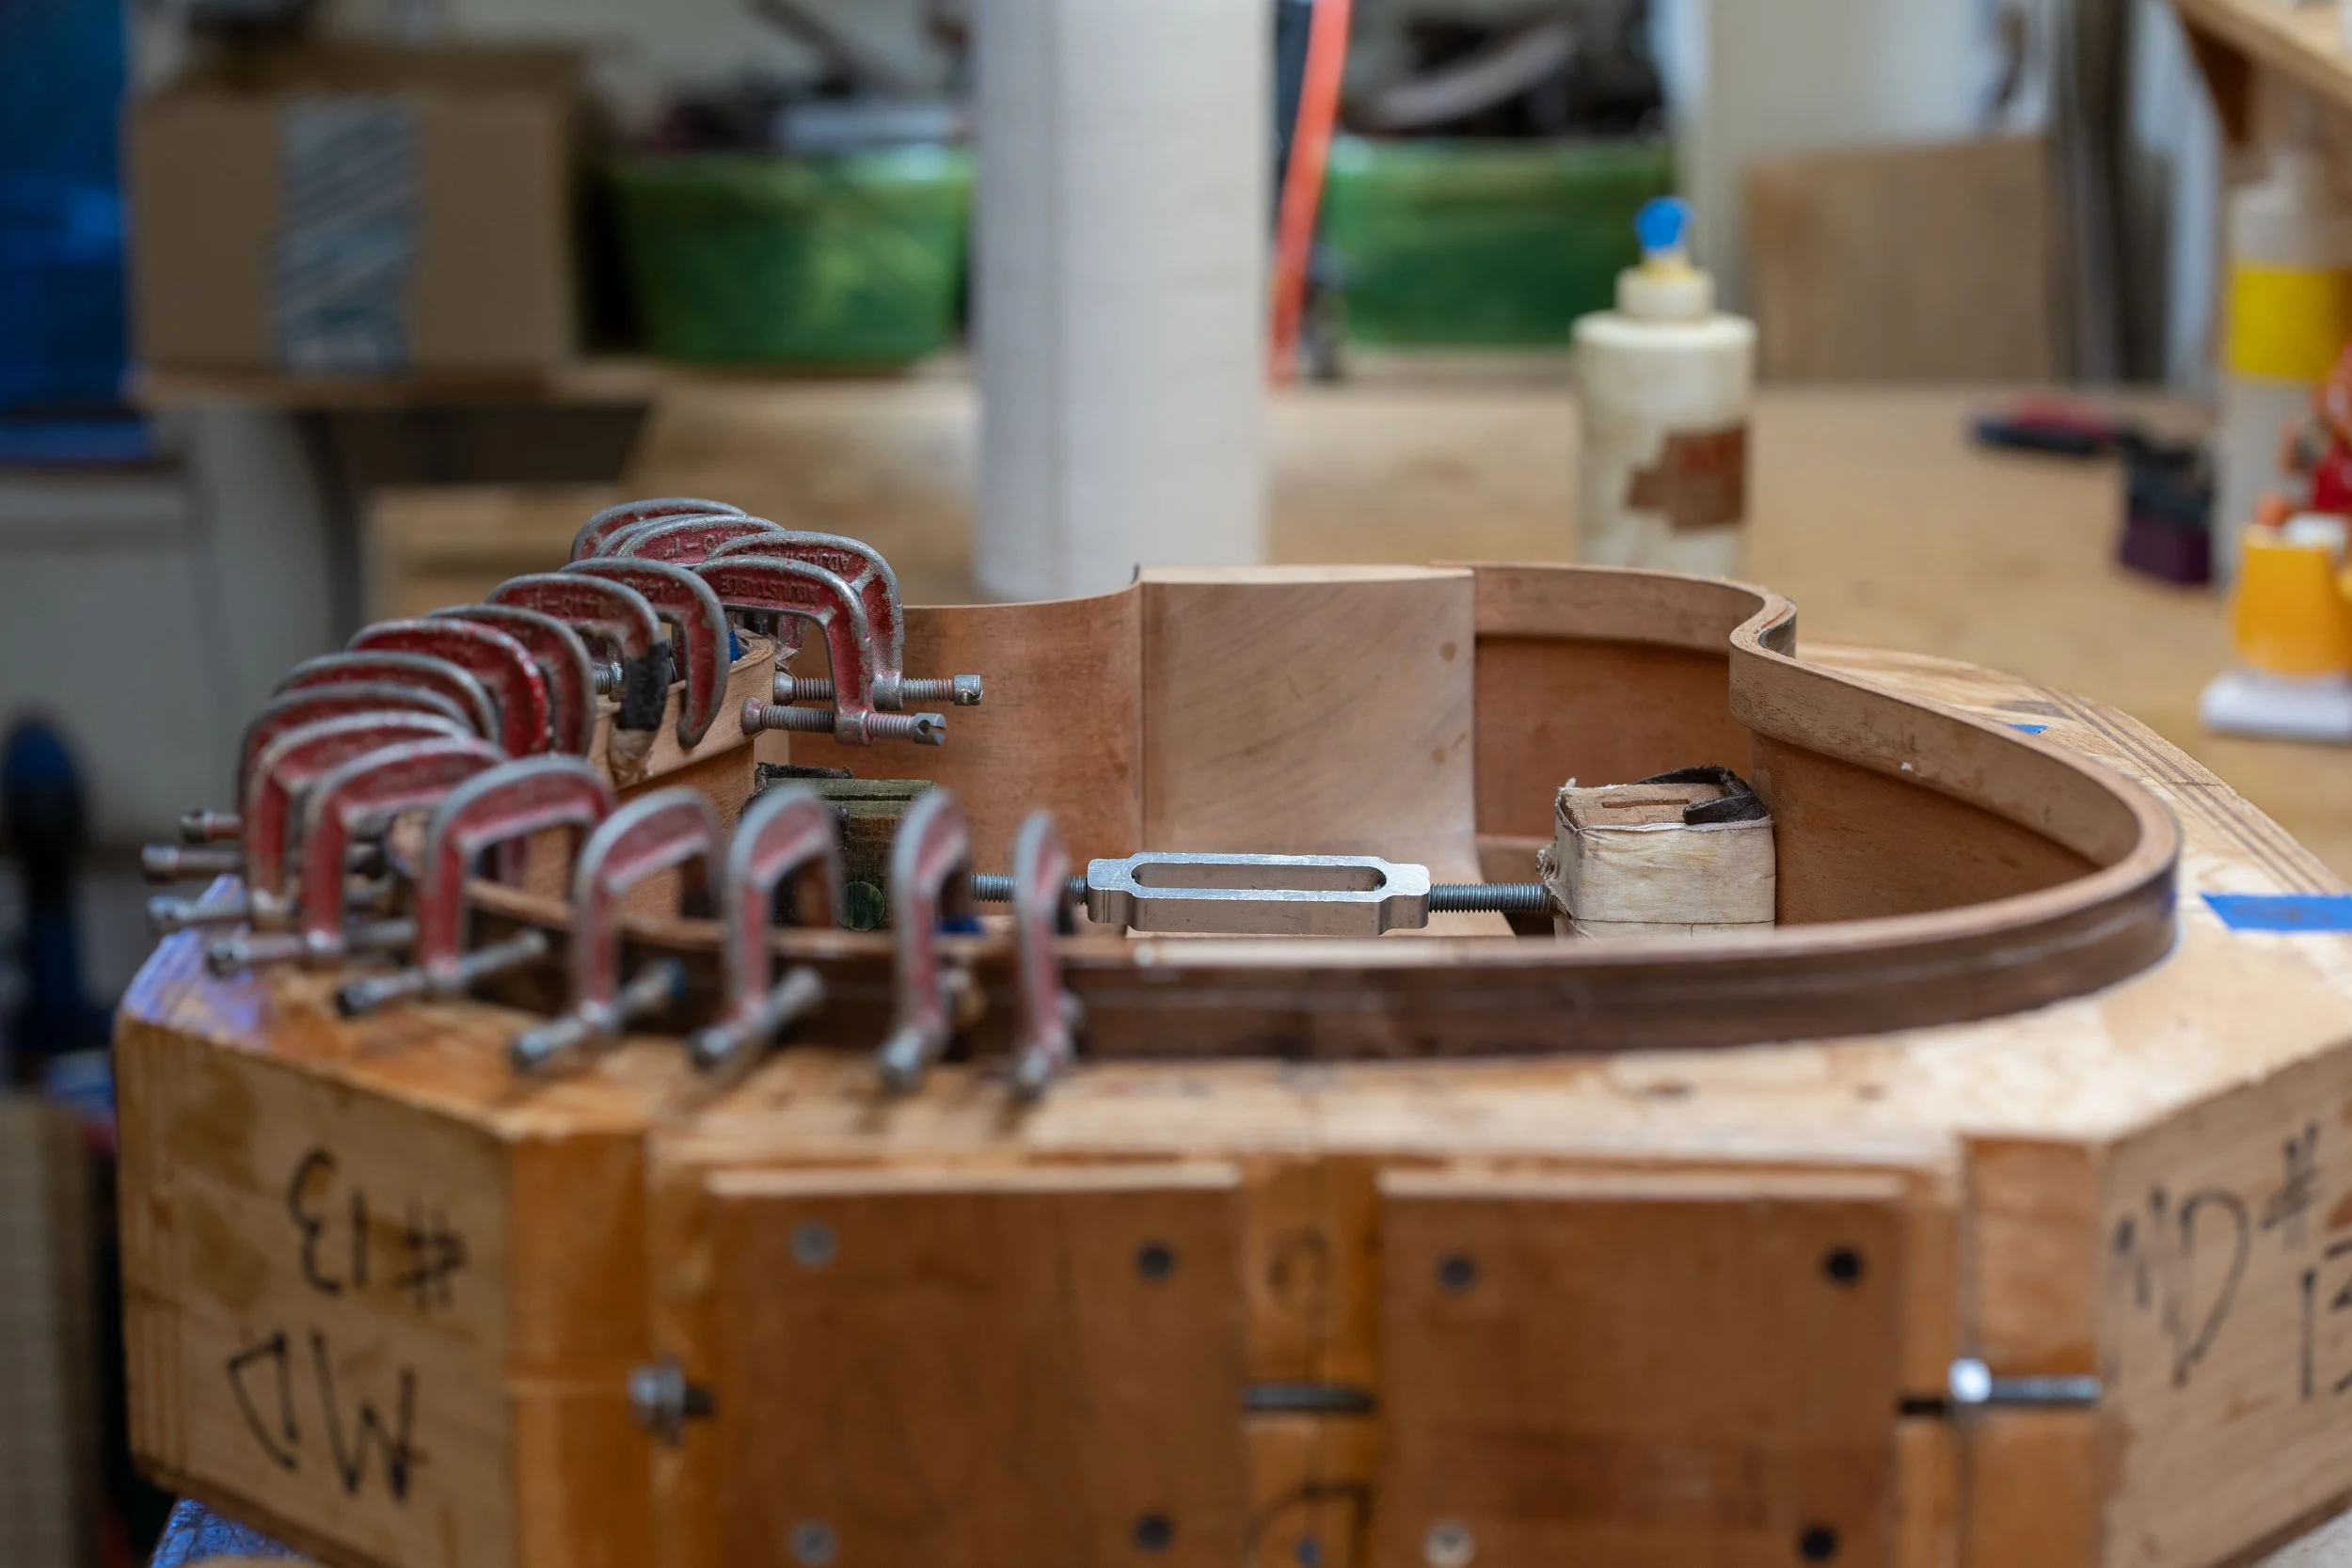
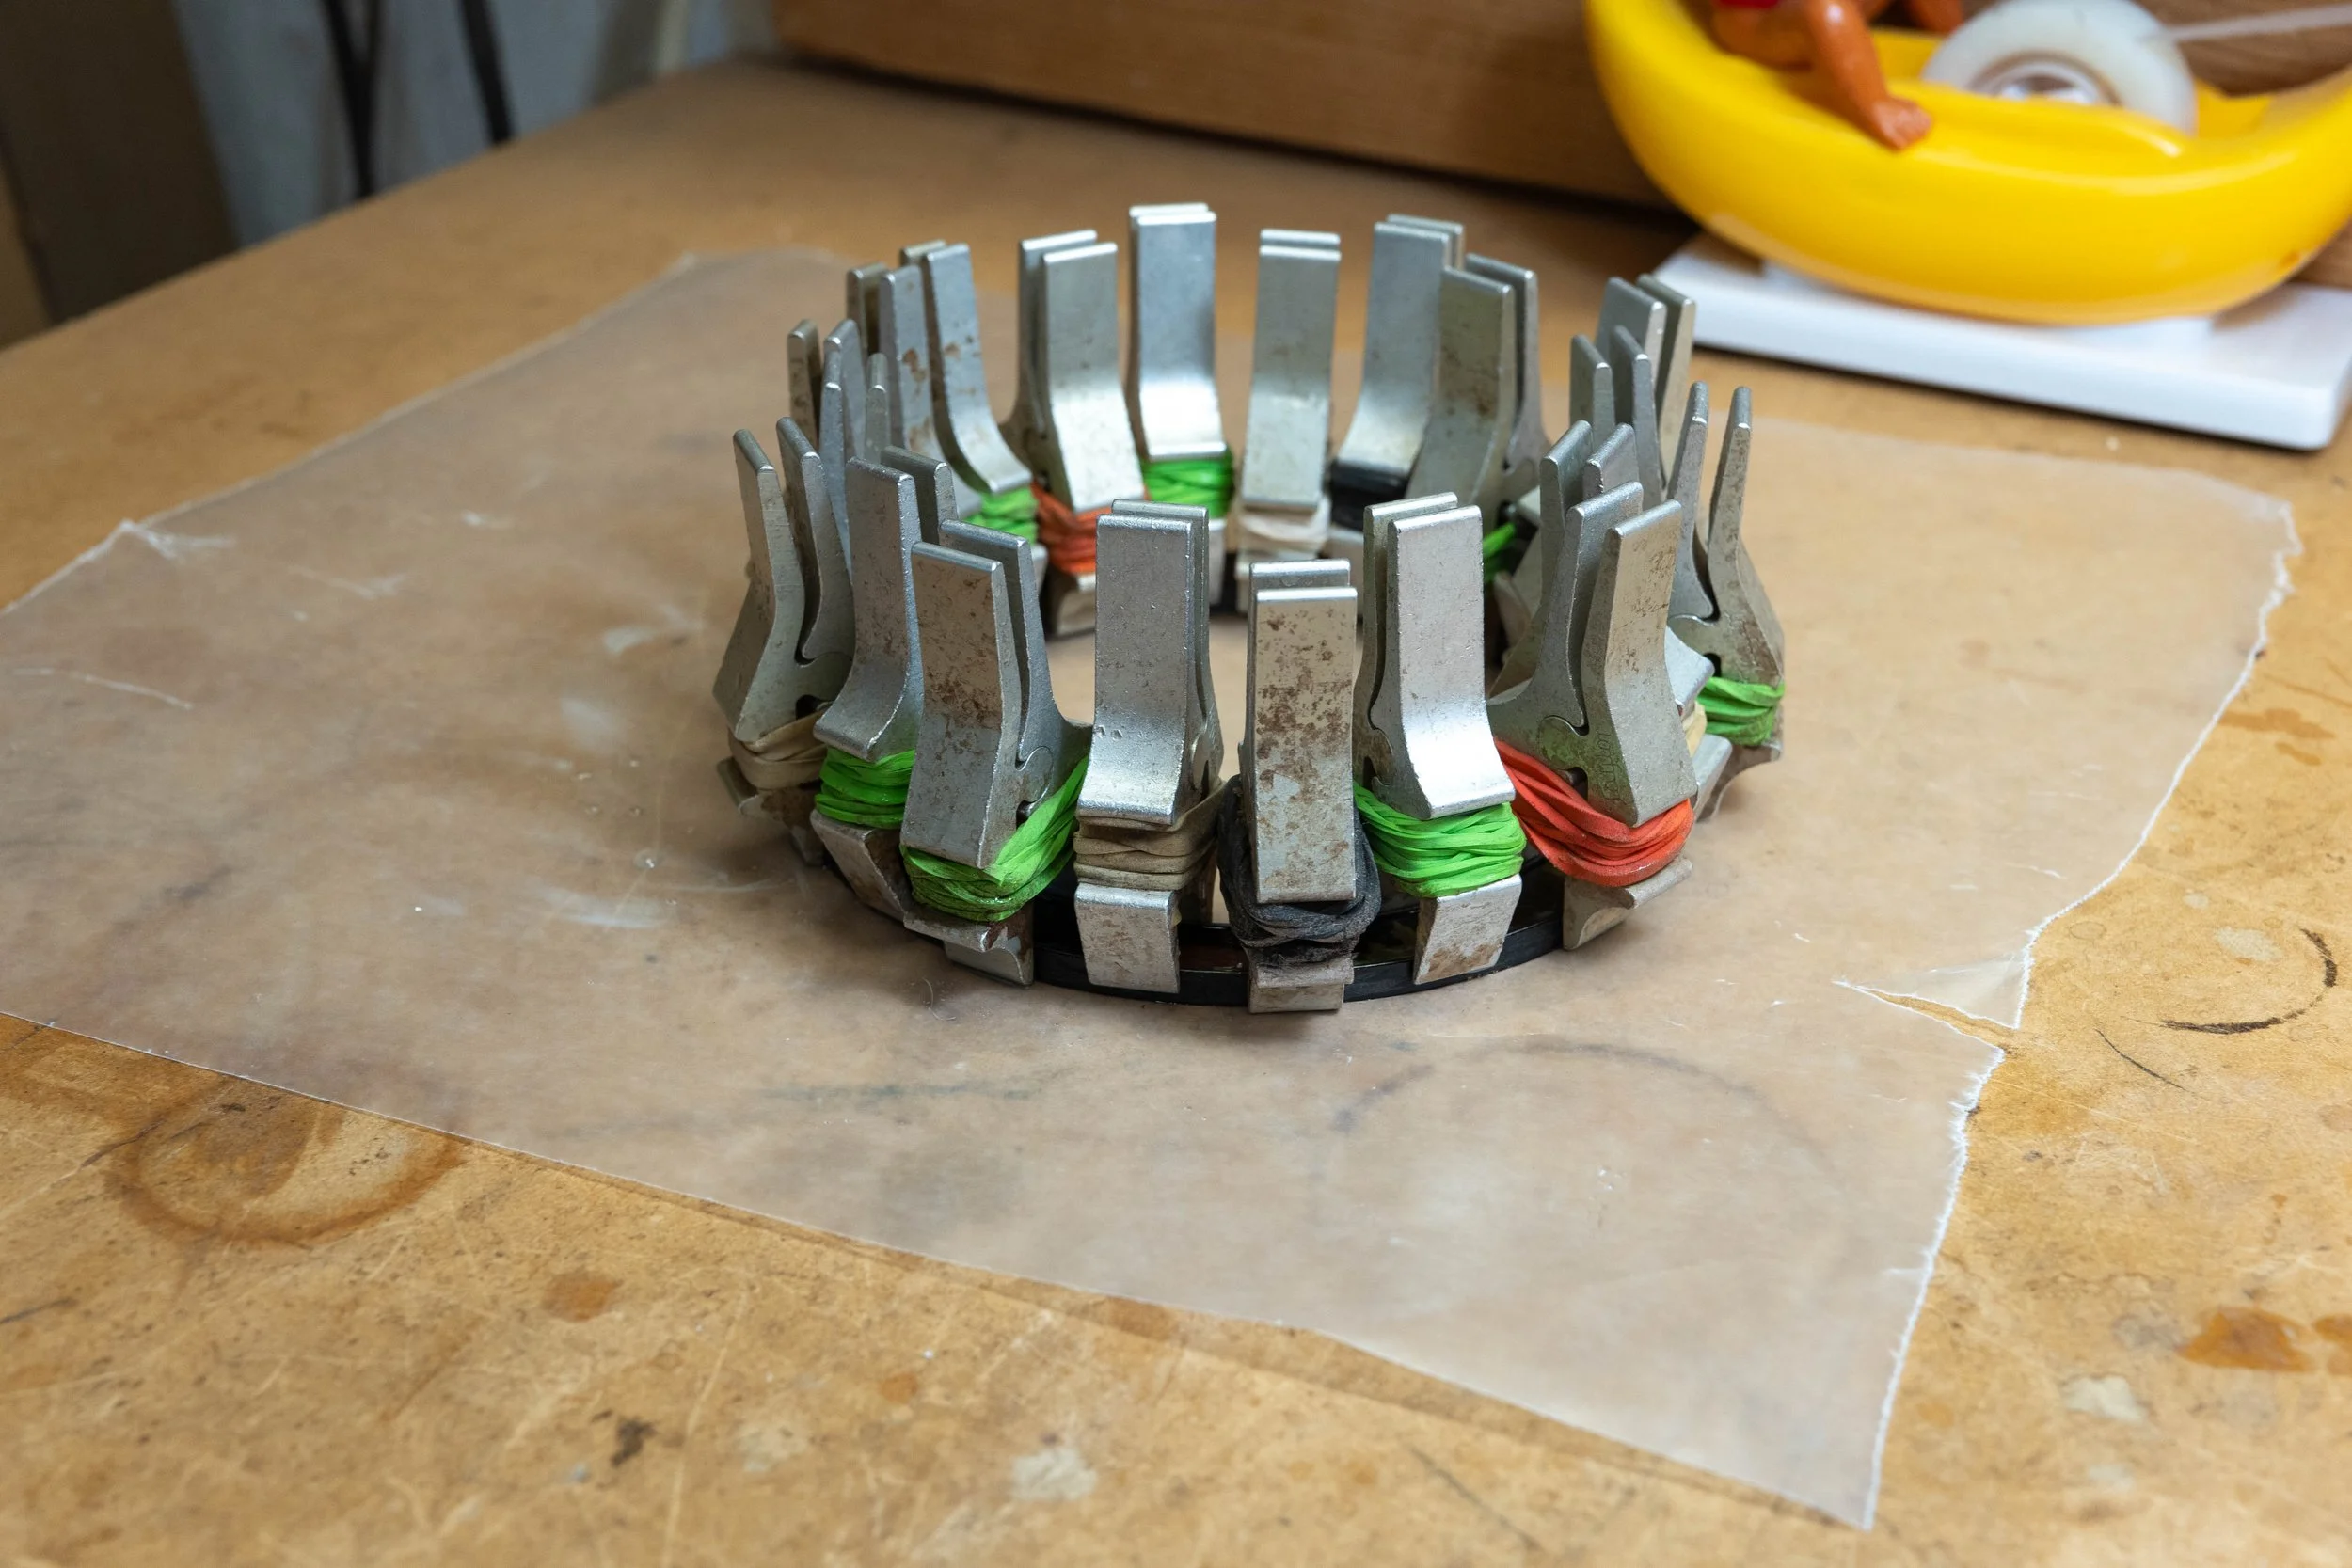
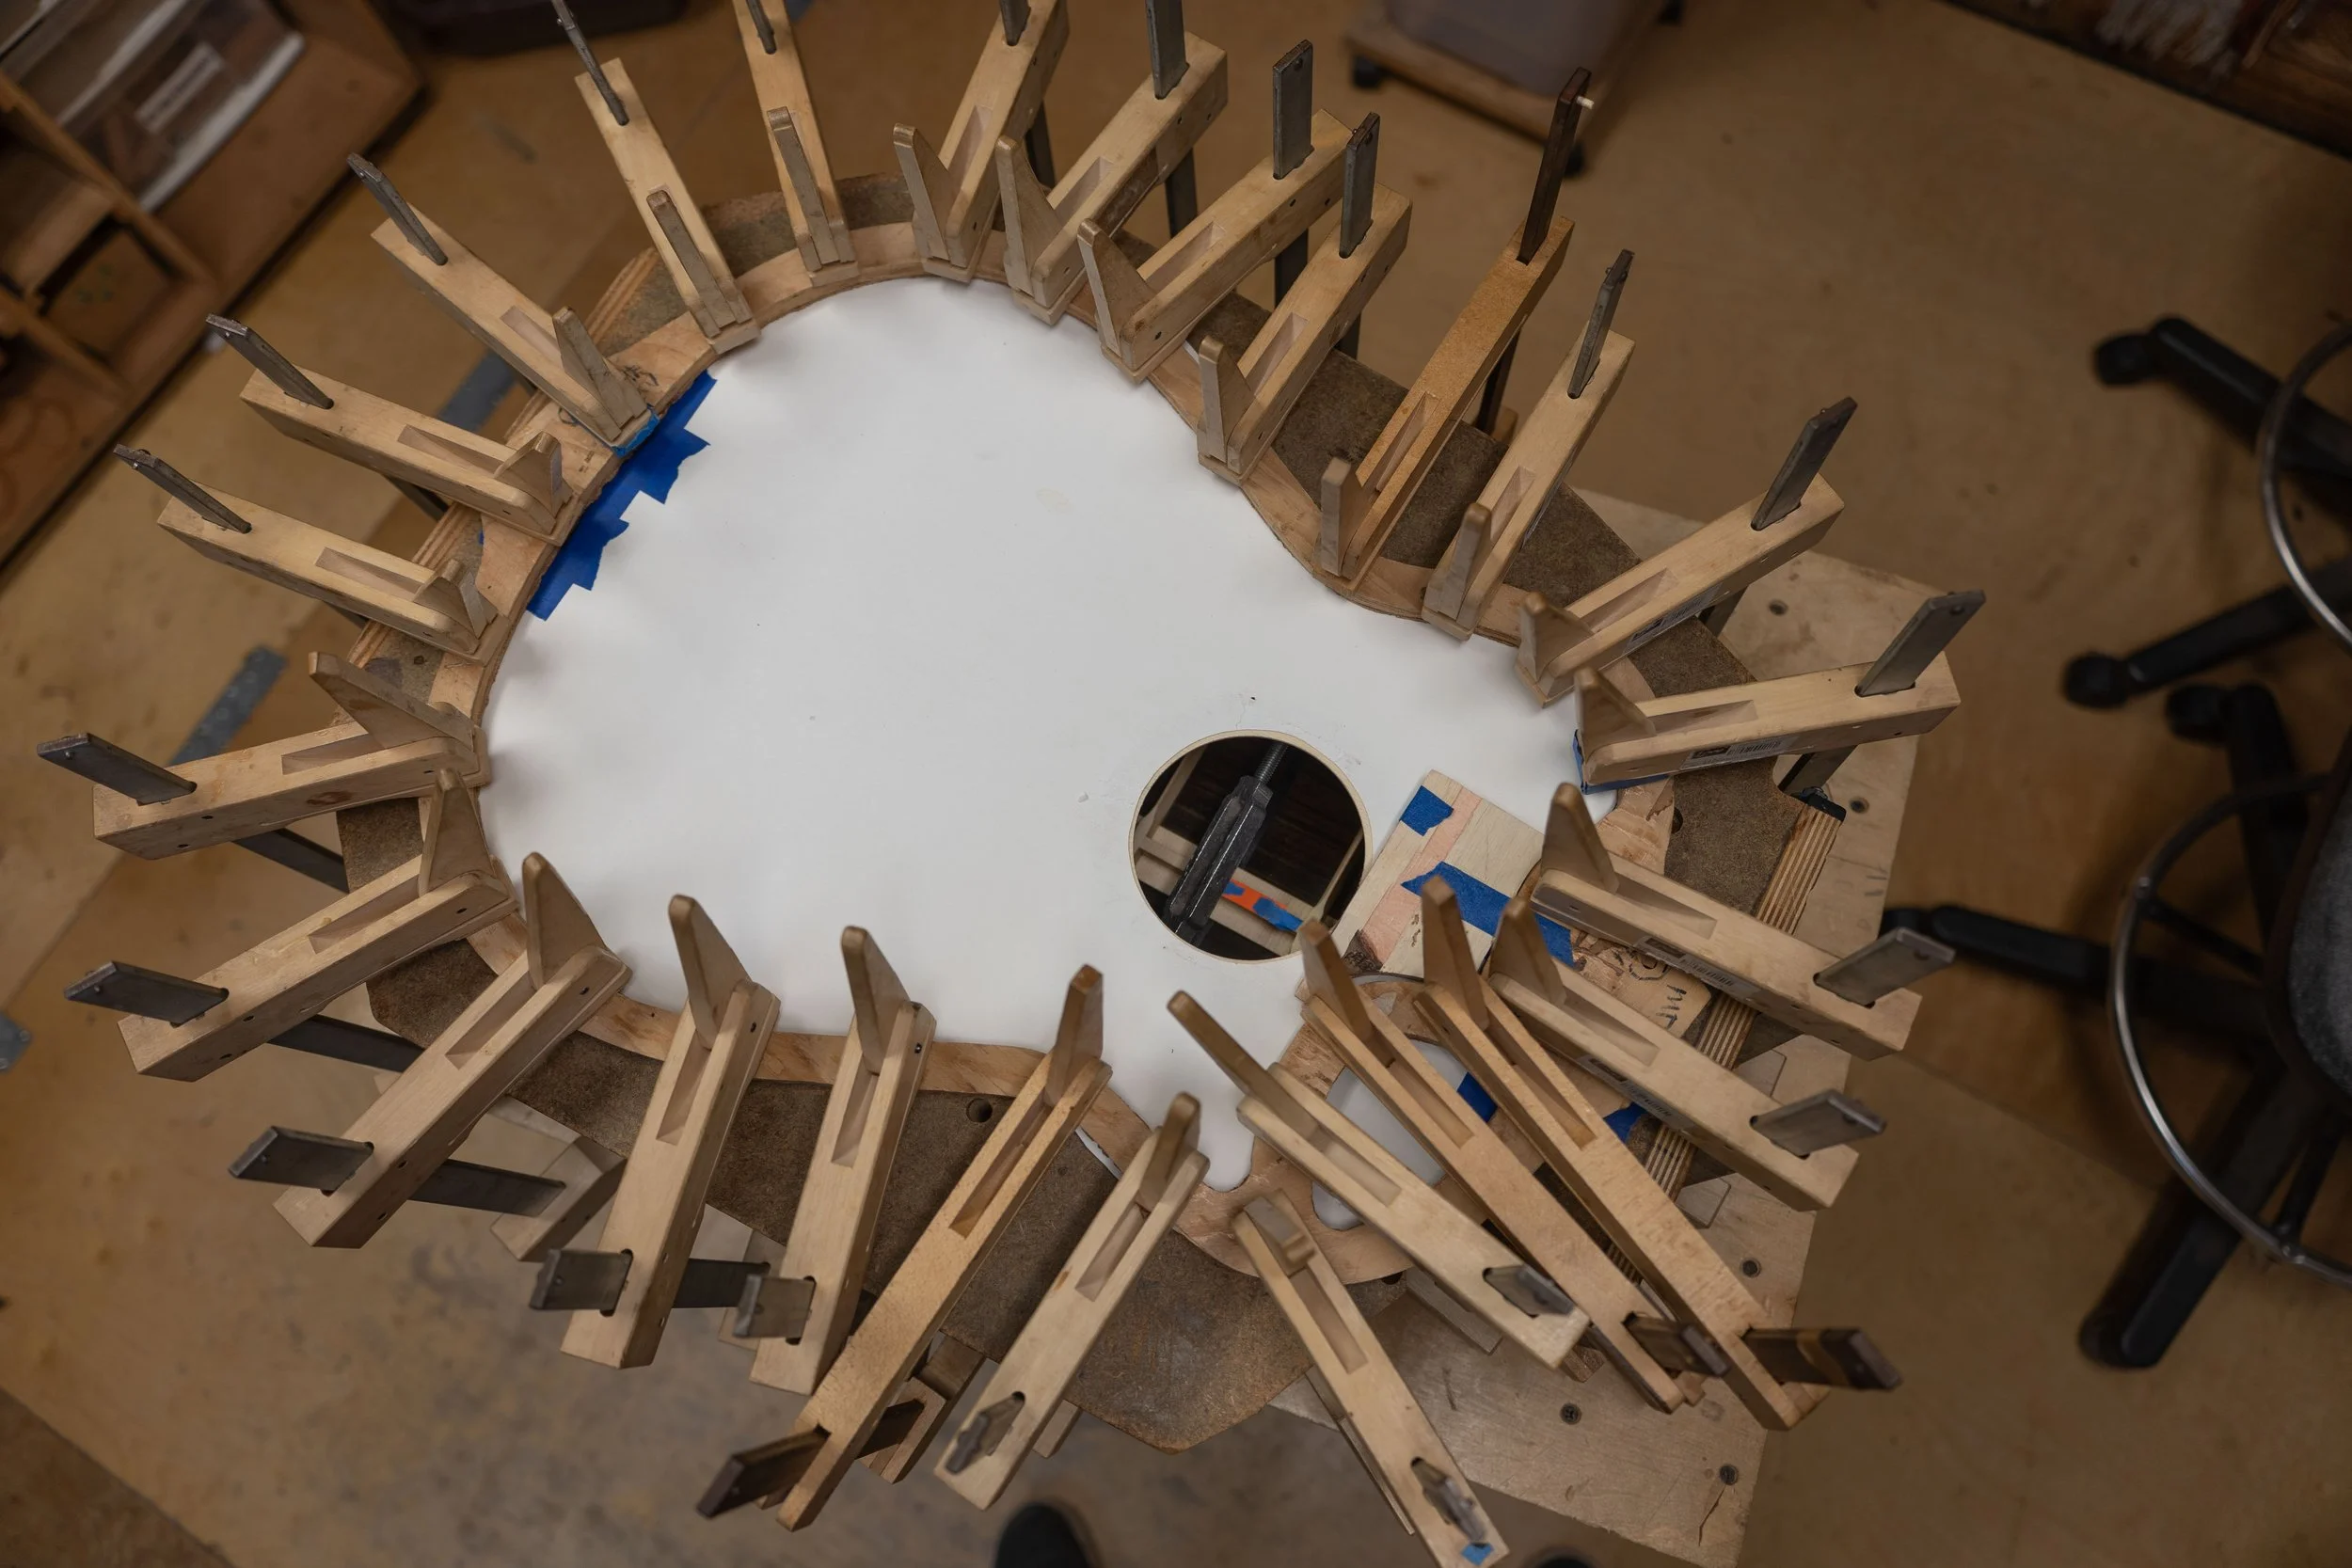
The sides are clamped in place in the mould.
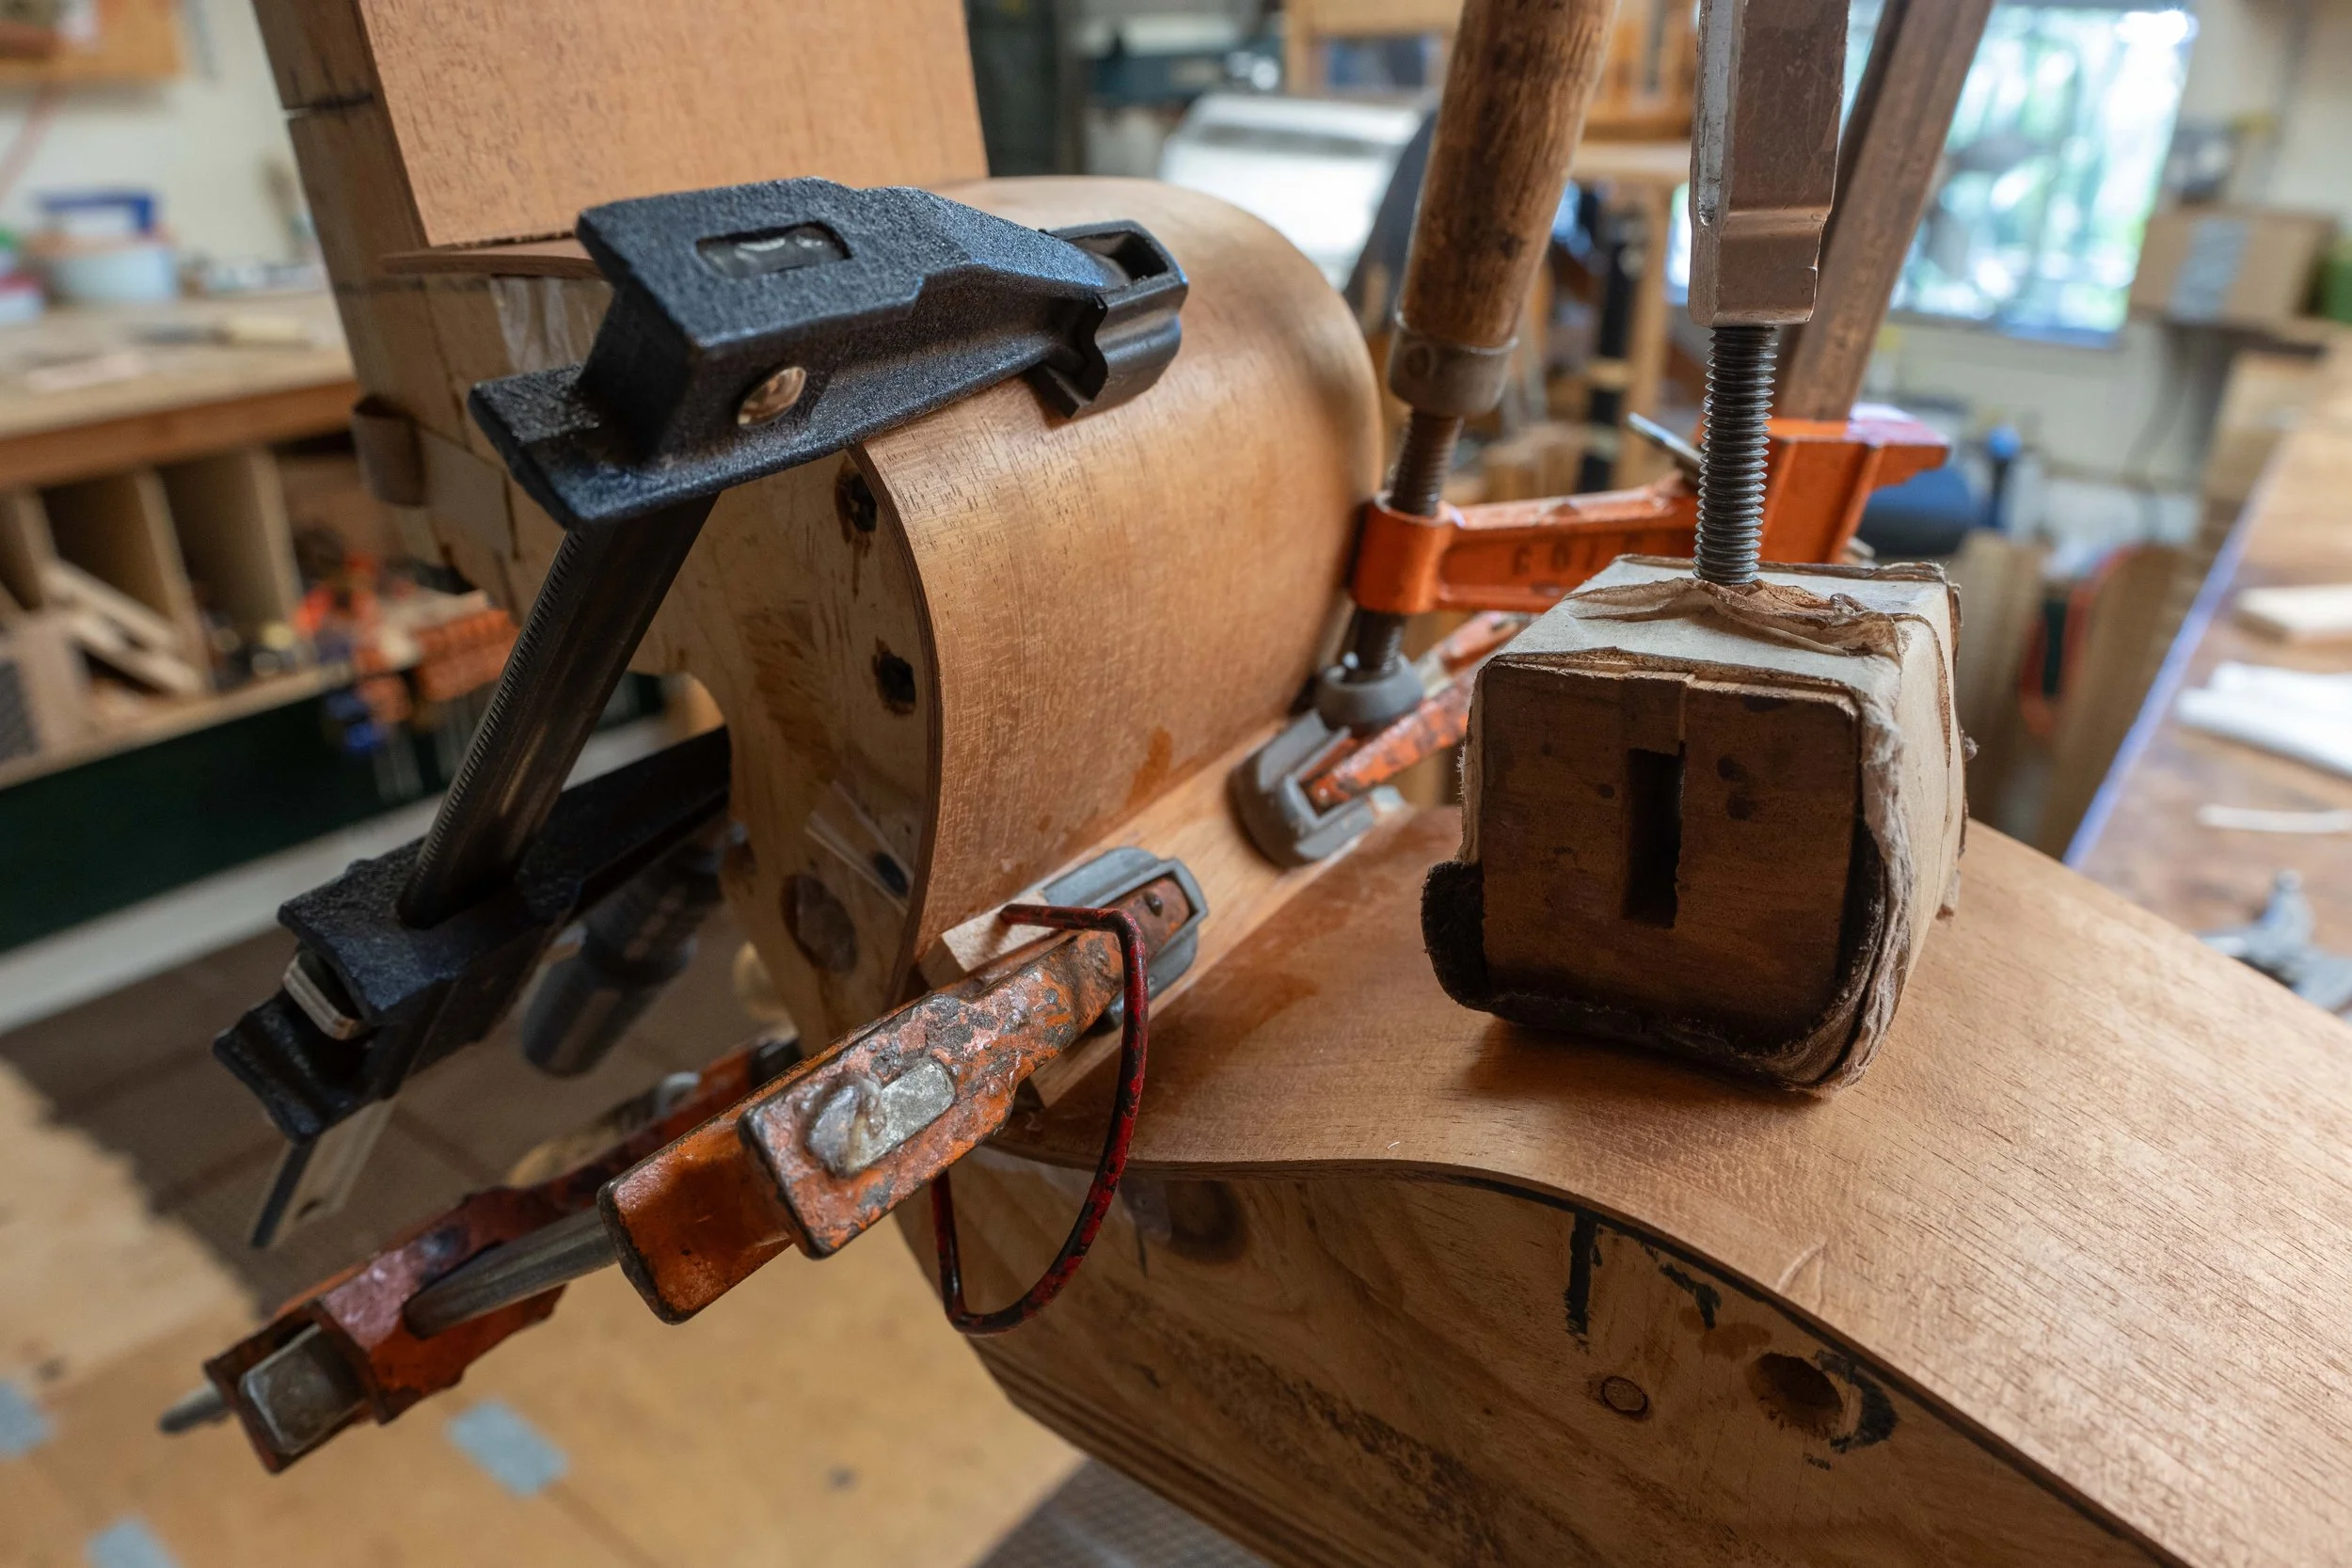
And then the blocks are glued in. Tail block, and corner block first.

And then the head block.

Sanding a radius onto the top of the rim.
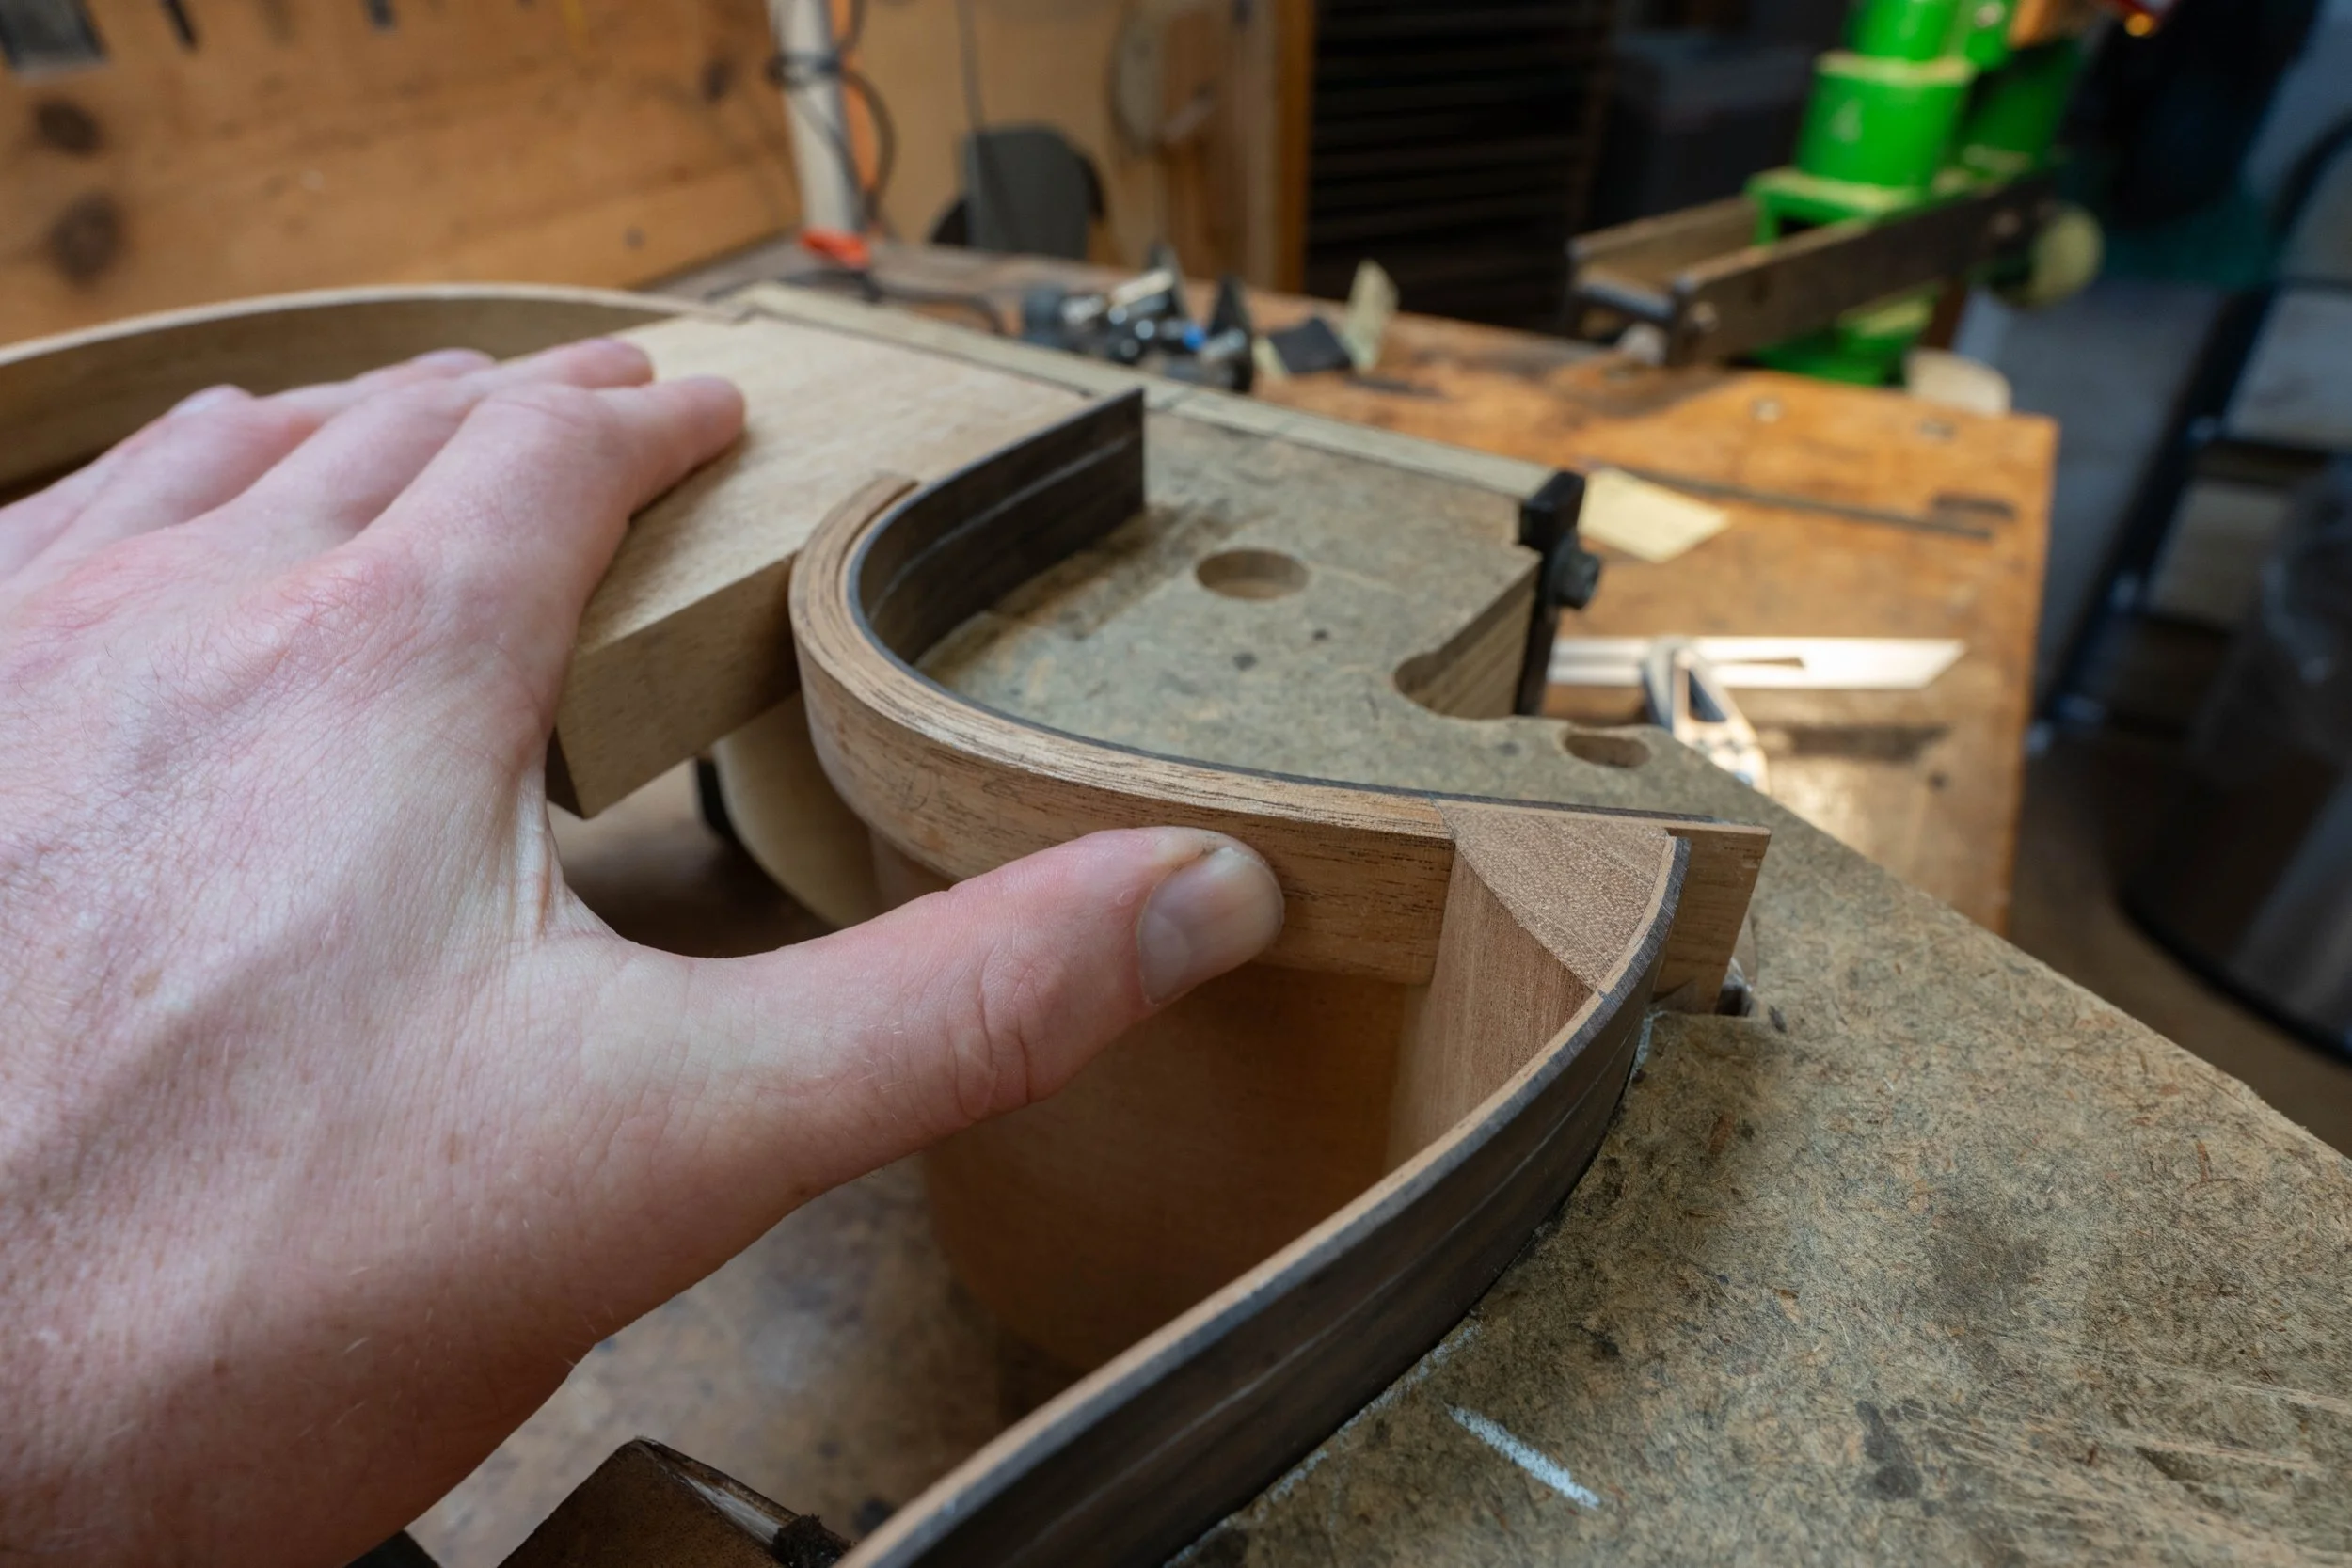
Fitting the linings in between the blocks.
Glueing the linings. The top linings are glued first, then the depth of the rim is trimmed to desired size before doing the back linings.
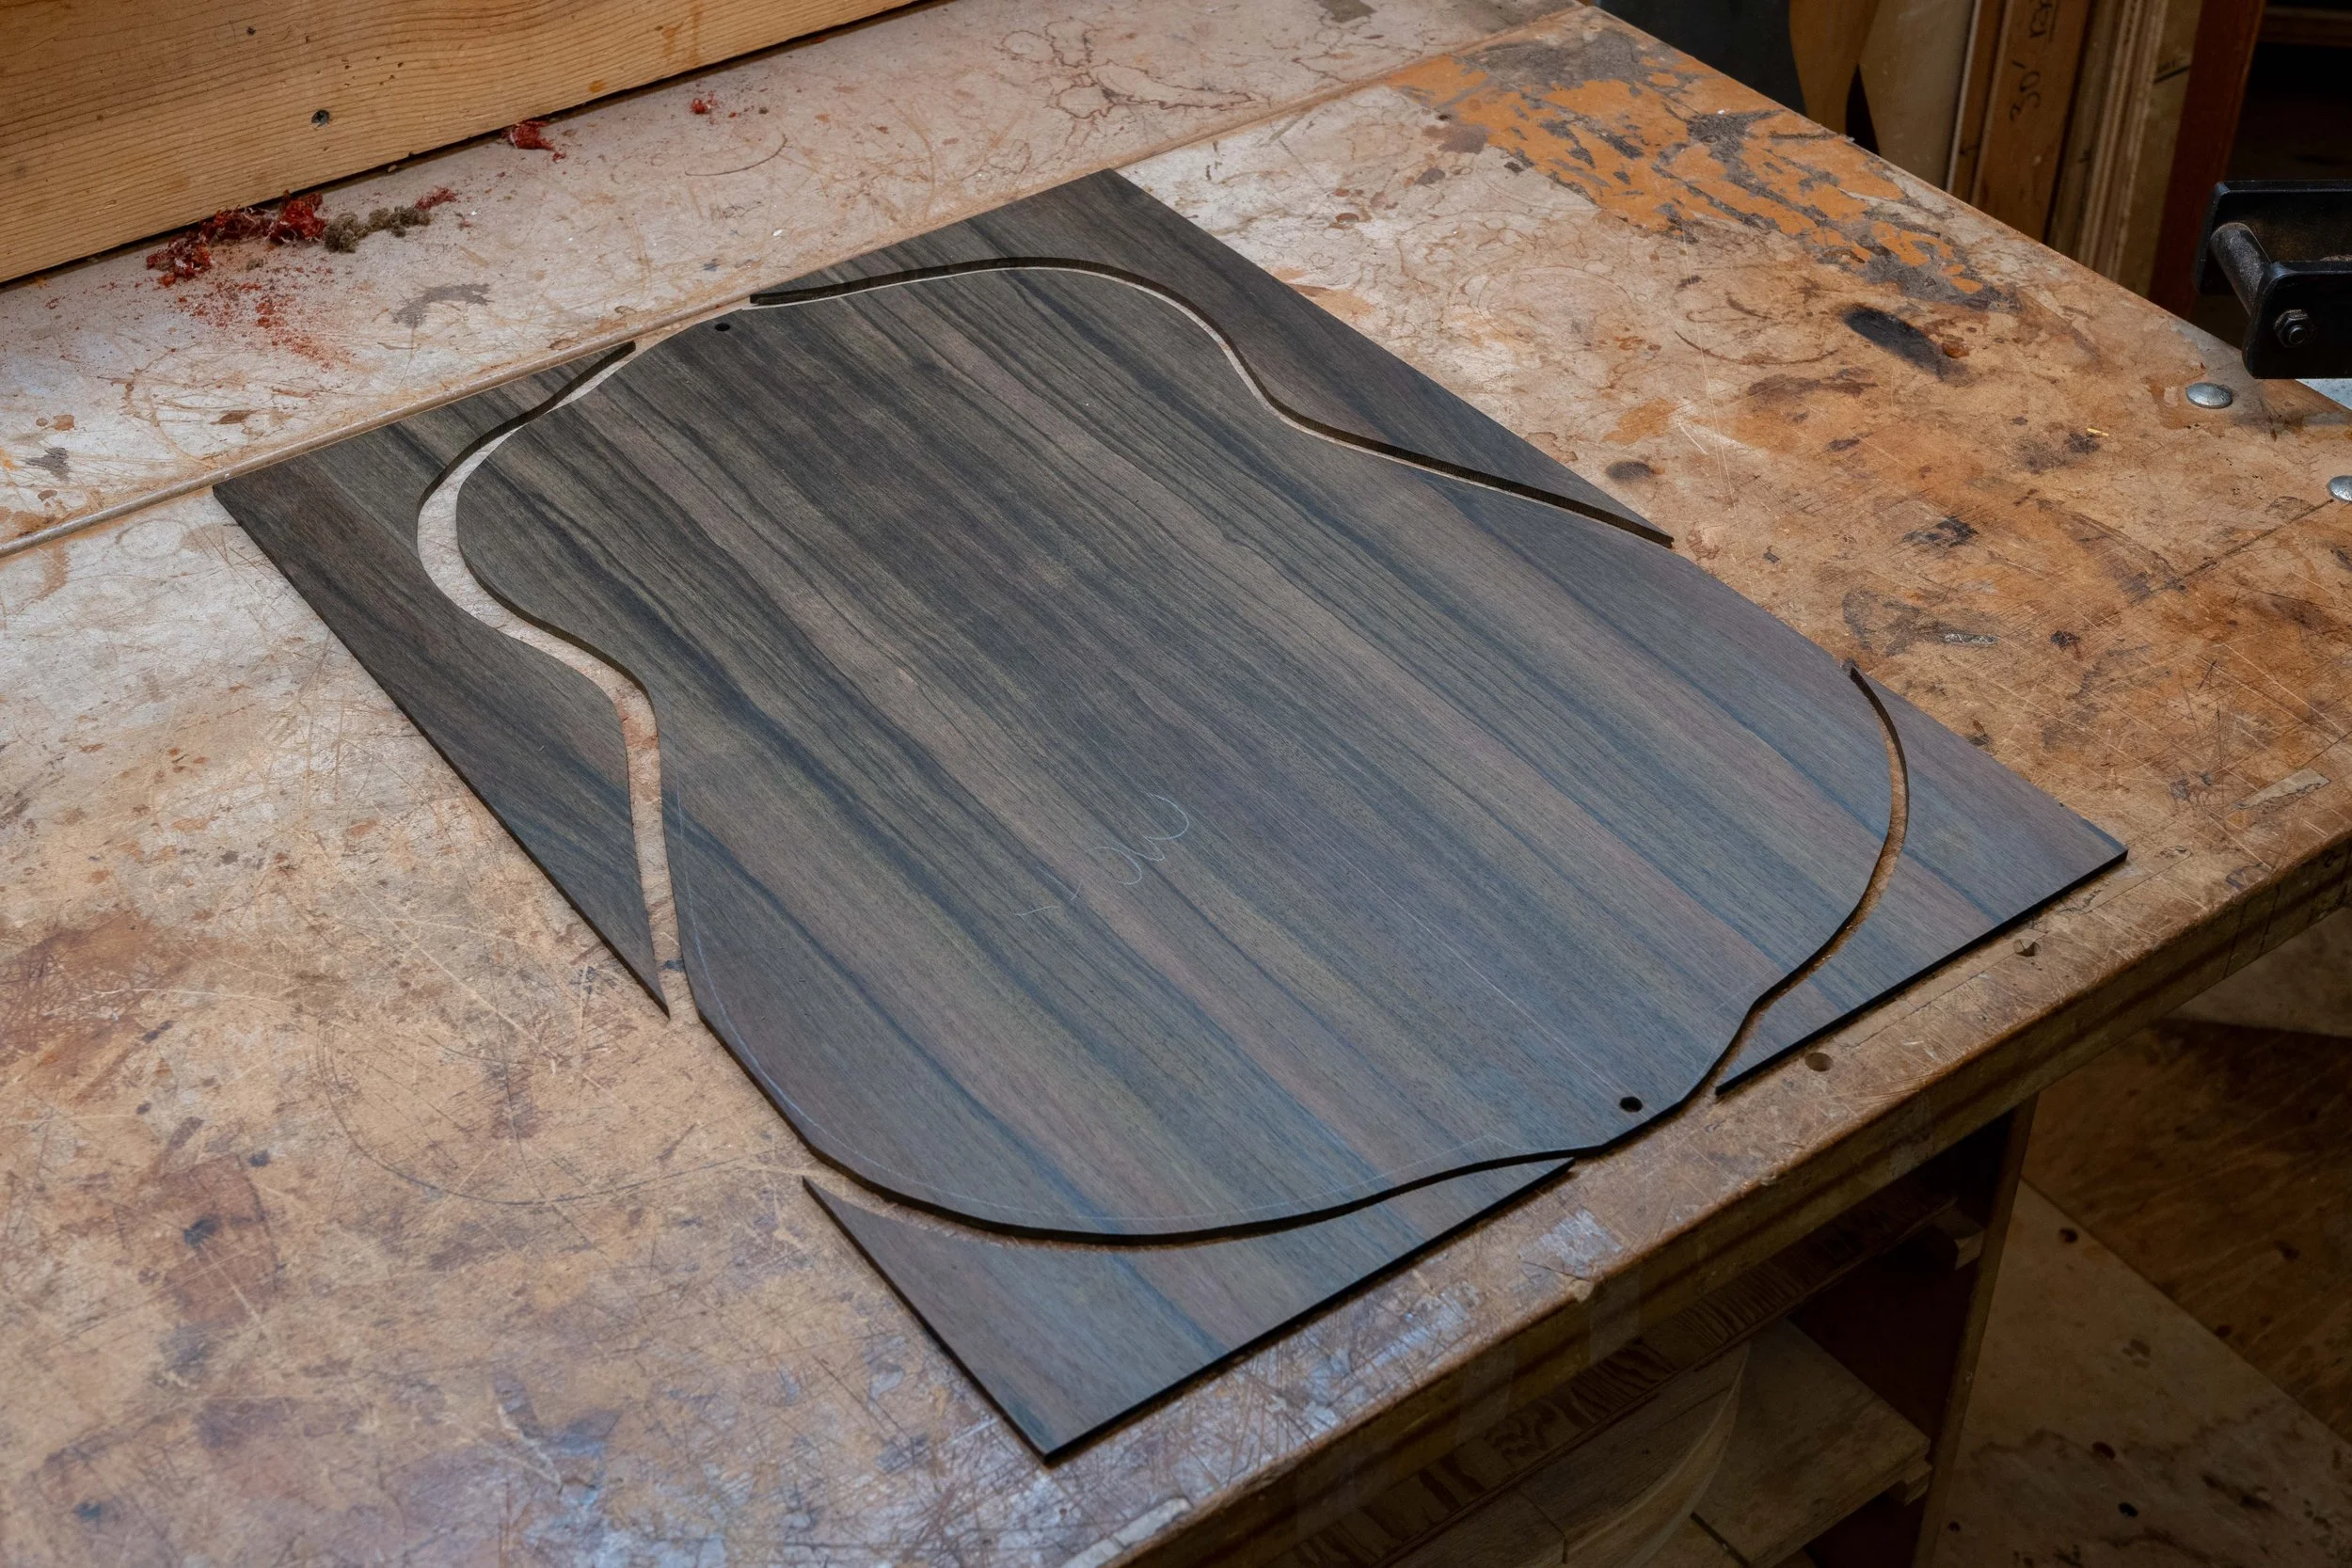
The back is joined, thicknesses, and roughly cut out.
Then the centerstrip is glued.
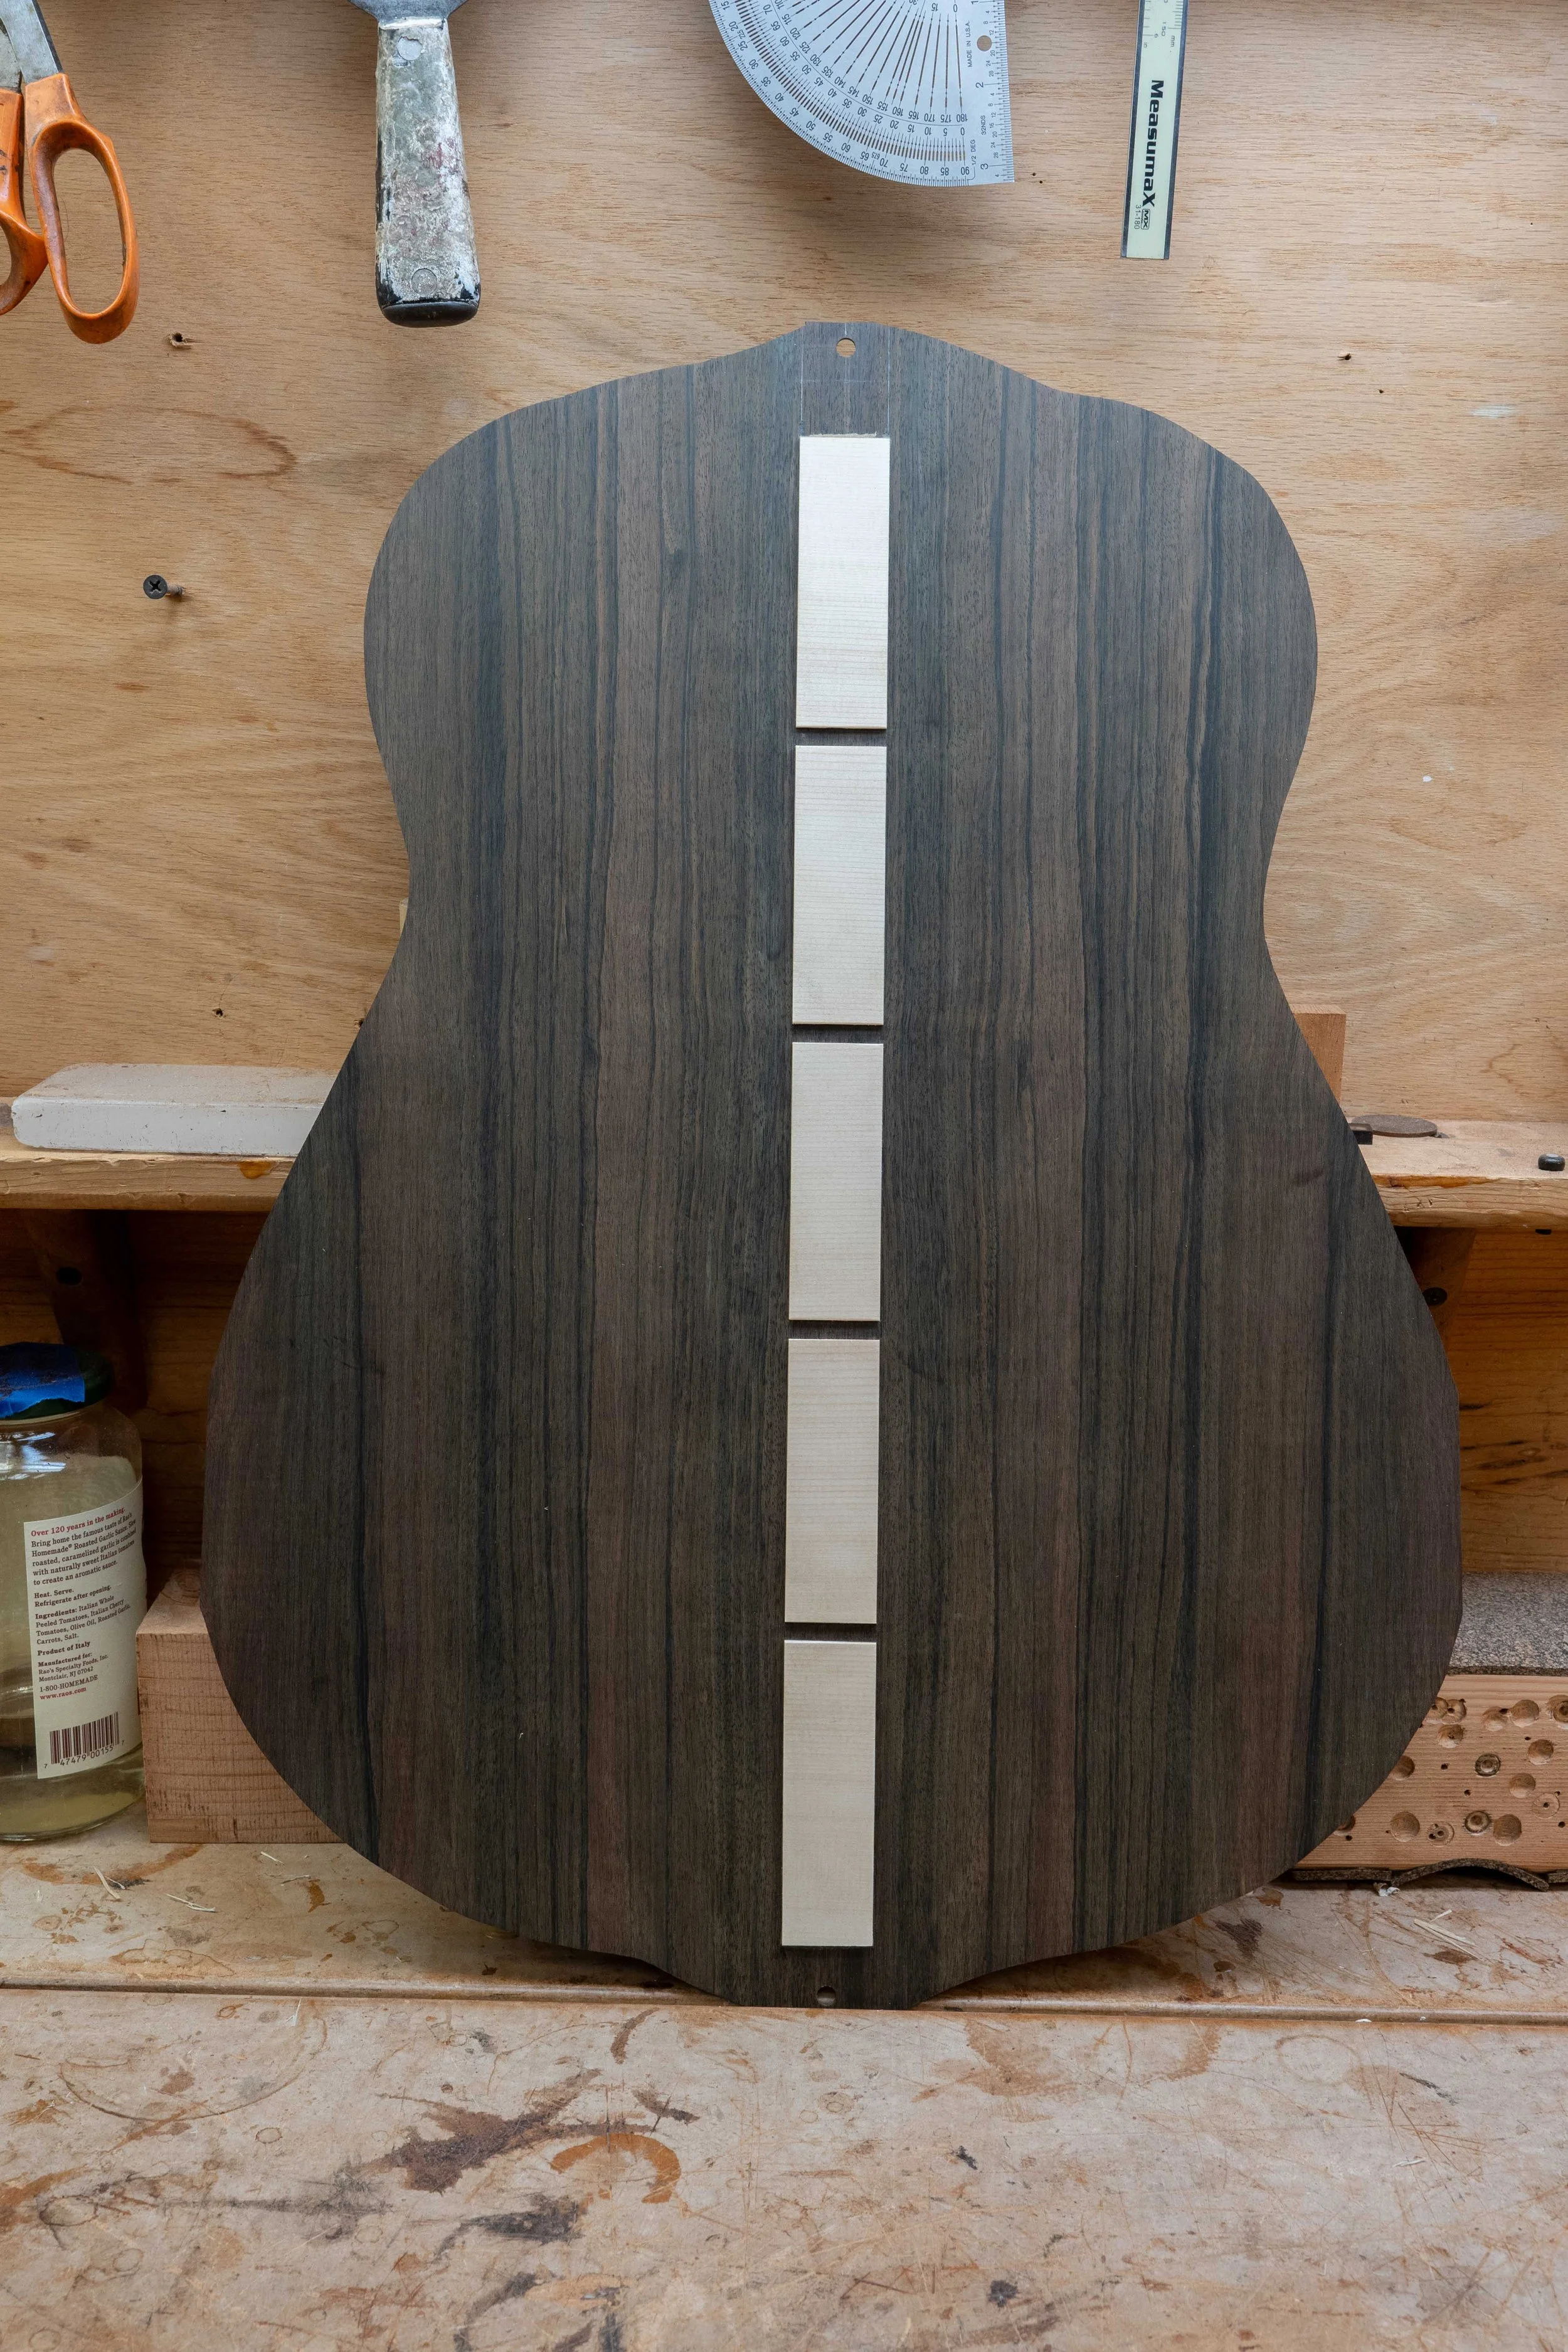
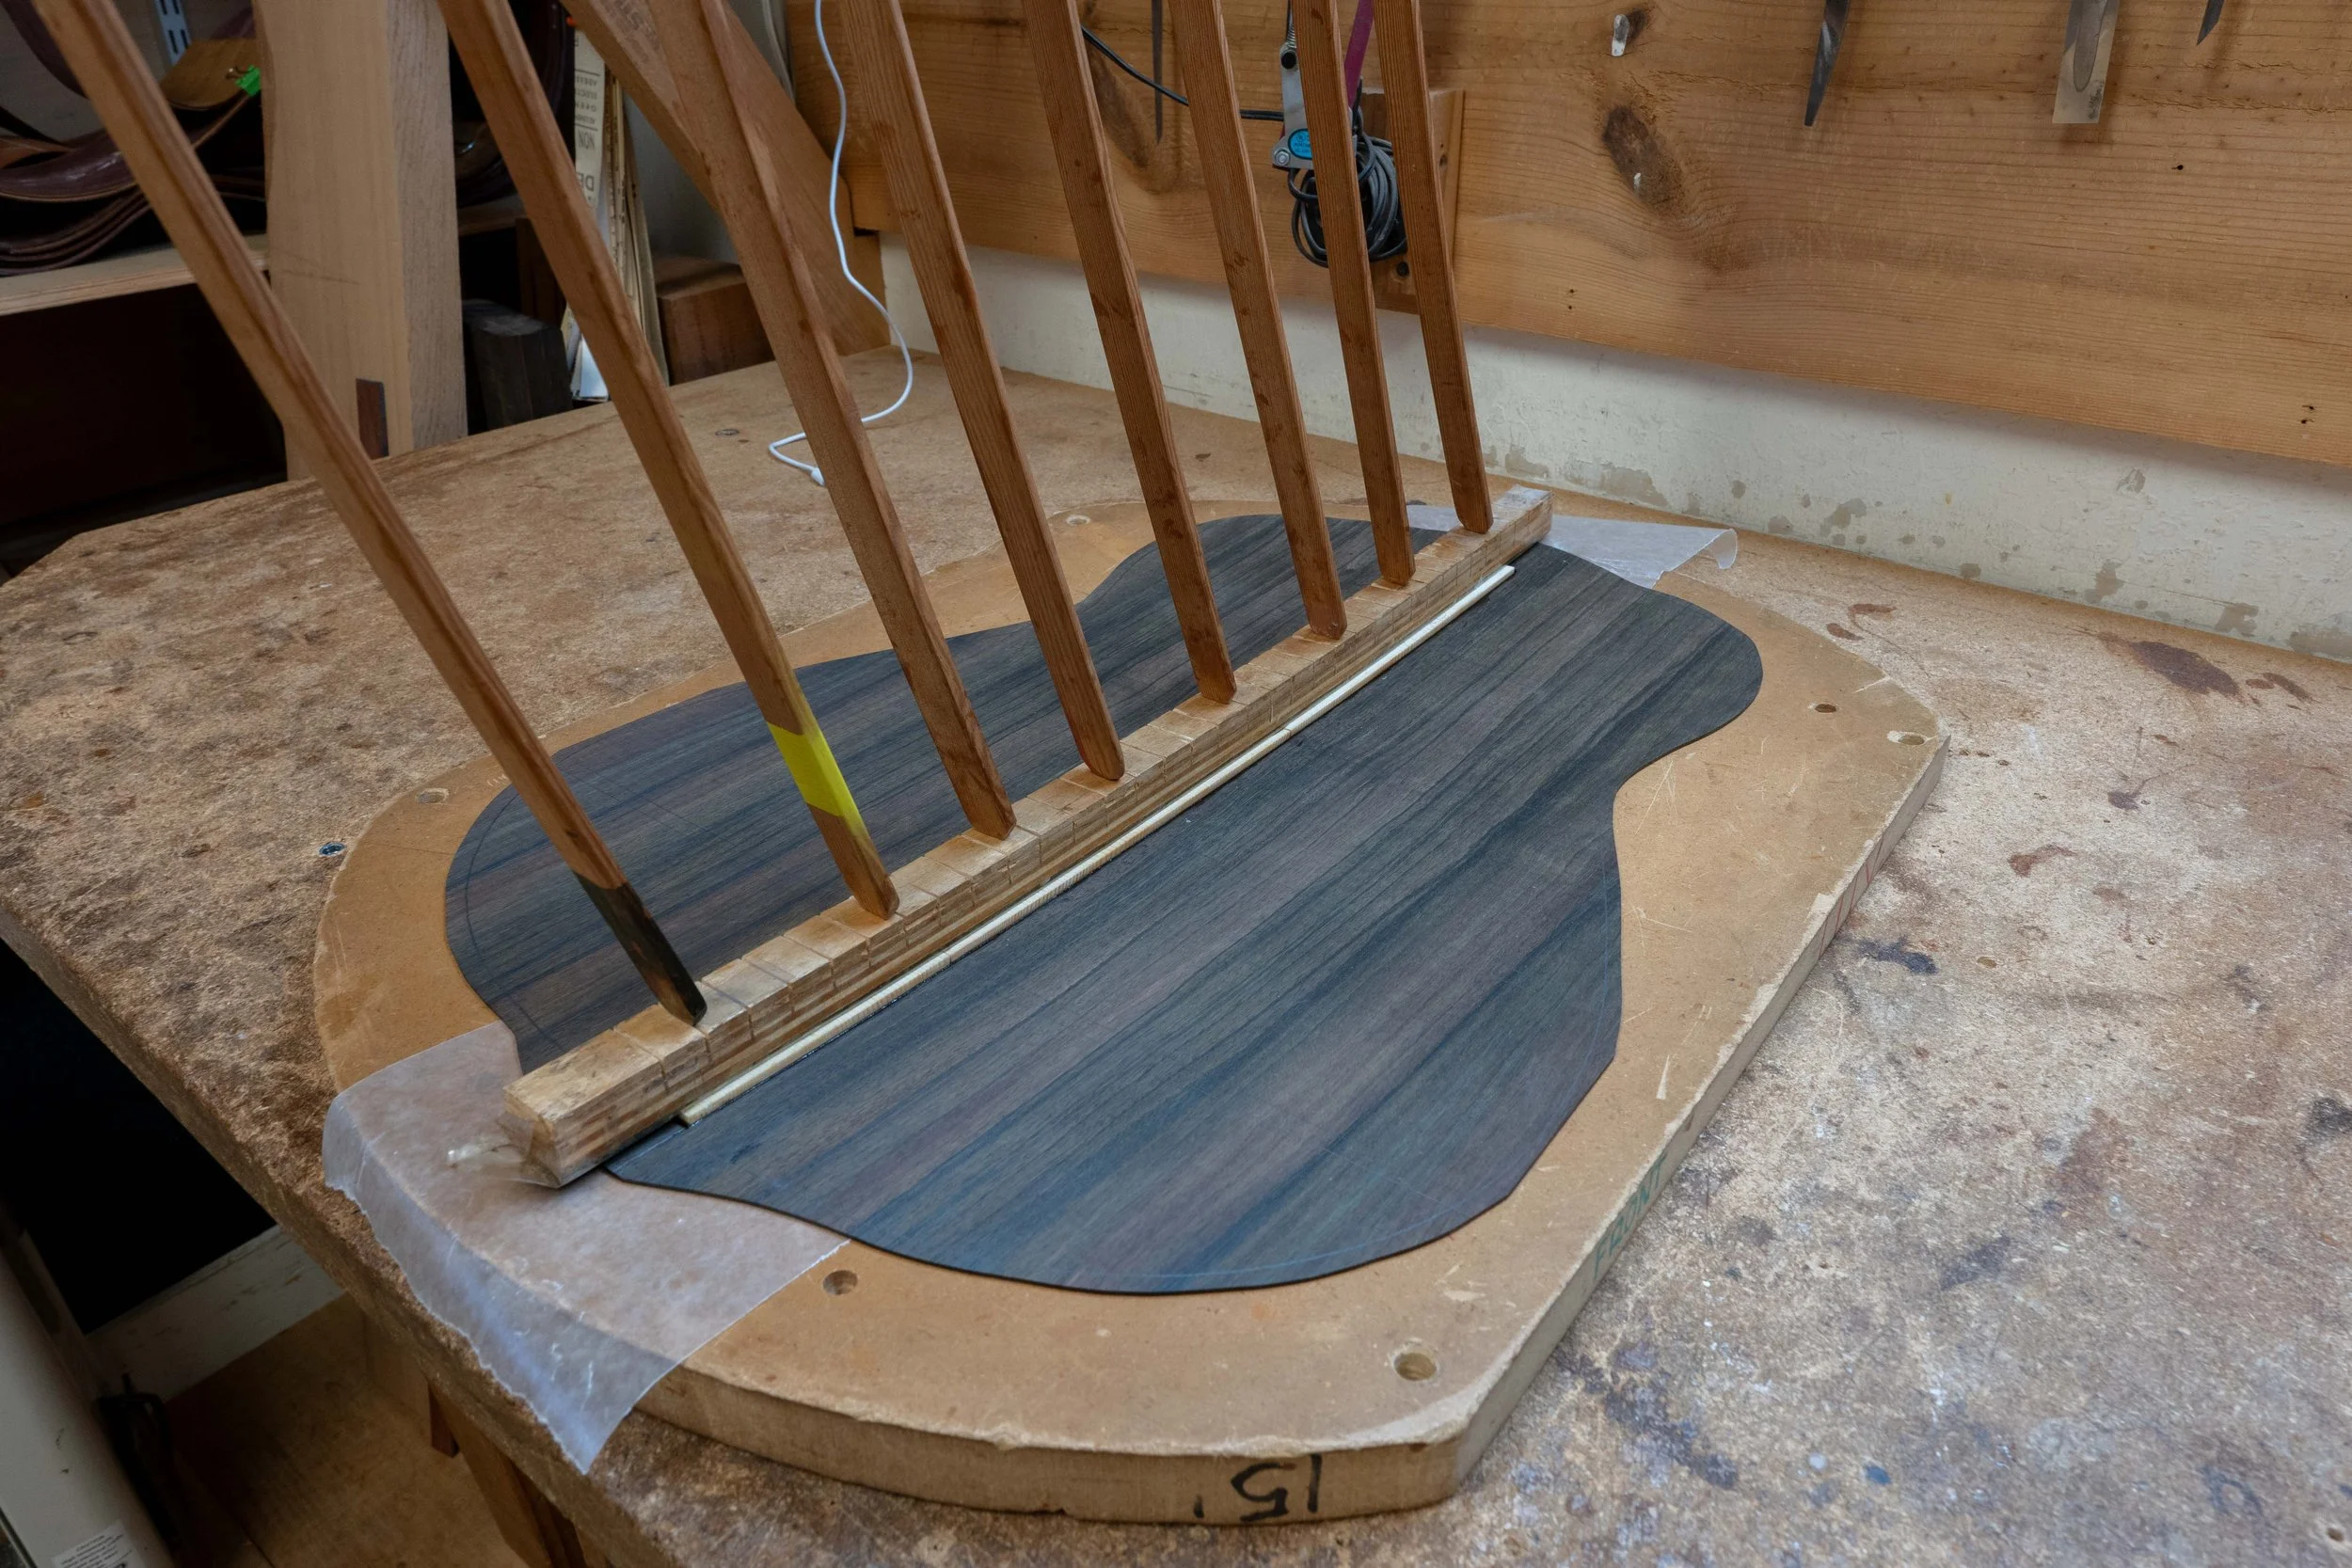
Notches are cut for the back braces.
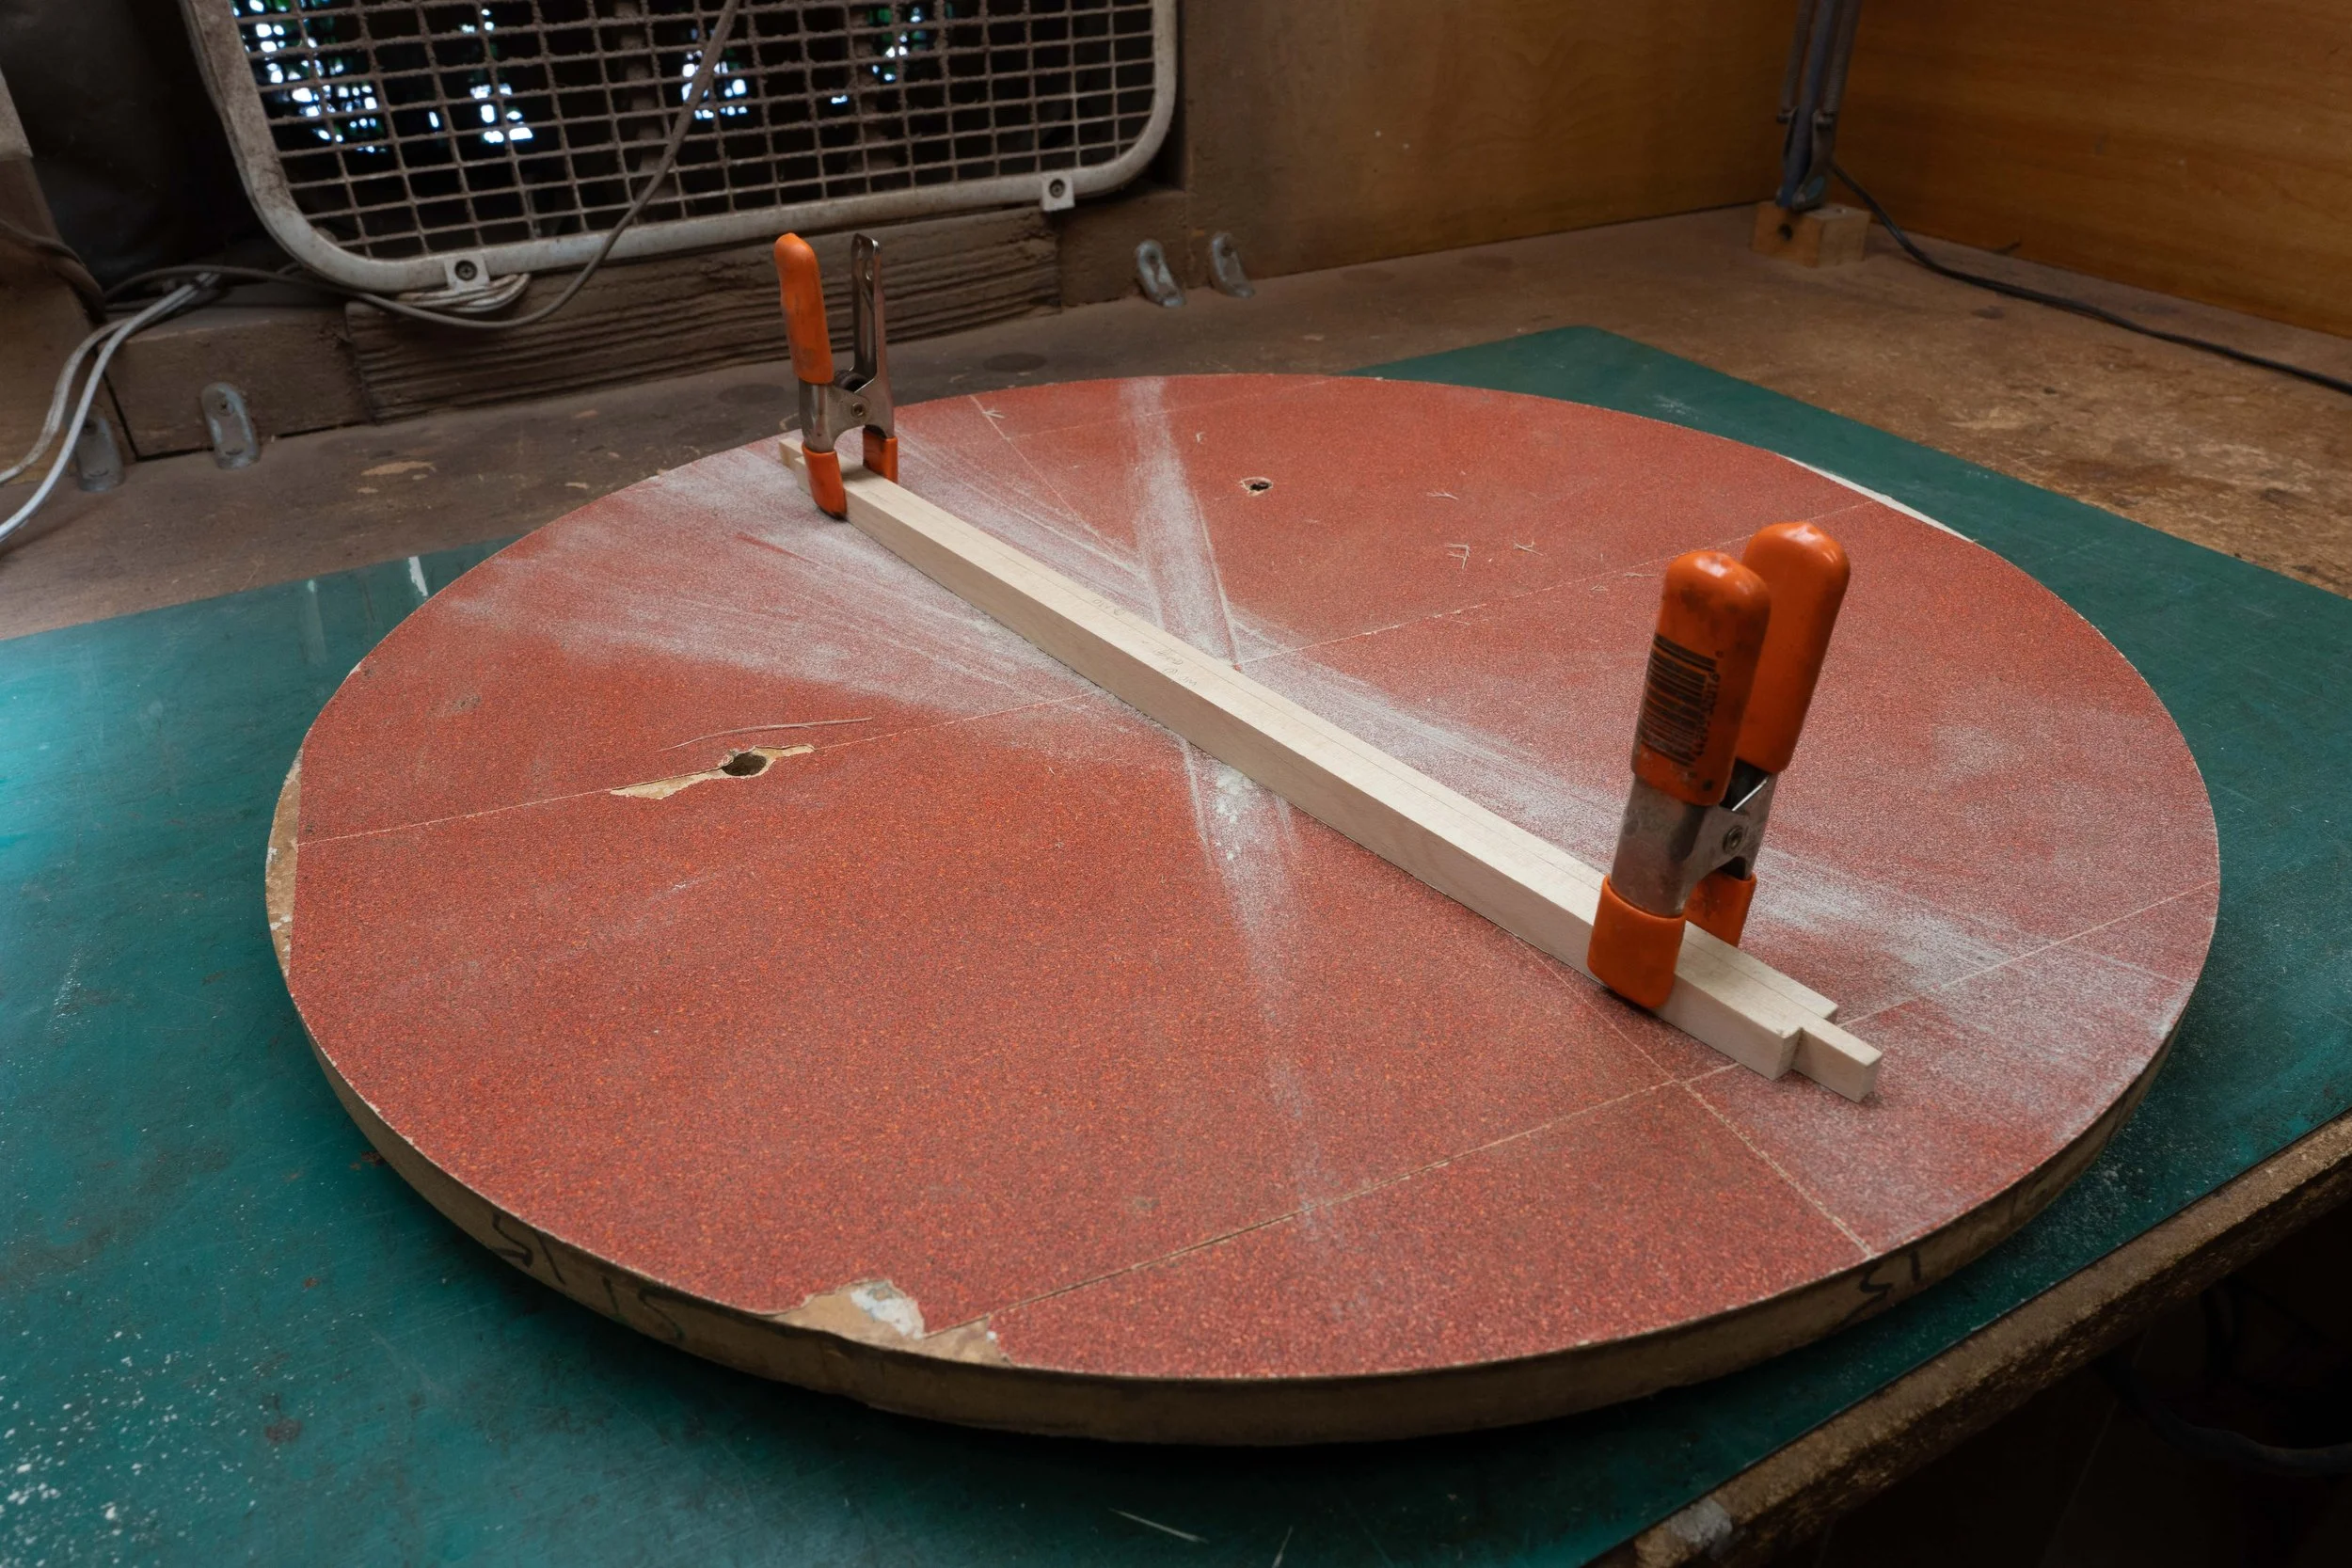
A radius is sanded onto the braces to match the radius of the back.
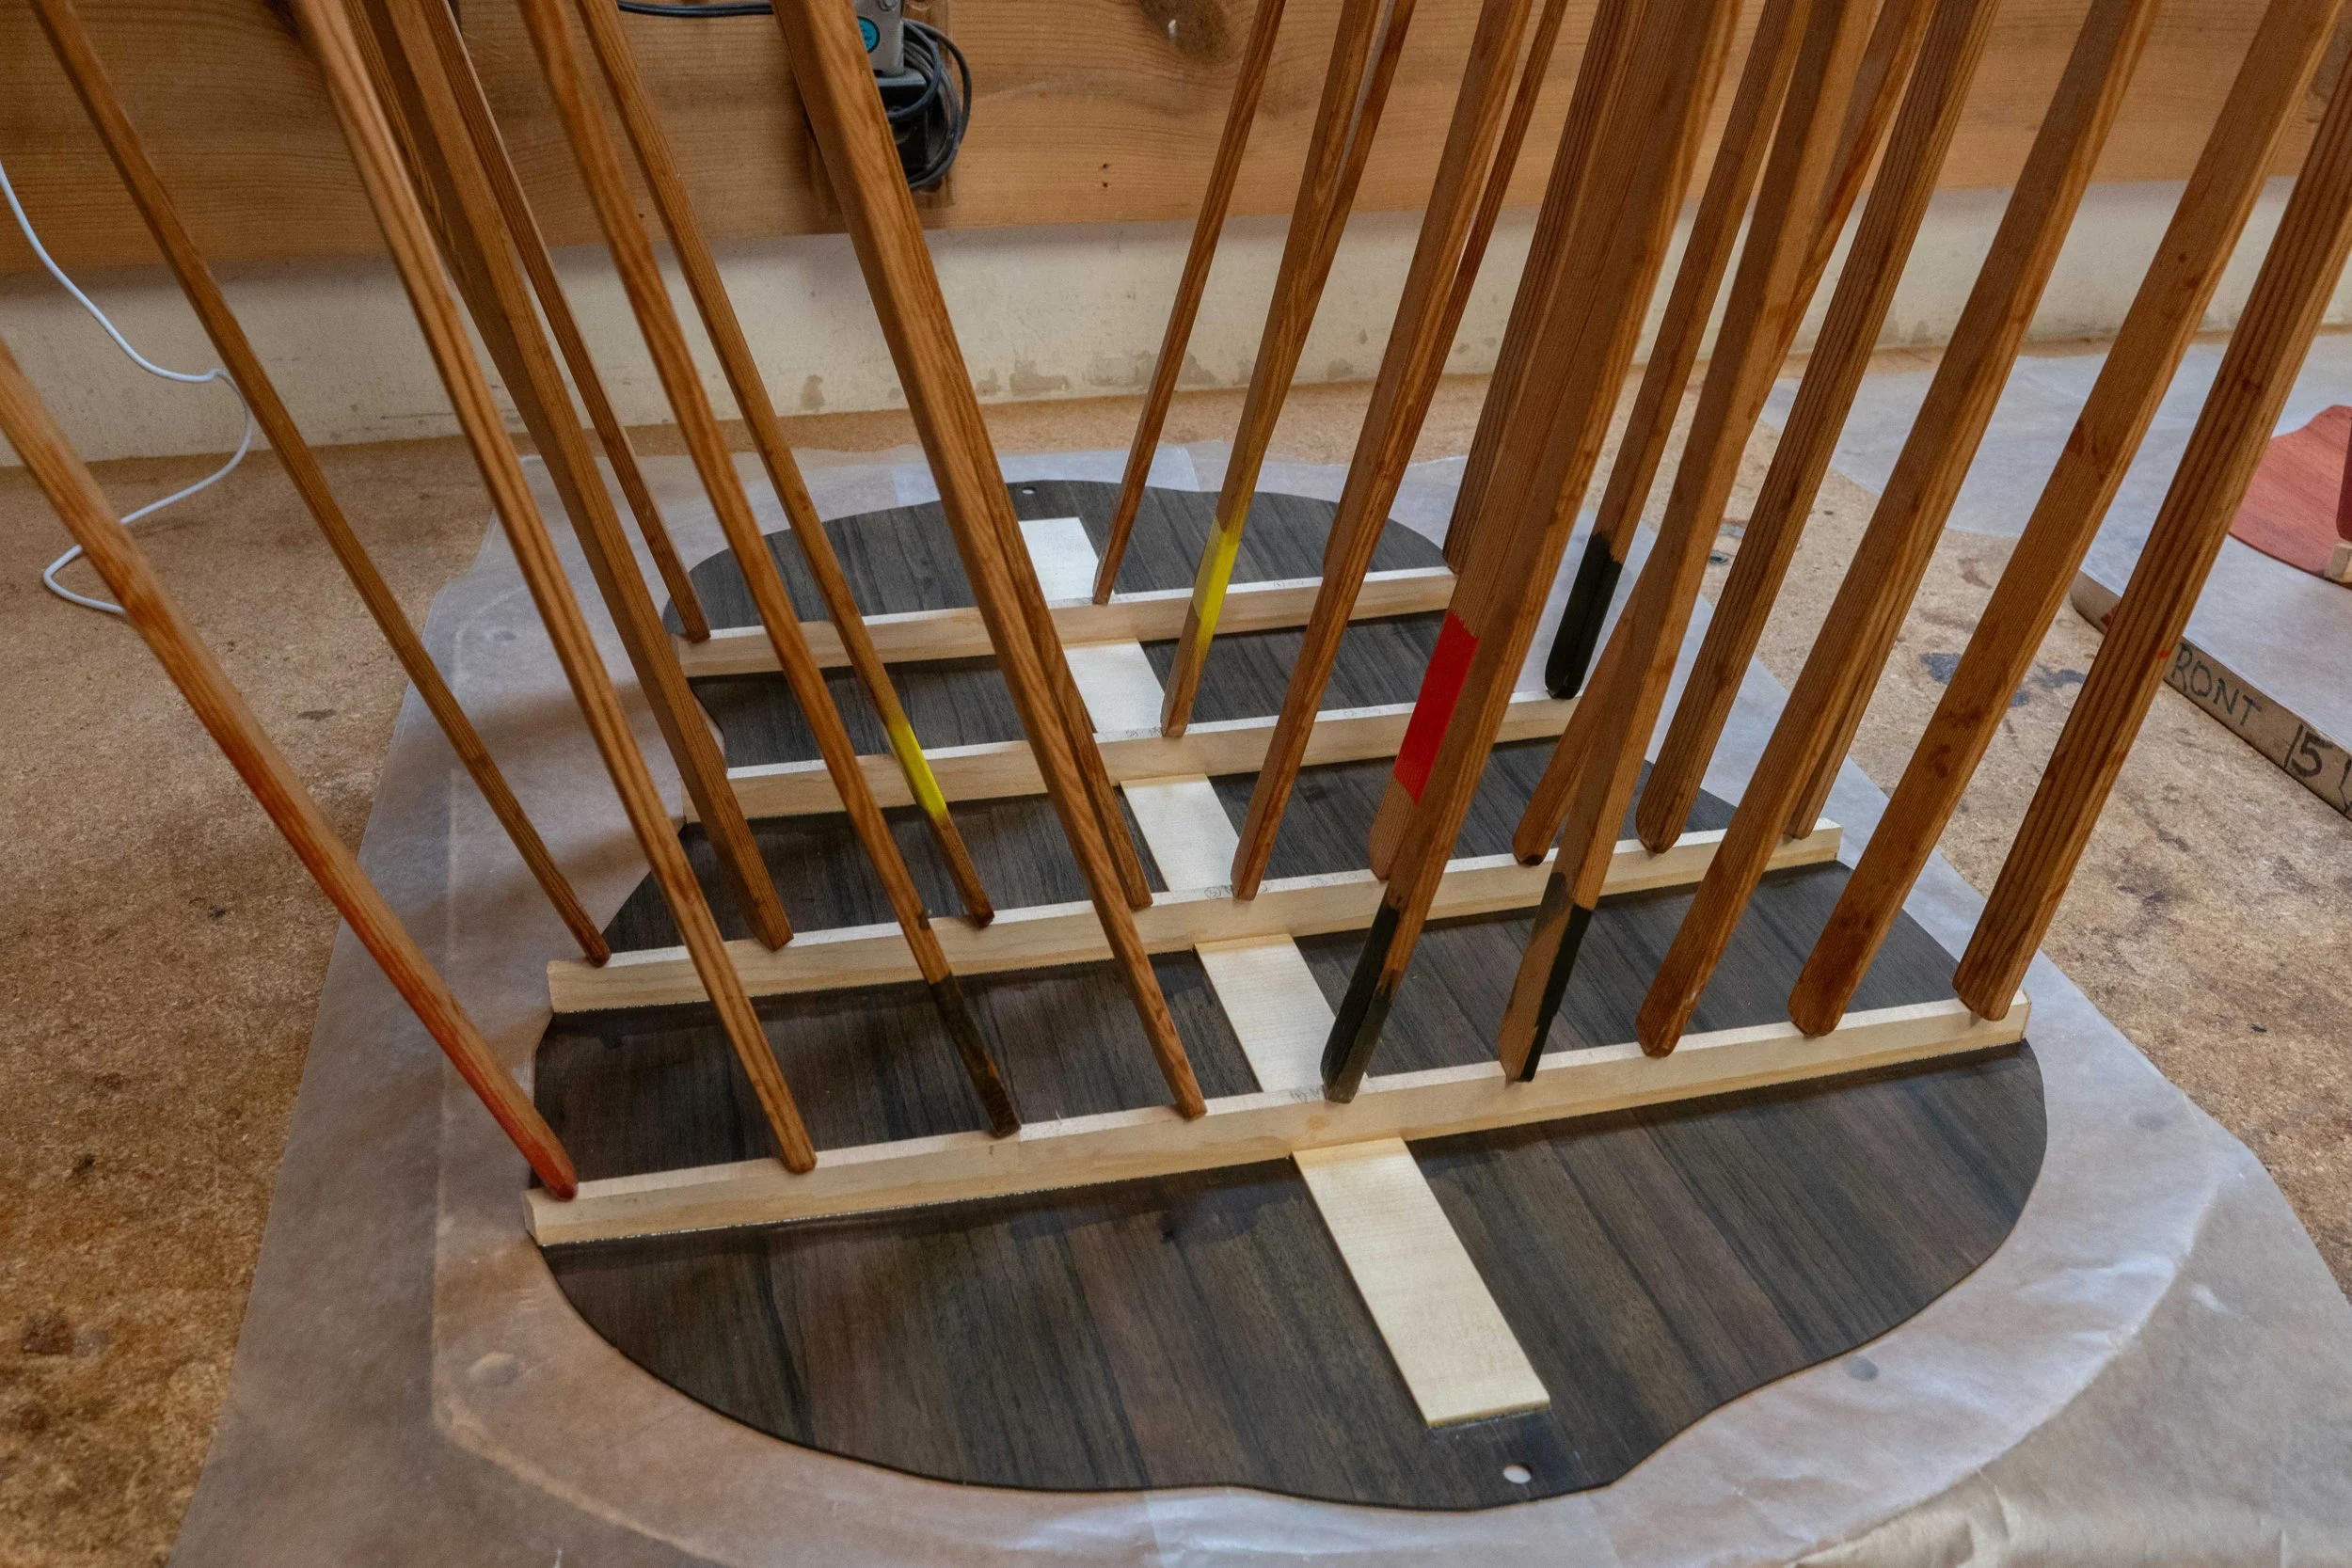
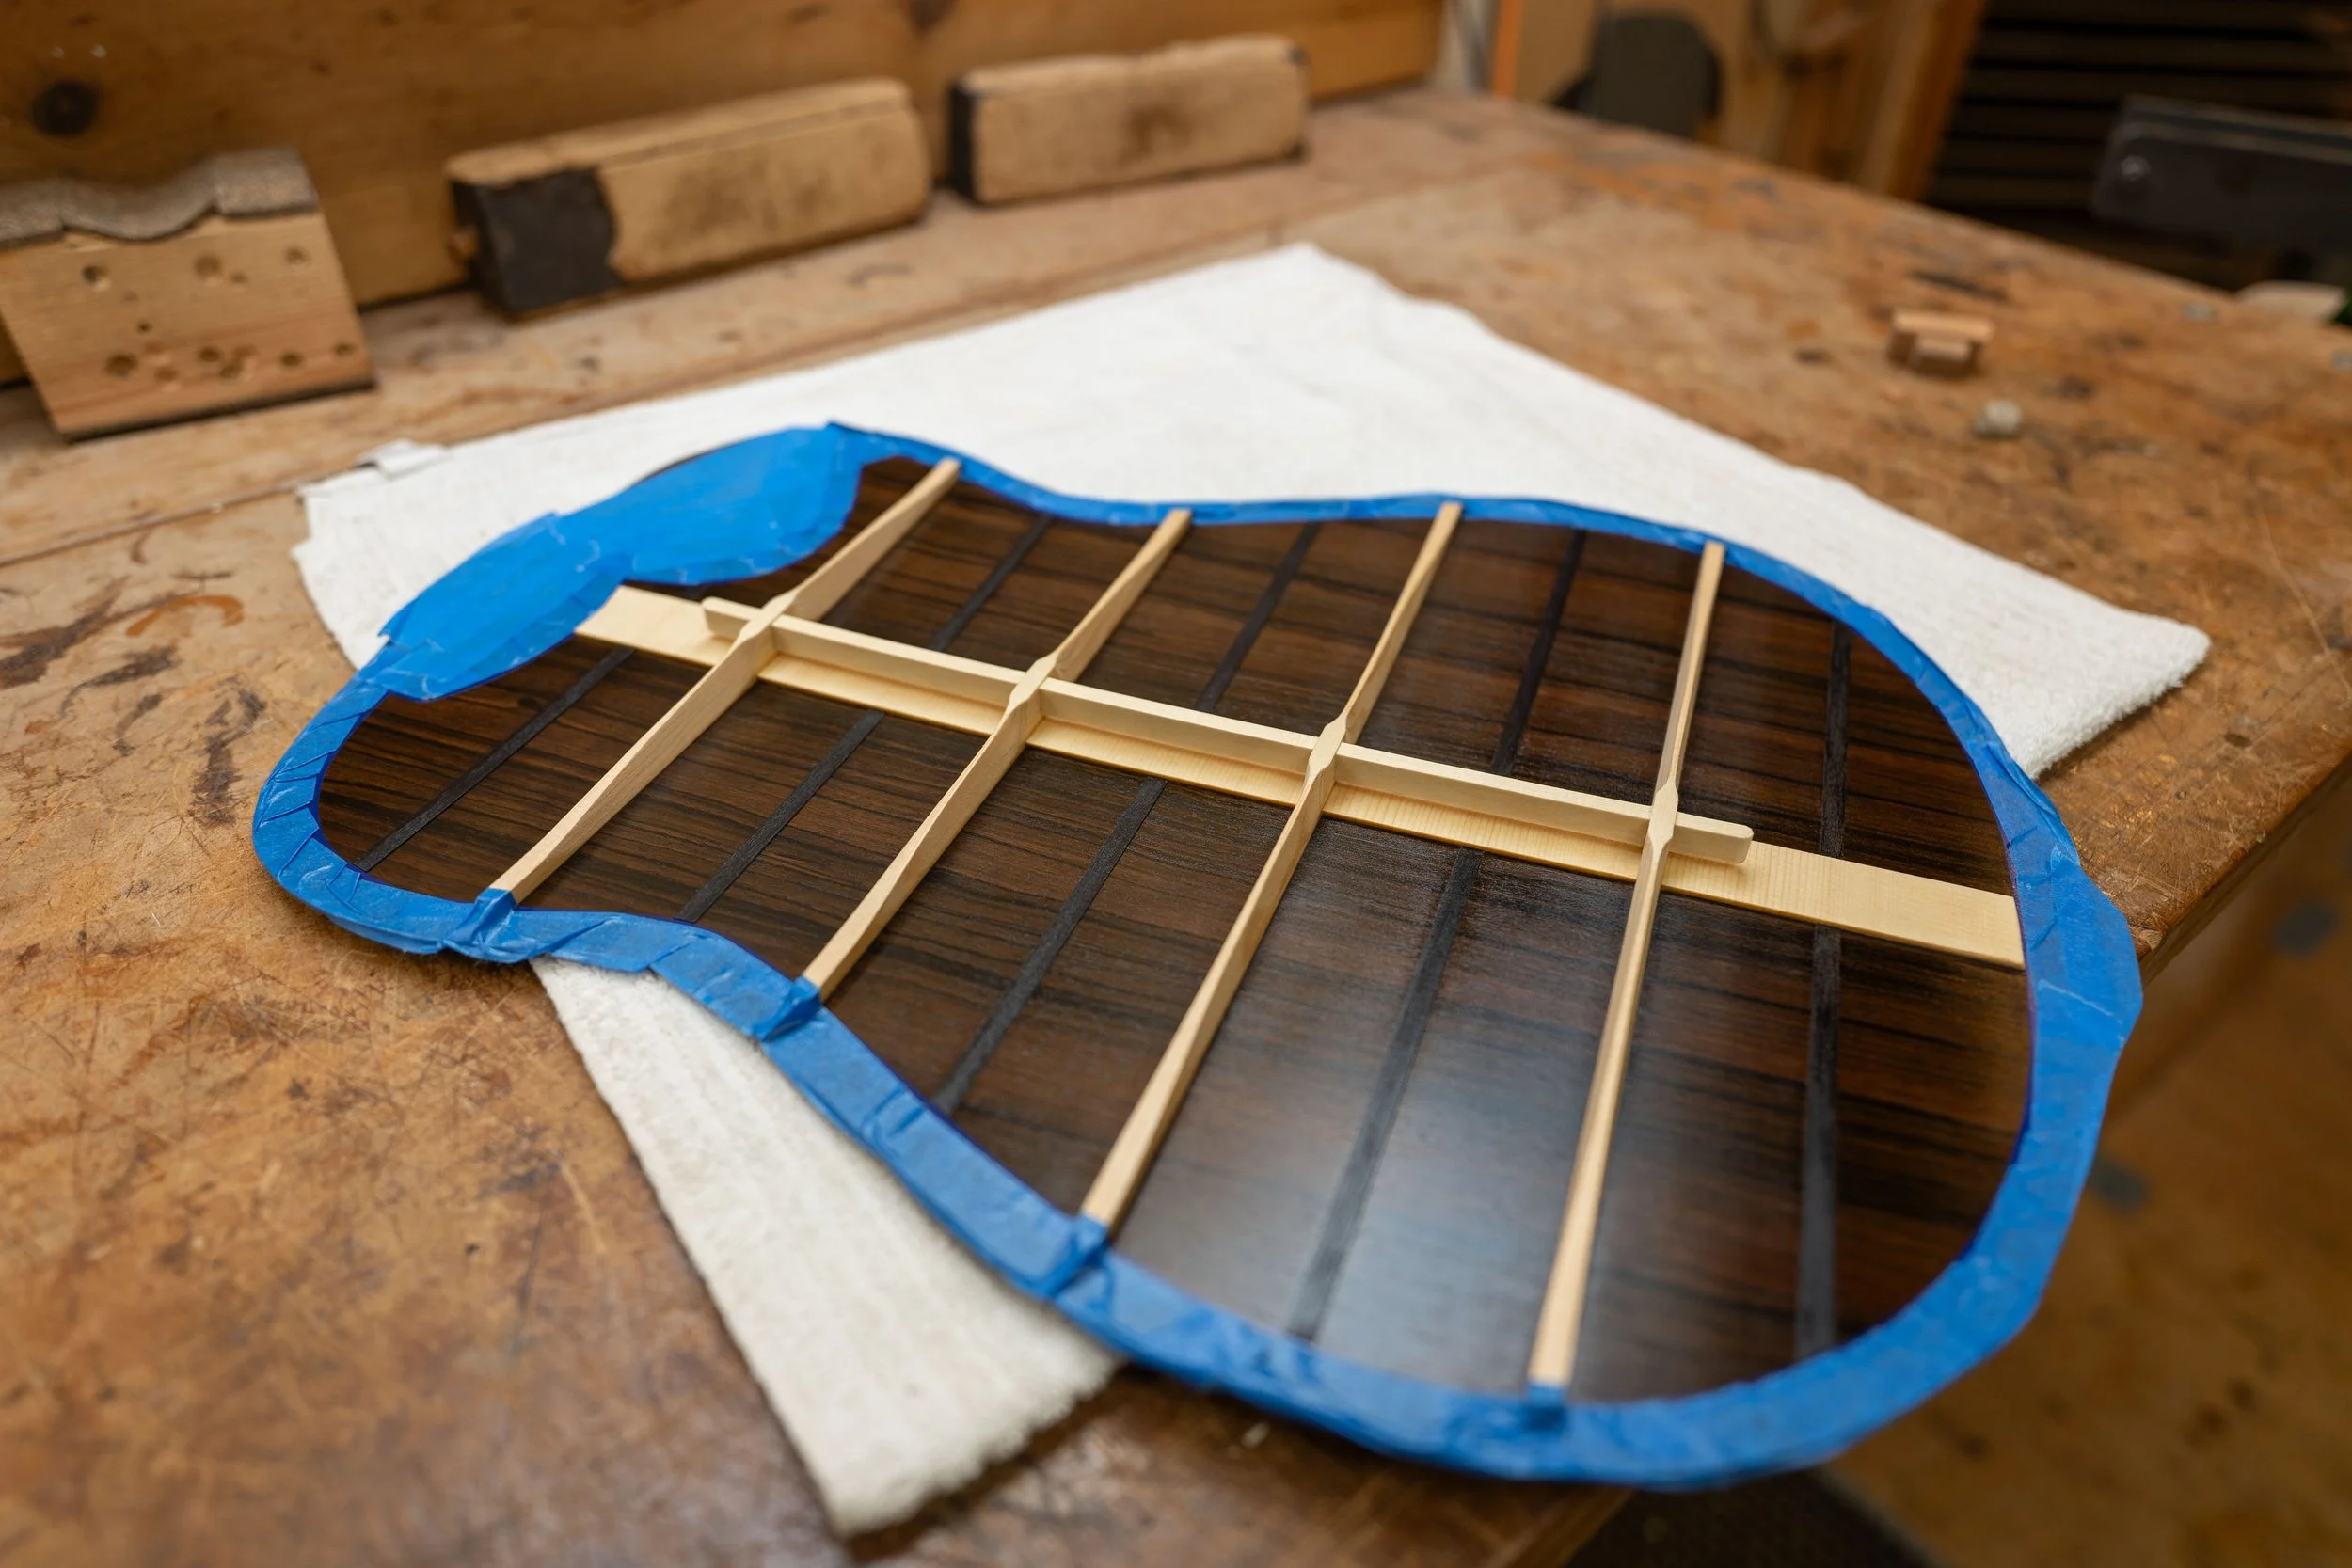
Then the back braces are glued in.
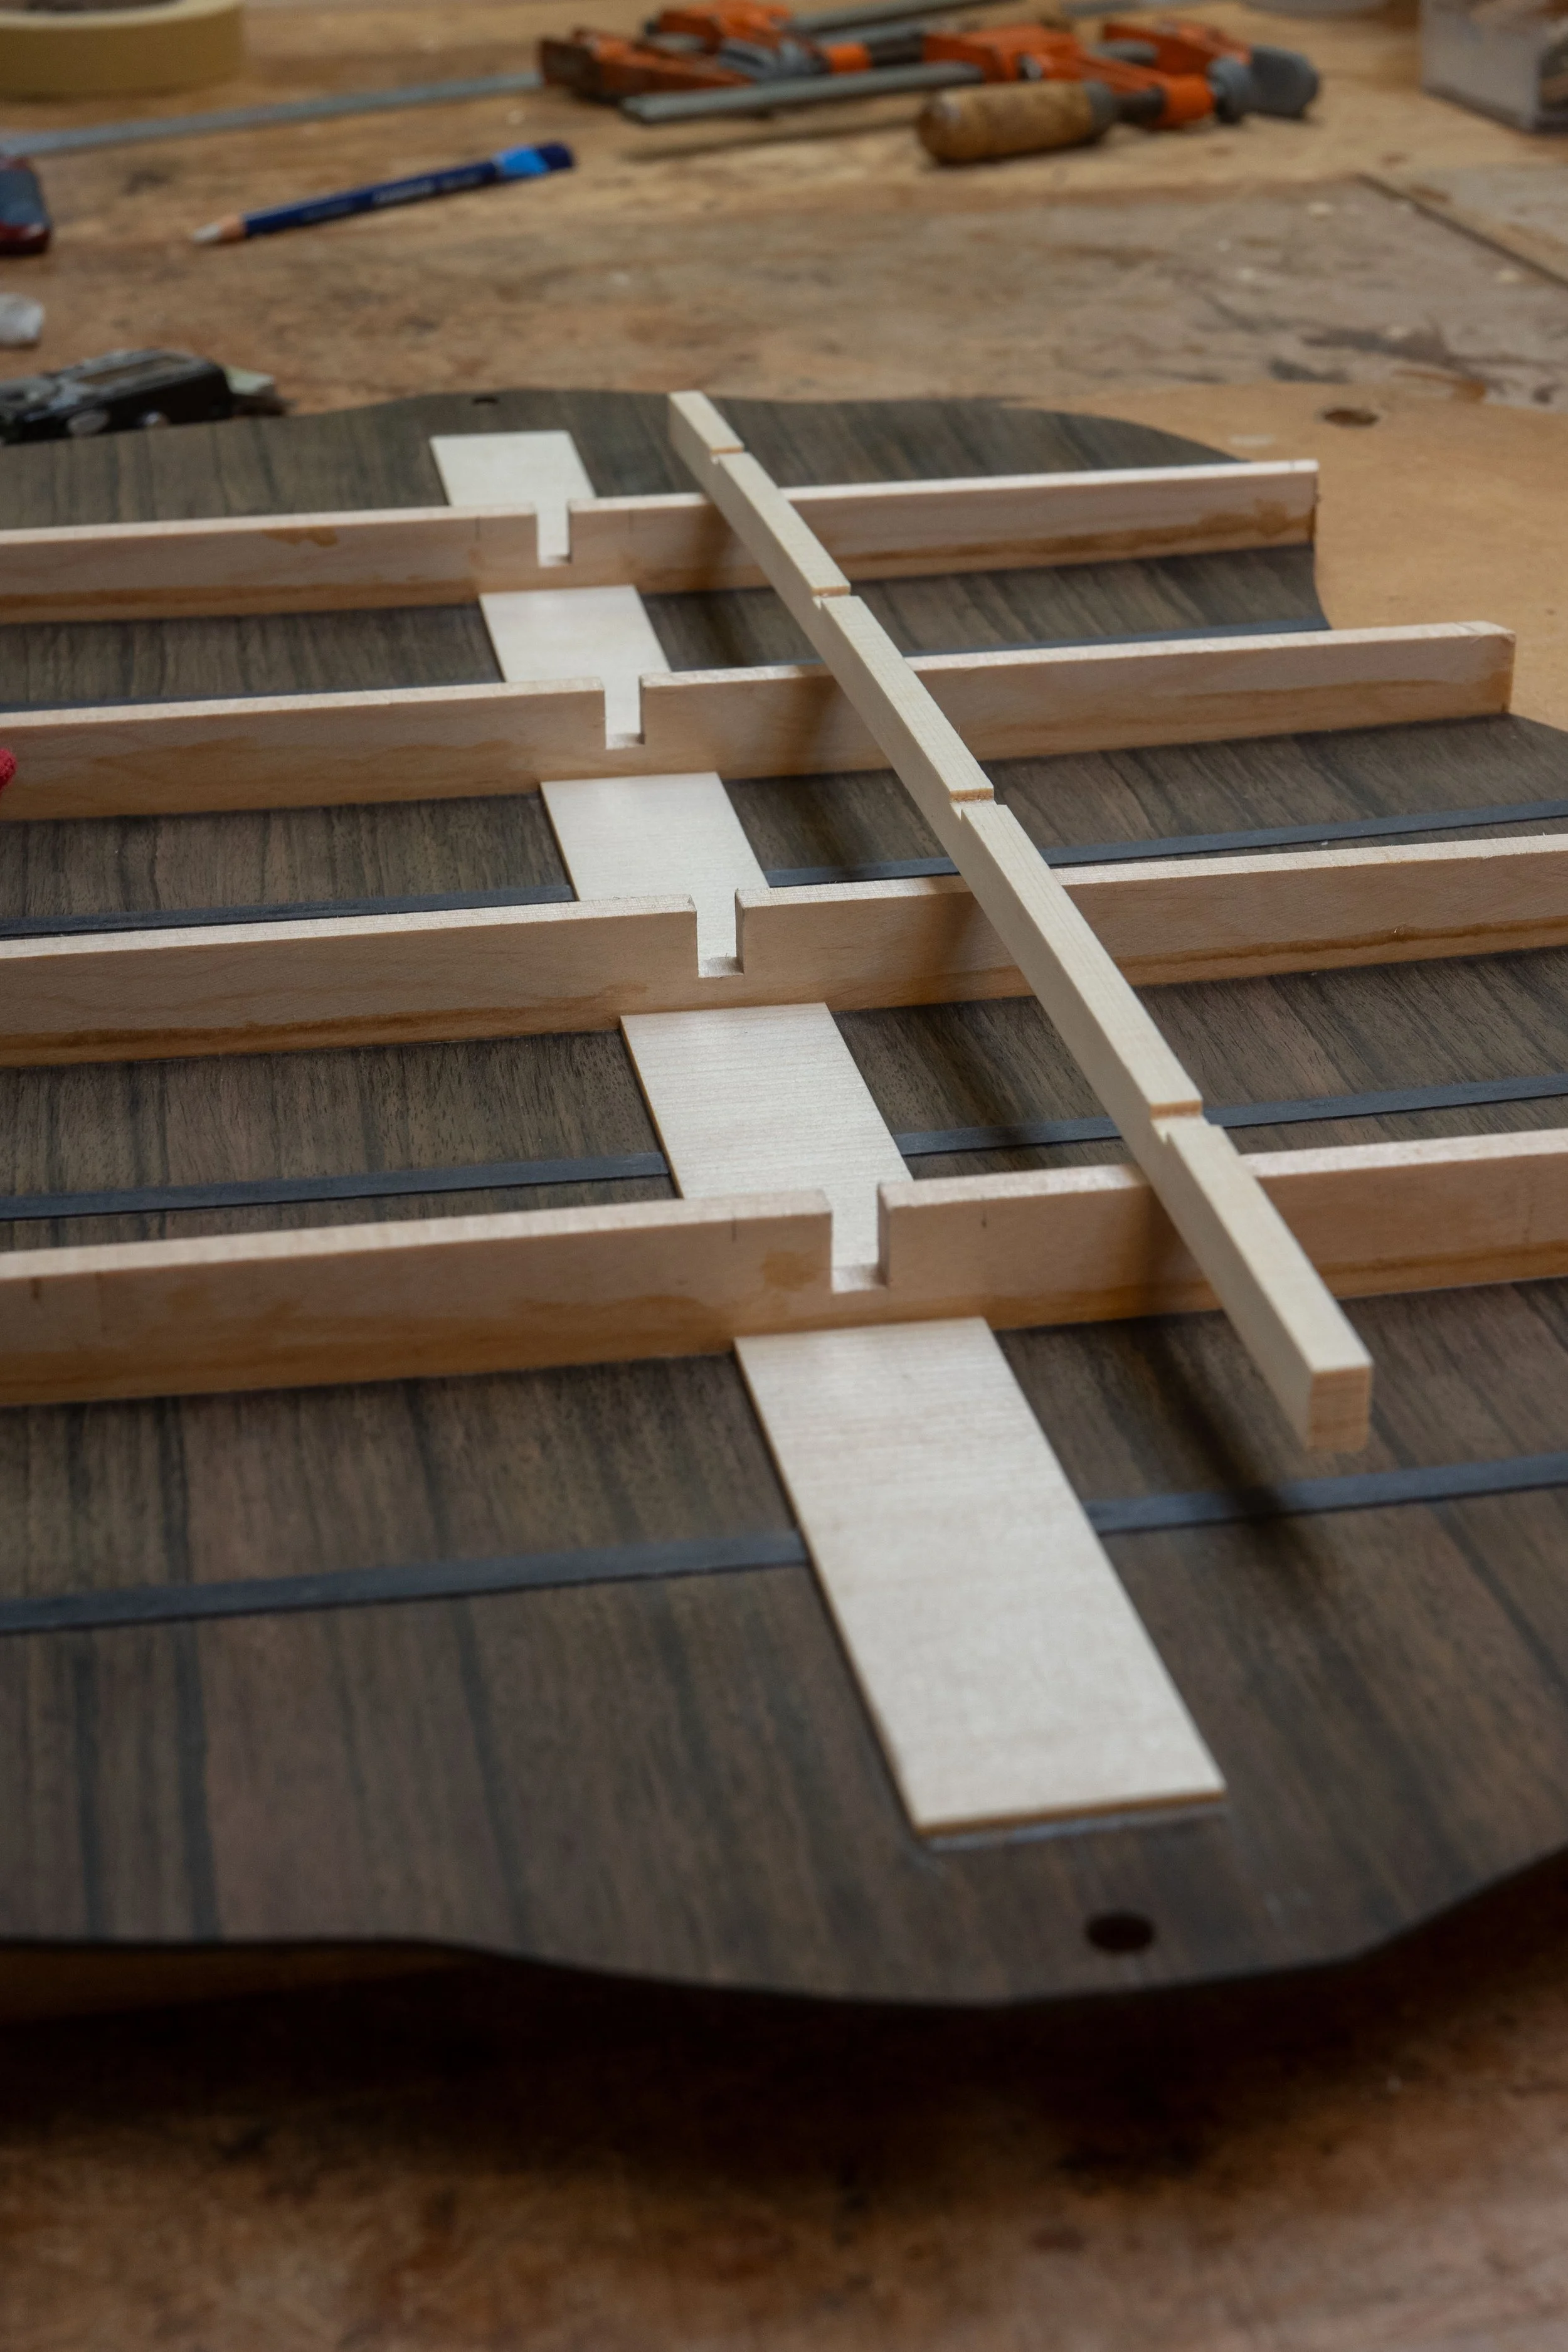
I did a Jeff Traugott style floating brace, notched into the back braces. This helps retain the dome of the back against the force of the strings.
Carving the back braces.
Here's the back cleaned up and ready for fitting to the rim.
Notches are cut in the back lining to fit the brace ends.
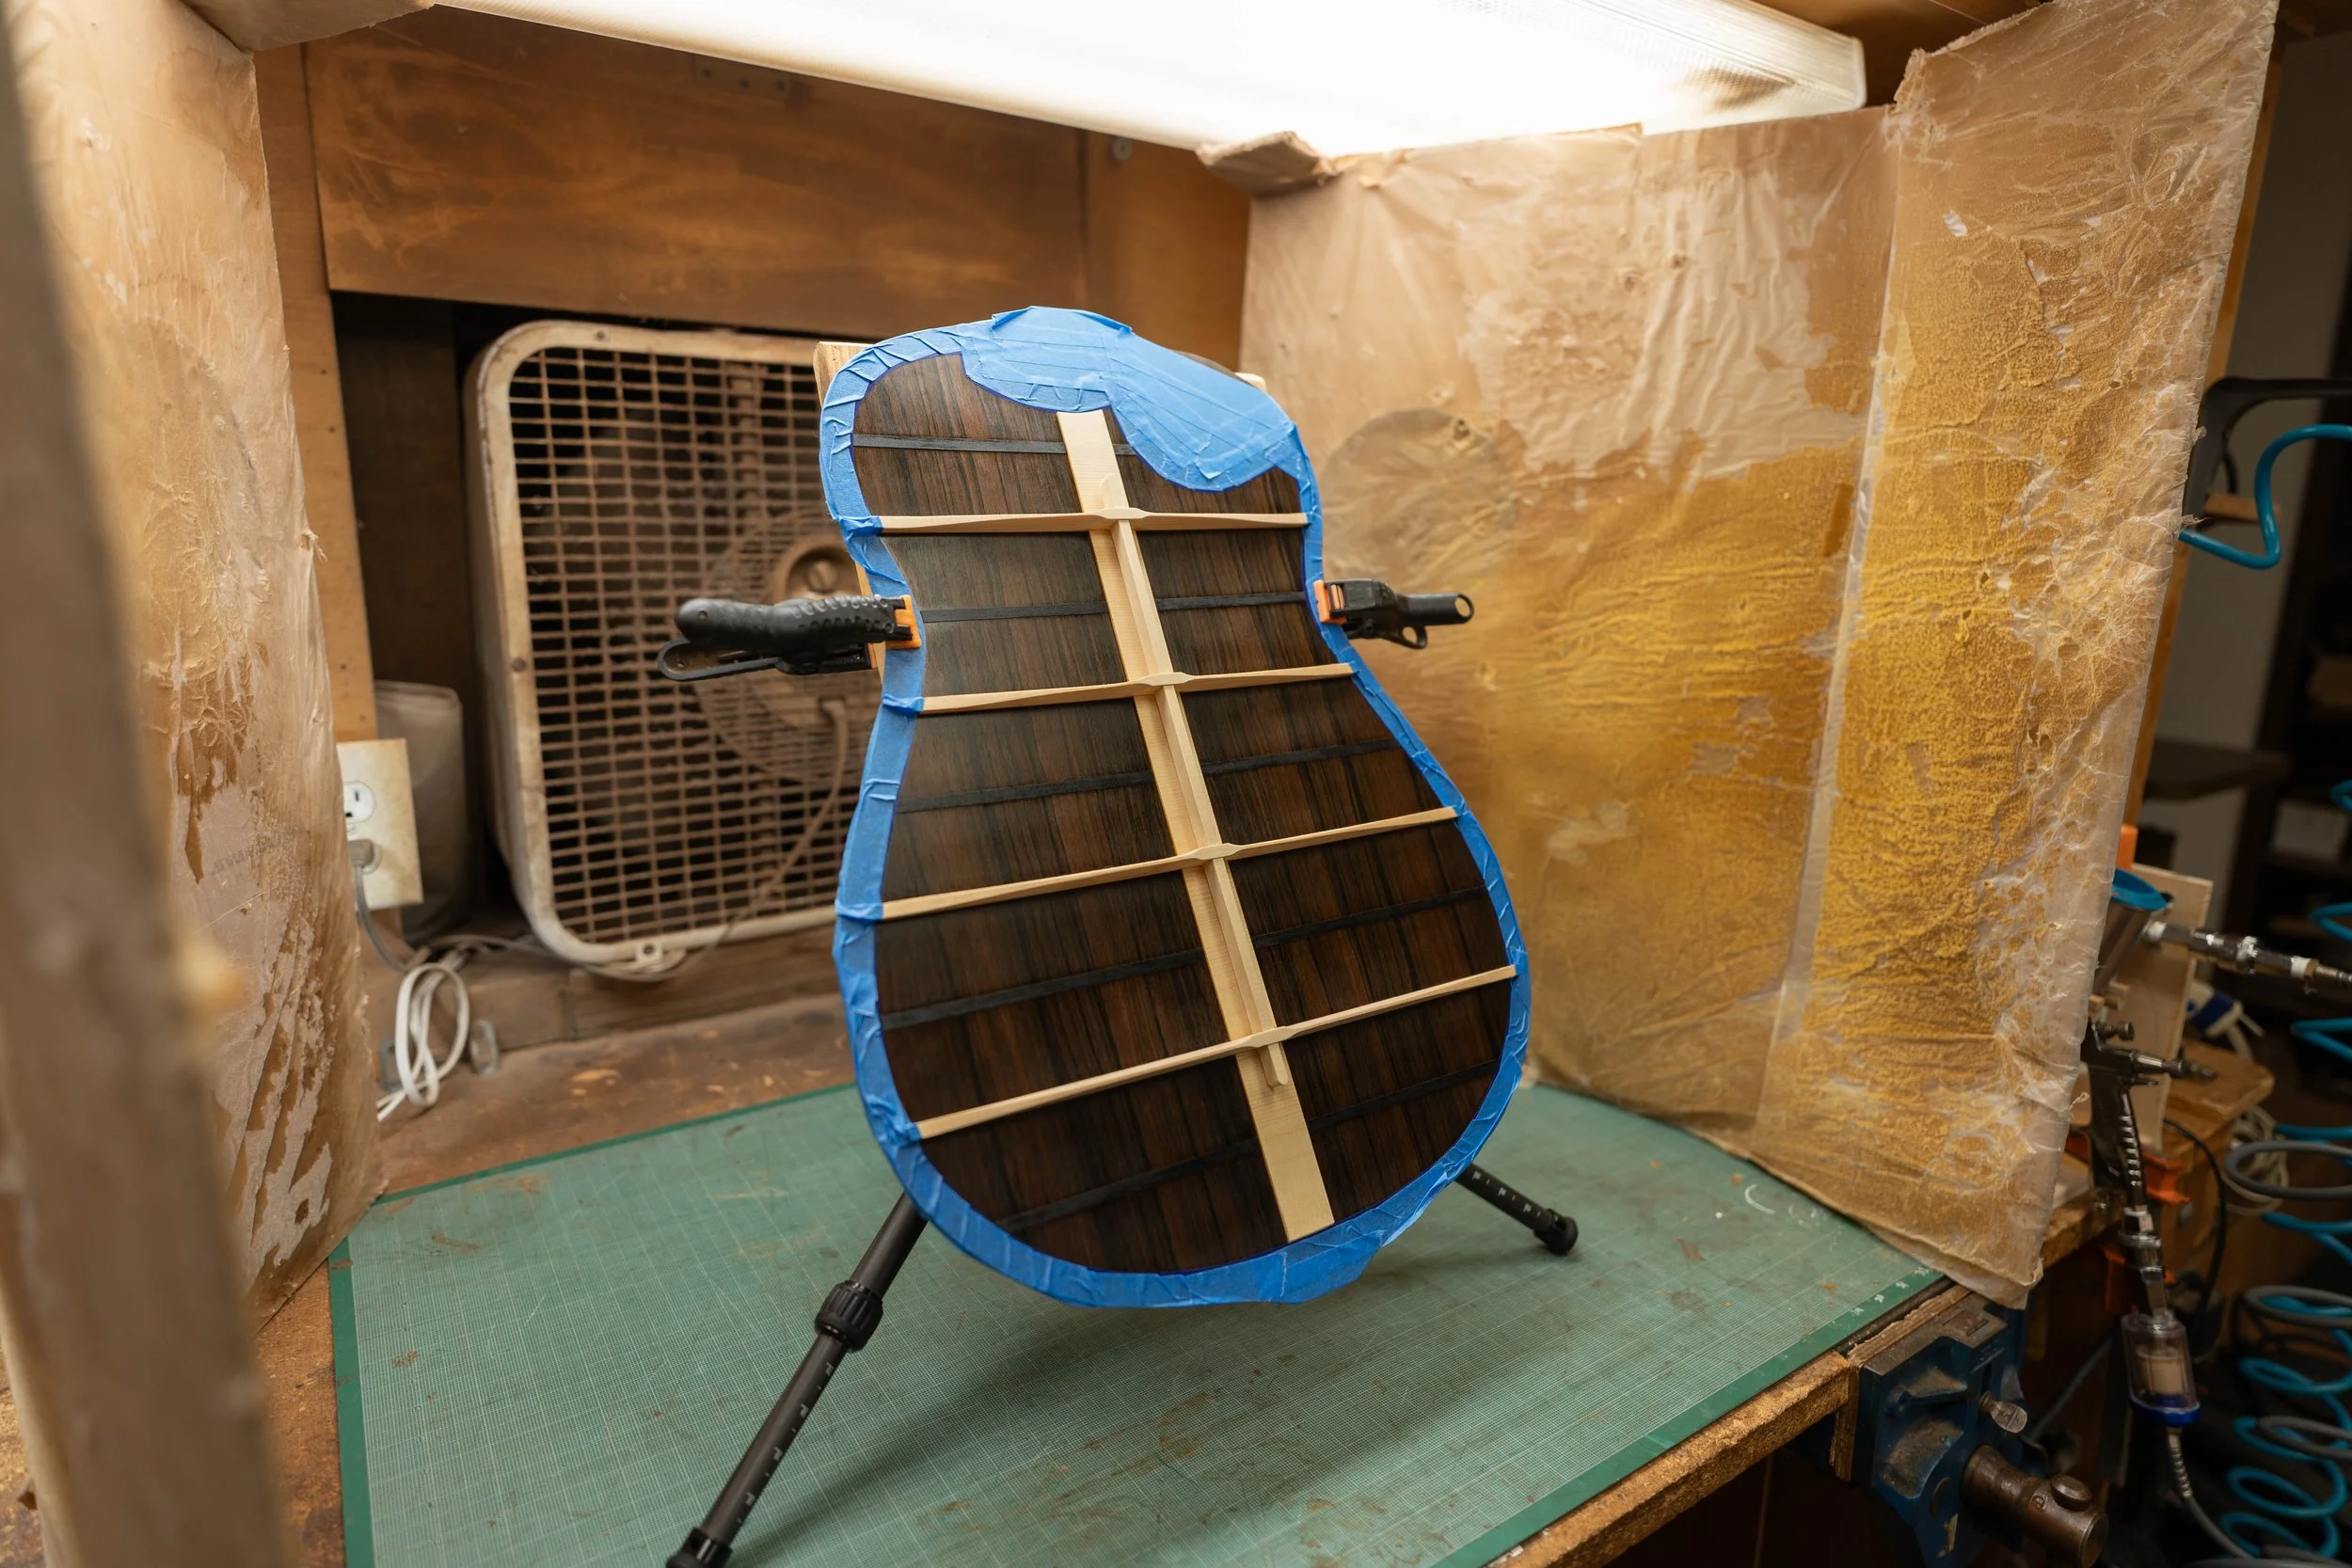
And then shellac is sprayed on the inside to seal it.
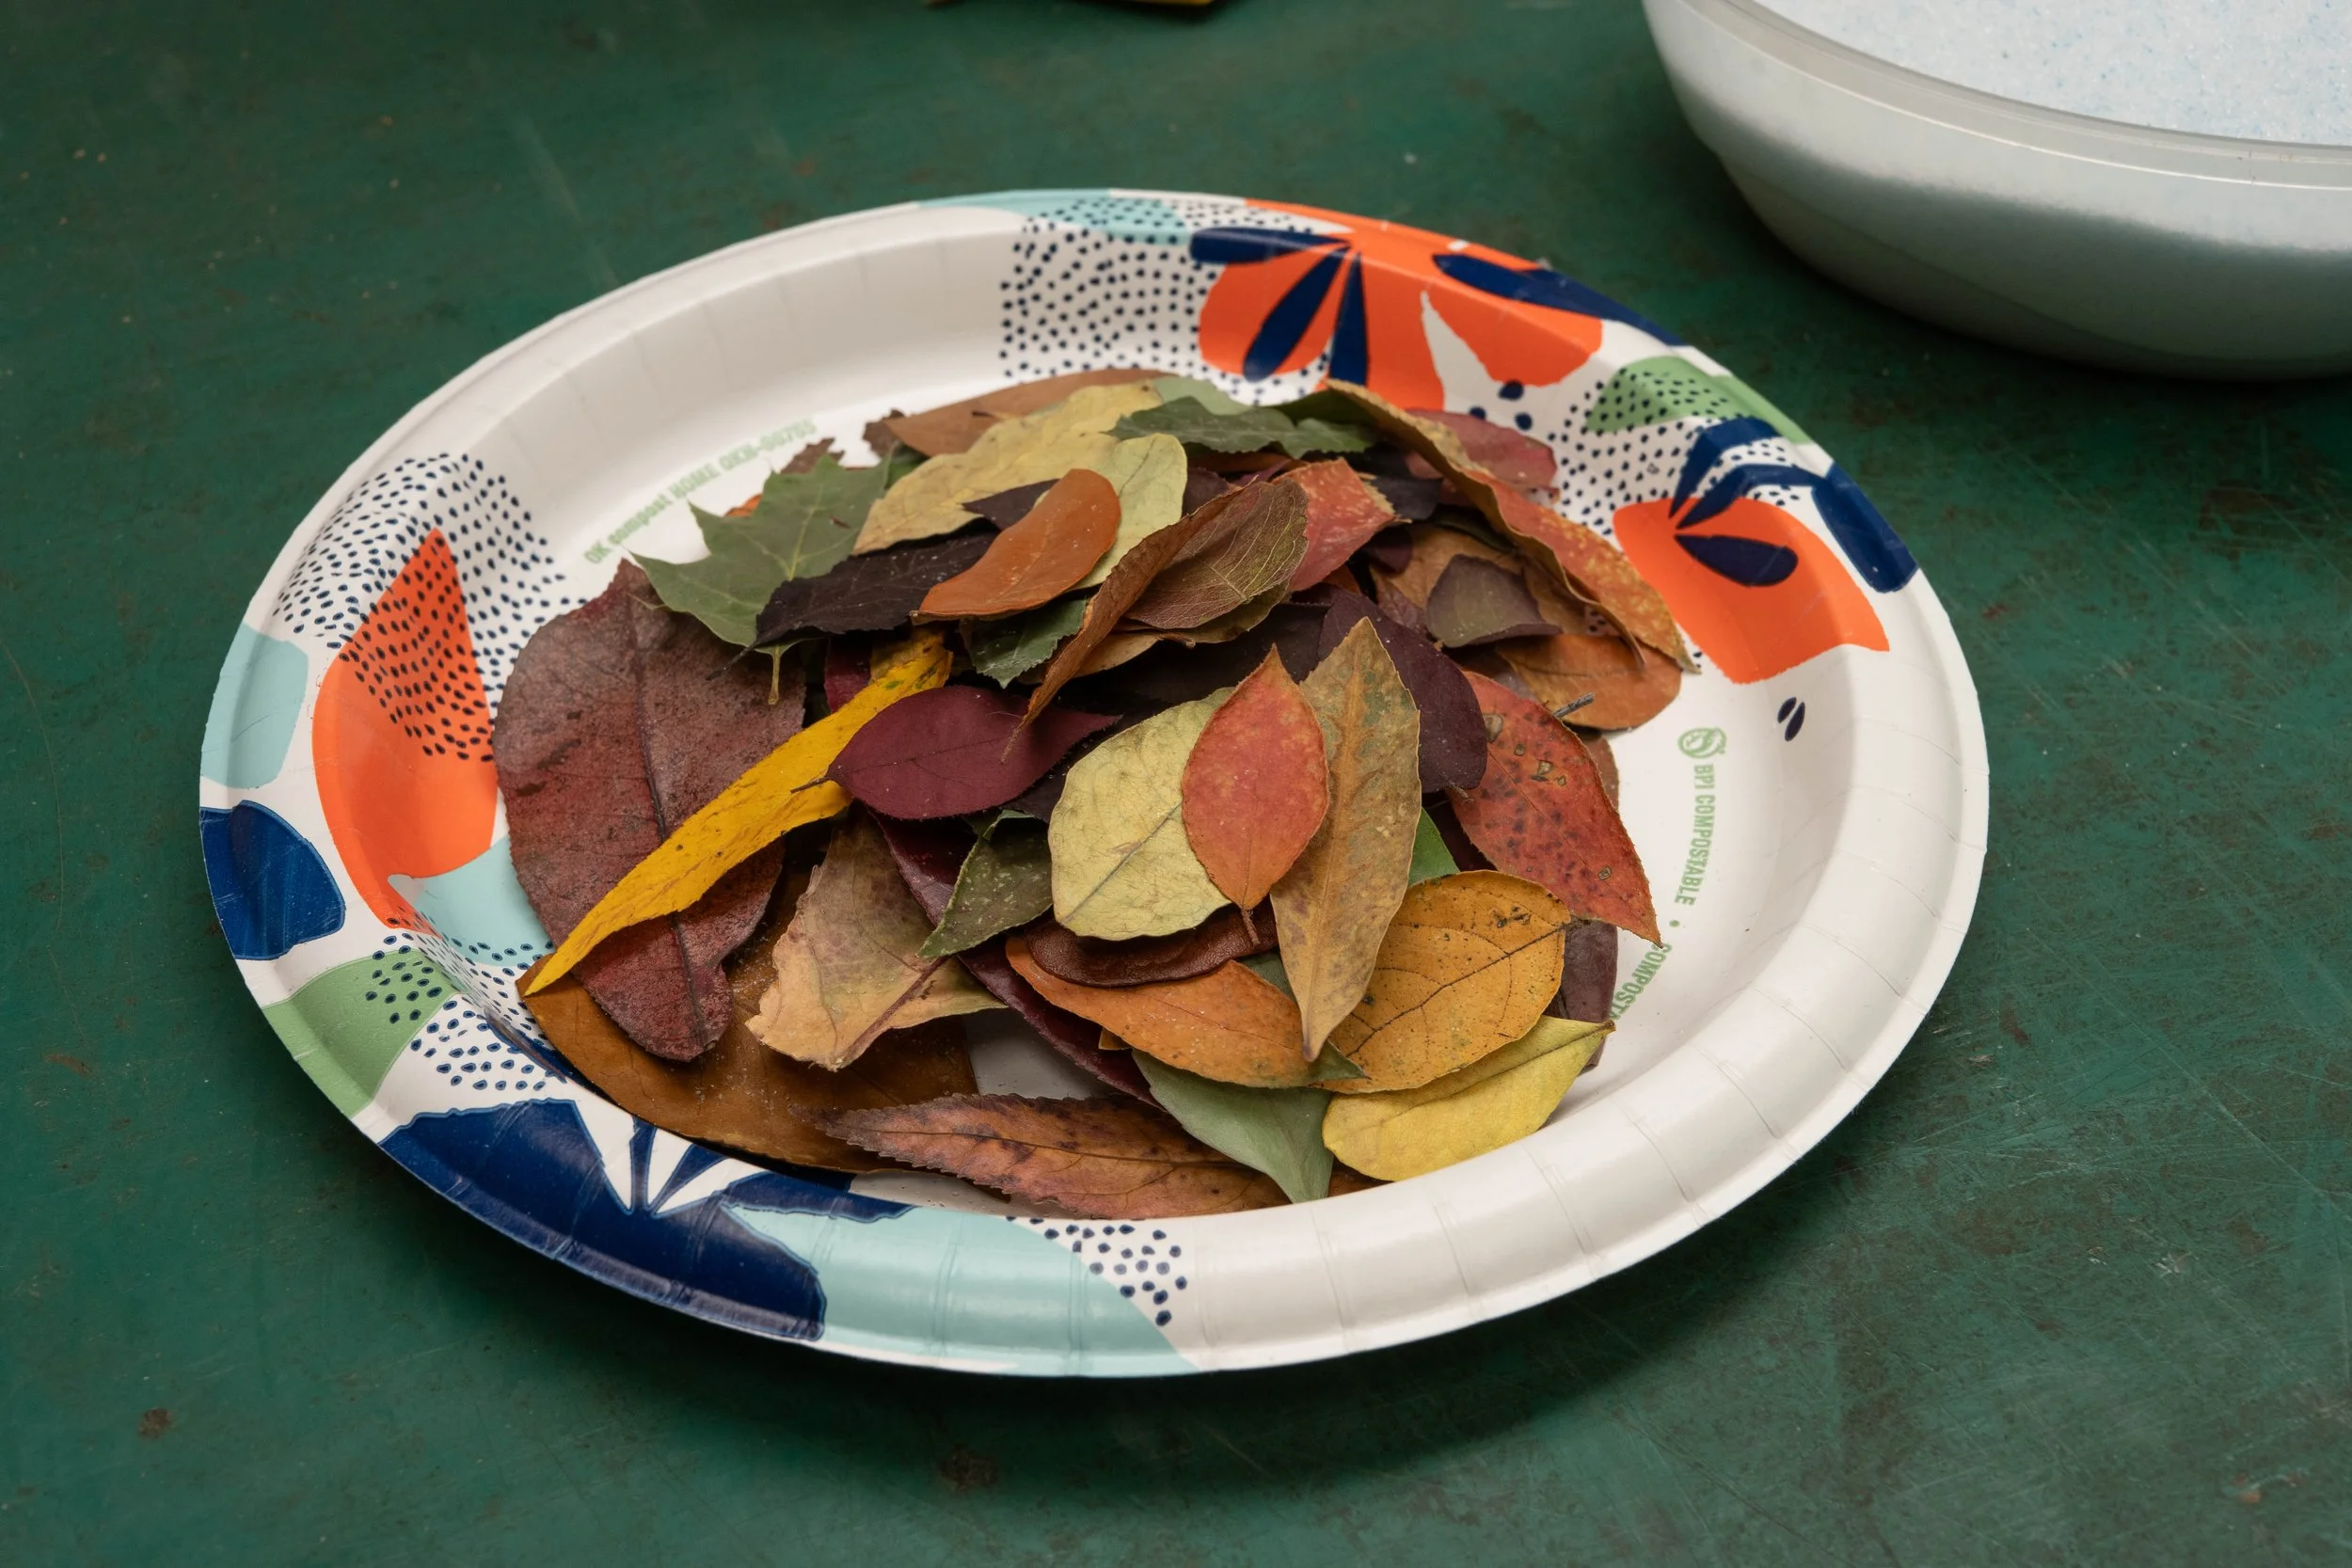
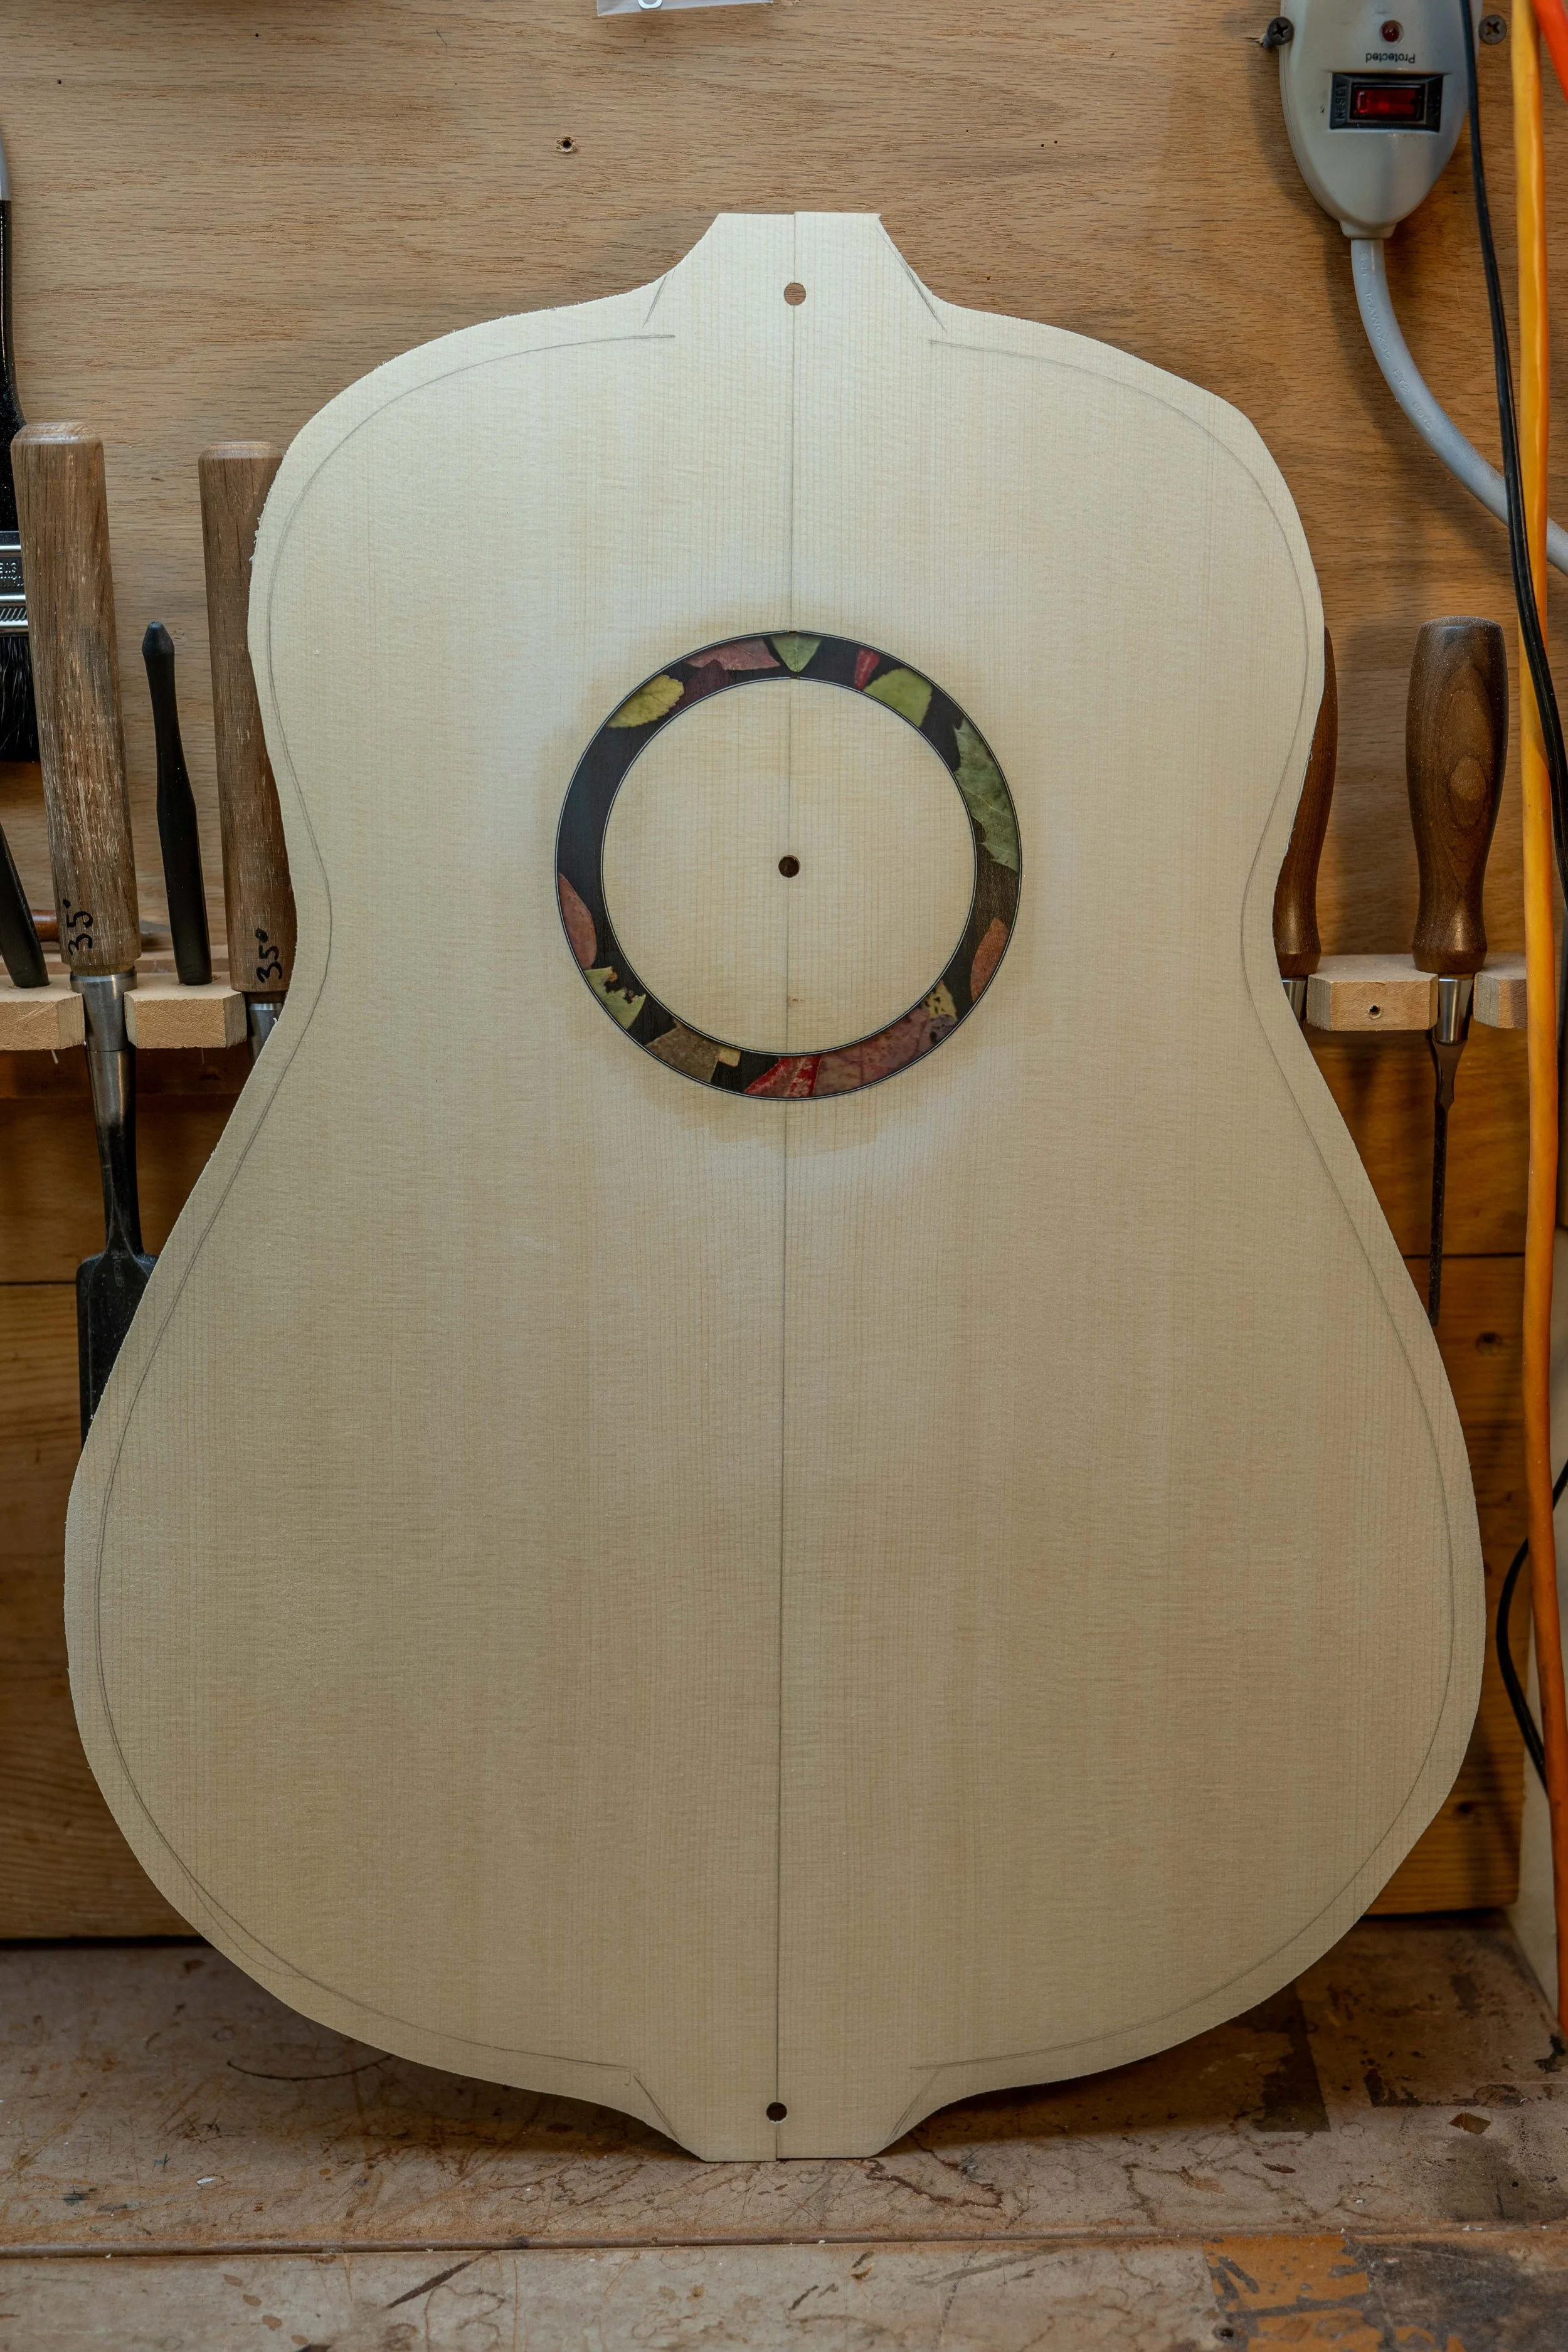
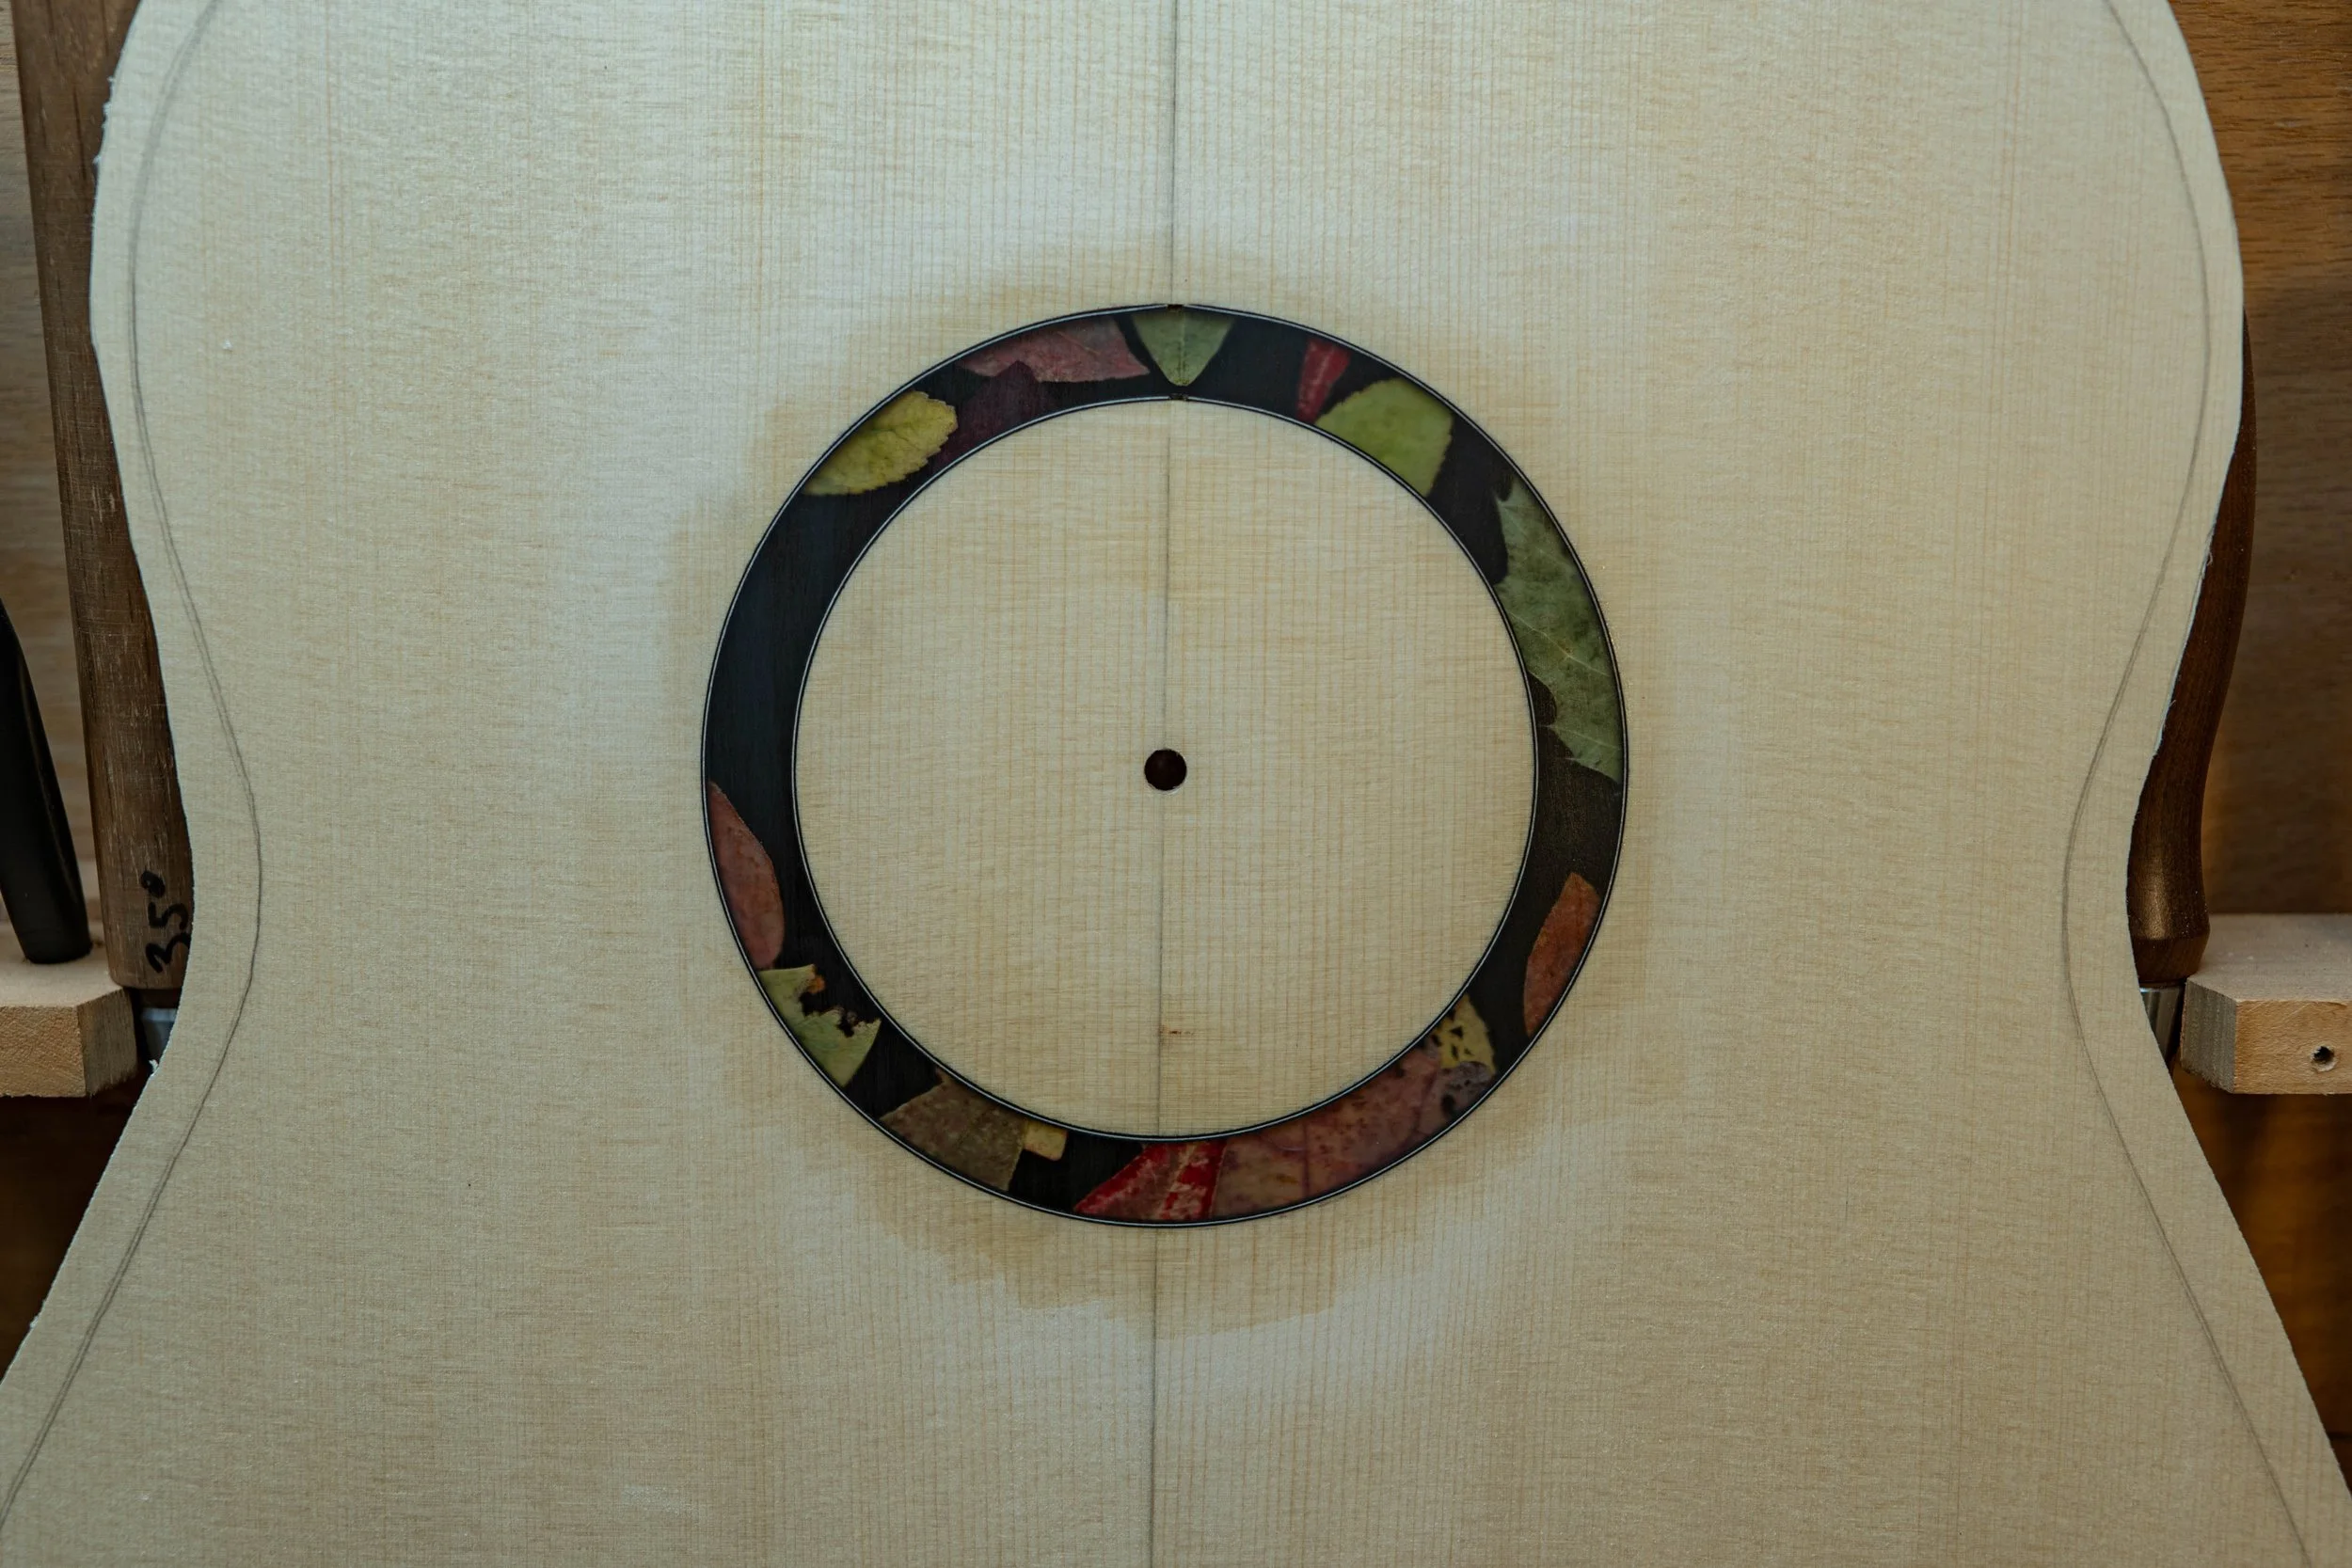
I collected some leaves from the neighbourhood of the shop and dried them using silica gel, for use in the rosette.
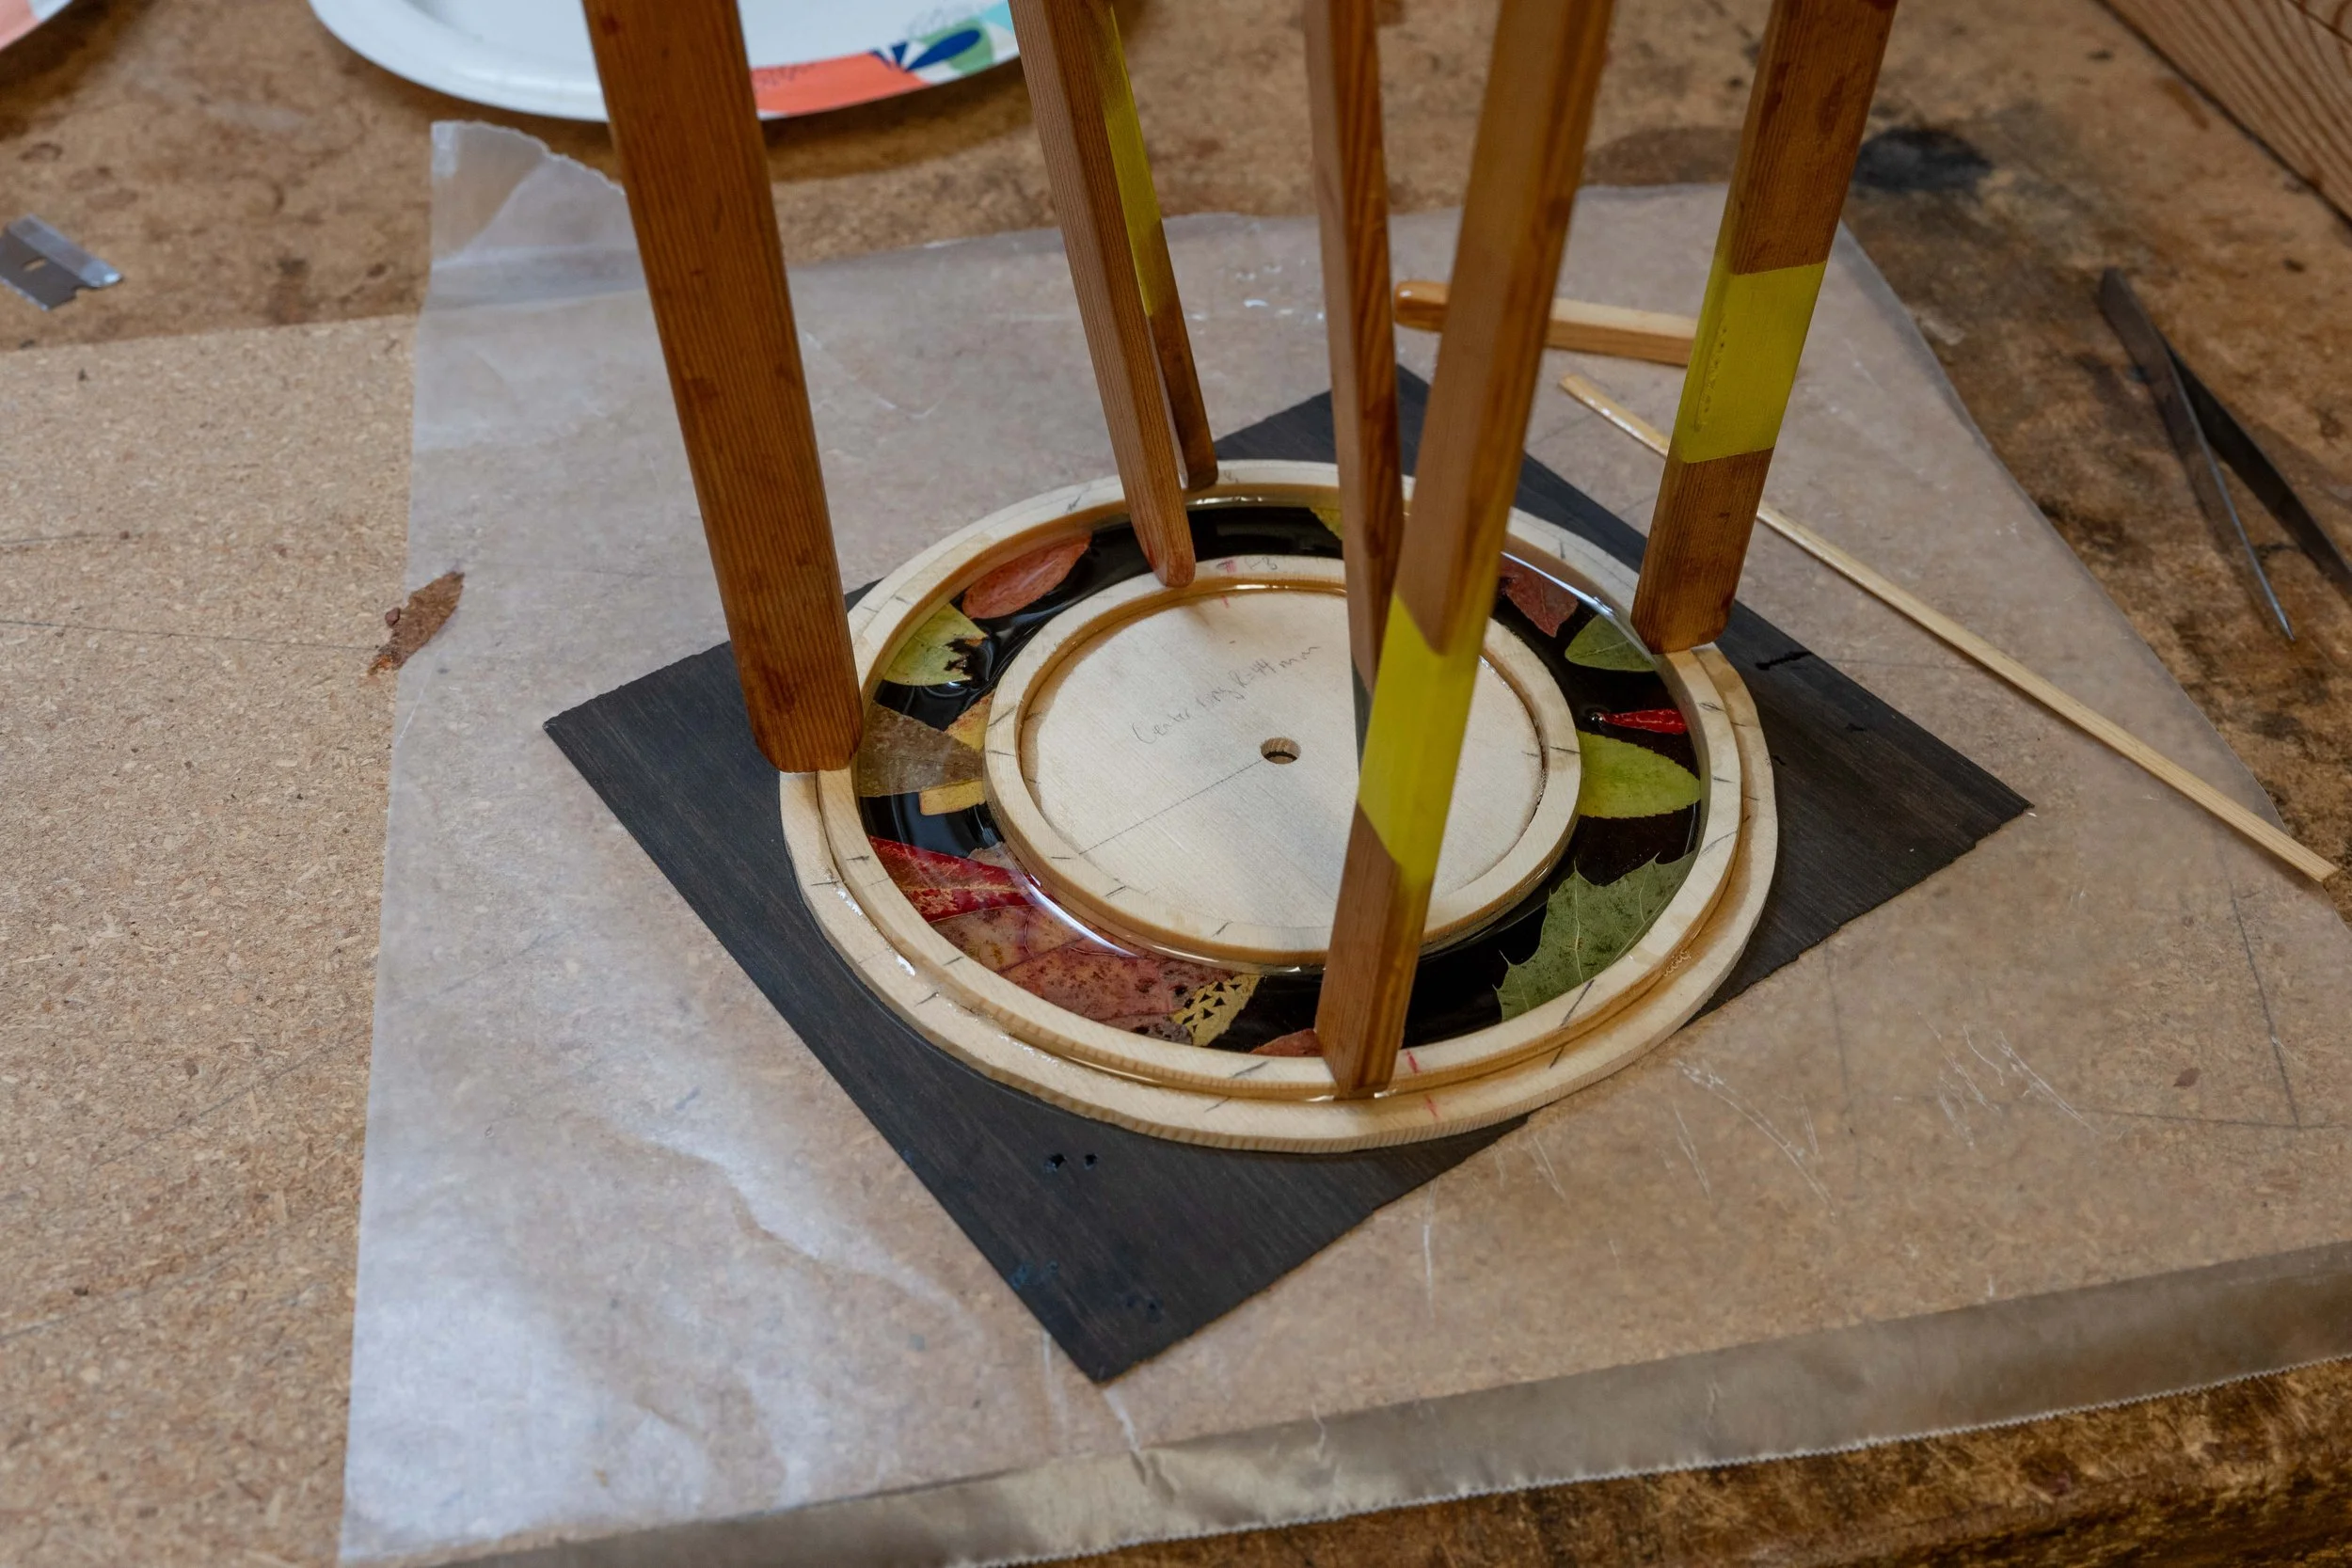
I arranged the leaves over ebony in a way I found pleasing, and added some resin to make the rosette.
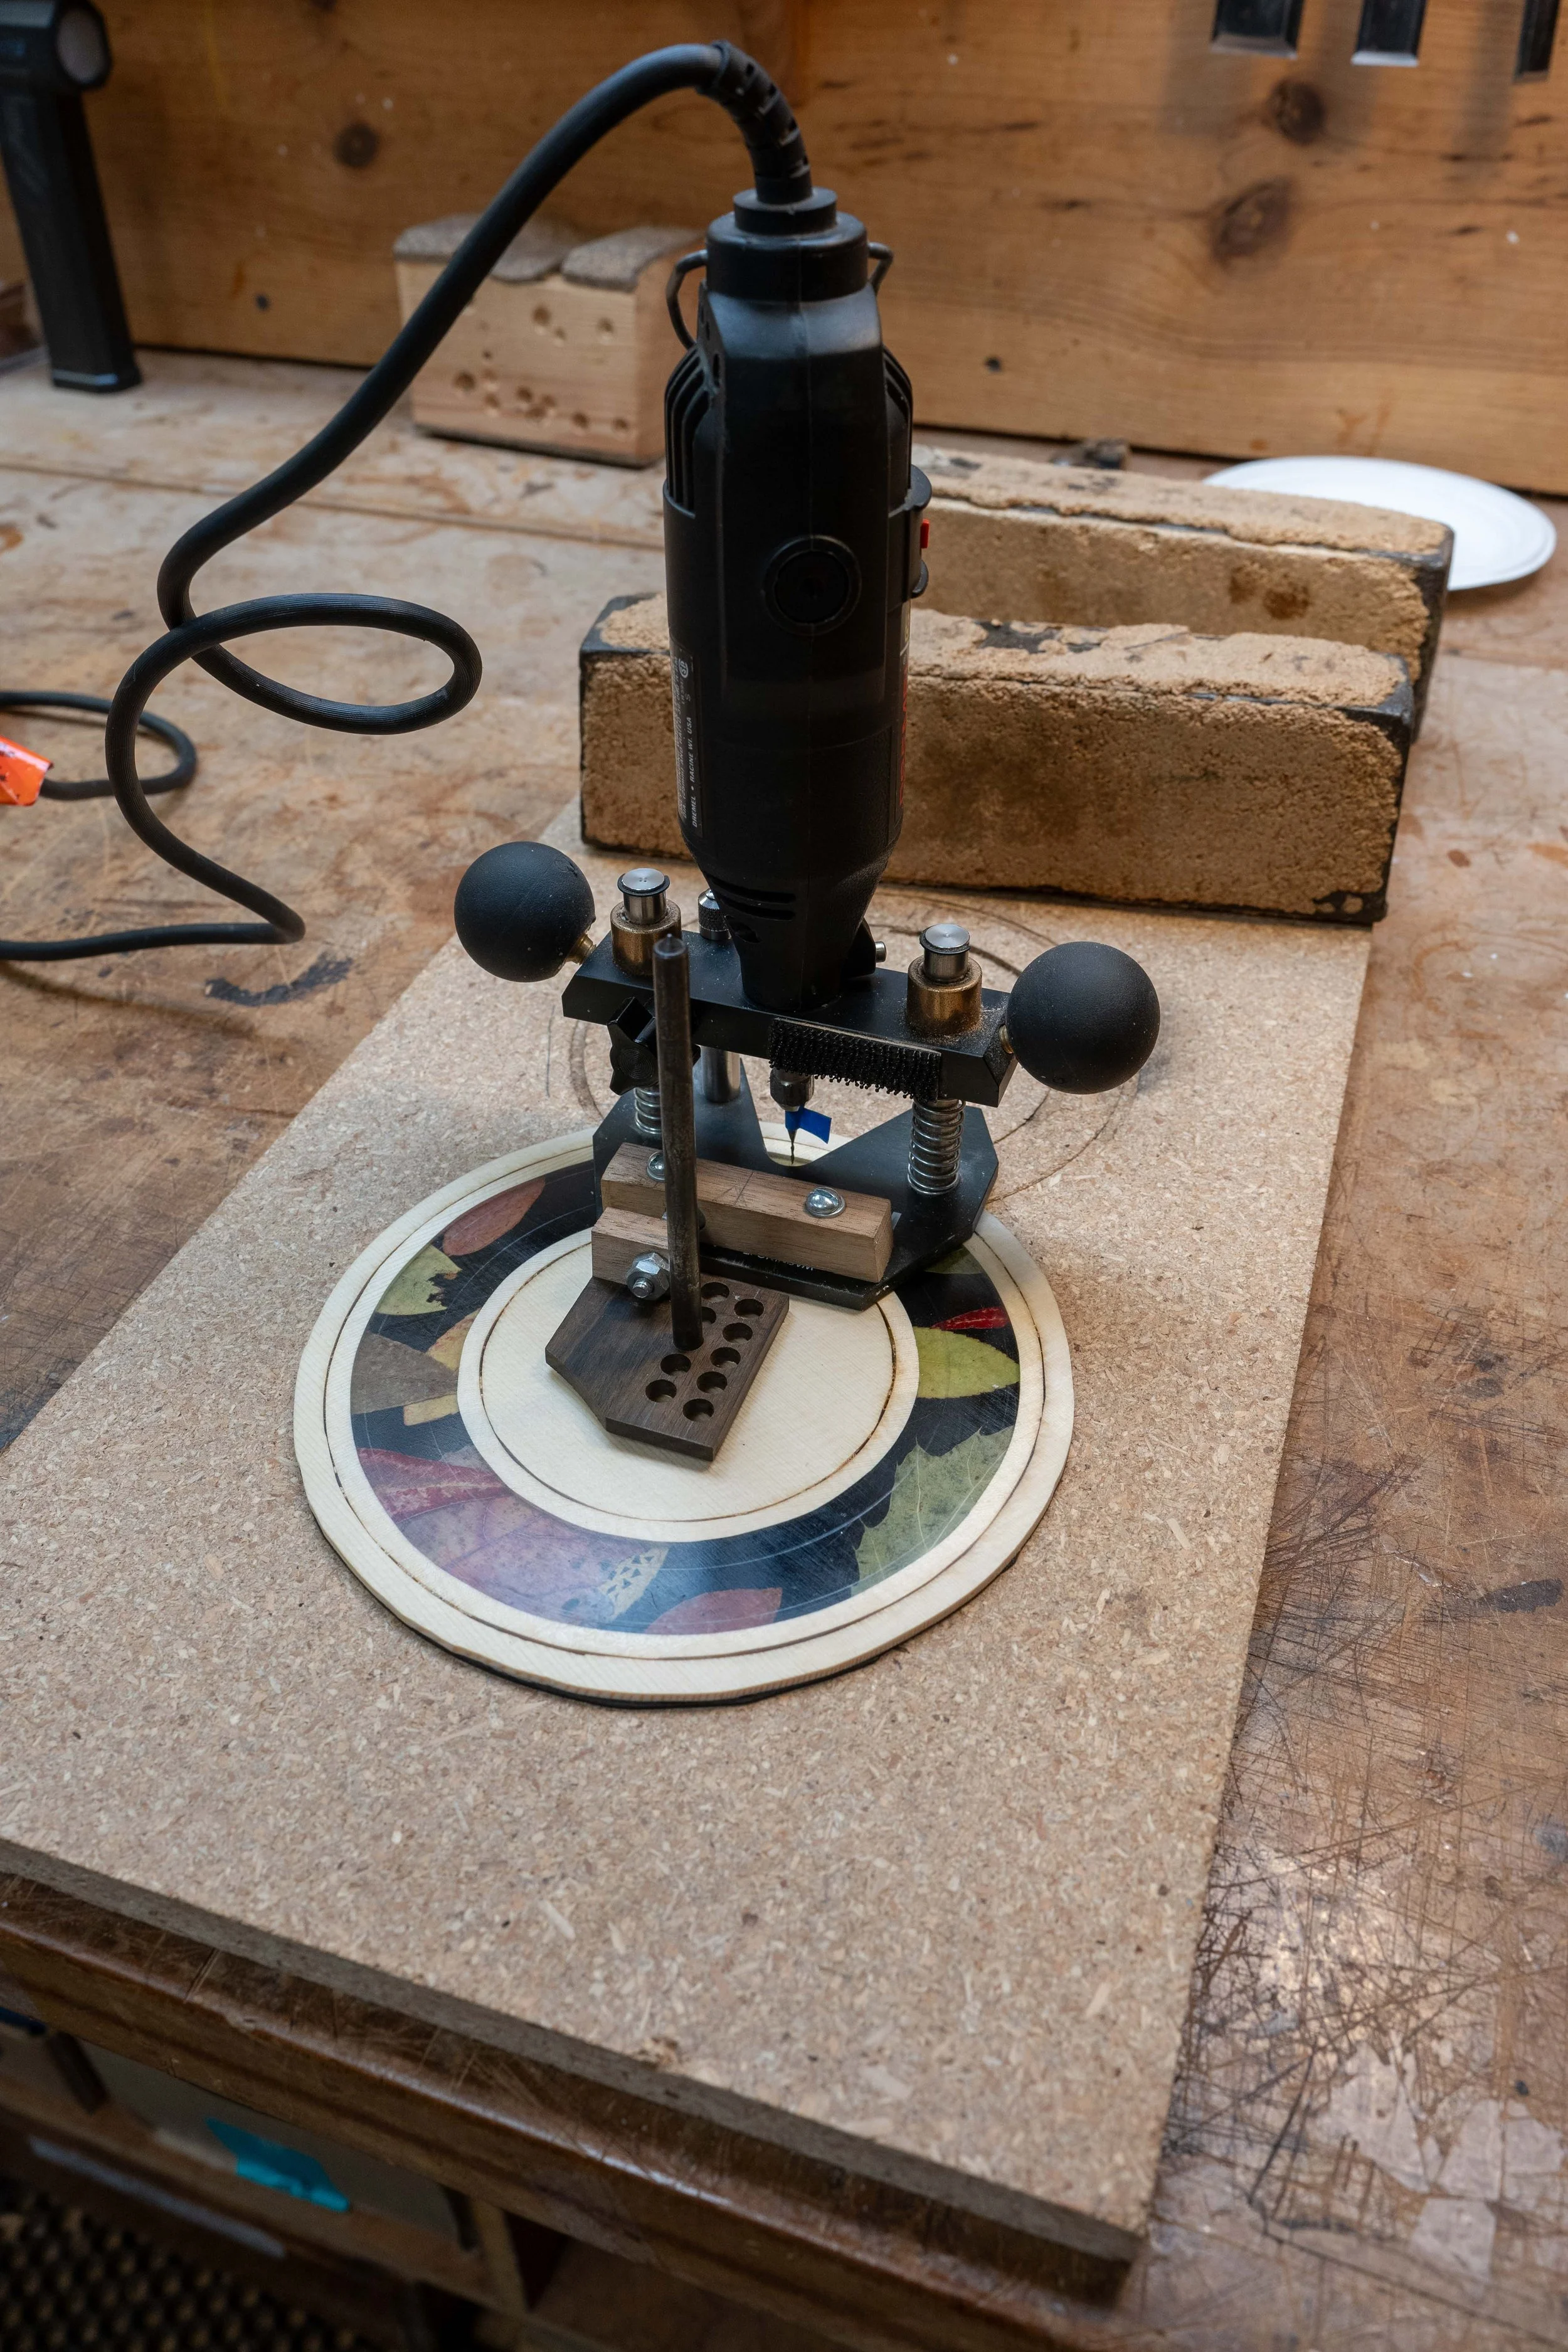
Cutting out the rosette.
Glueing the purfling on the rosette.
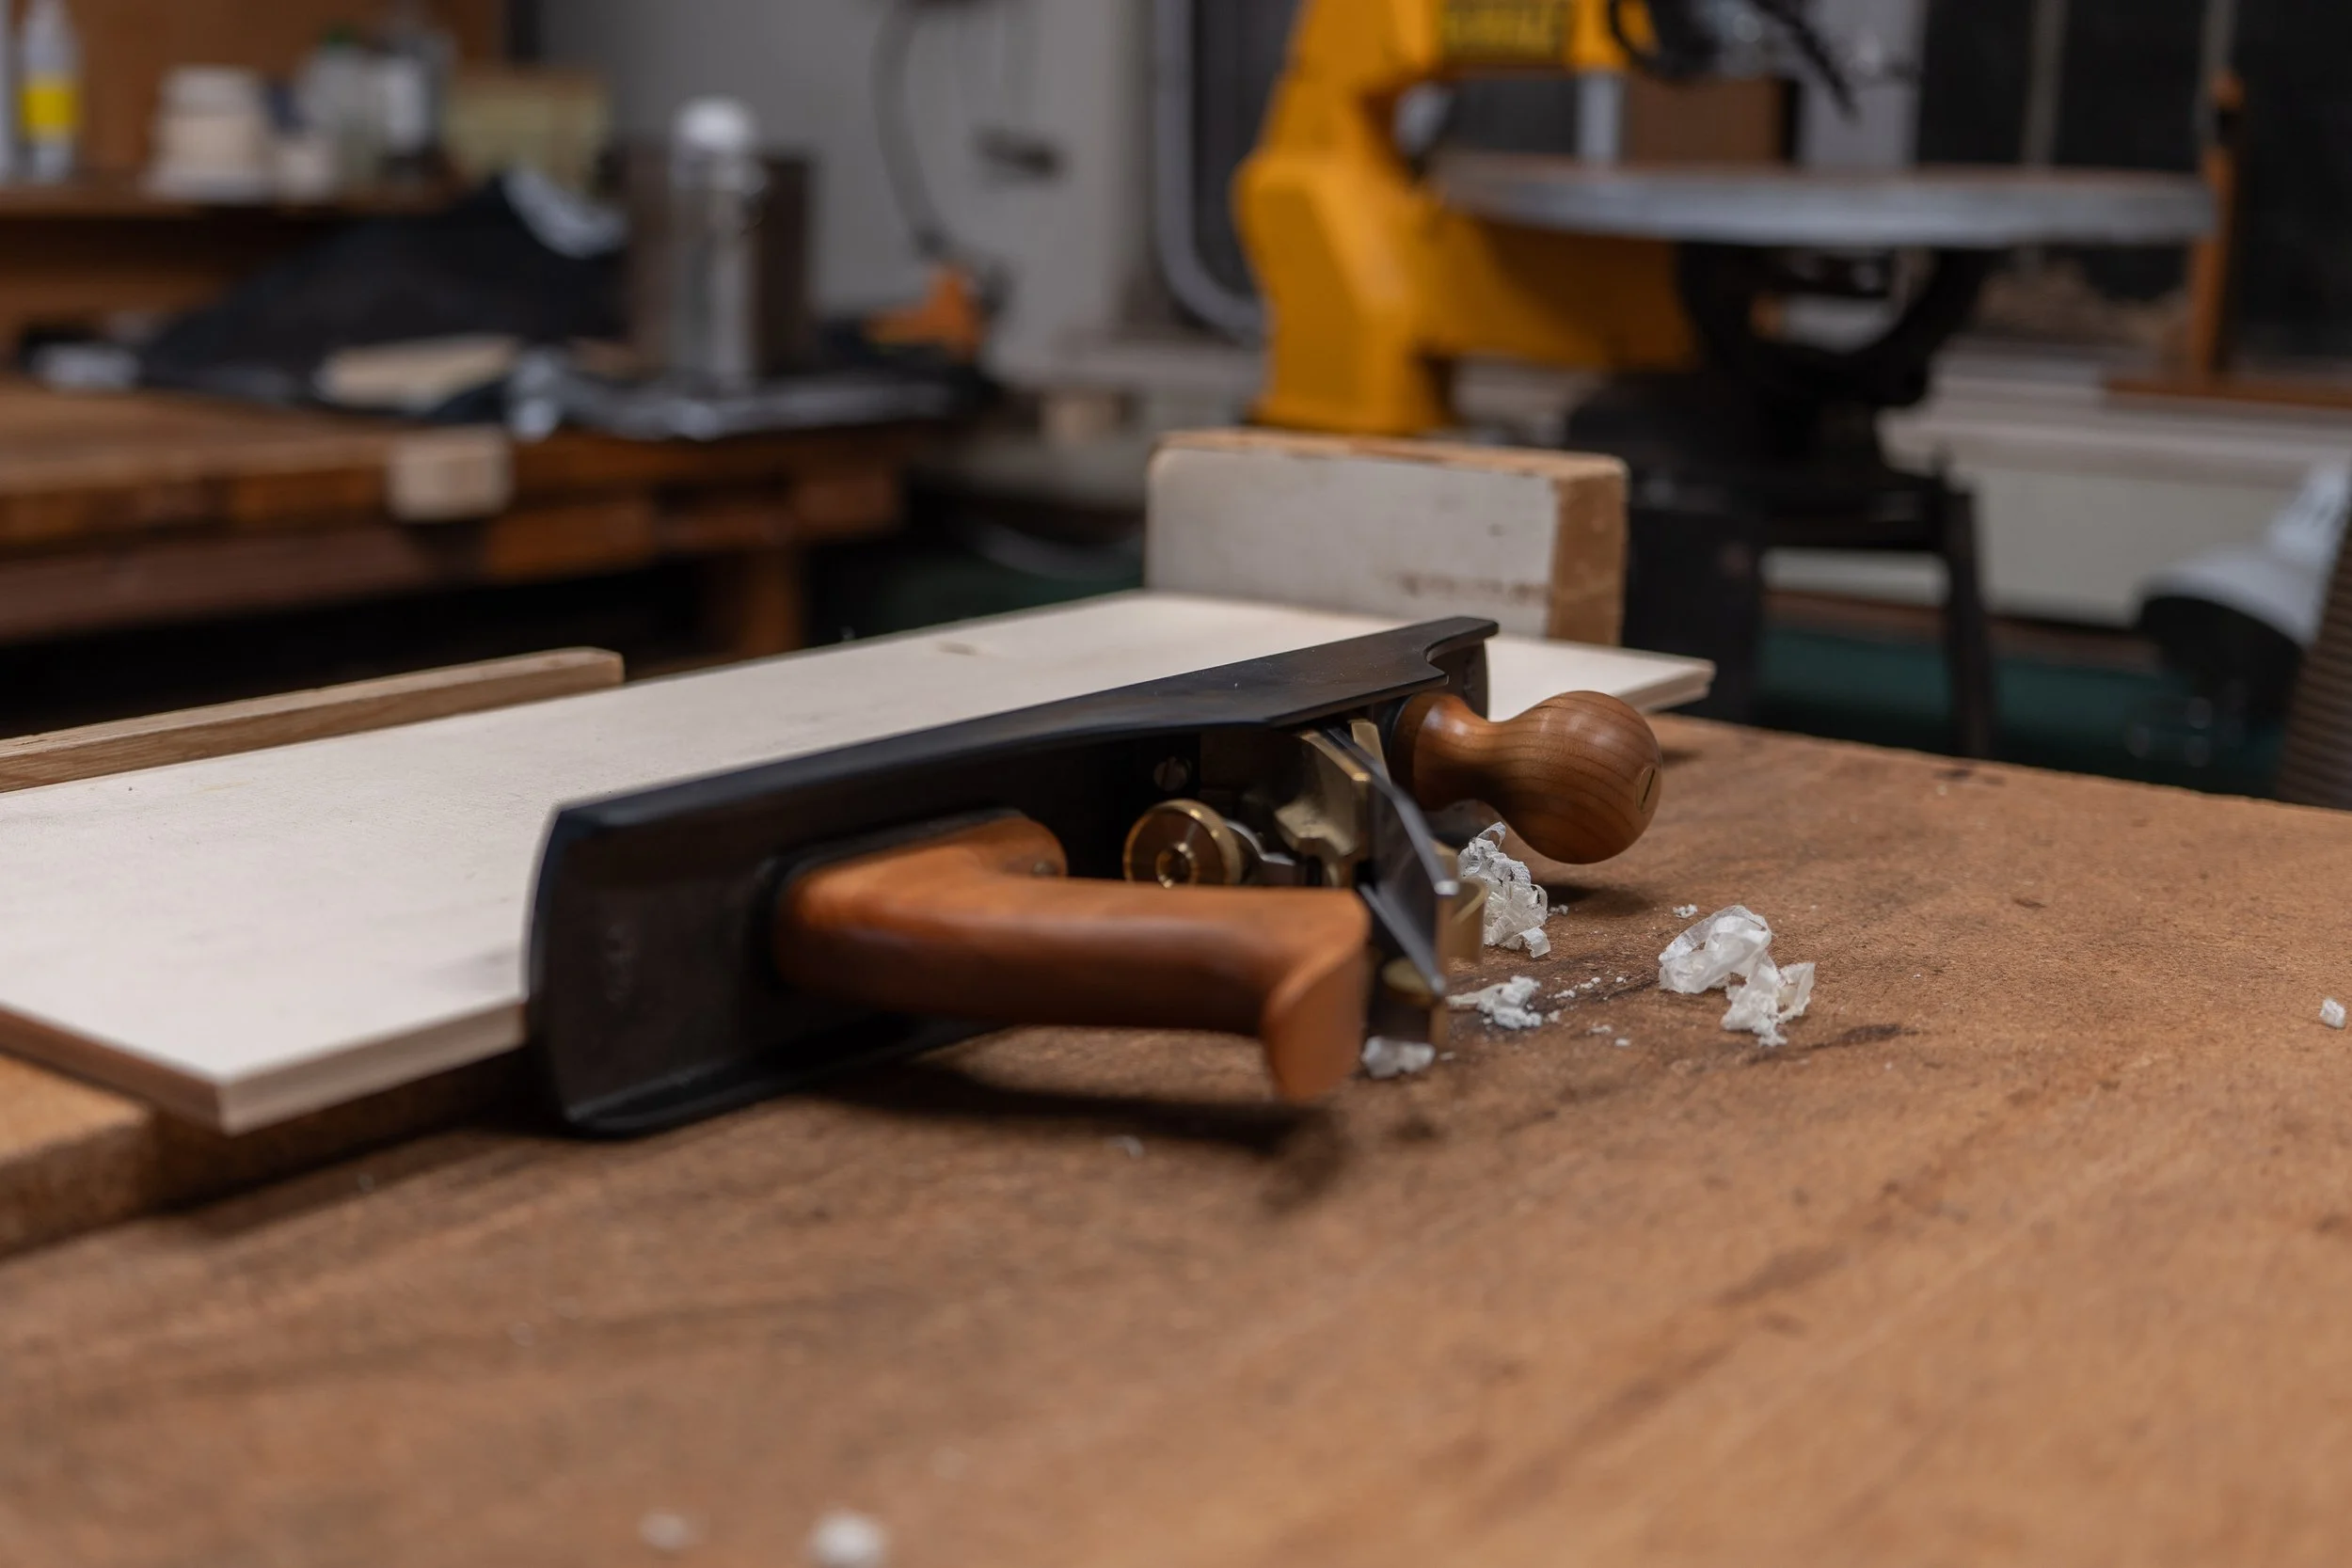
Planeing the edges of the top to prepare for joining them together.
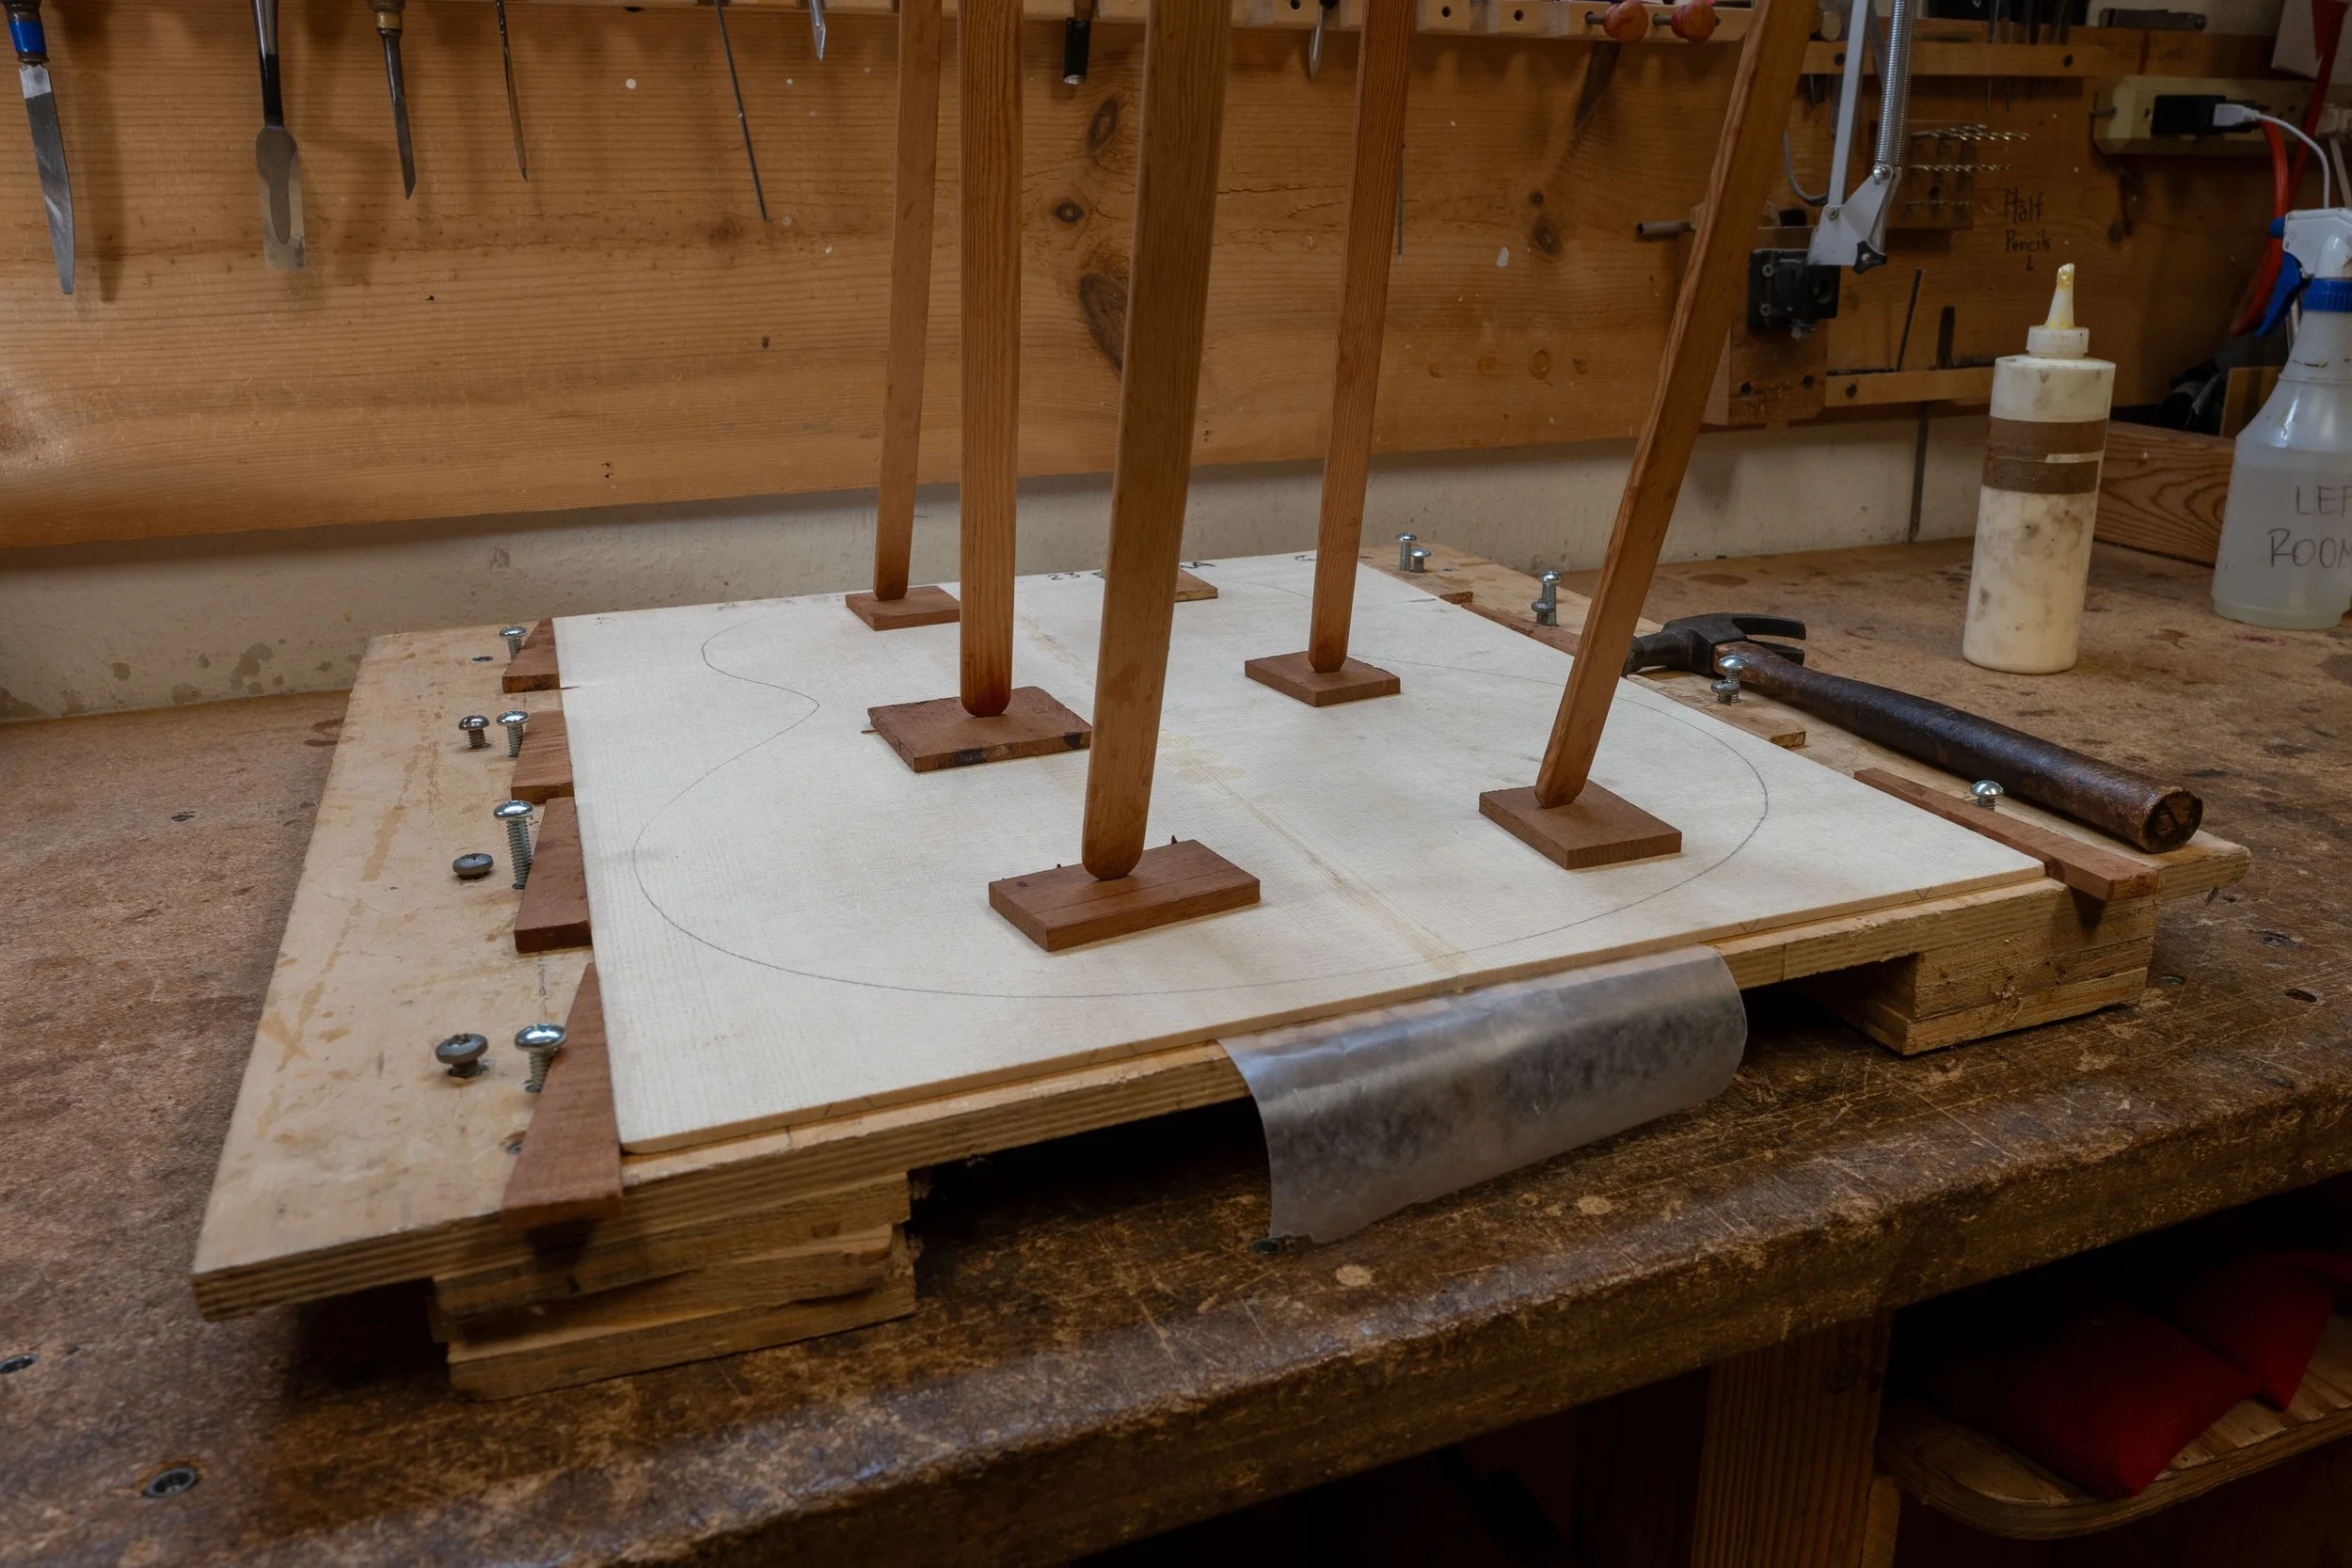
Joining the top using Ervin's jig.
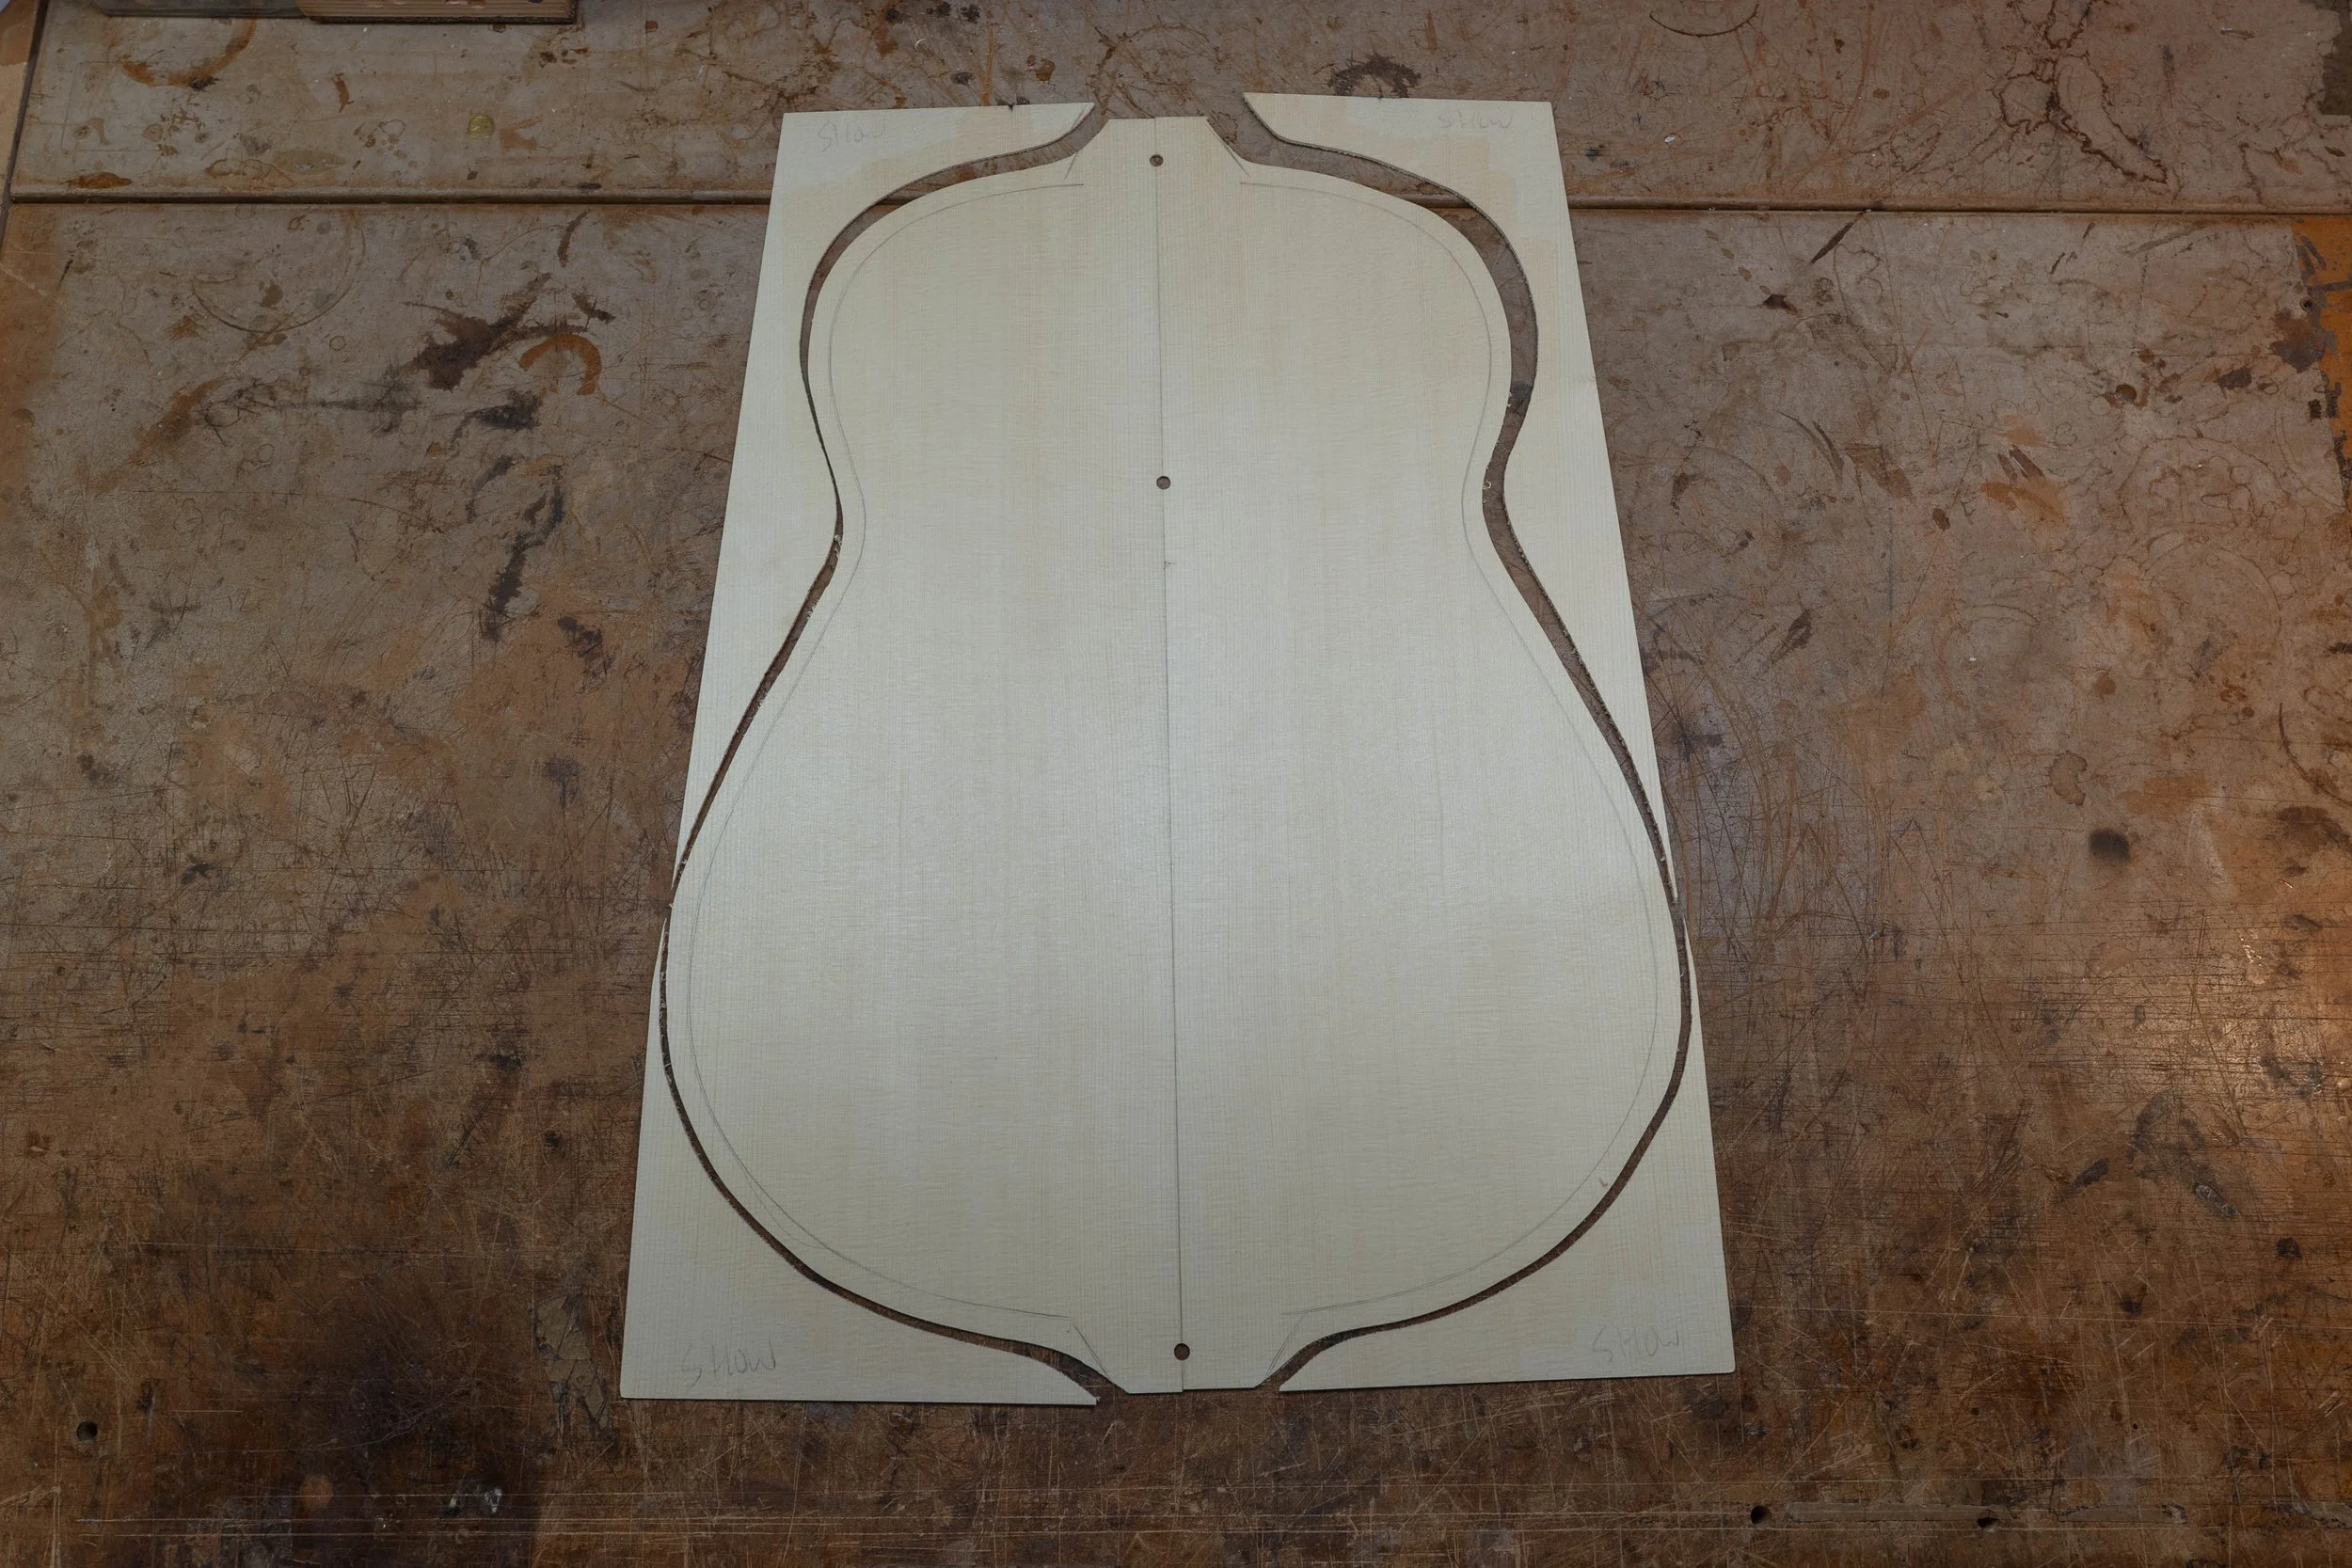
The top is thicknessed and cut out.
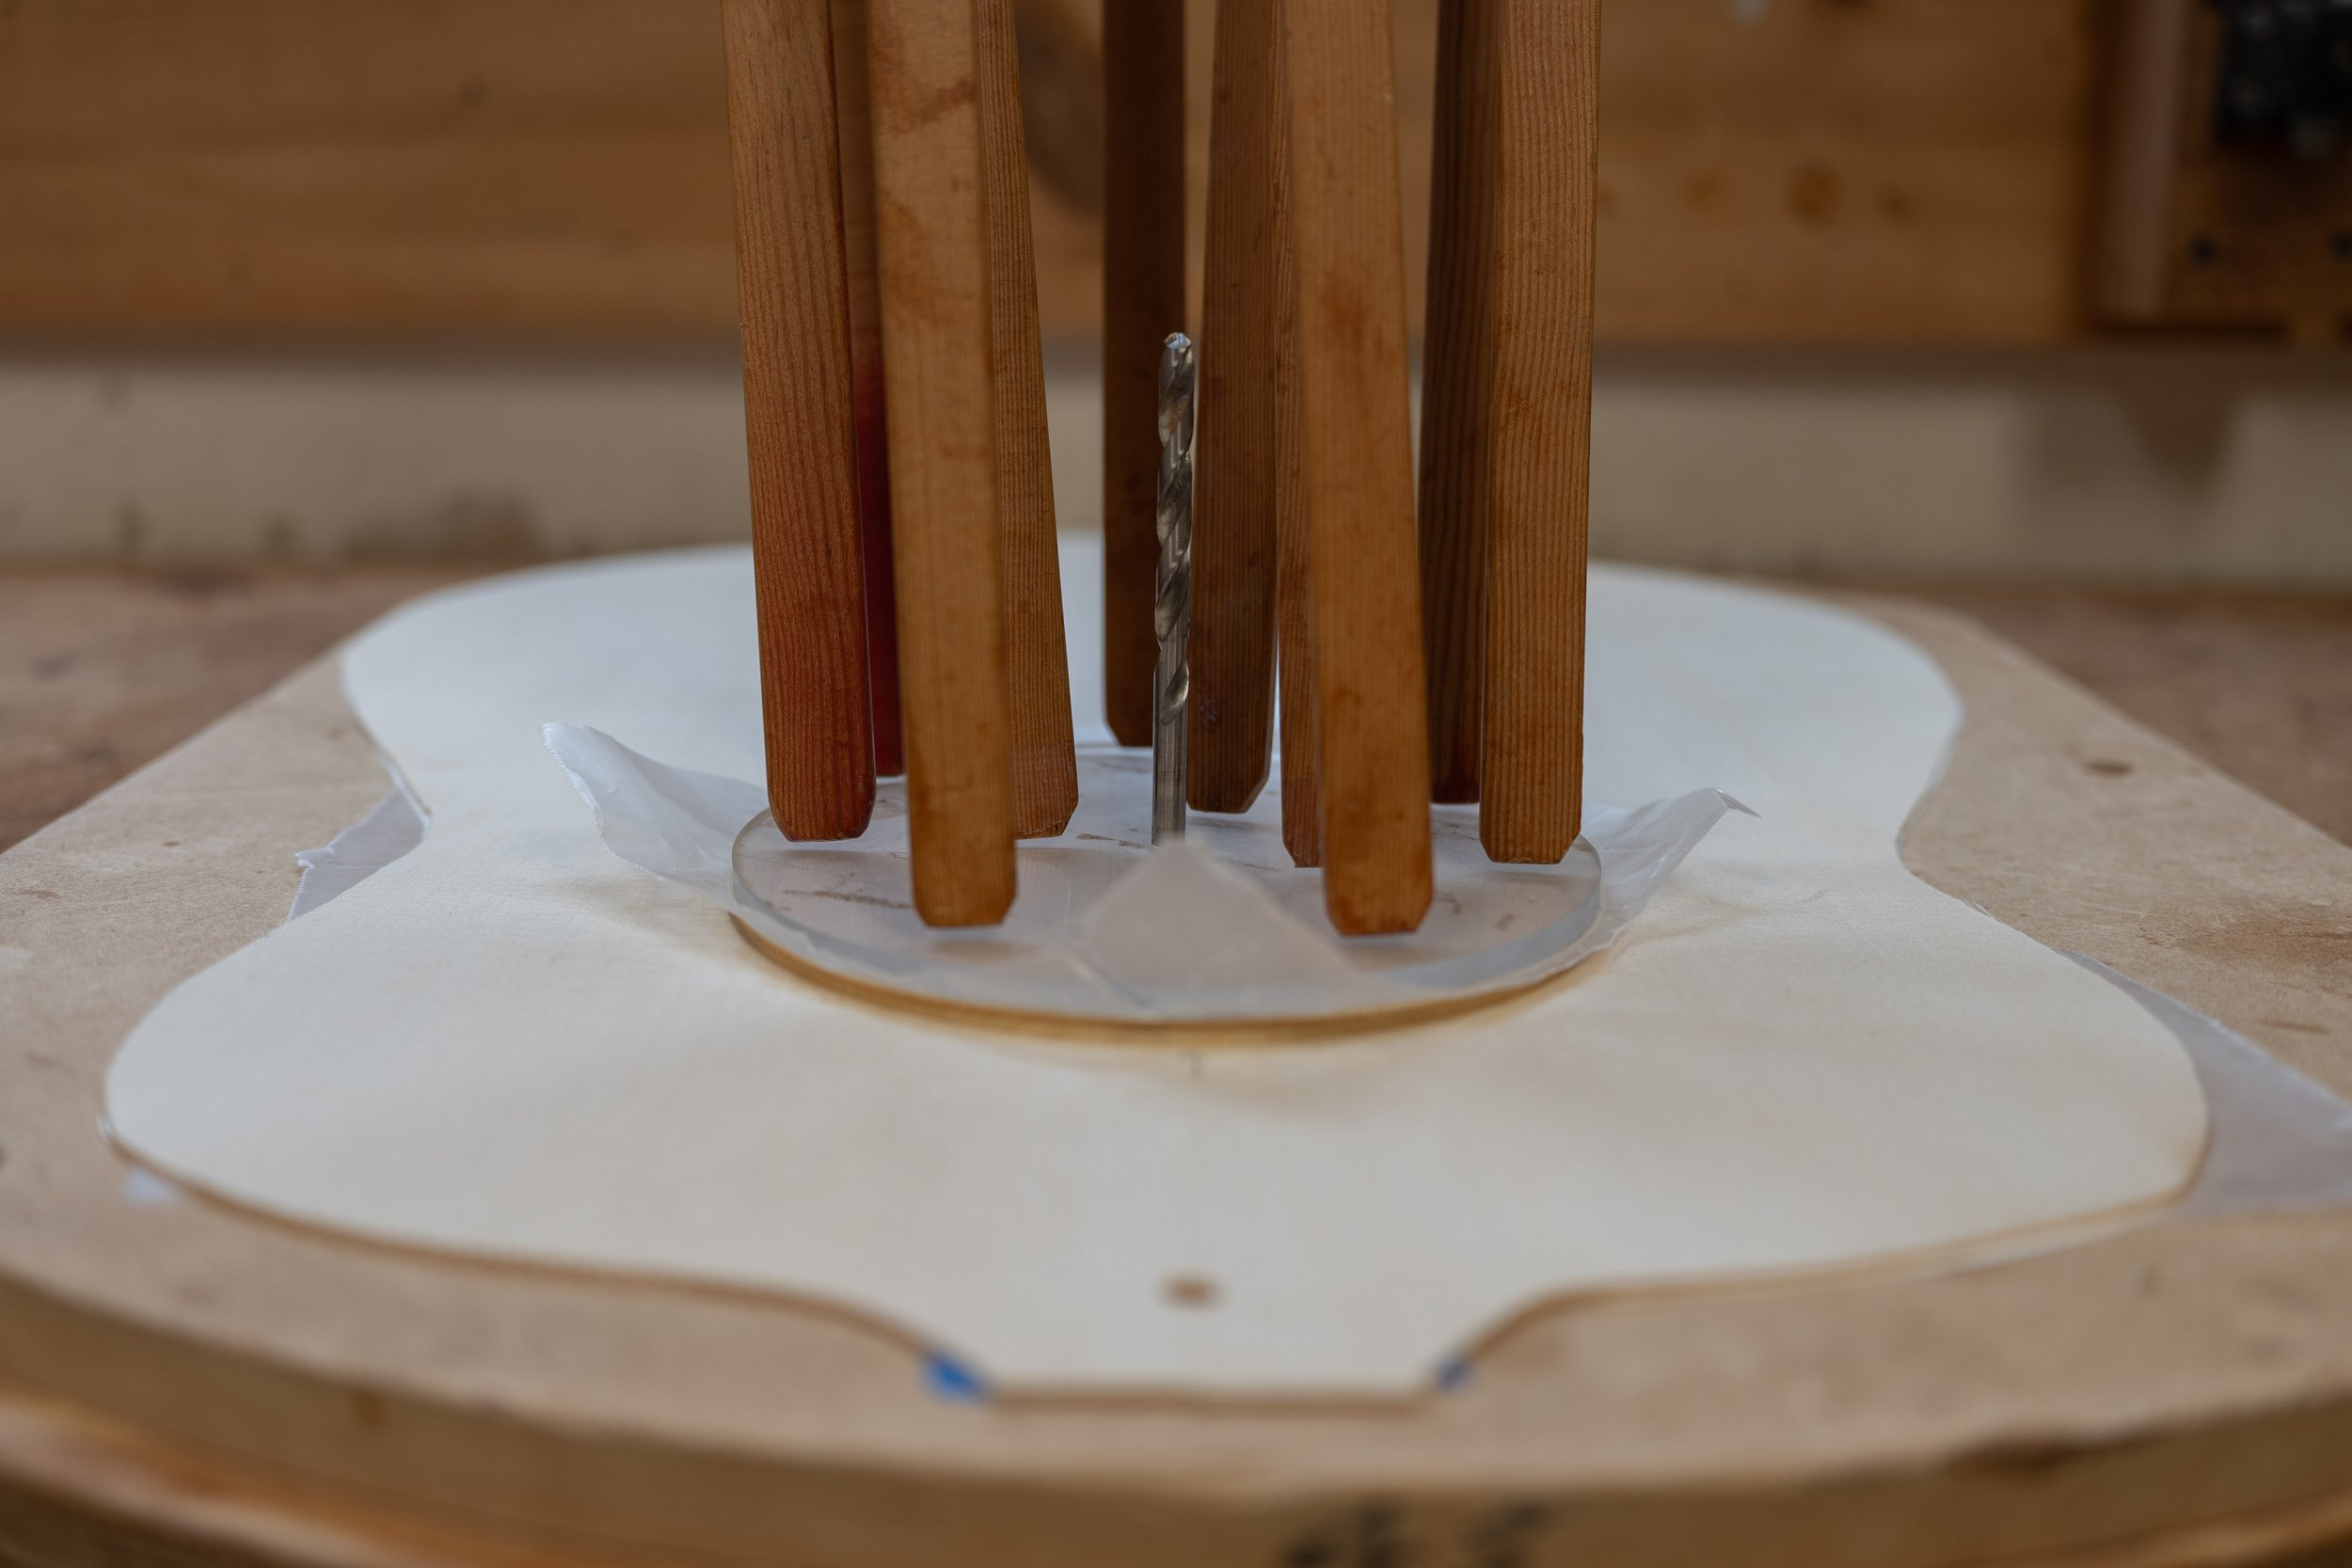
The rosette is thicker than the top, so I had to glue the soundhole reinforcing donut before I could inlay it.
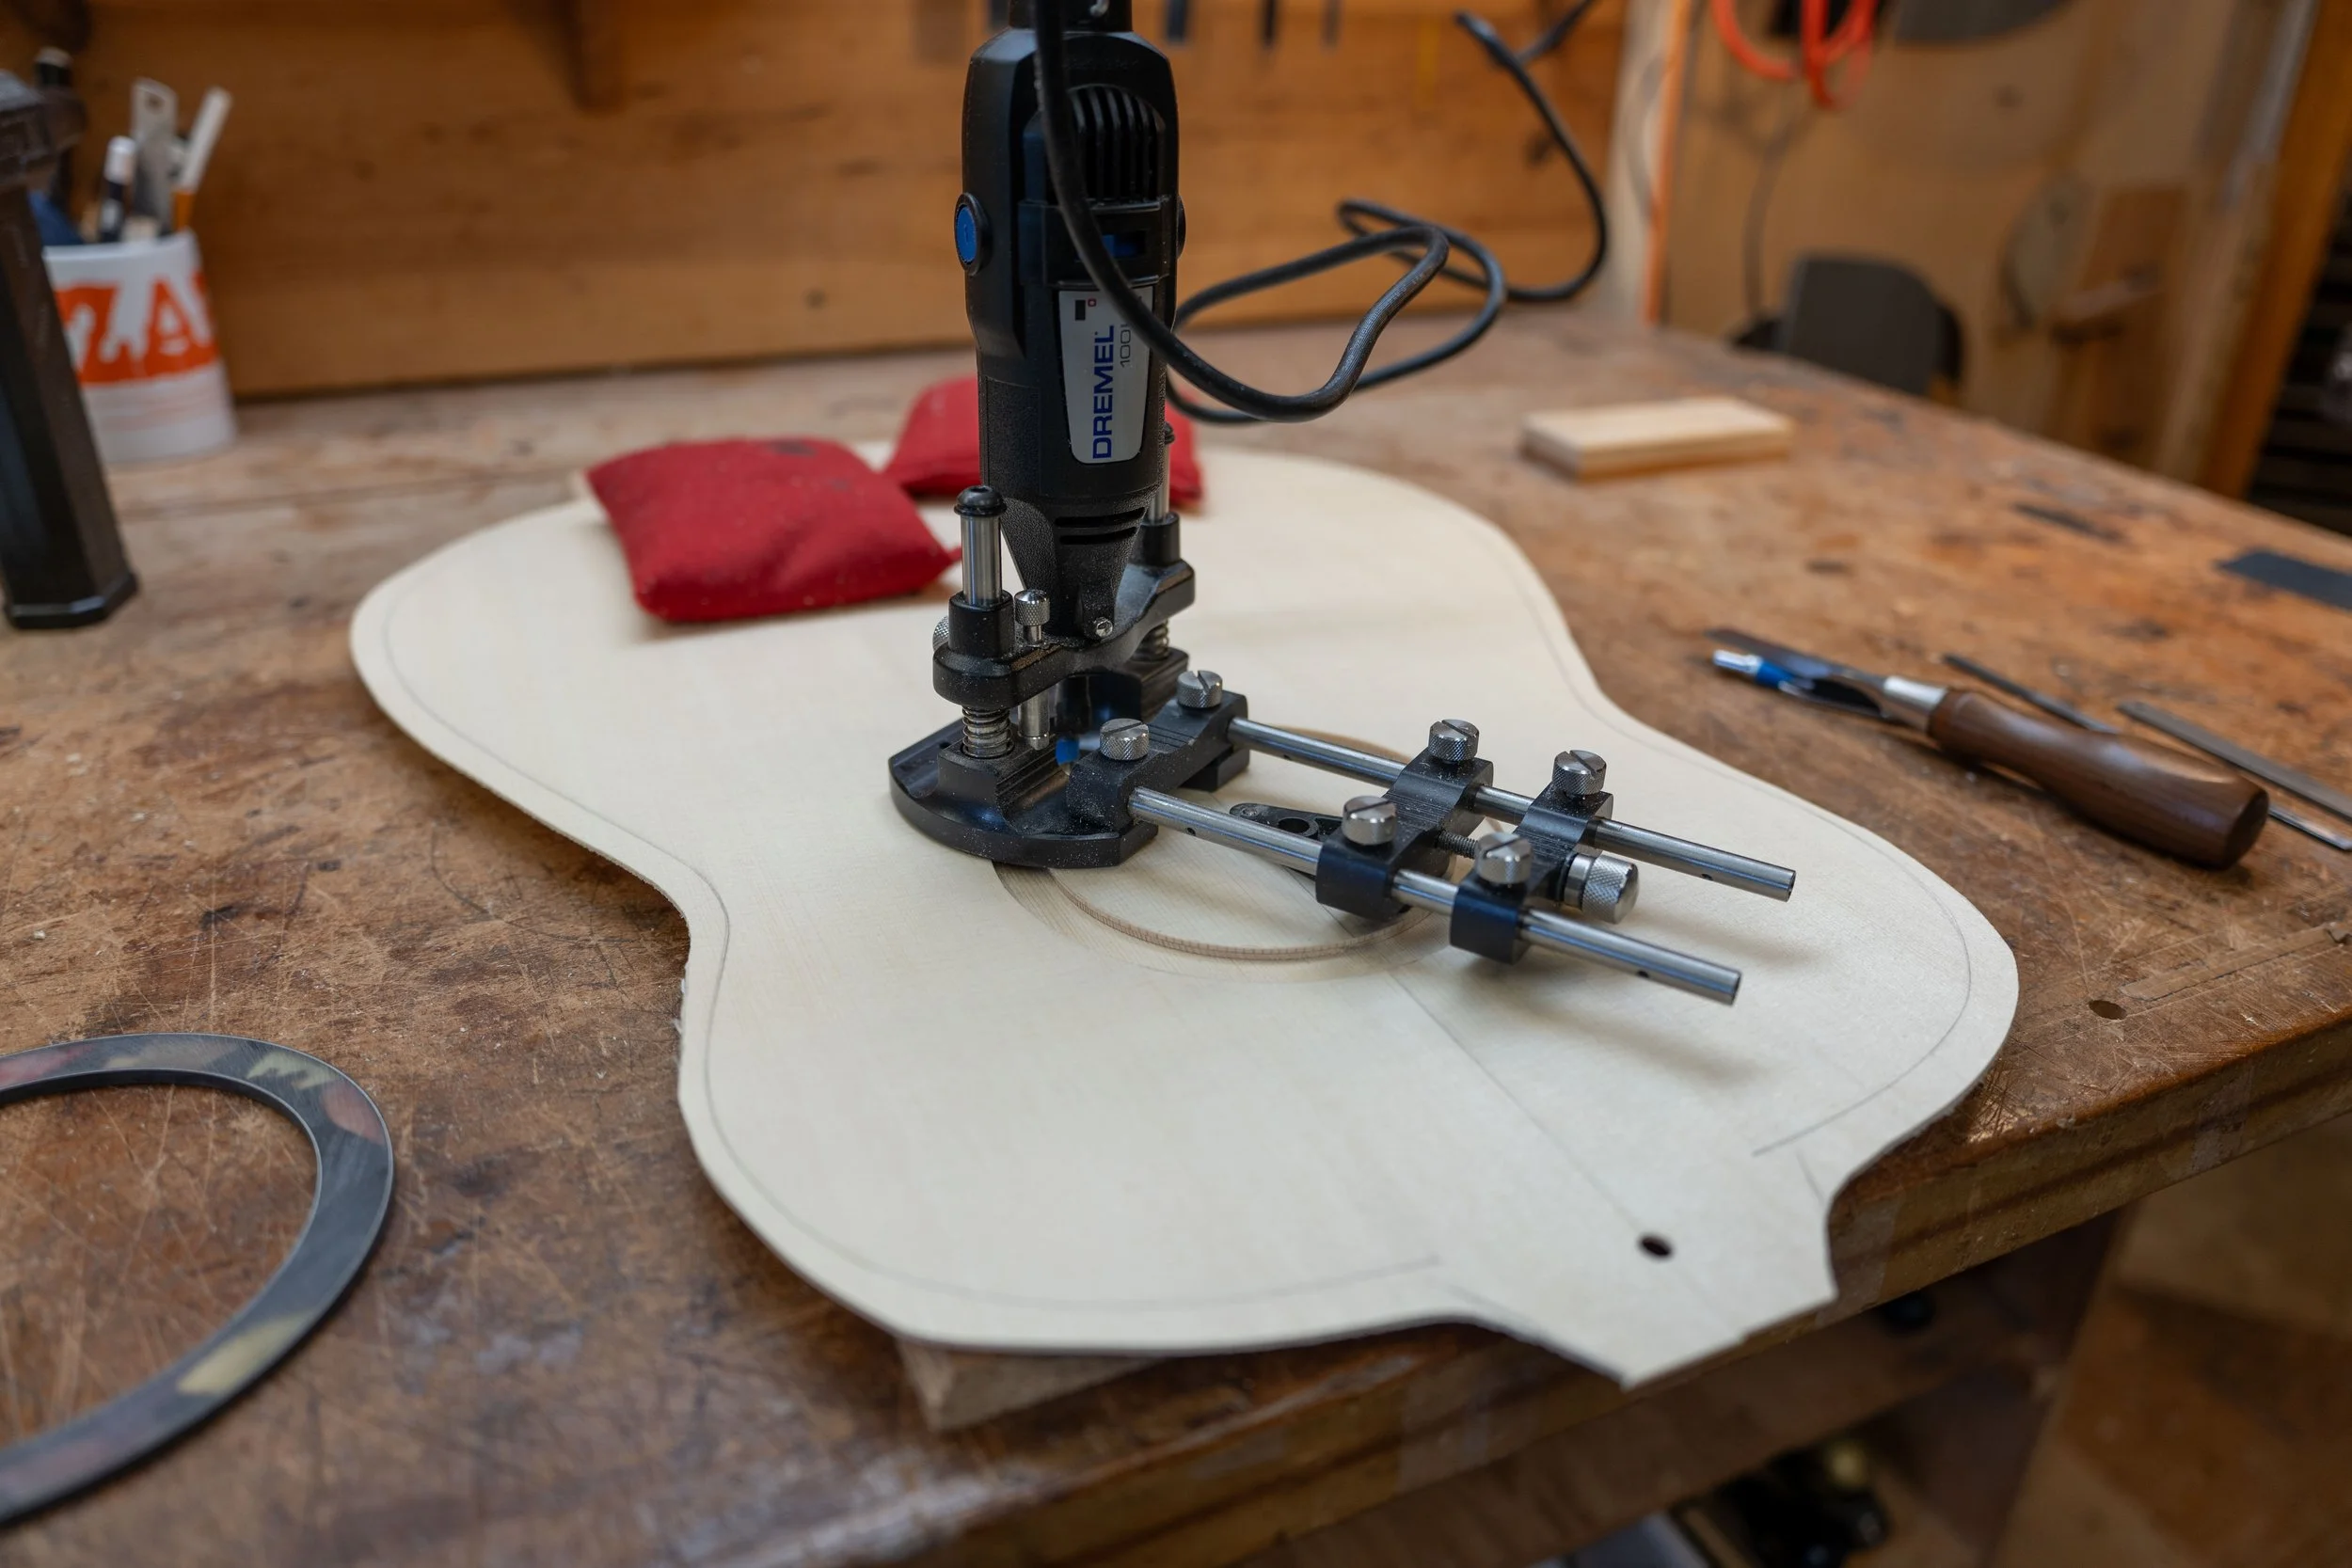
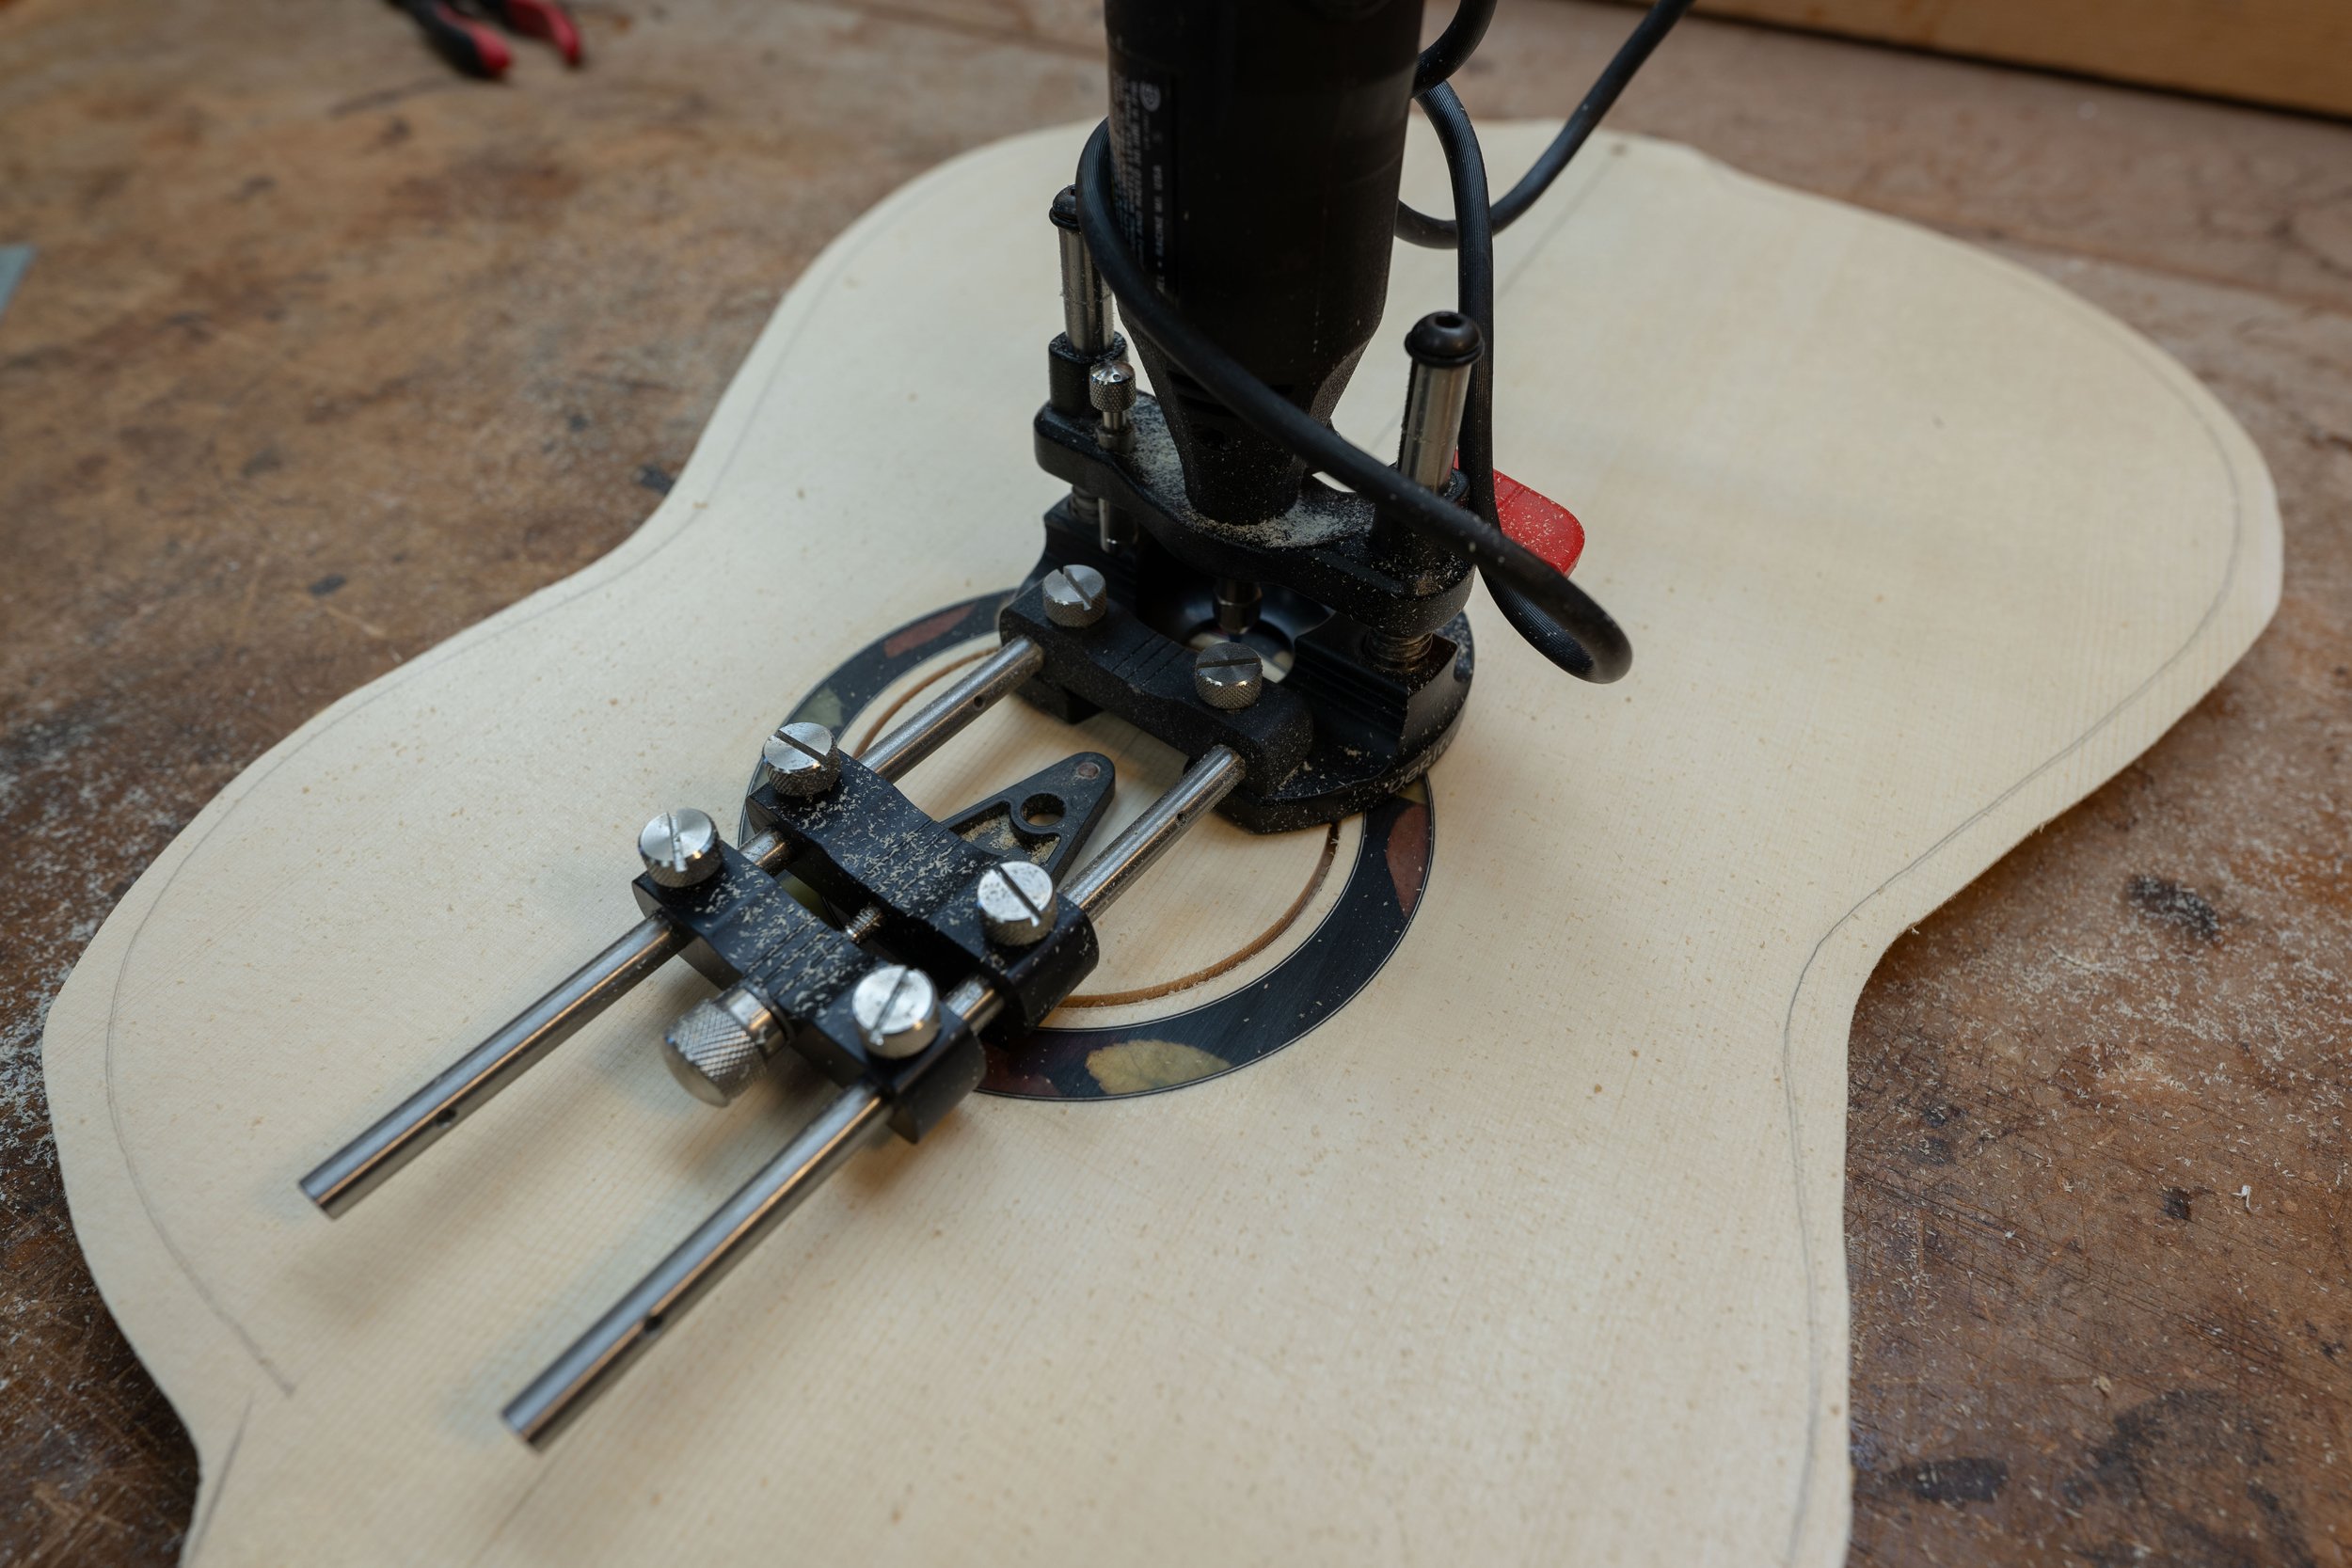
Routing for the rosette in the top.
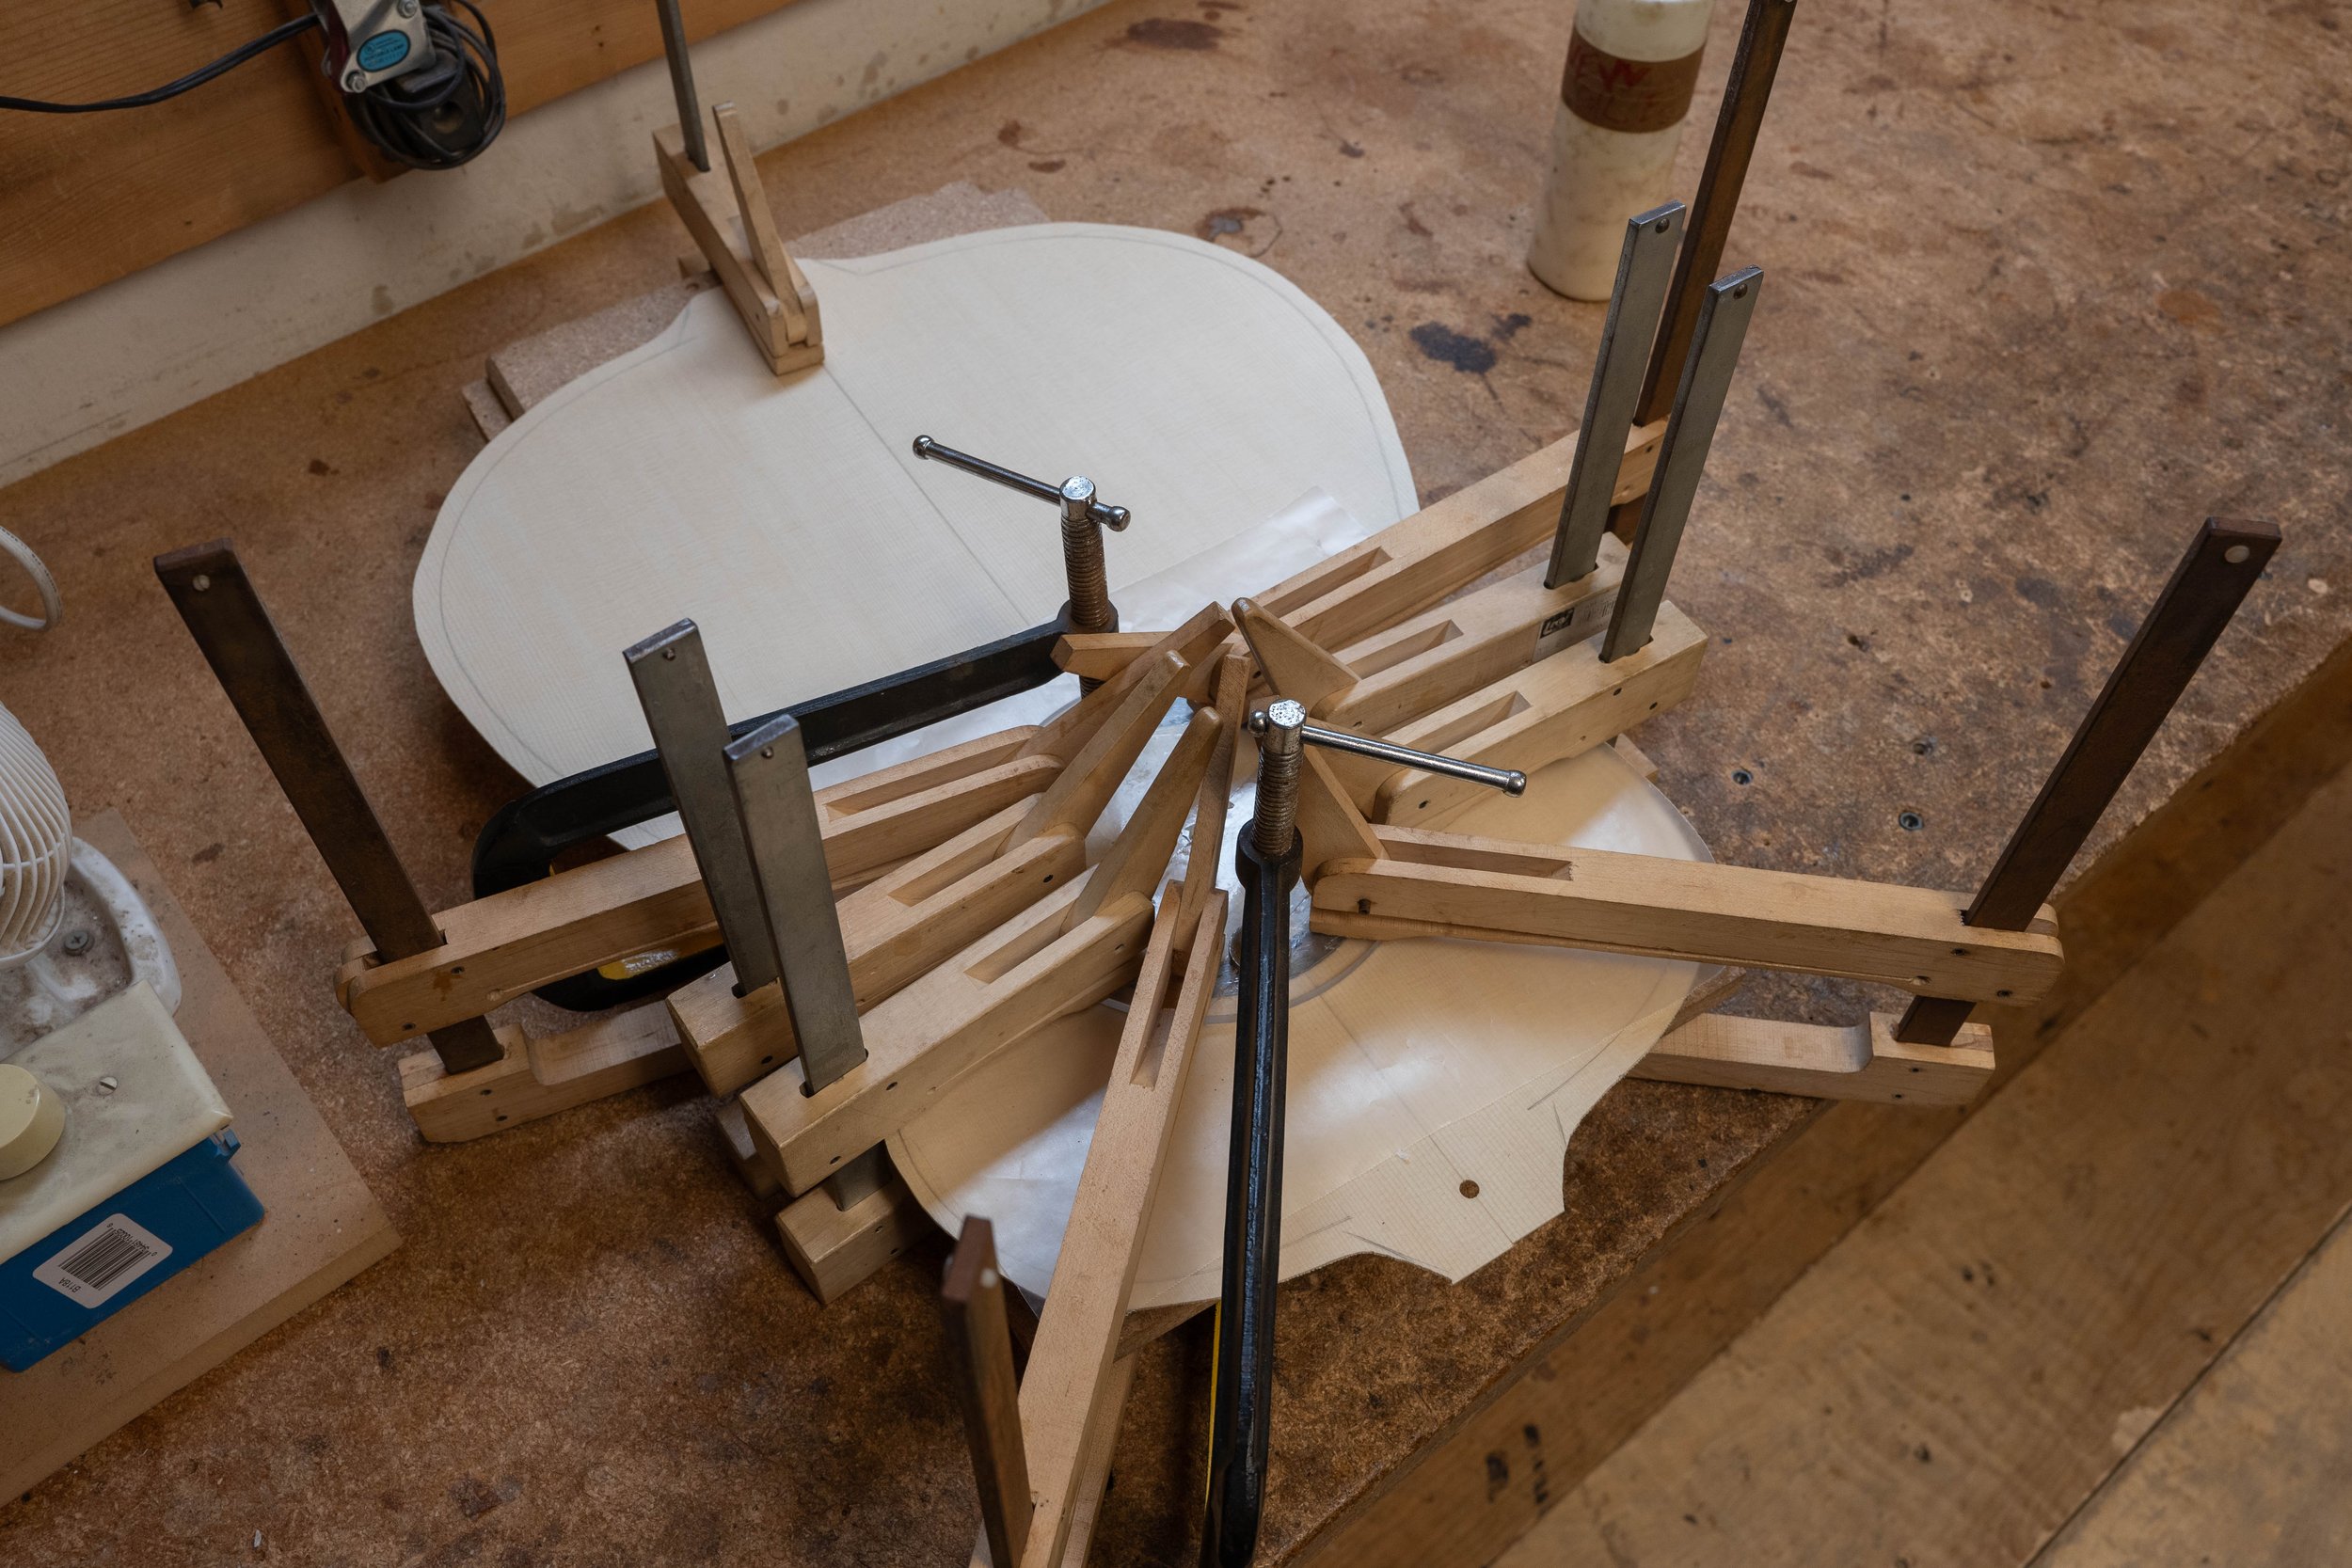
Glueing in the rosette.
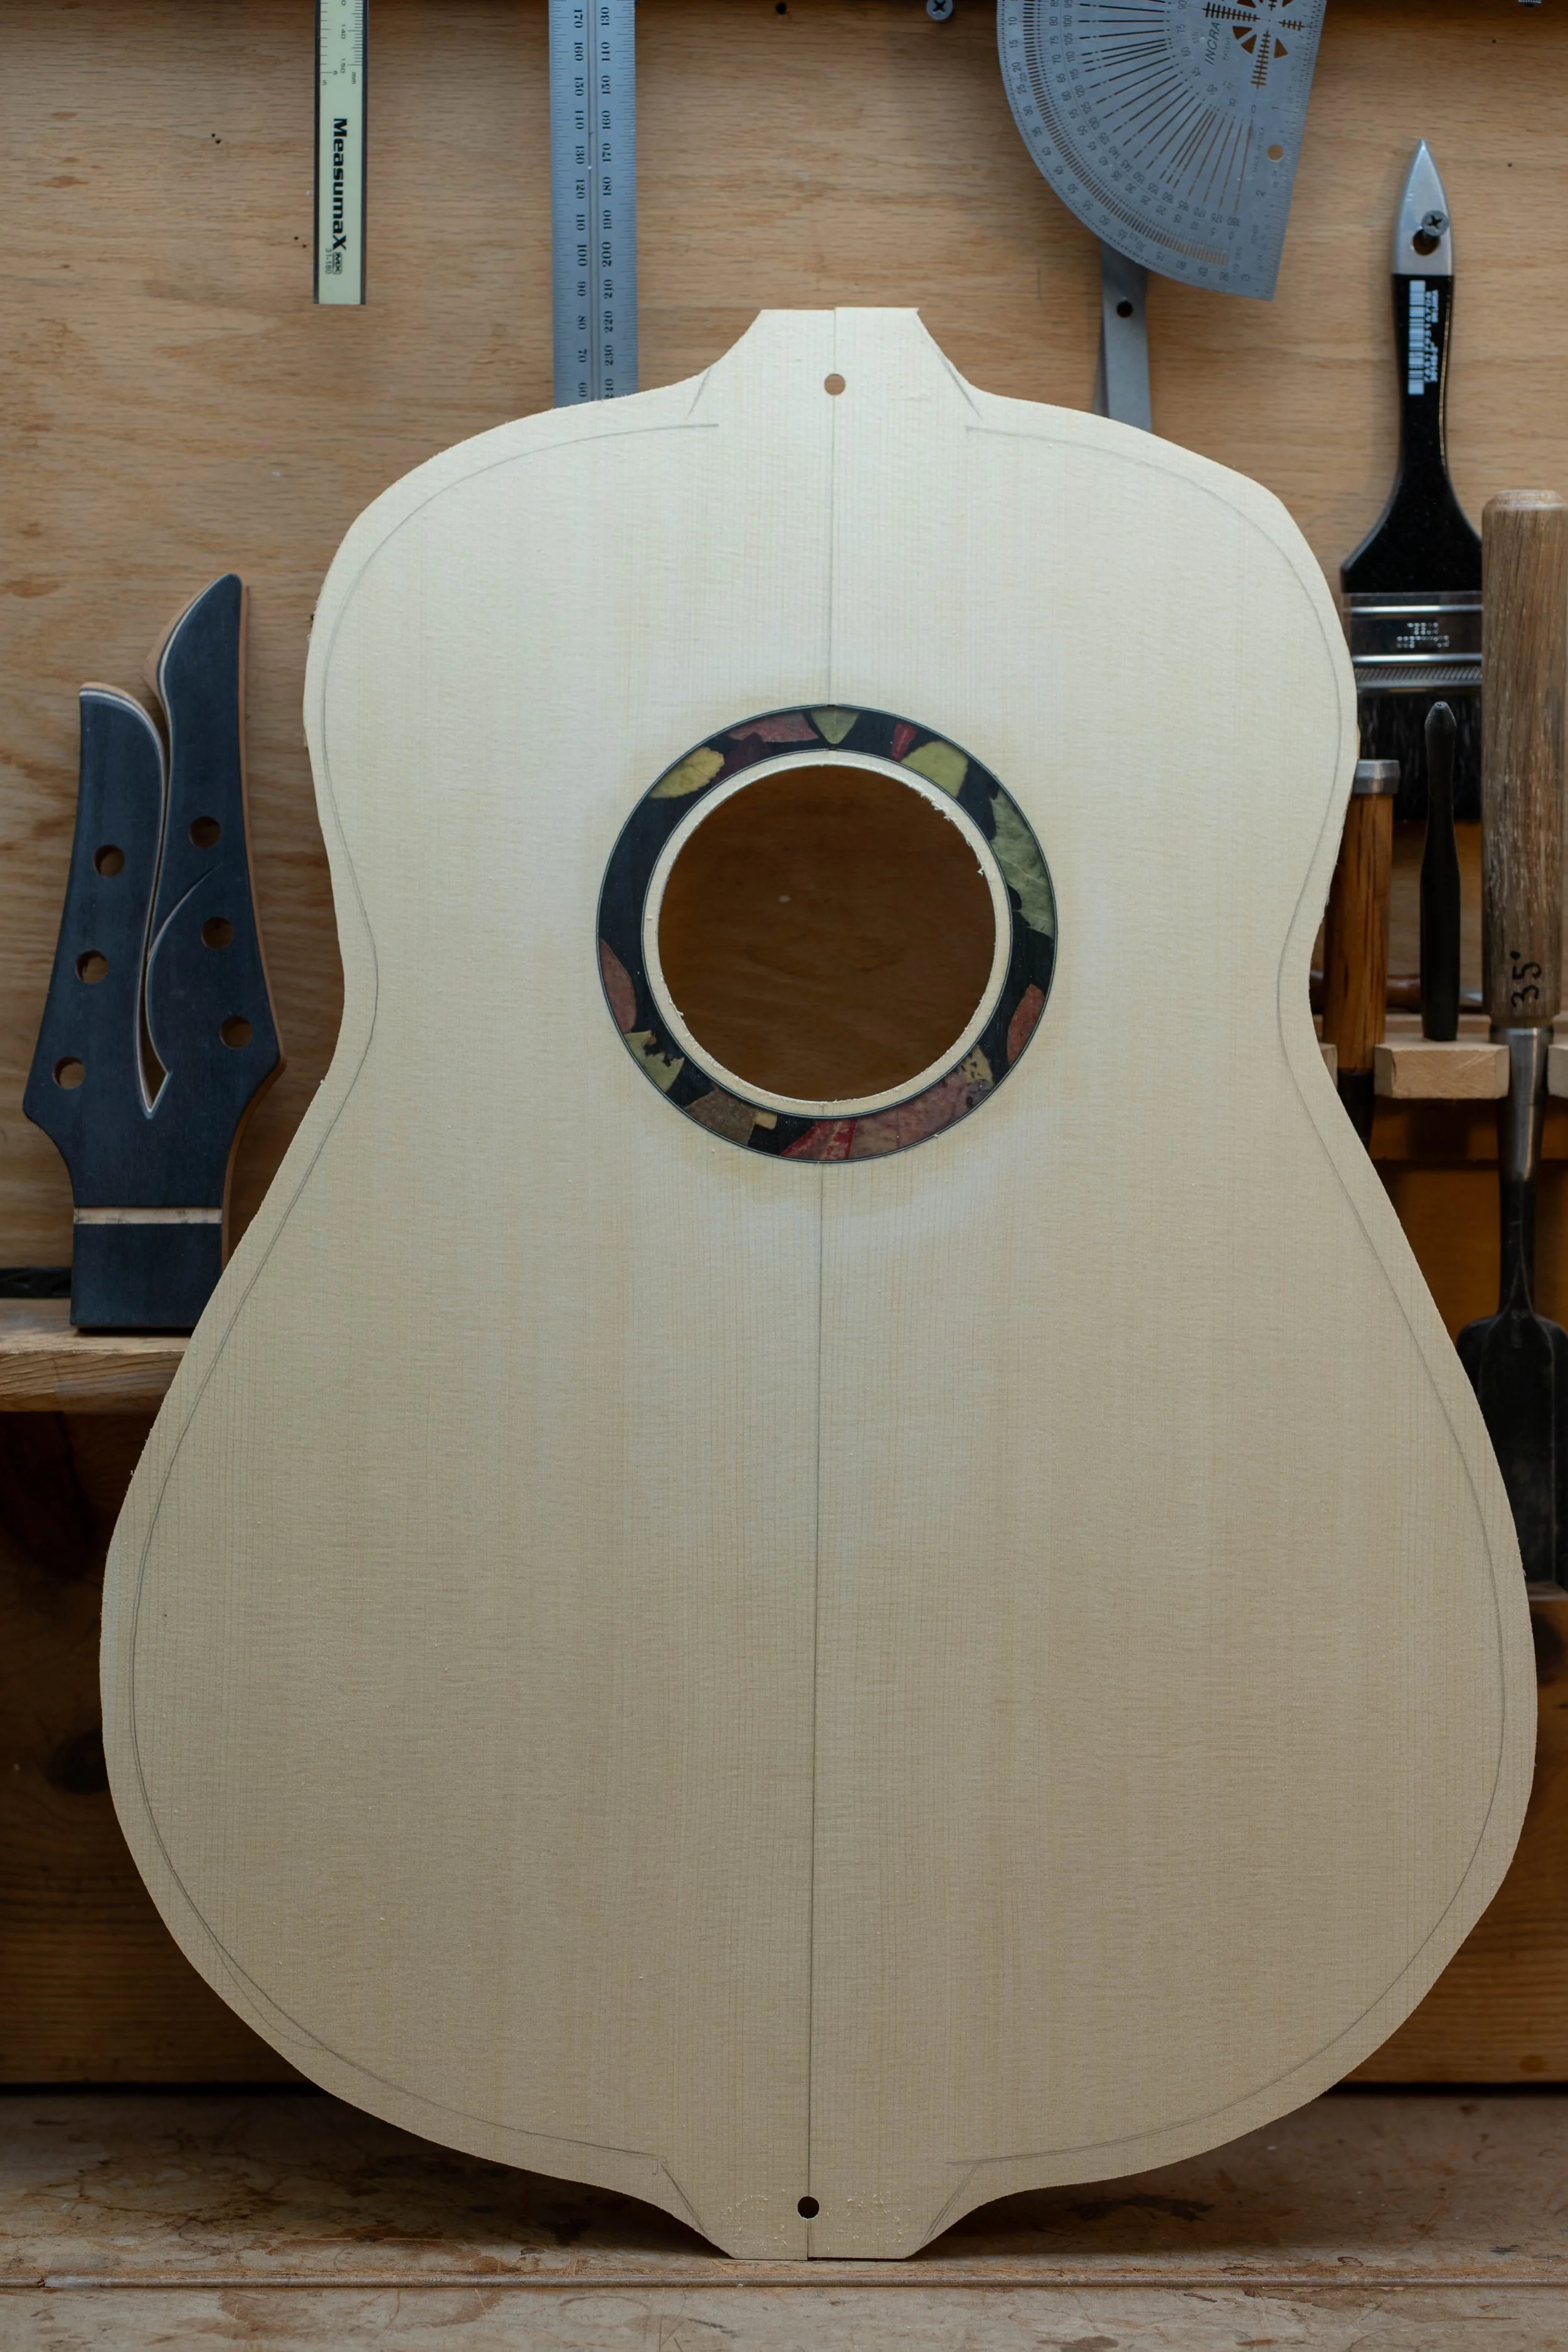
Then I sanded the rosette flush with the top. The sanding scratches reduce the clarity of the rosette somewhat, but the clarity will come back with finish.
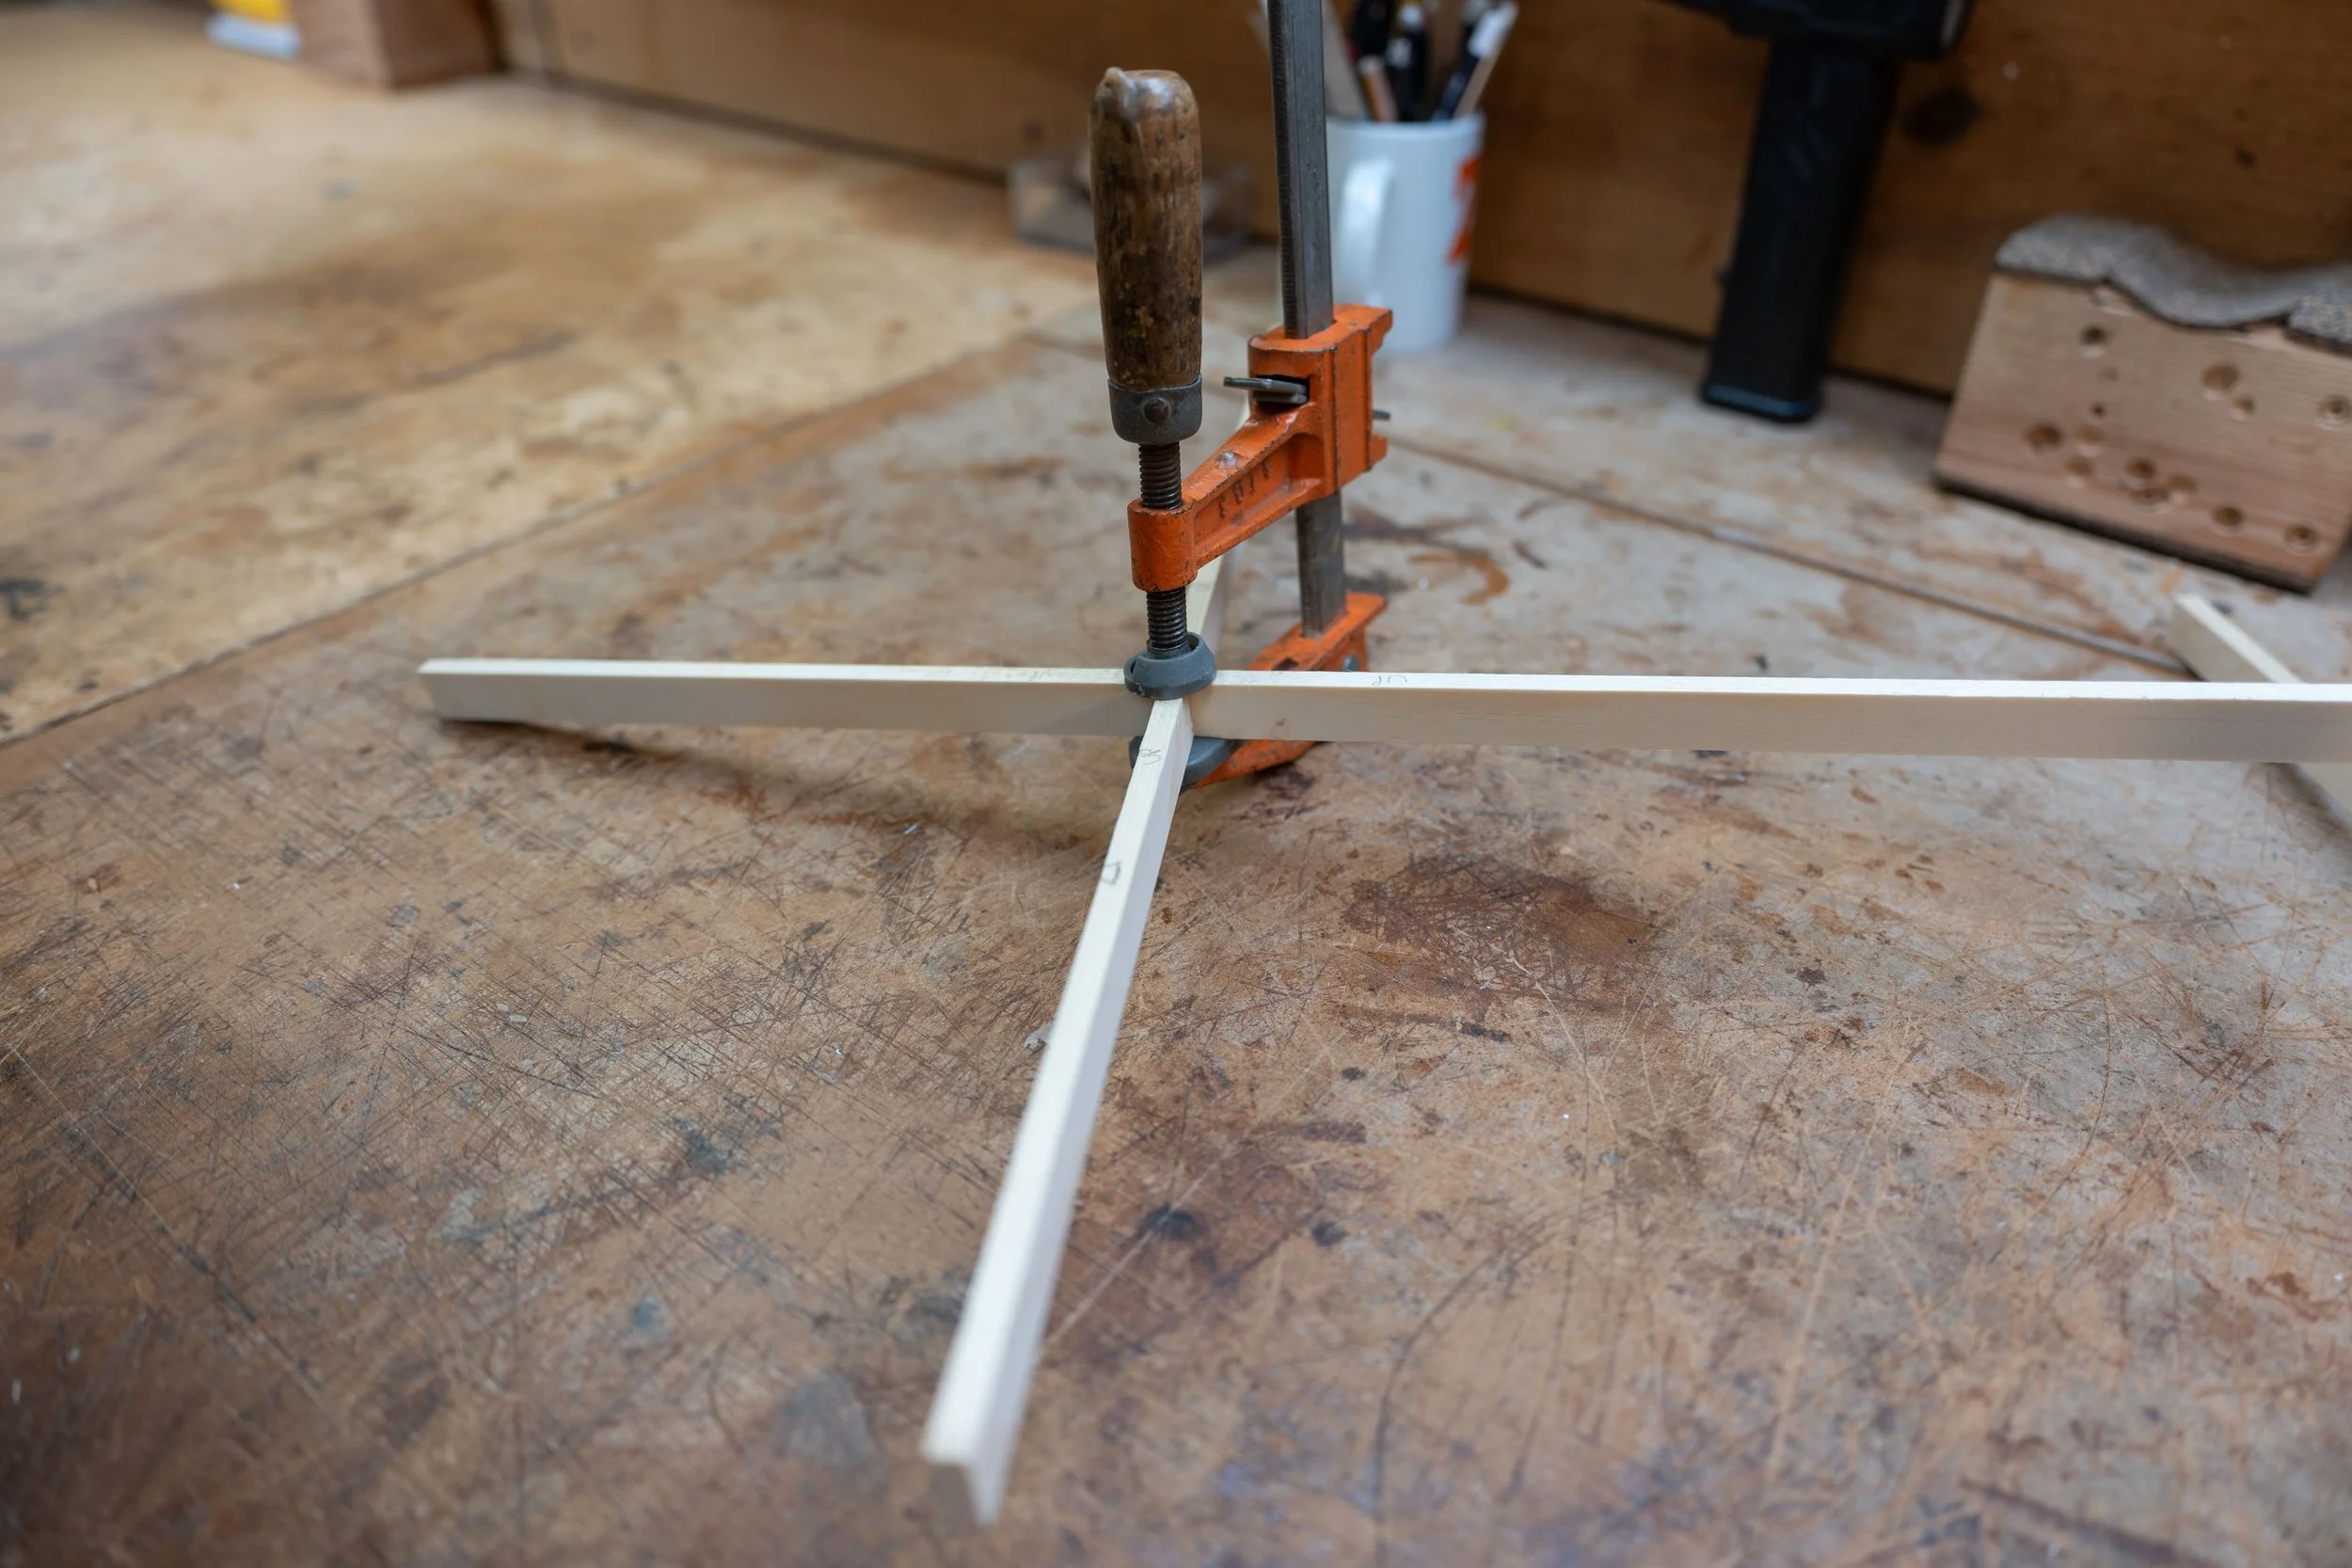
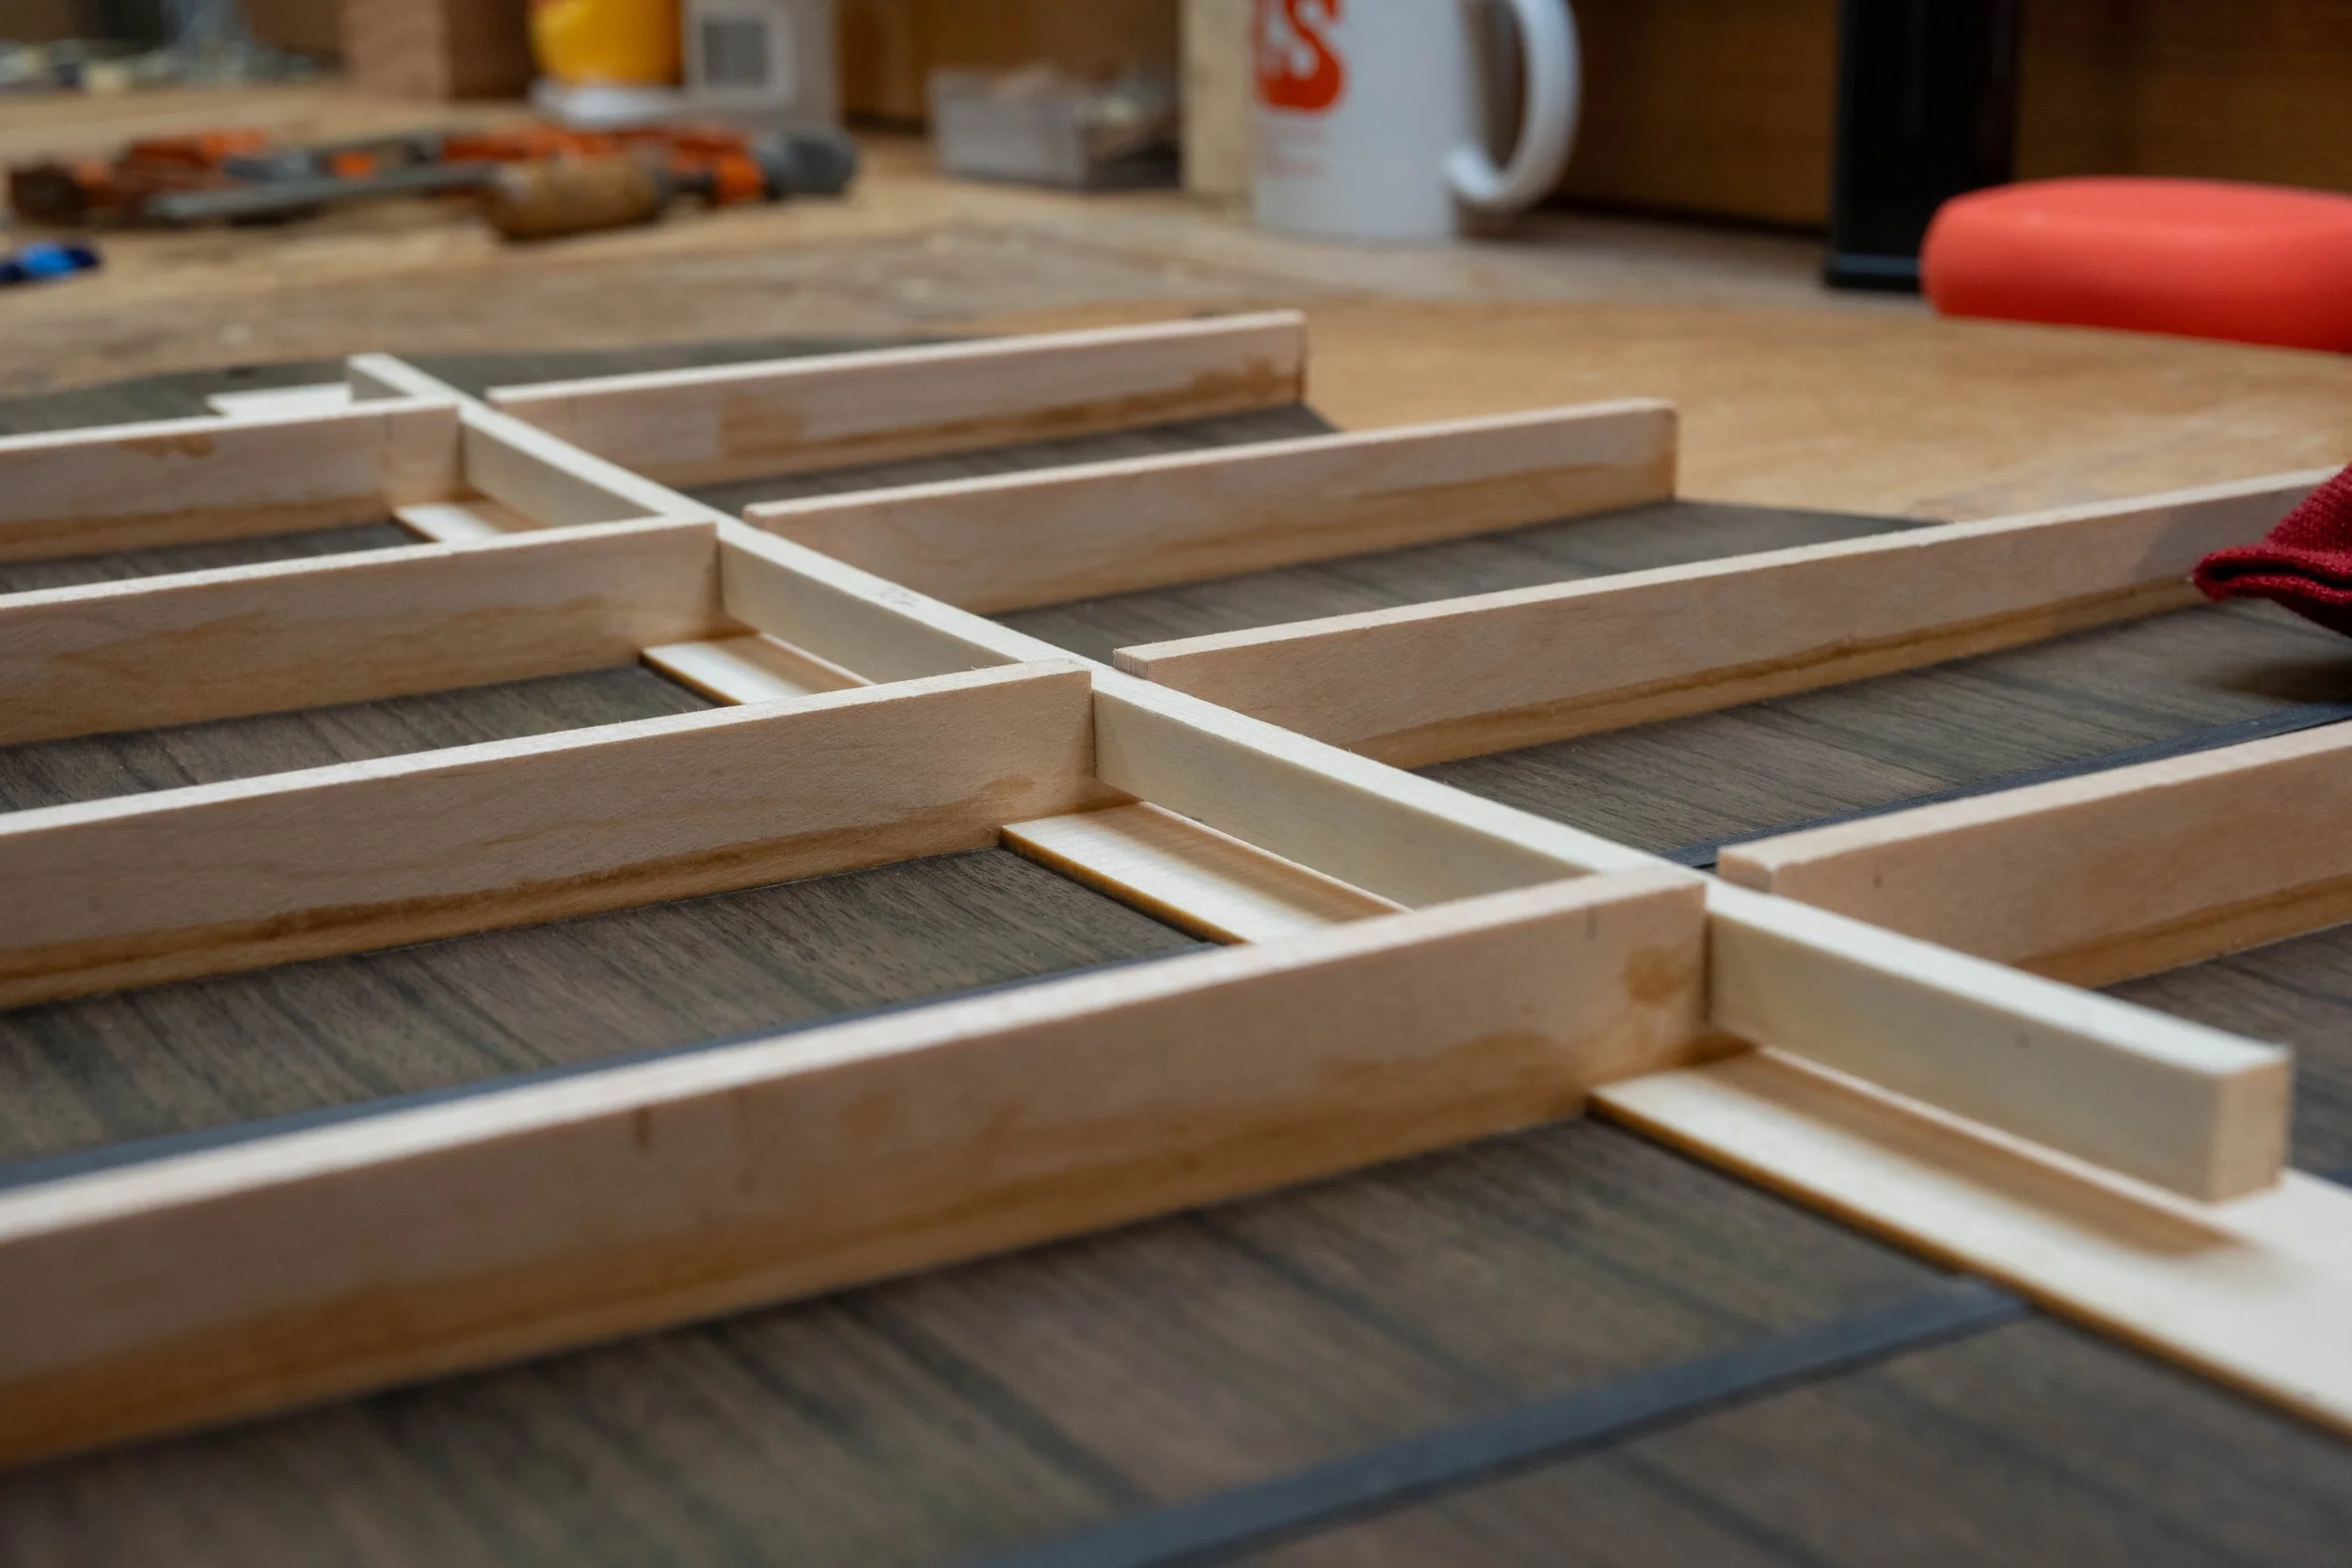
X brace.
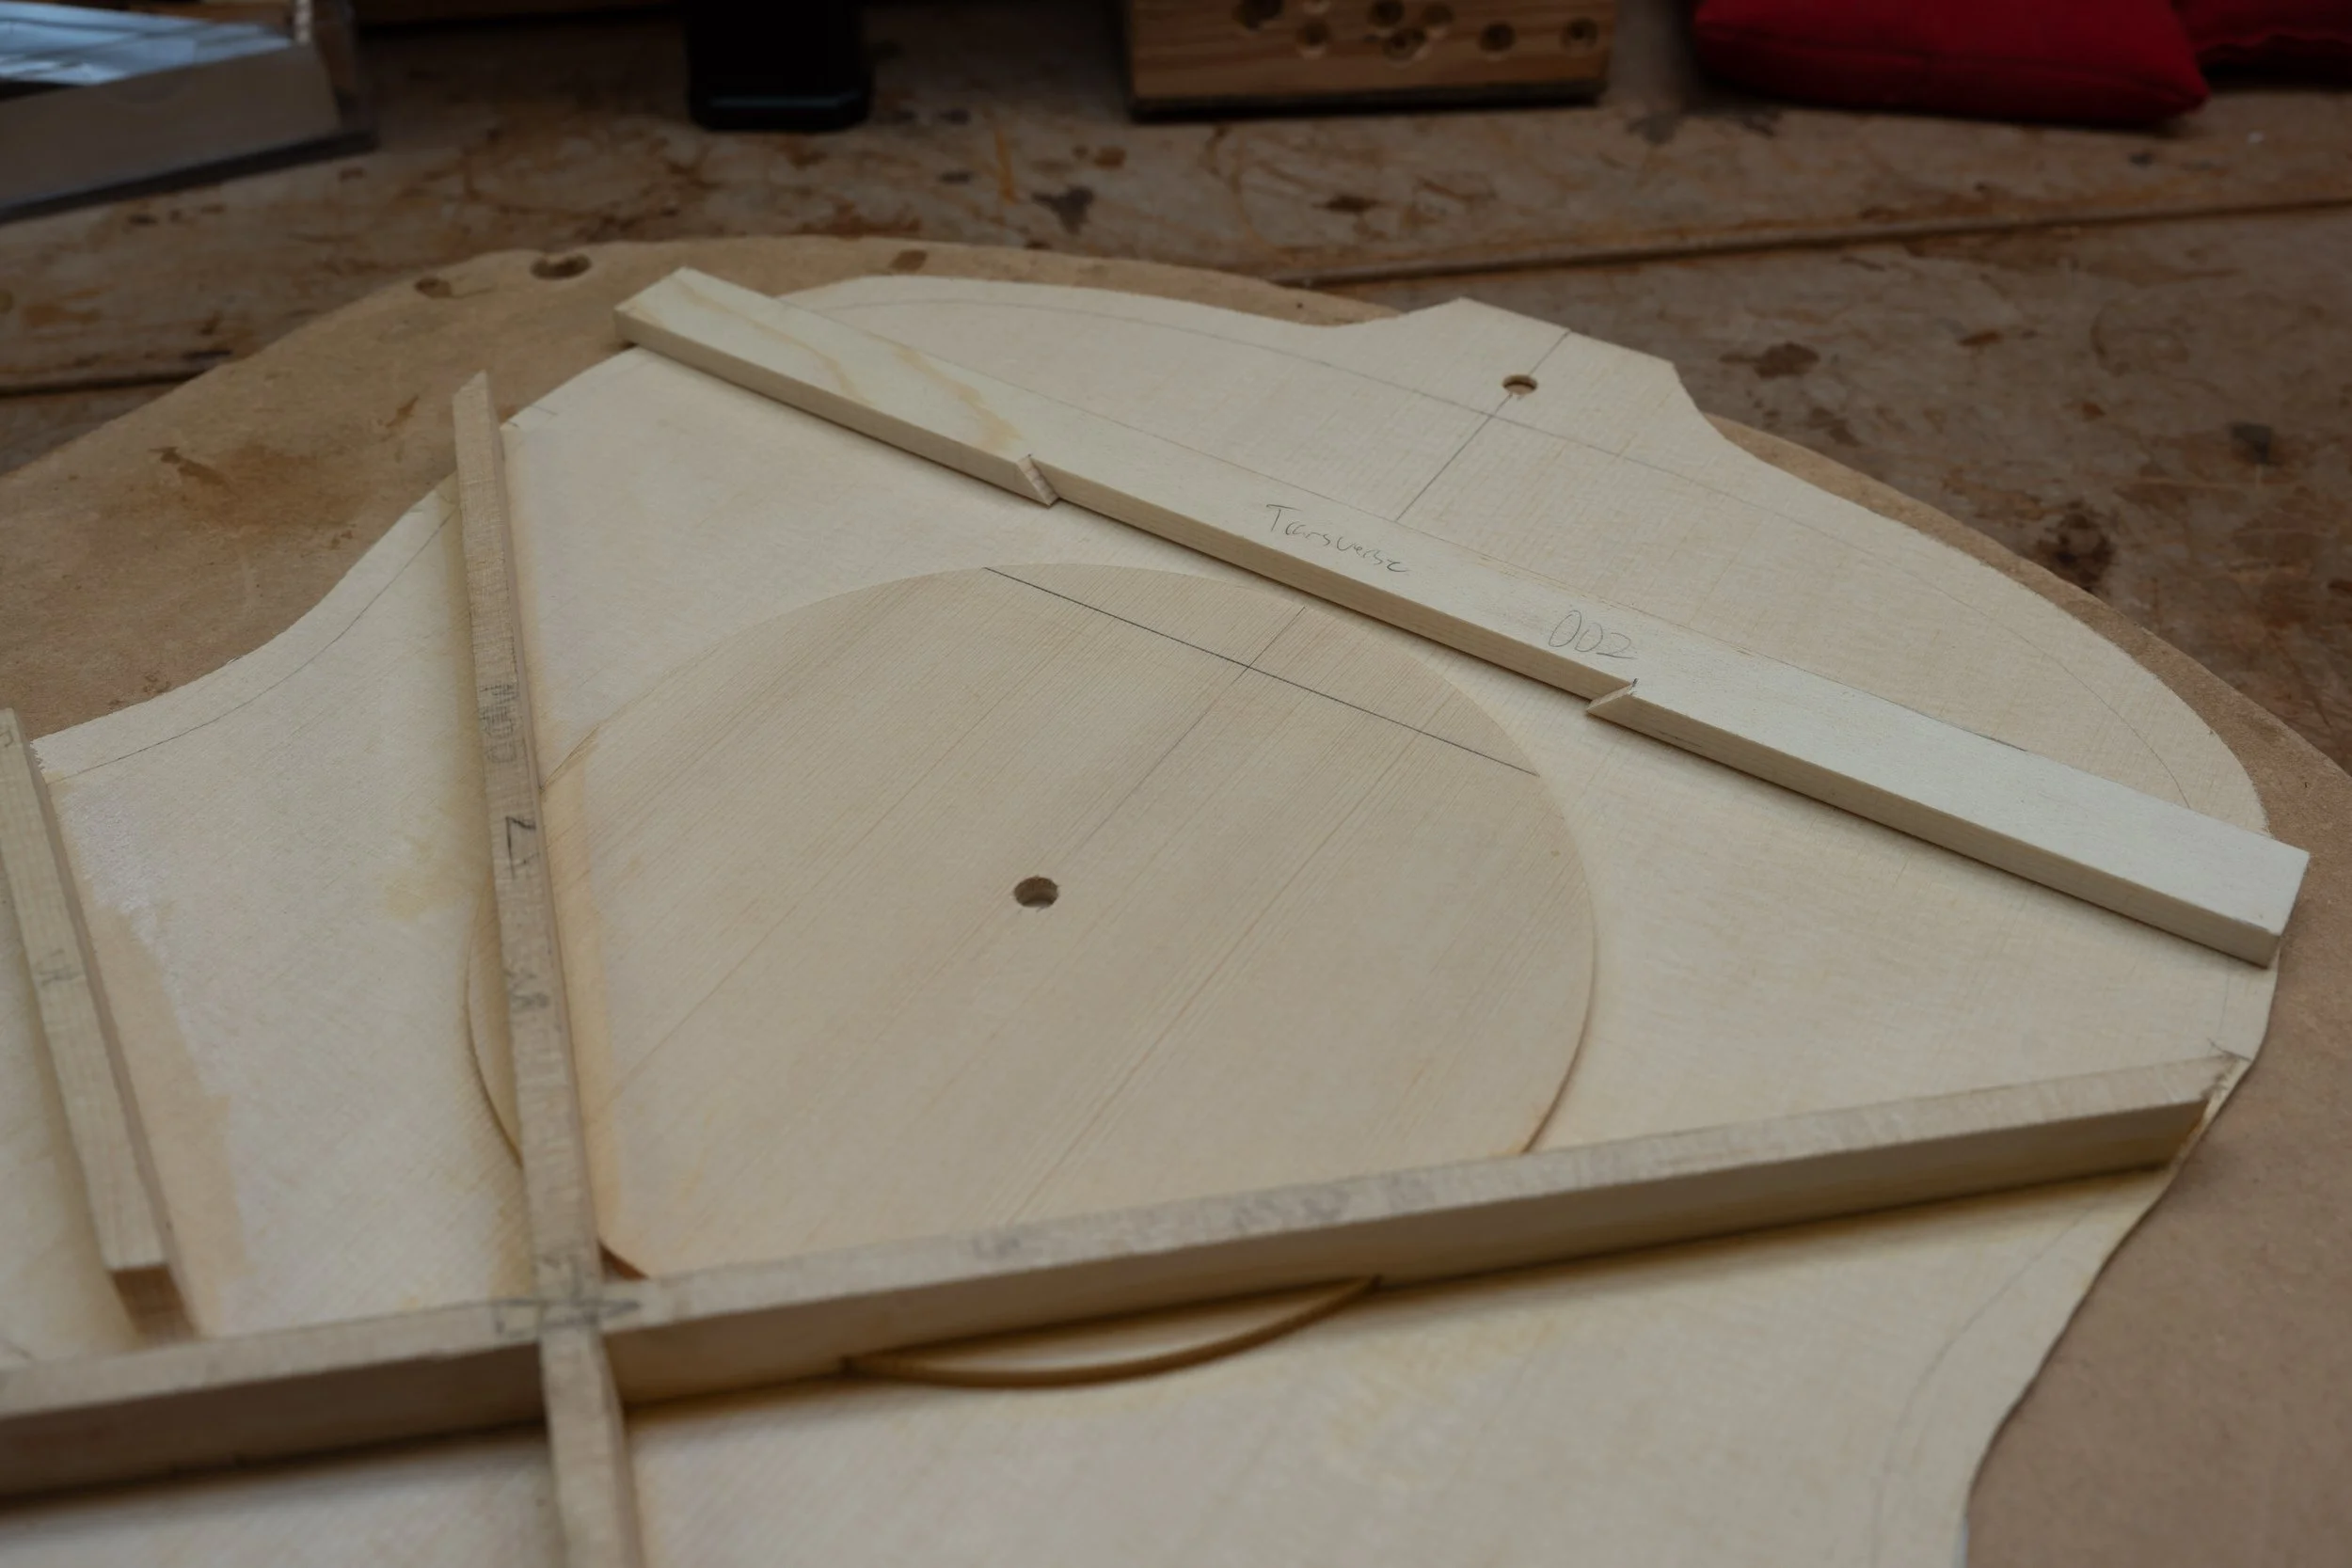
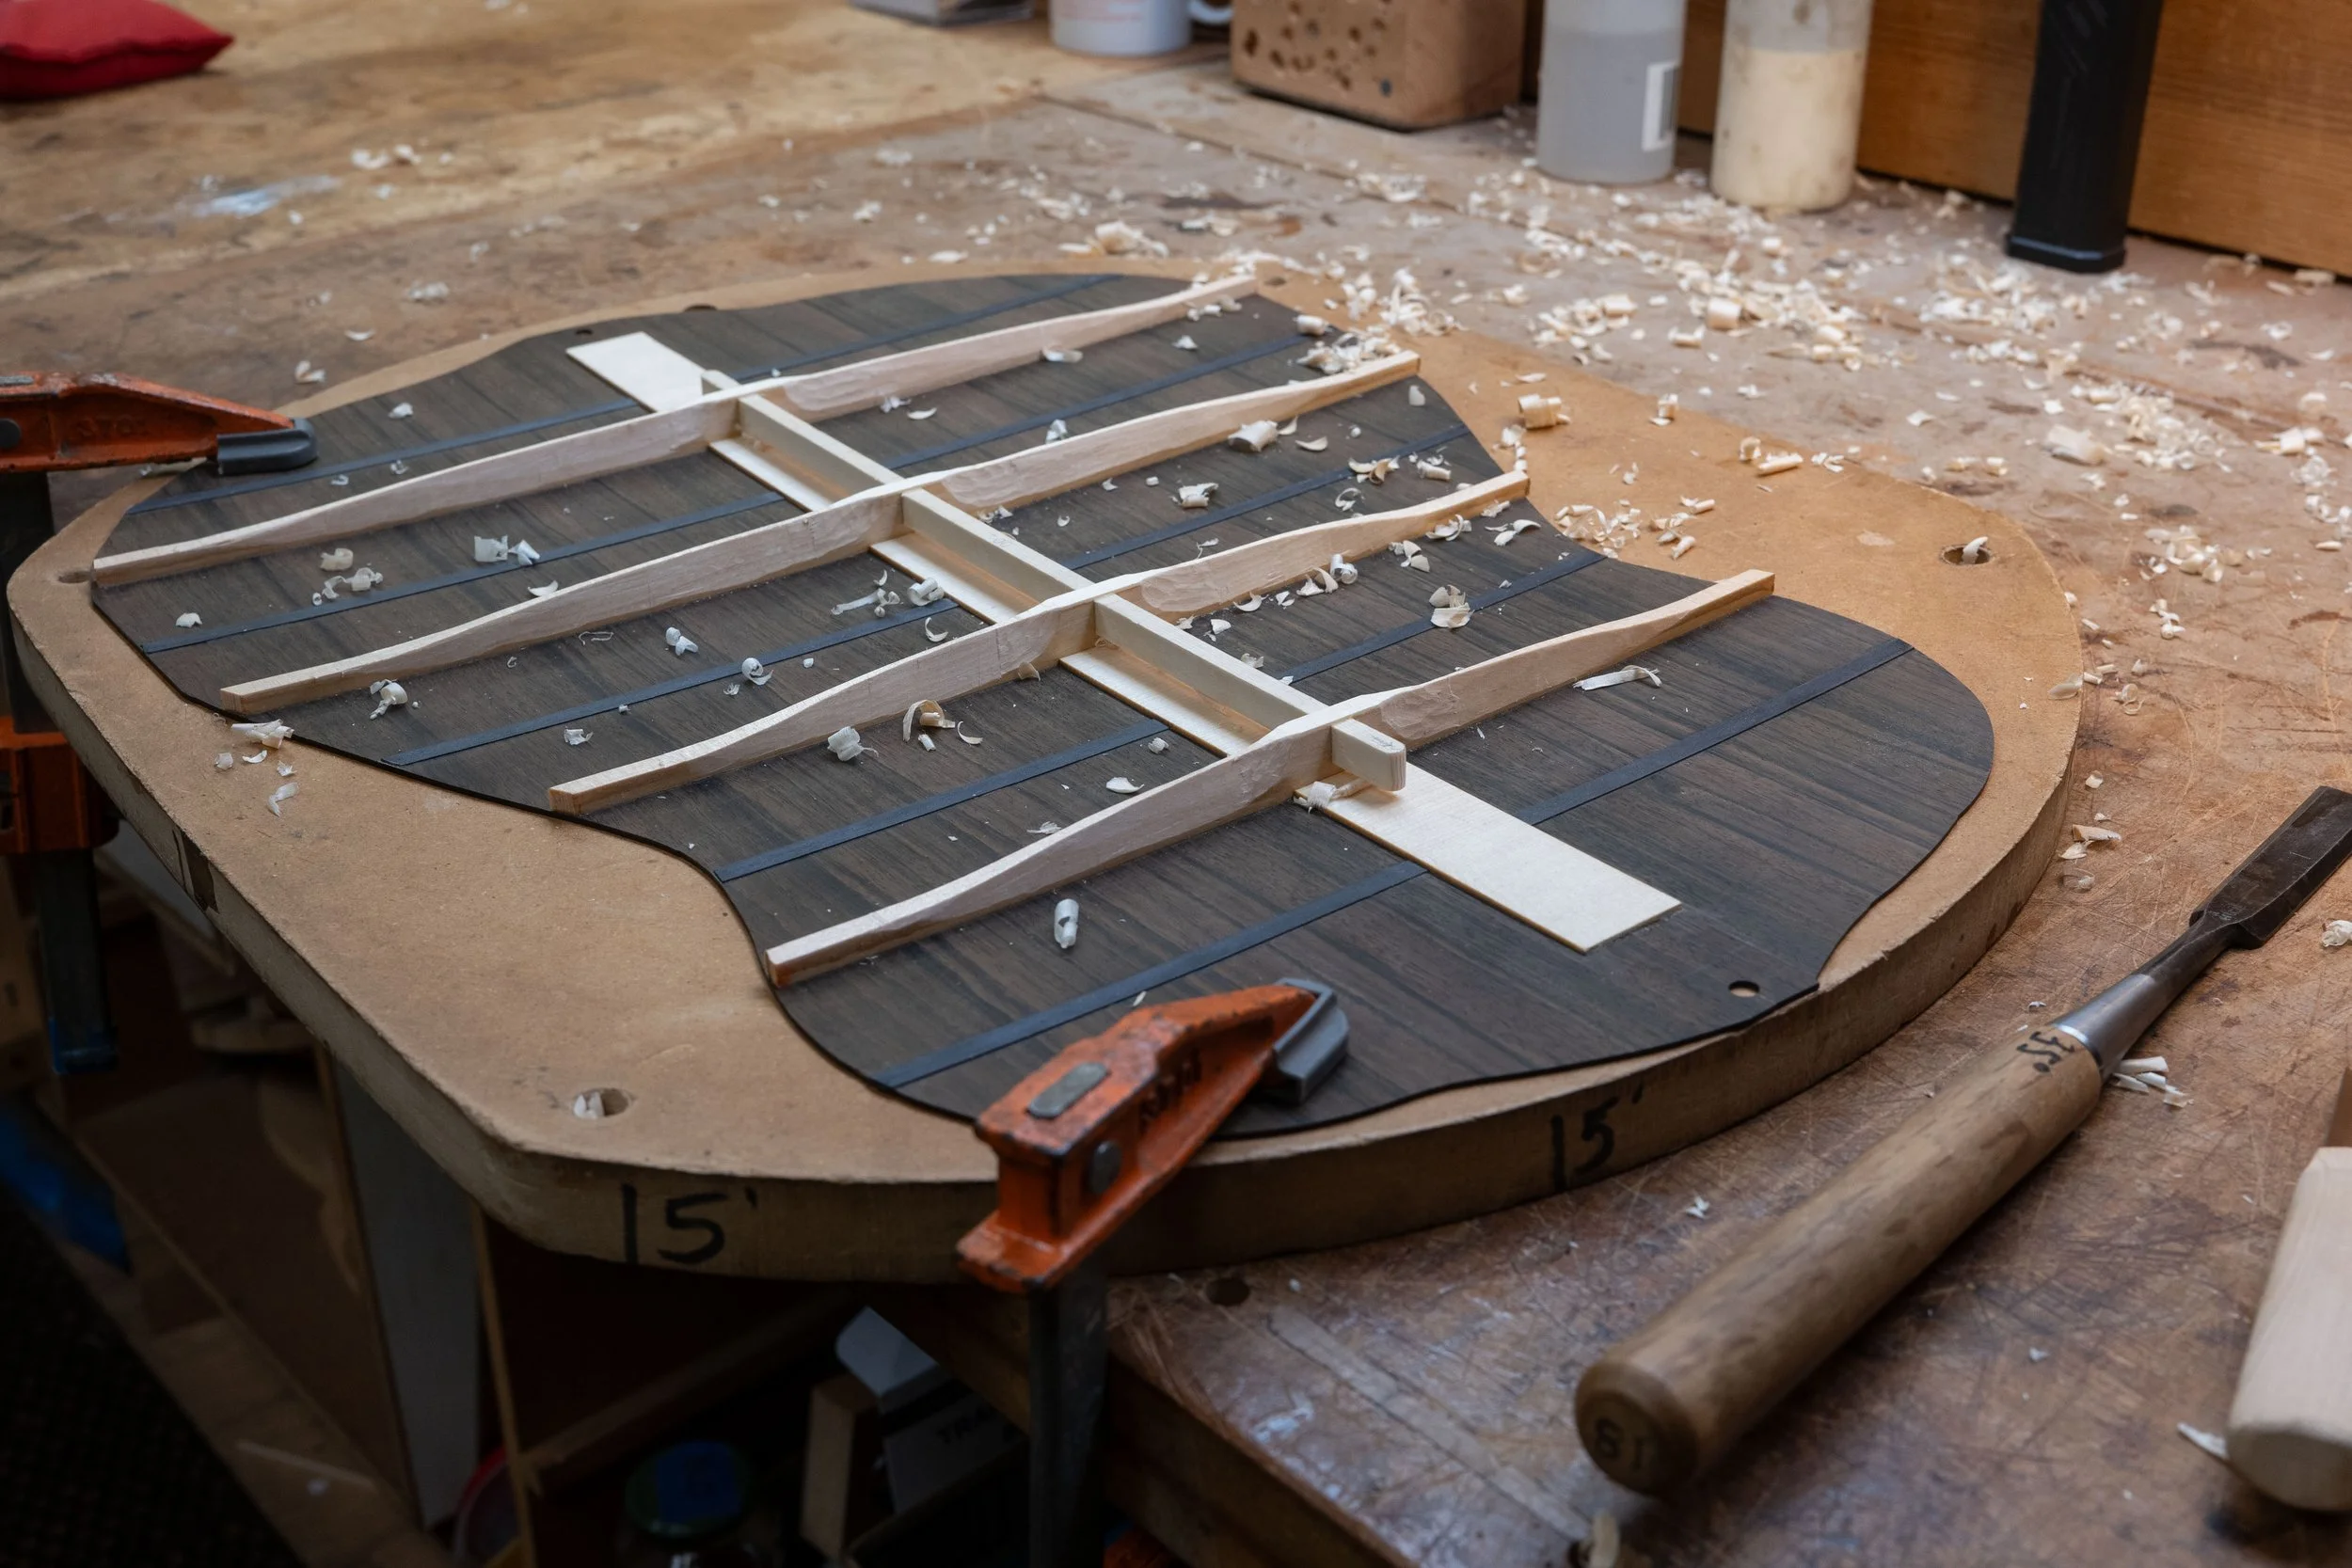
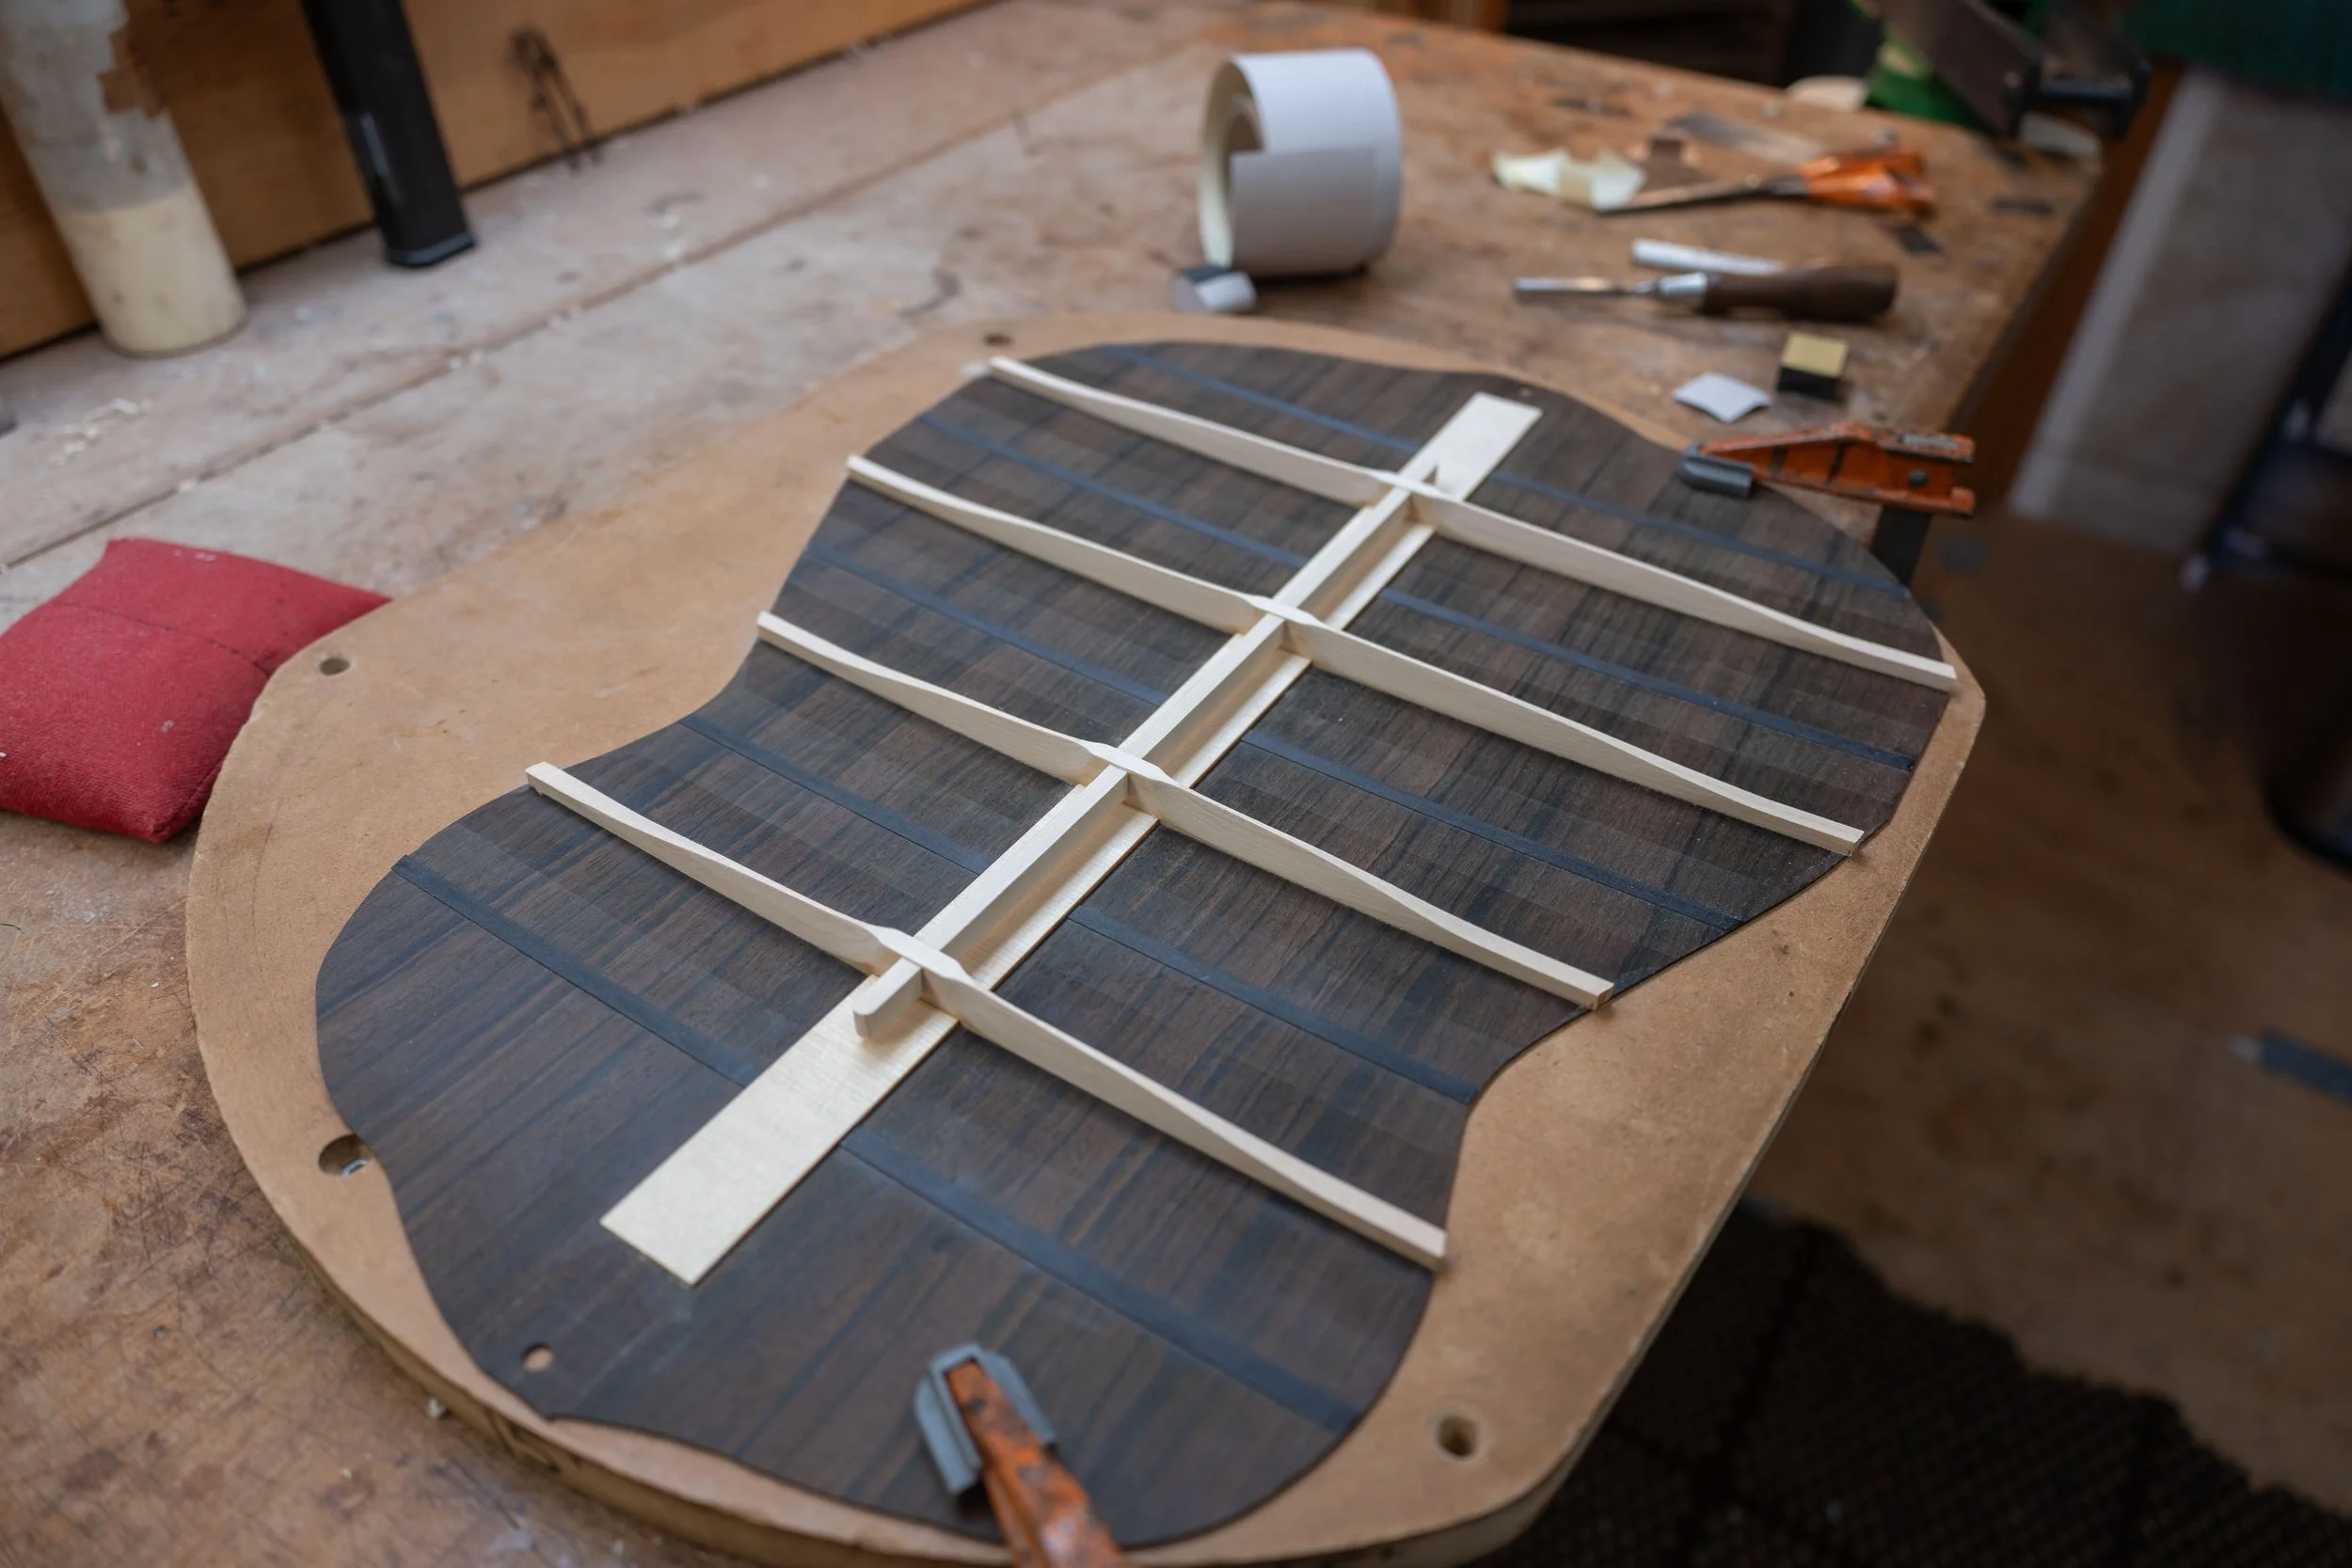
Since the donut was already in place, I notched the X and transverse braces over it.
Cutting out the soundhole.
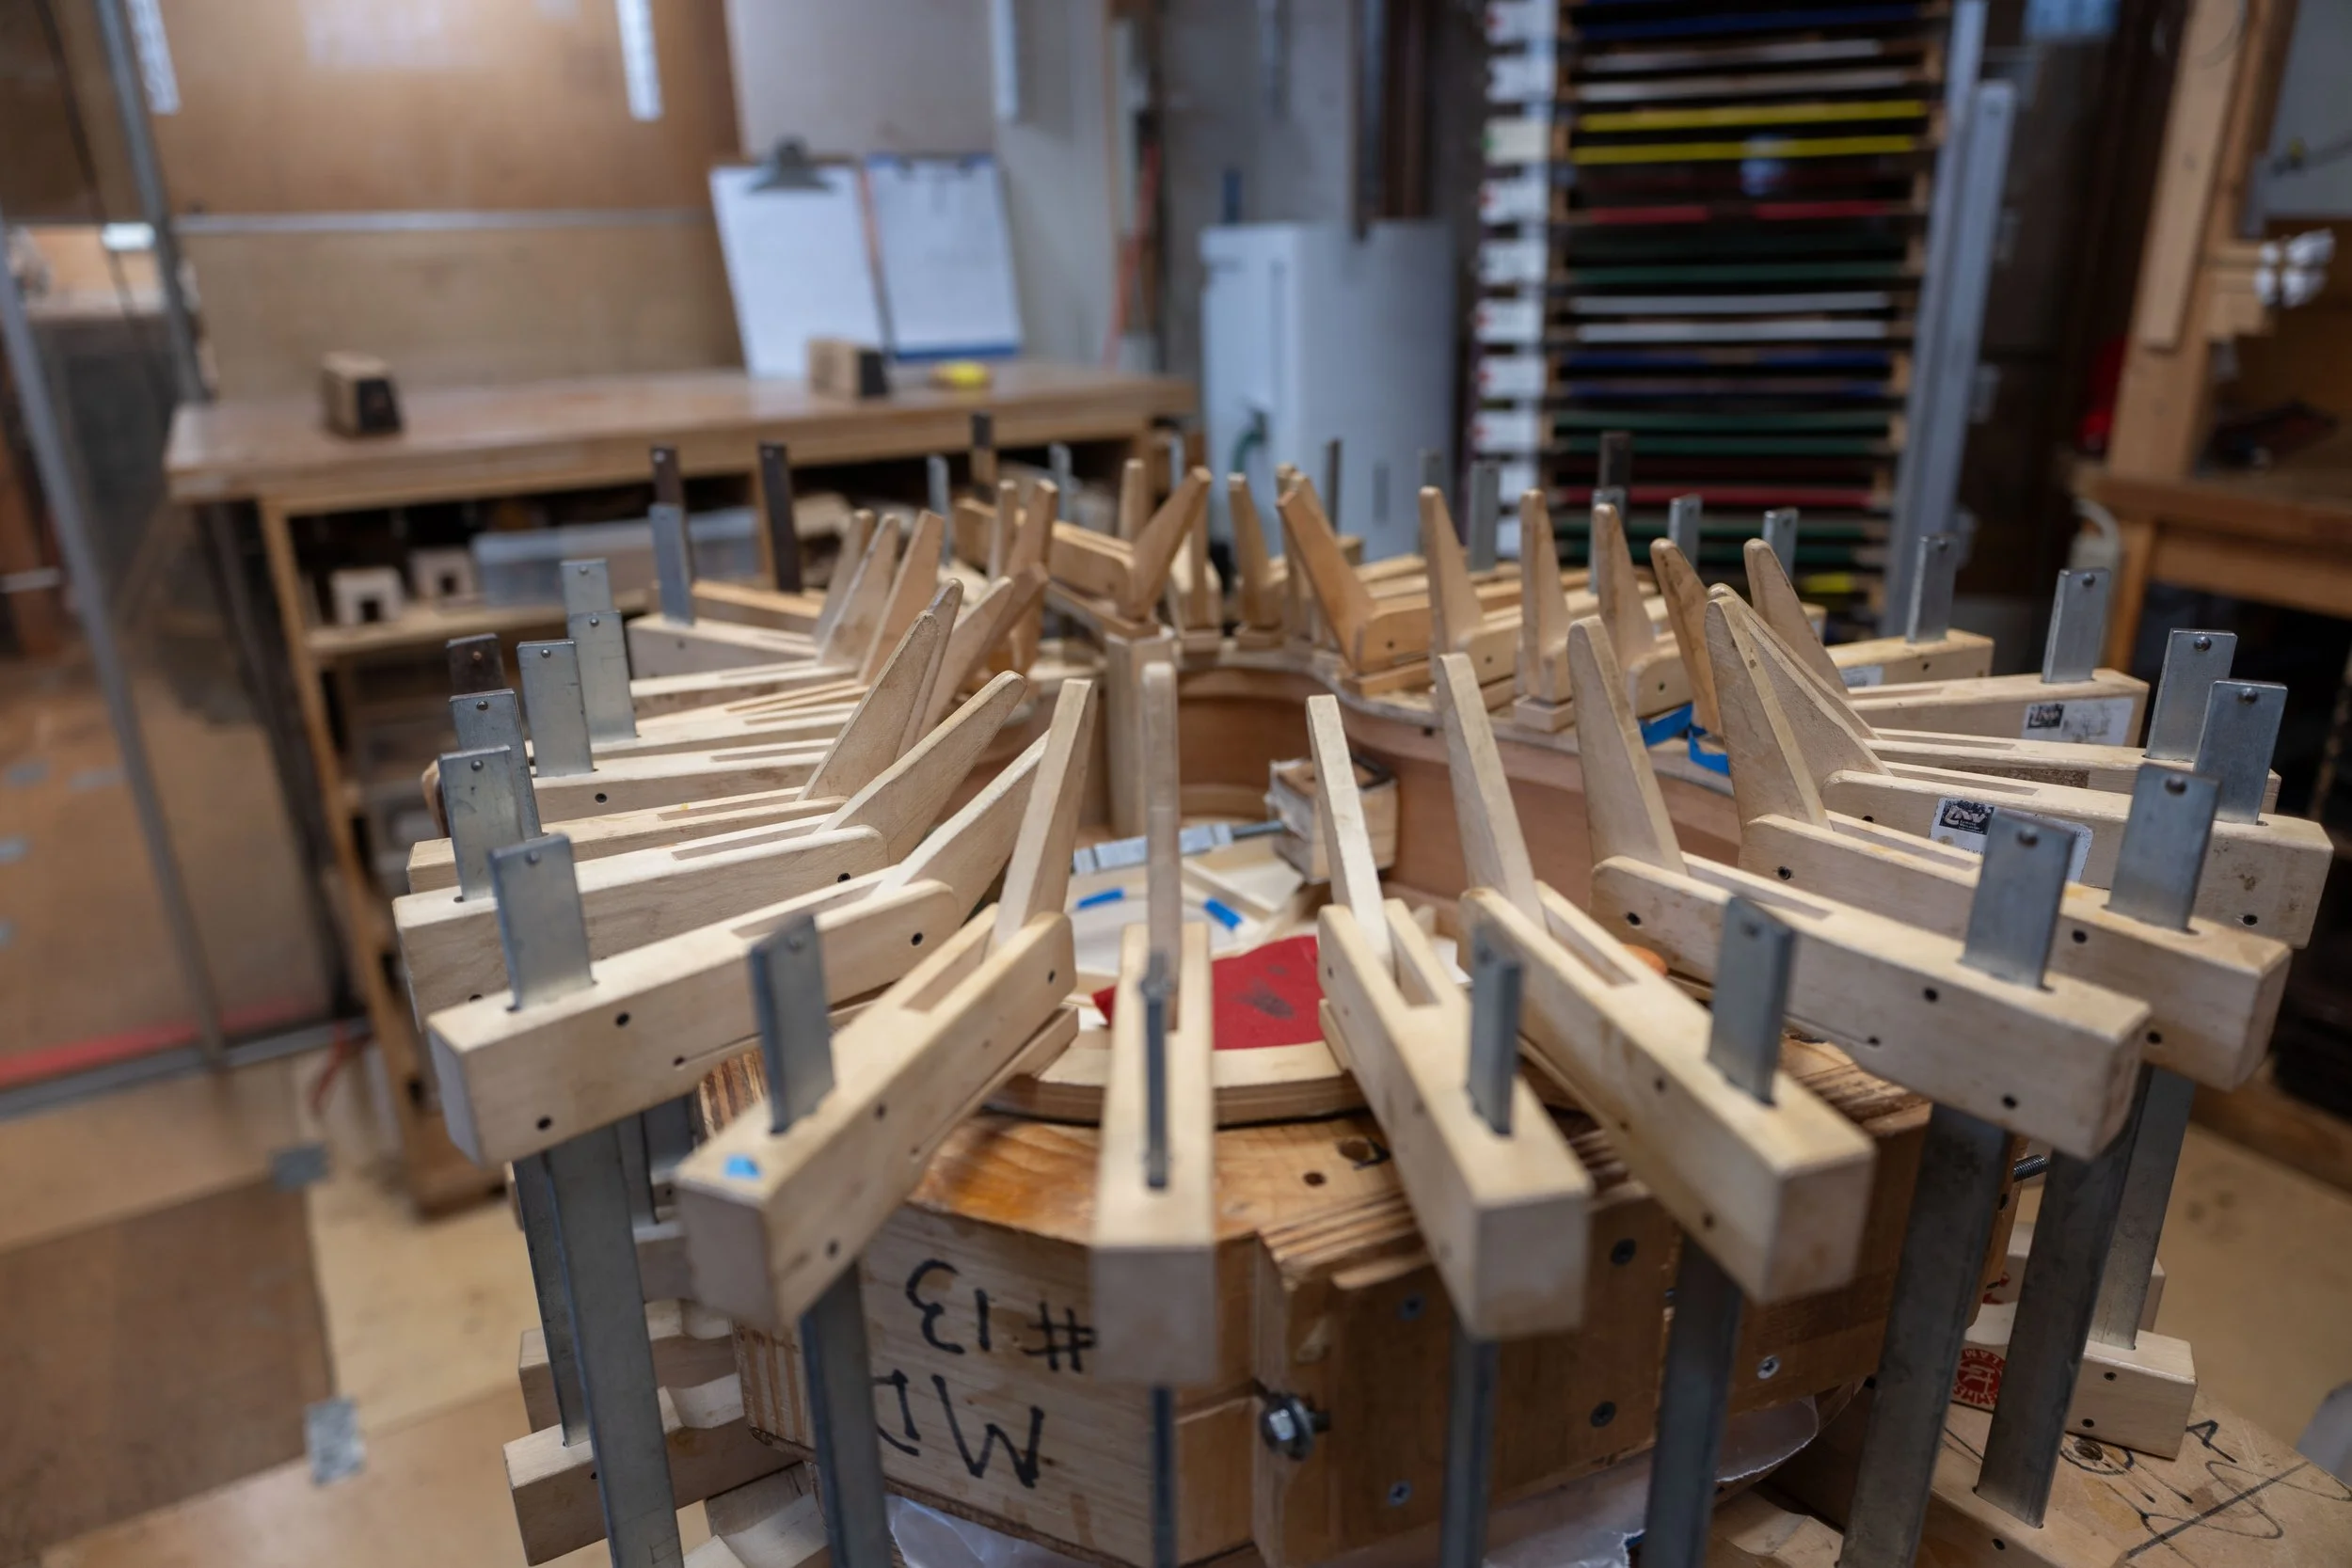
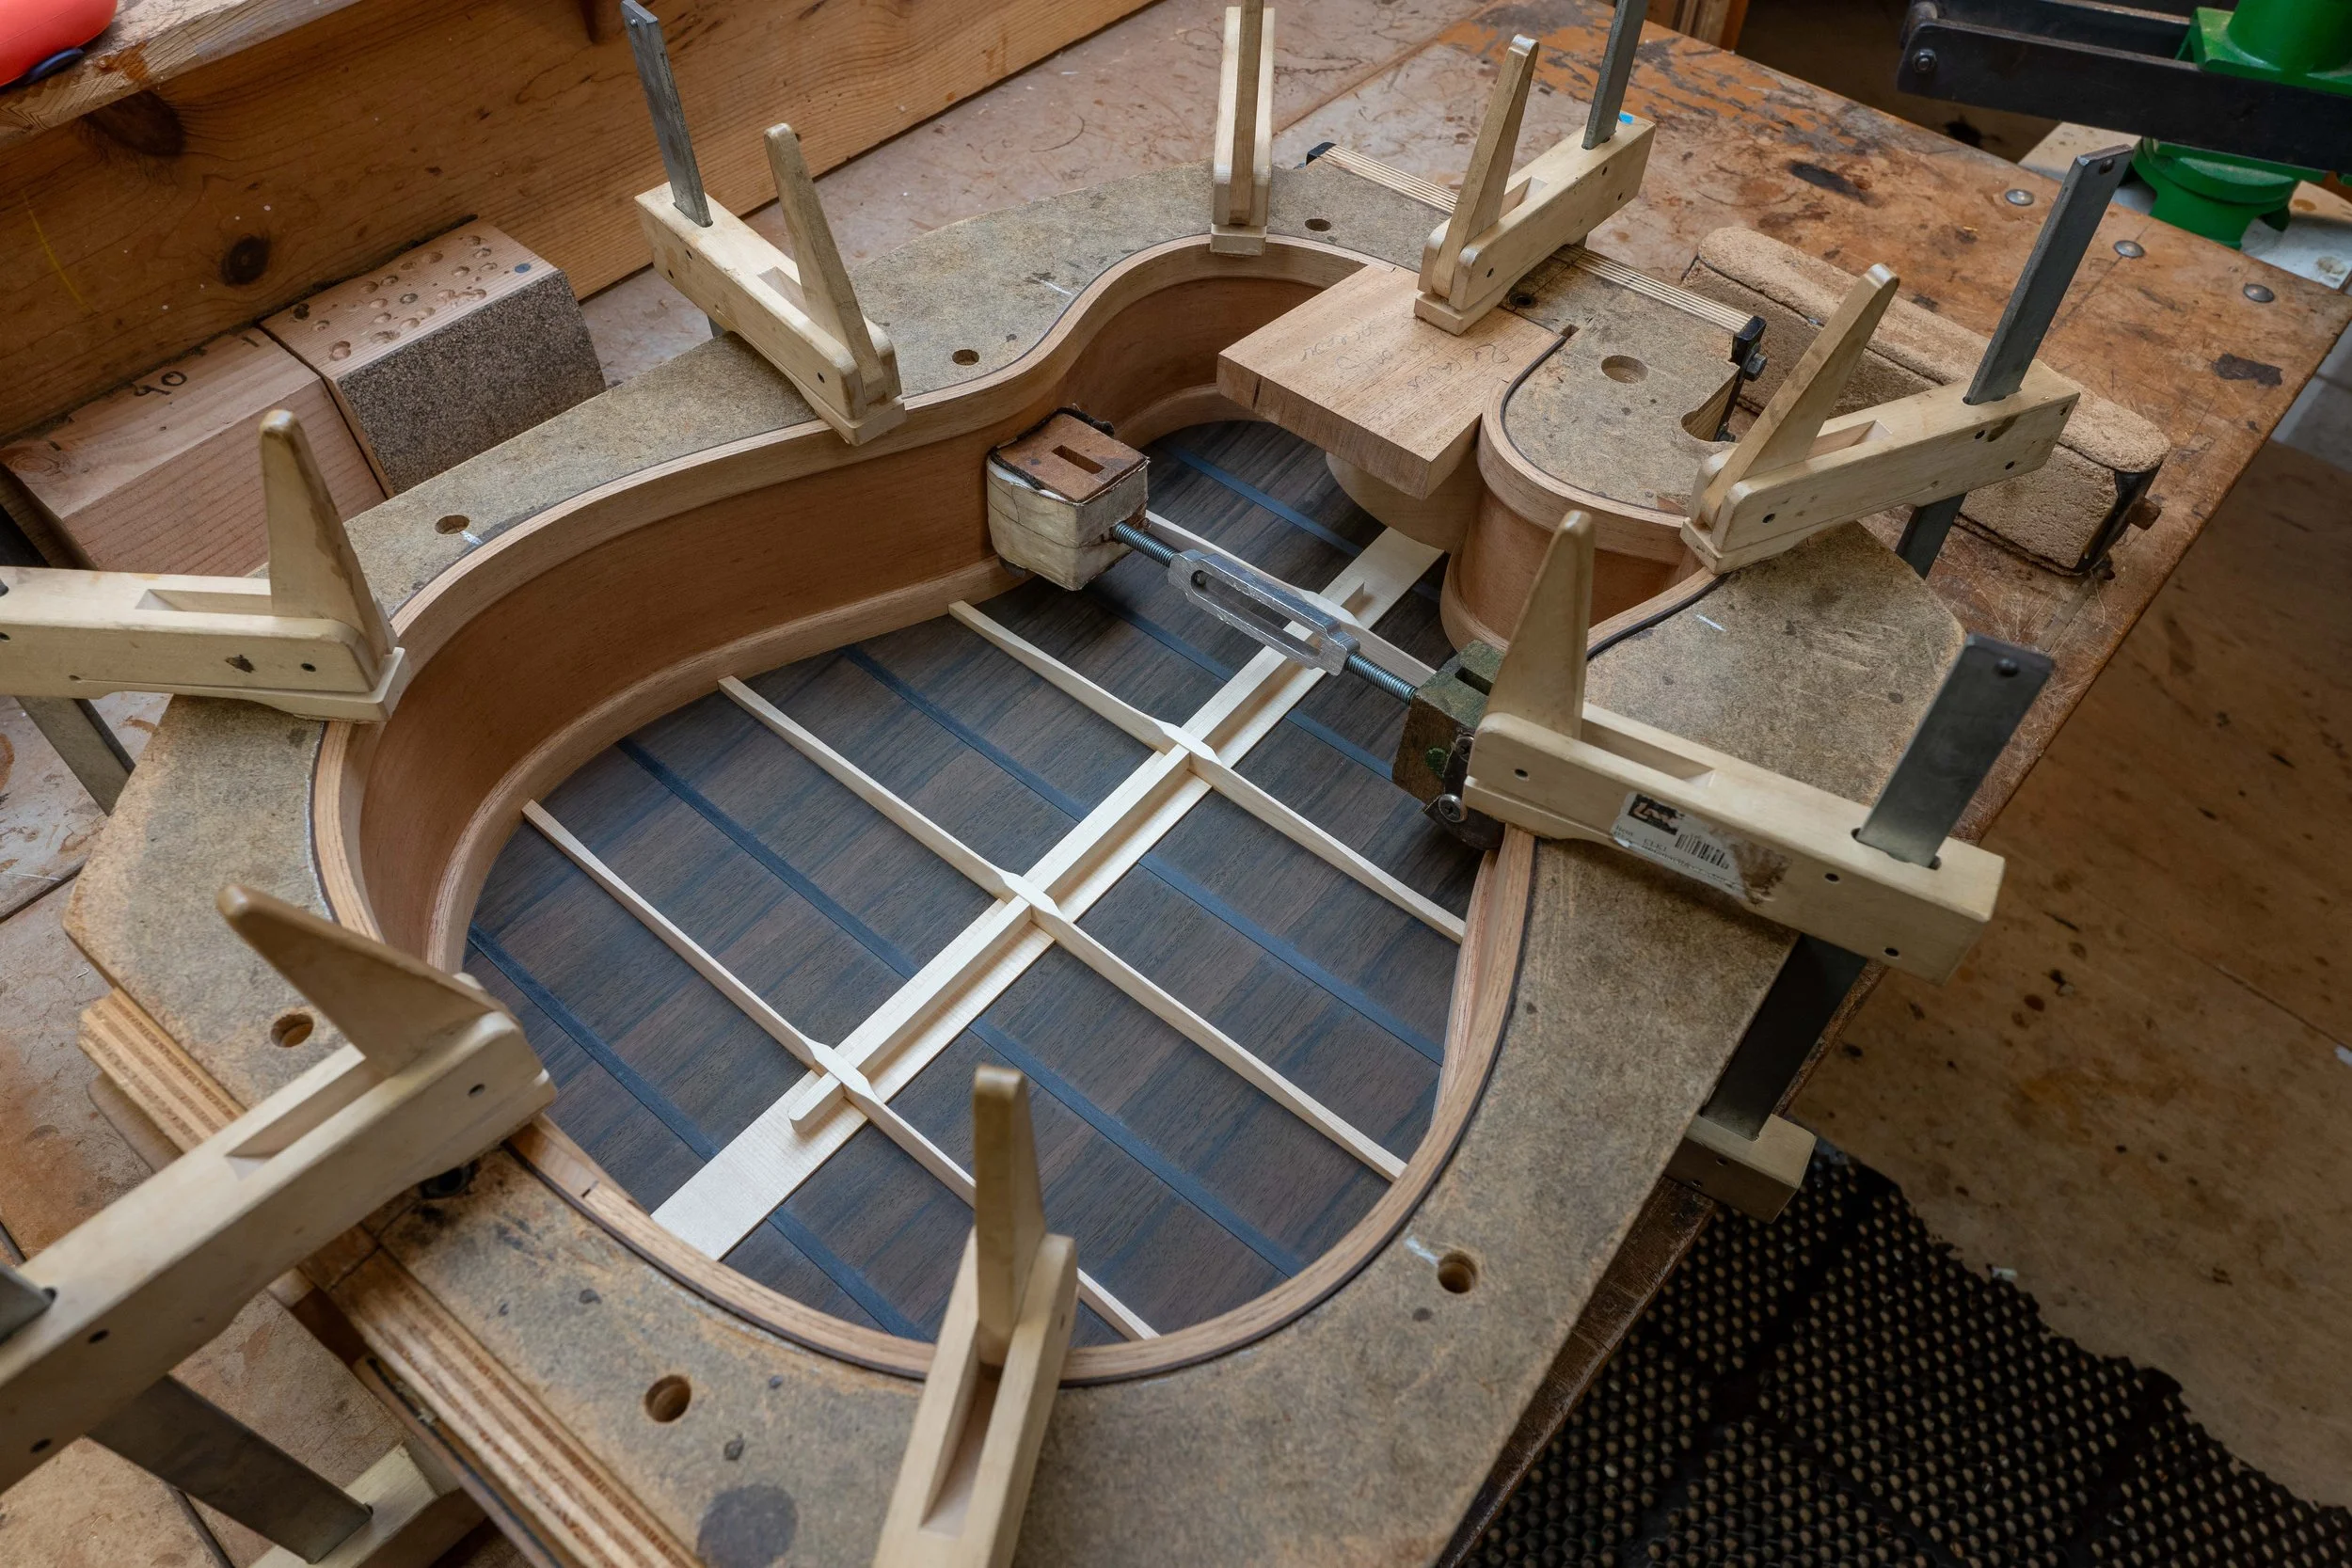
The rest of the top braces were added, and then I could glue on the top.
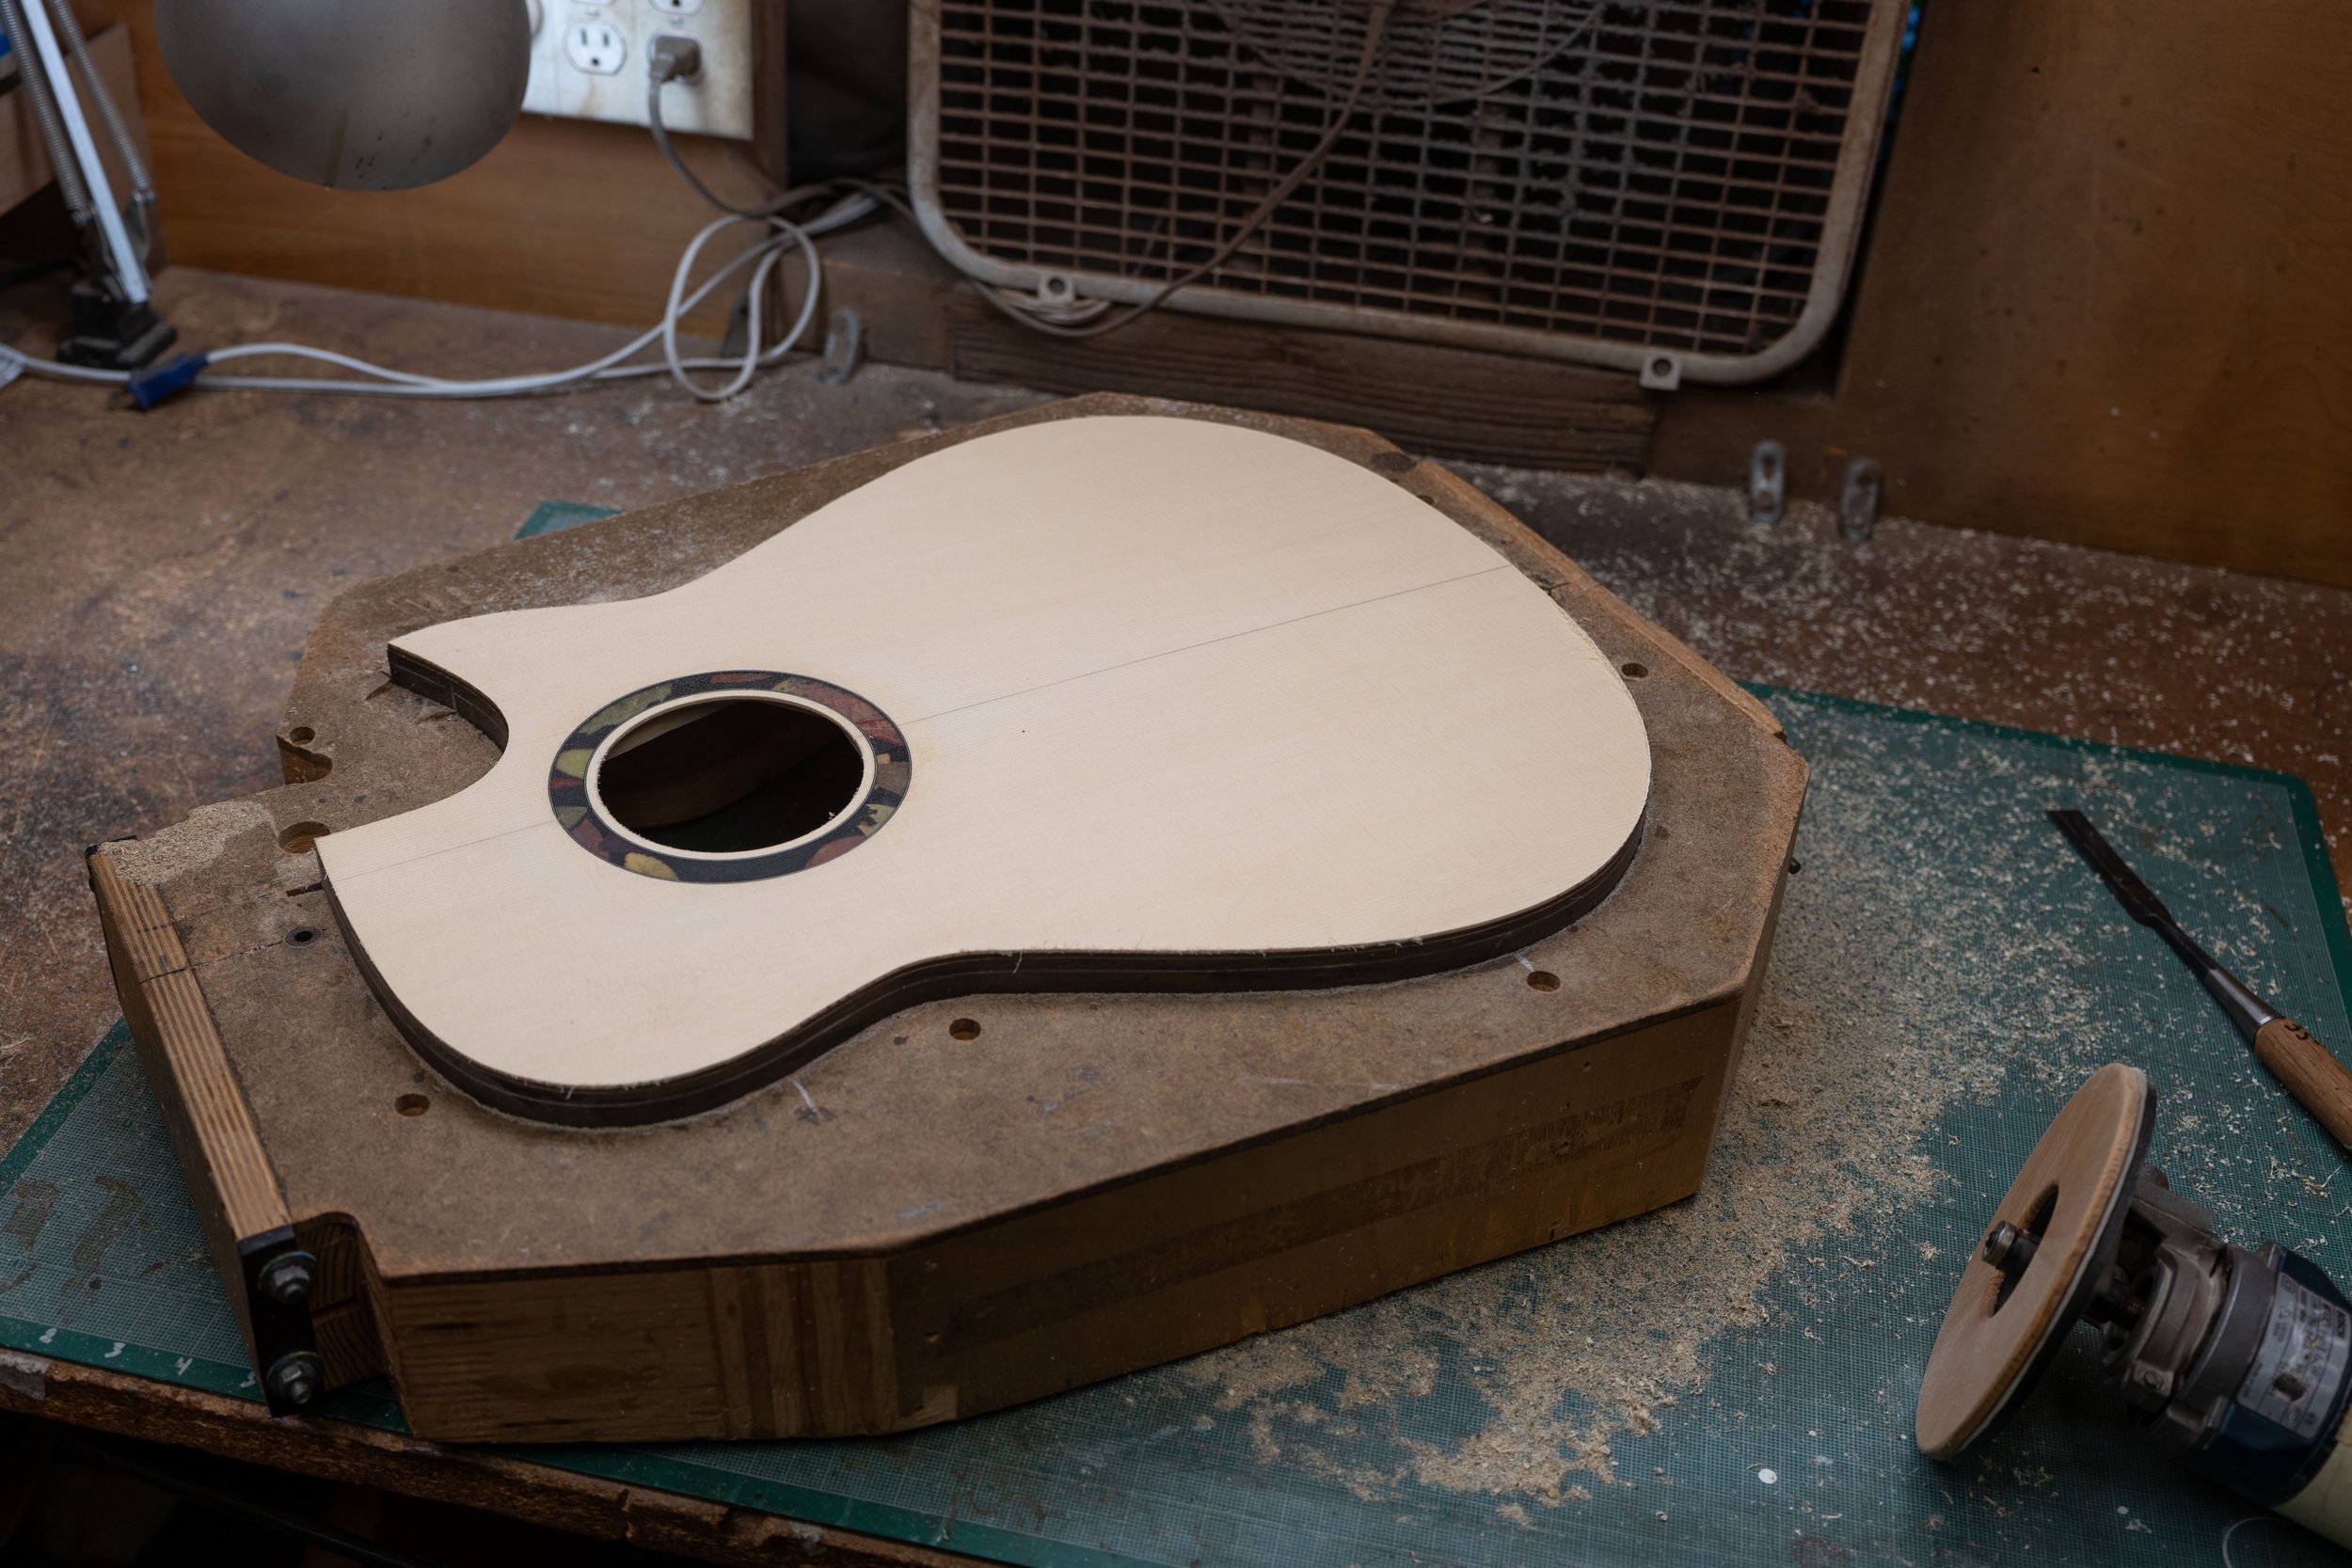
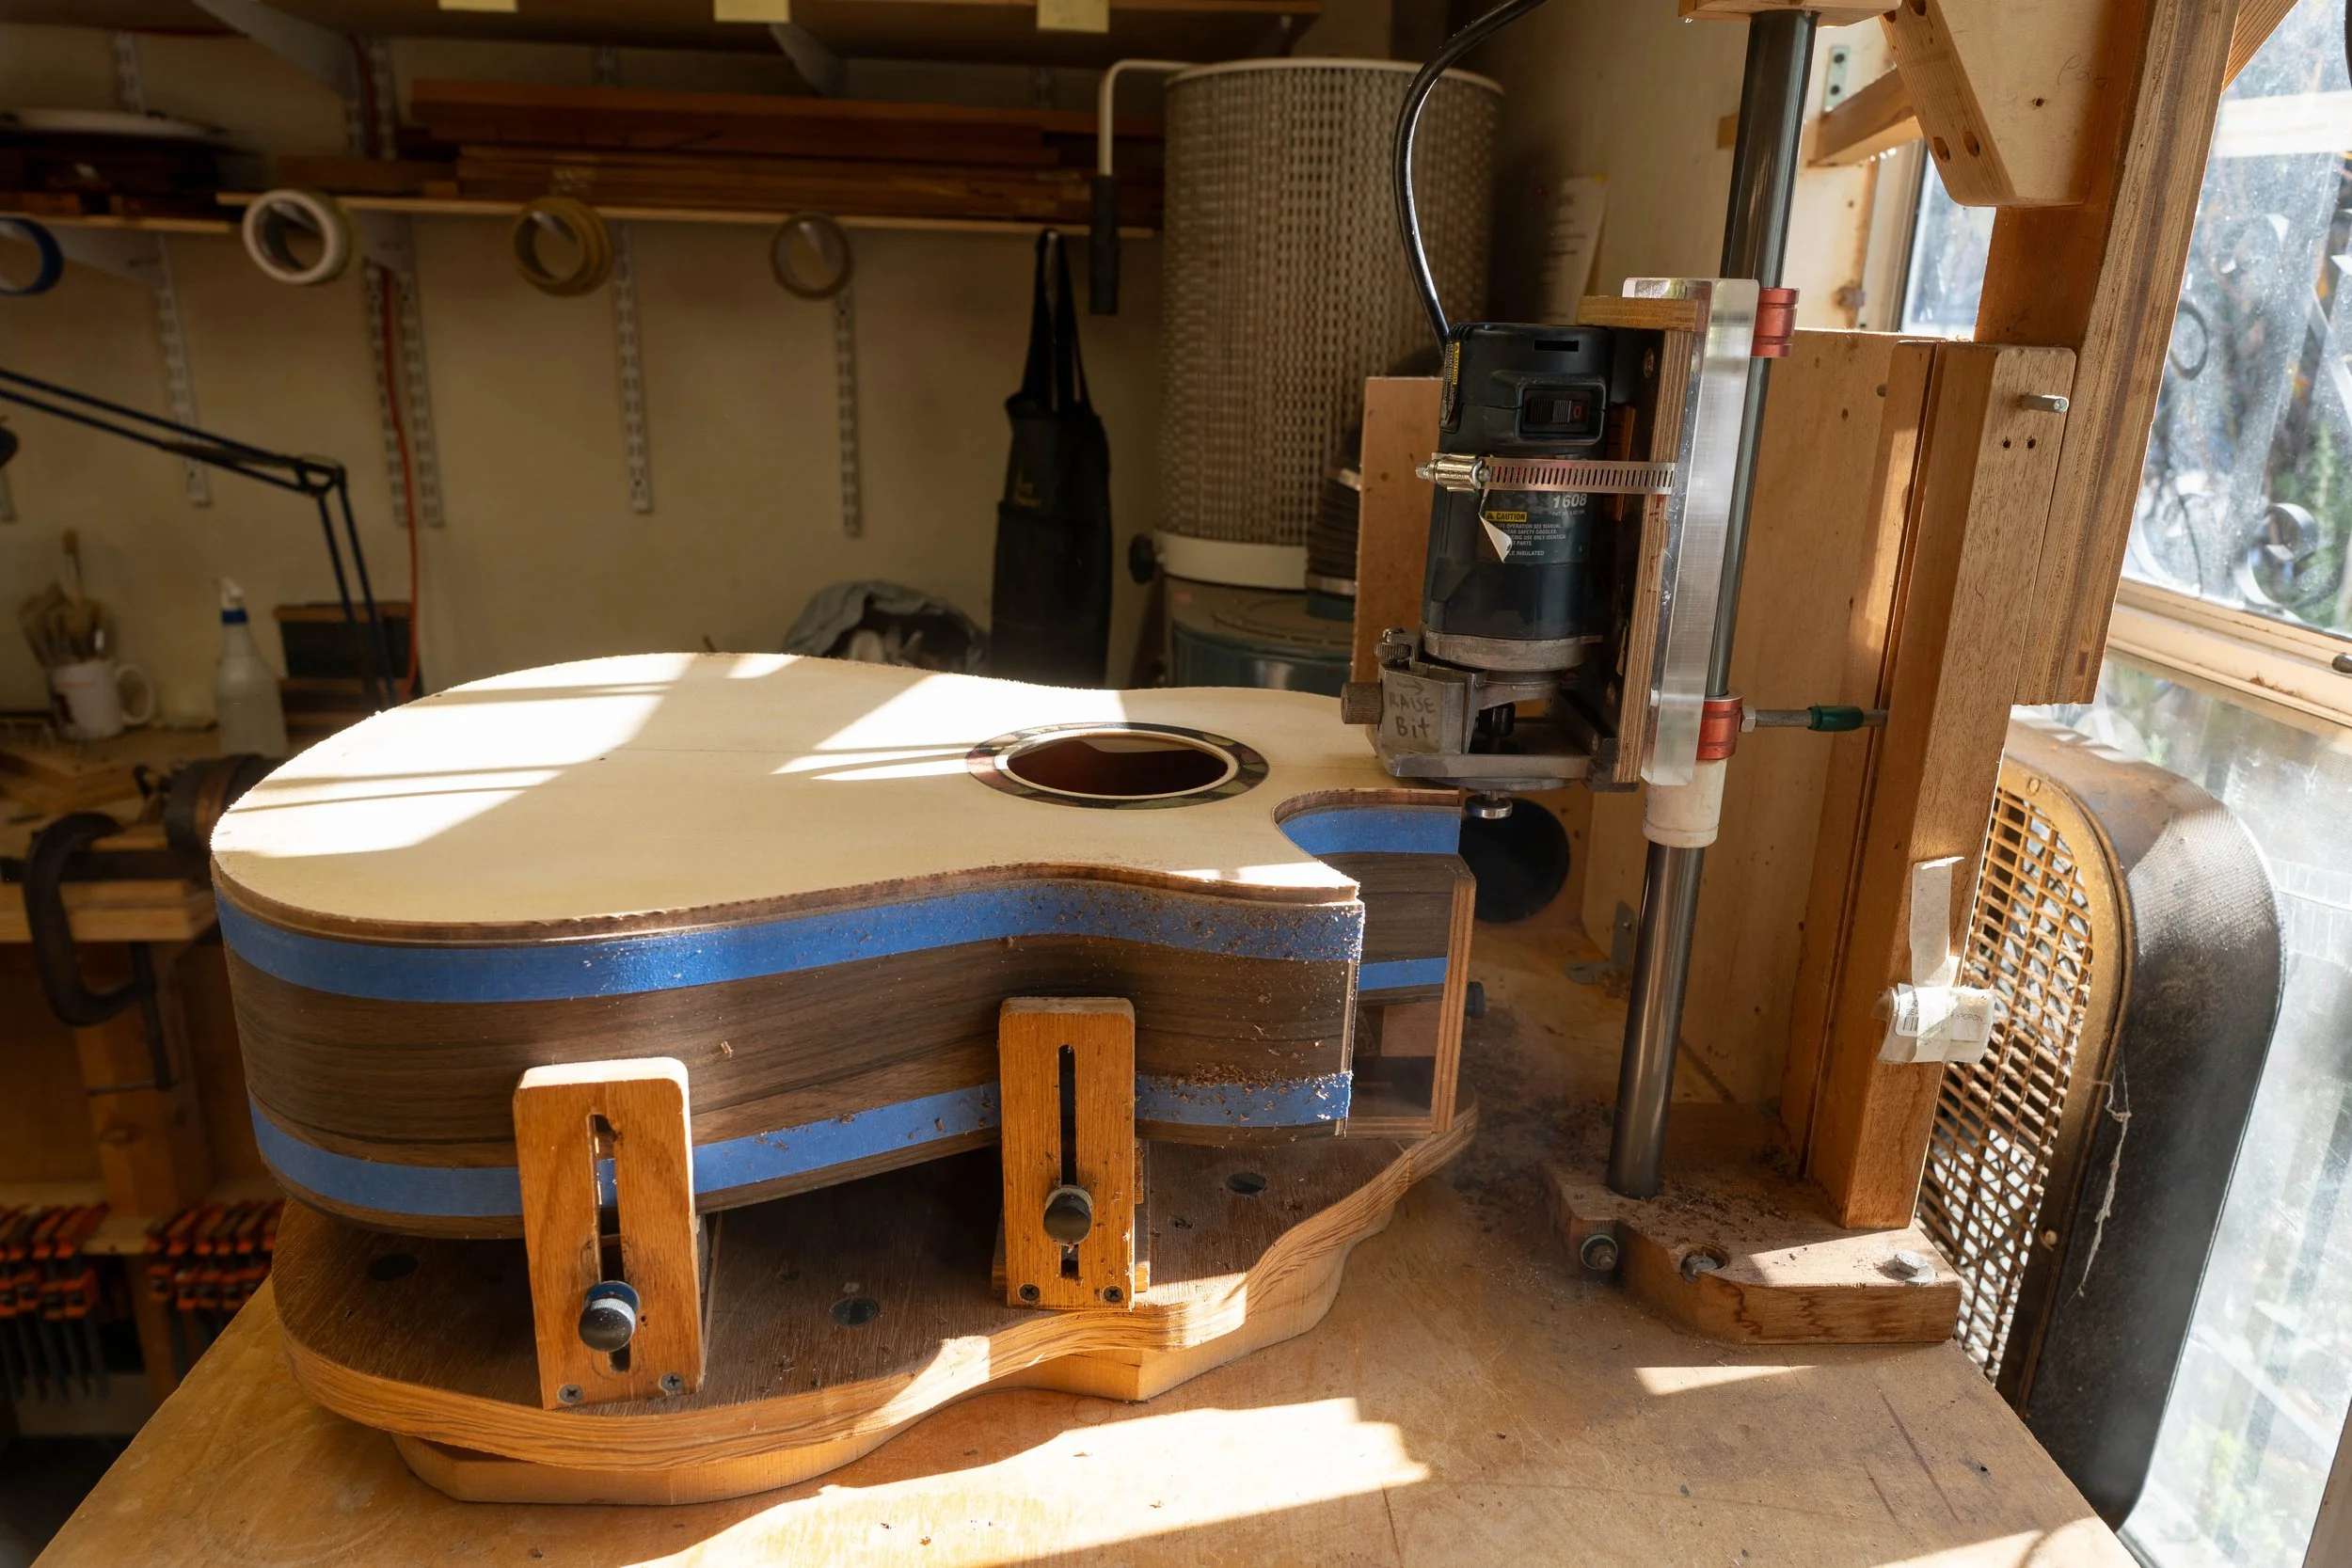
Routing the top flush with the sides.

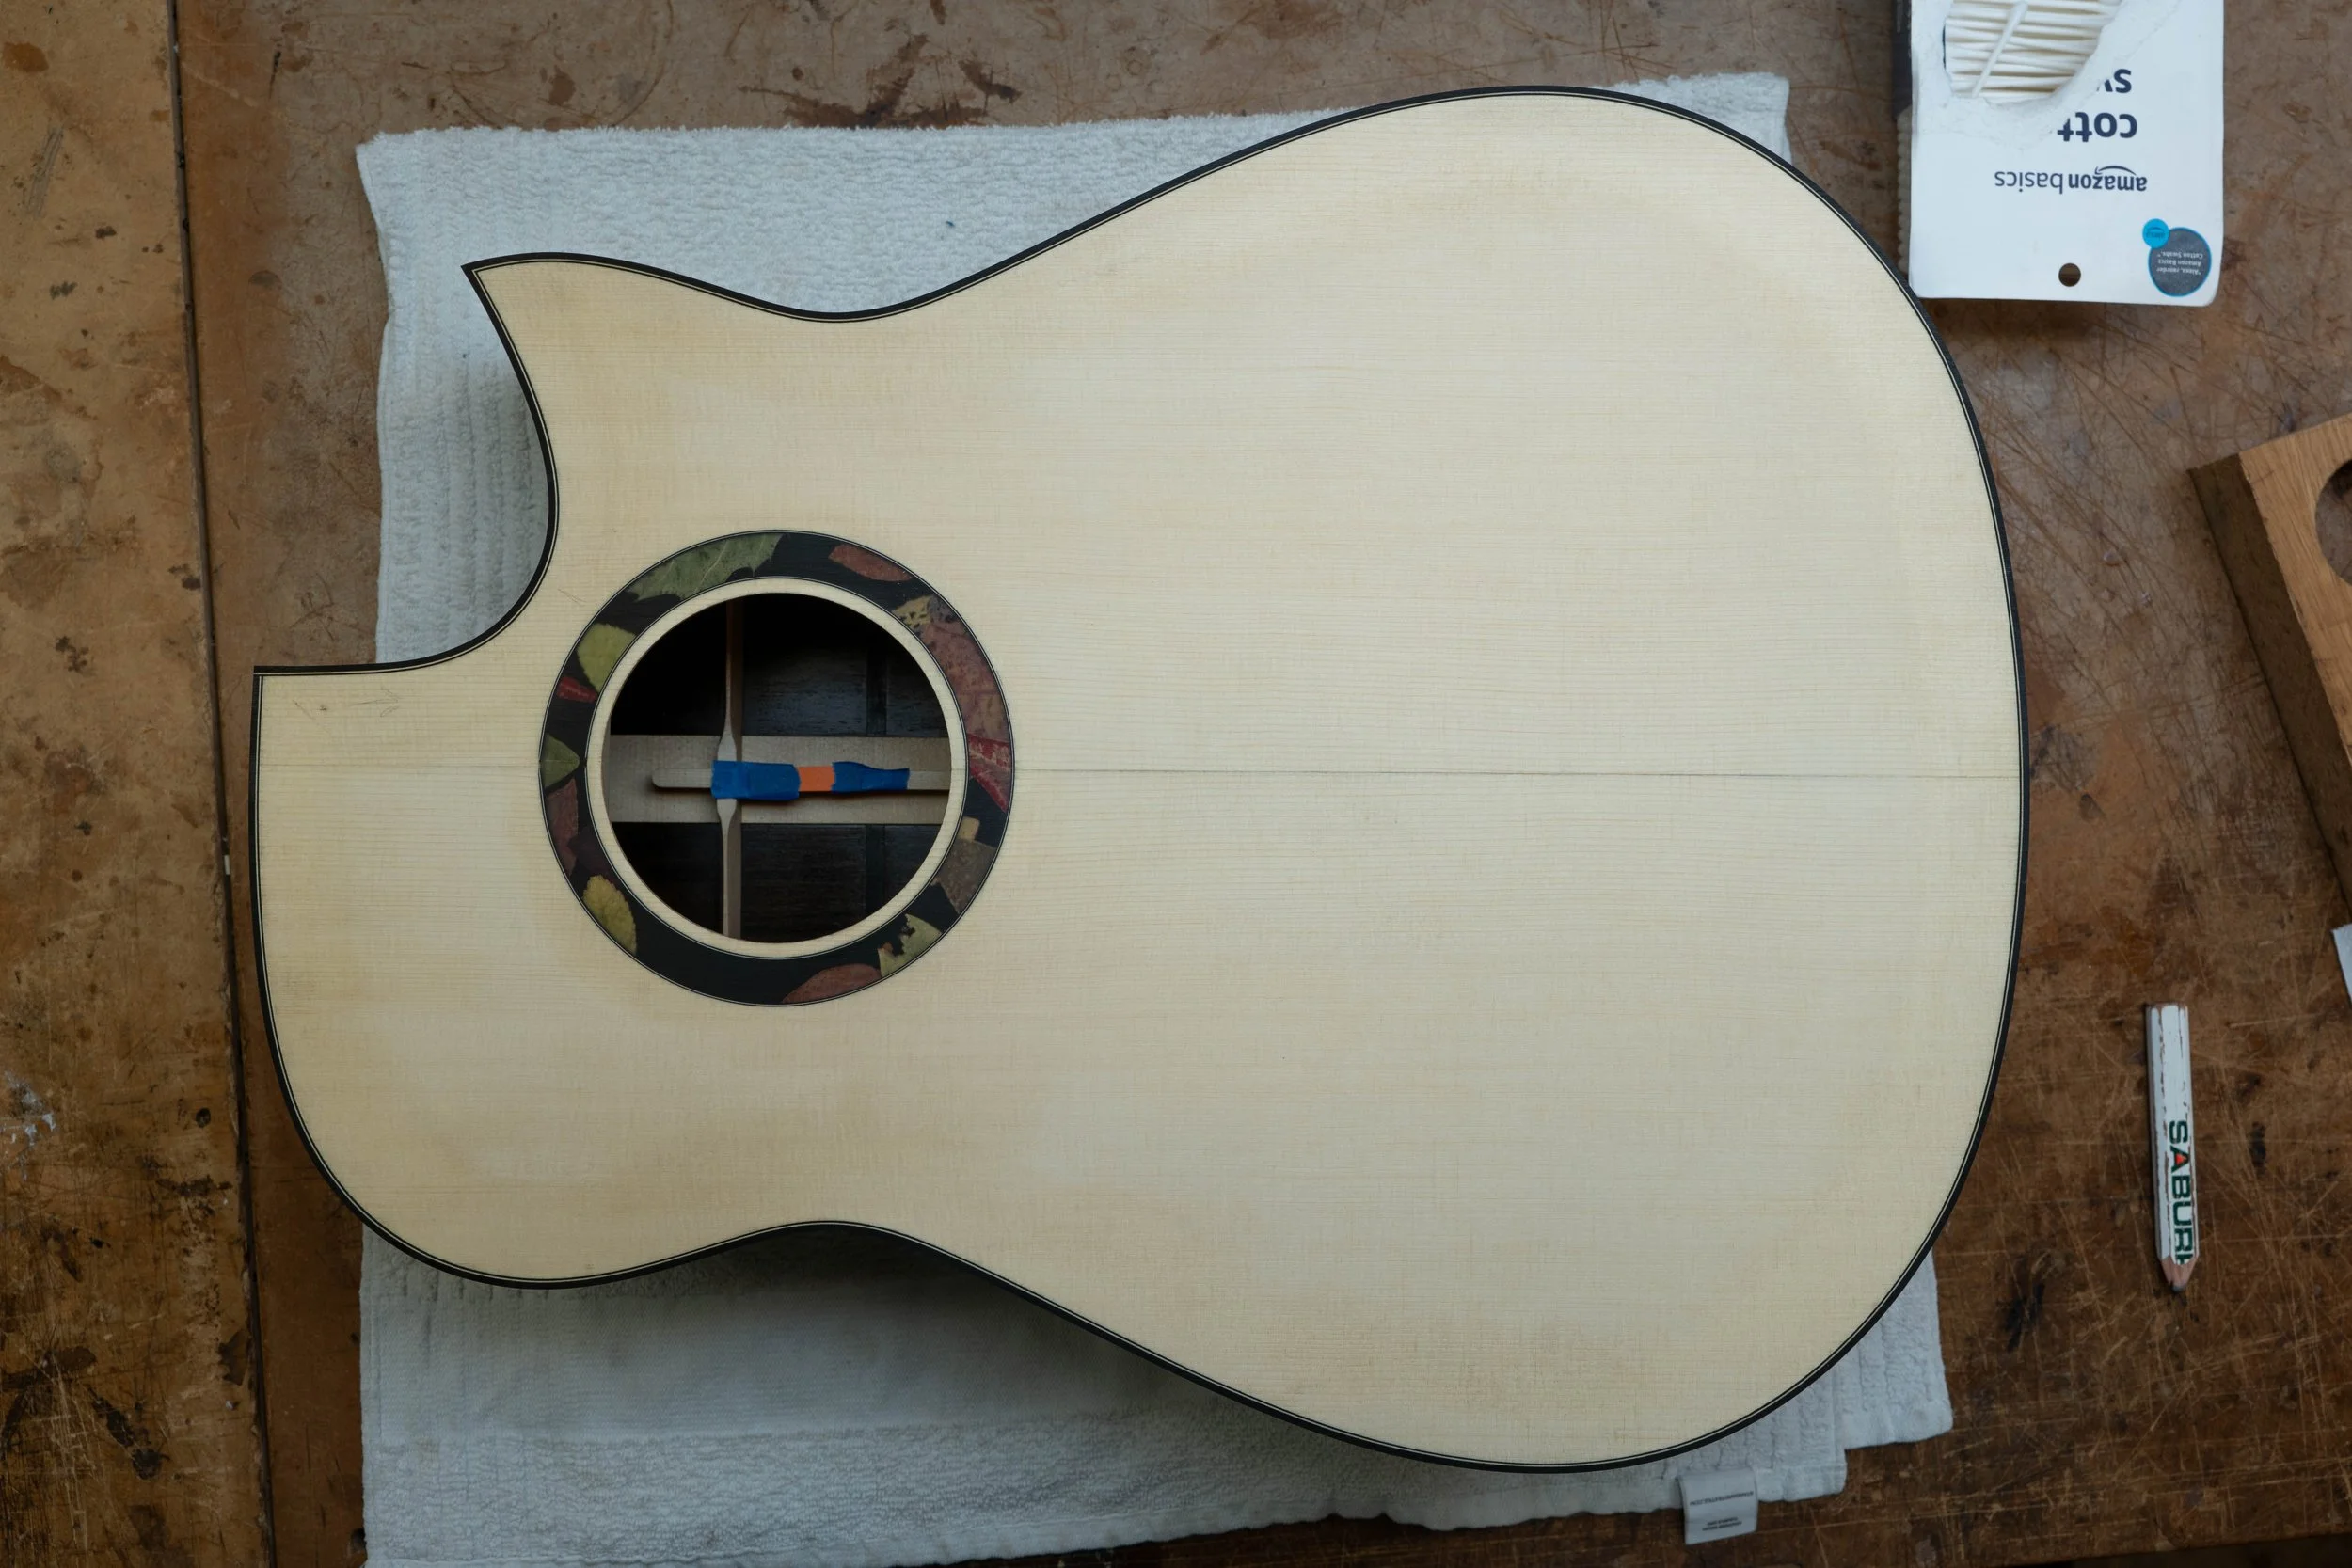
At this stage I did the voicing.
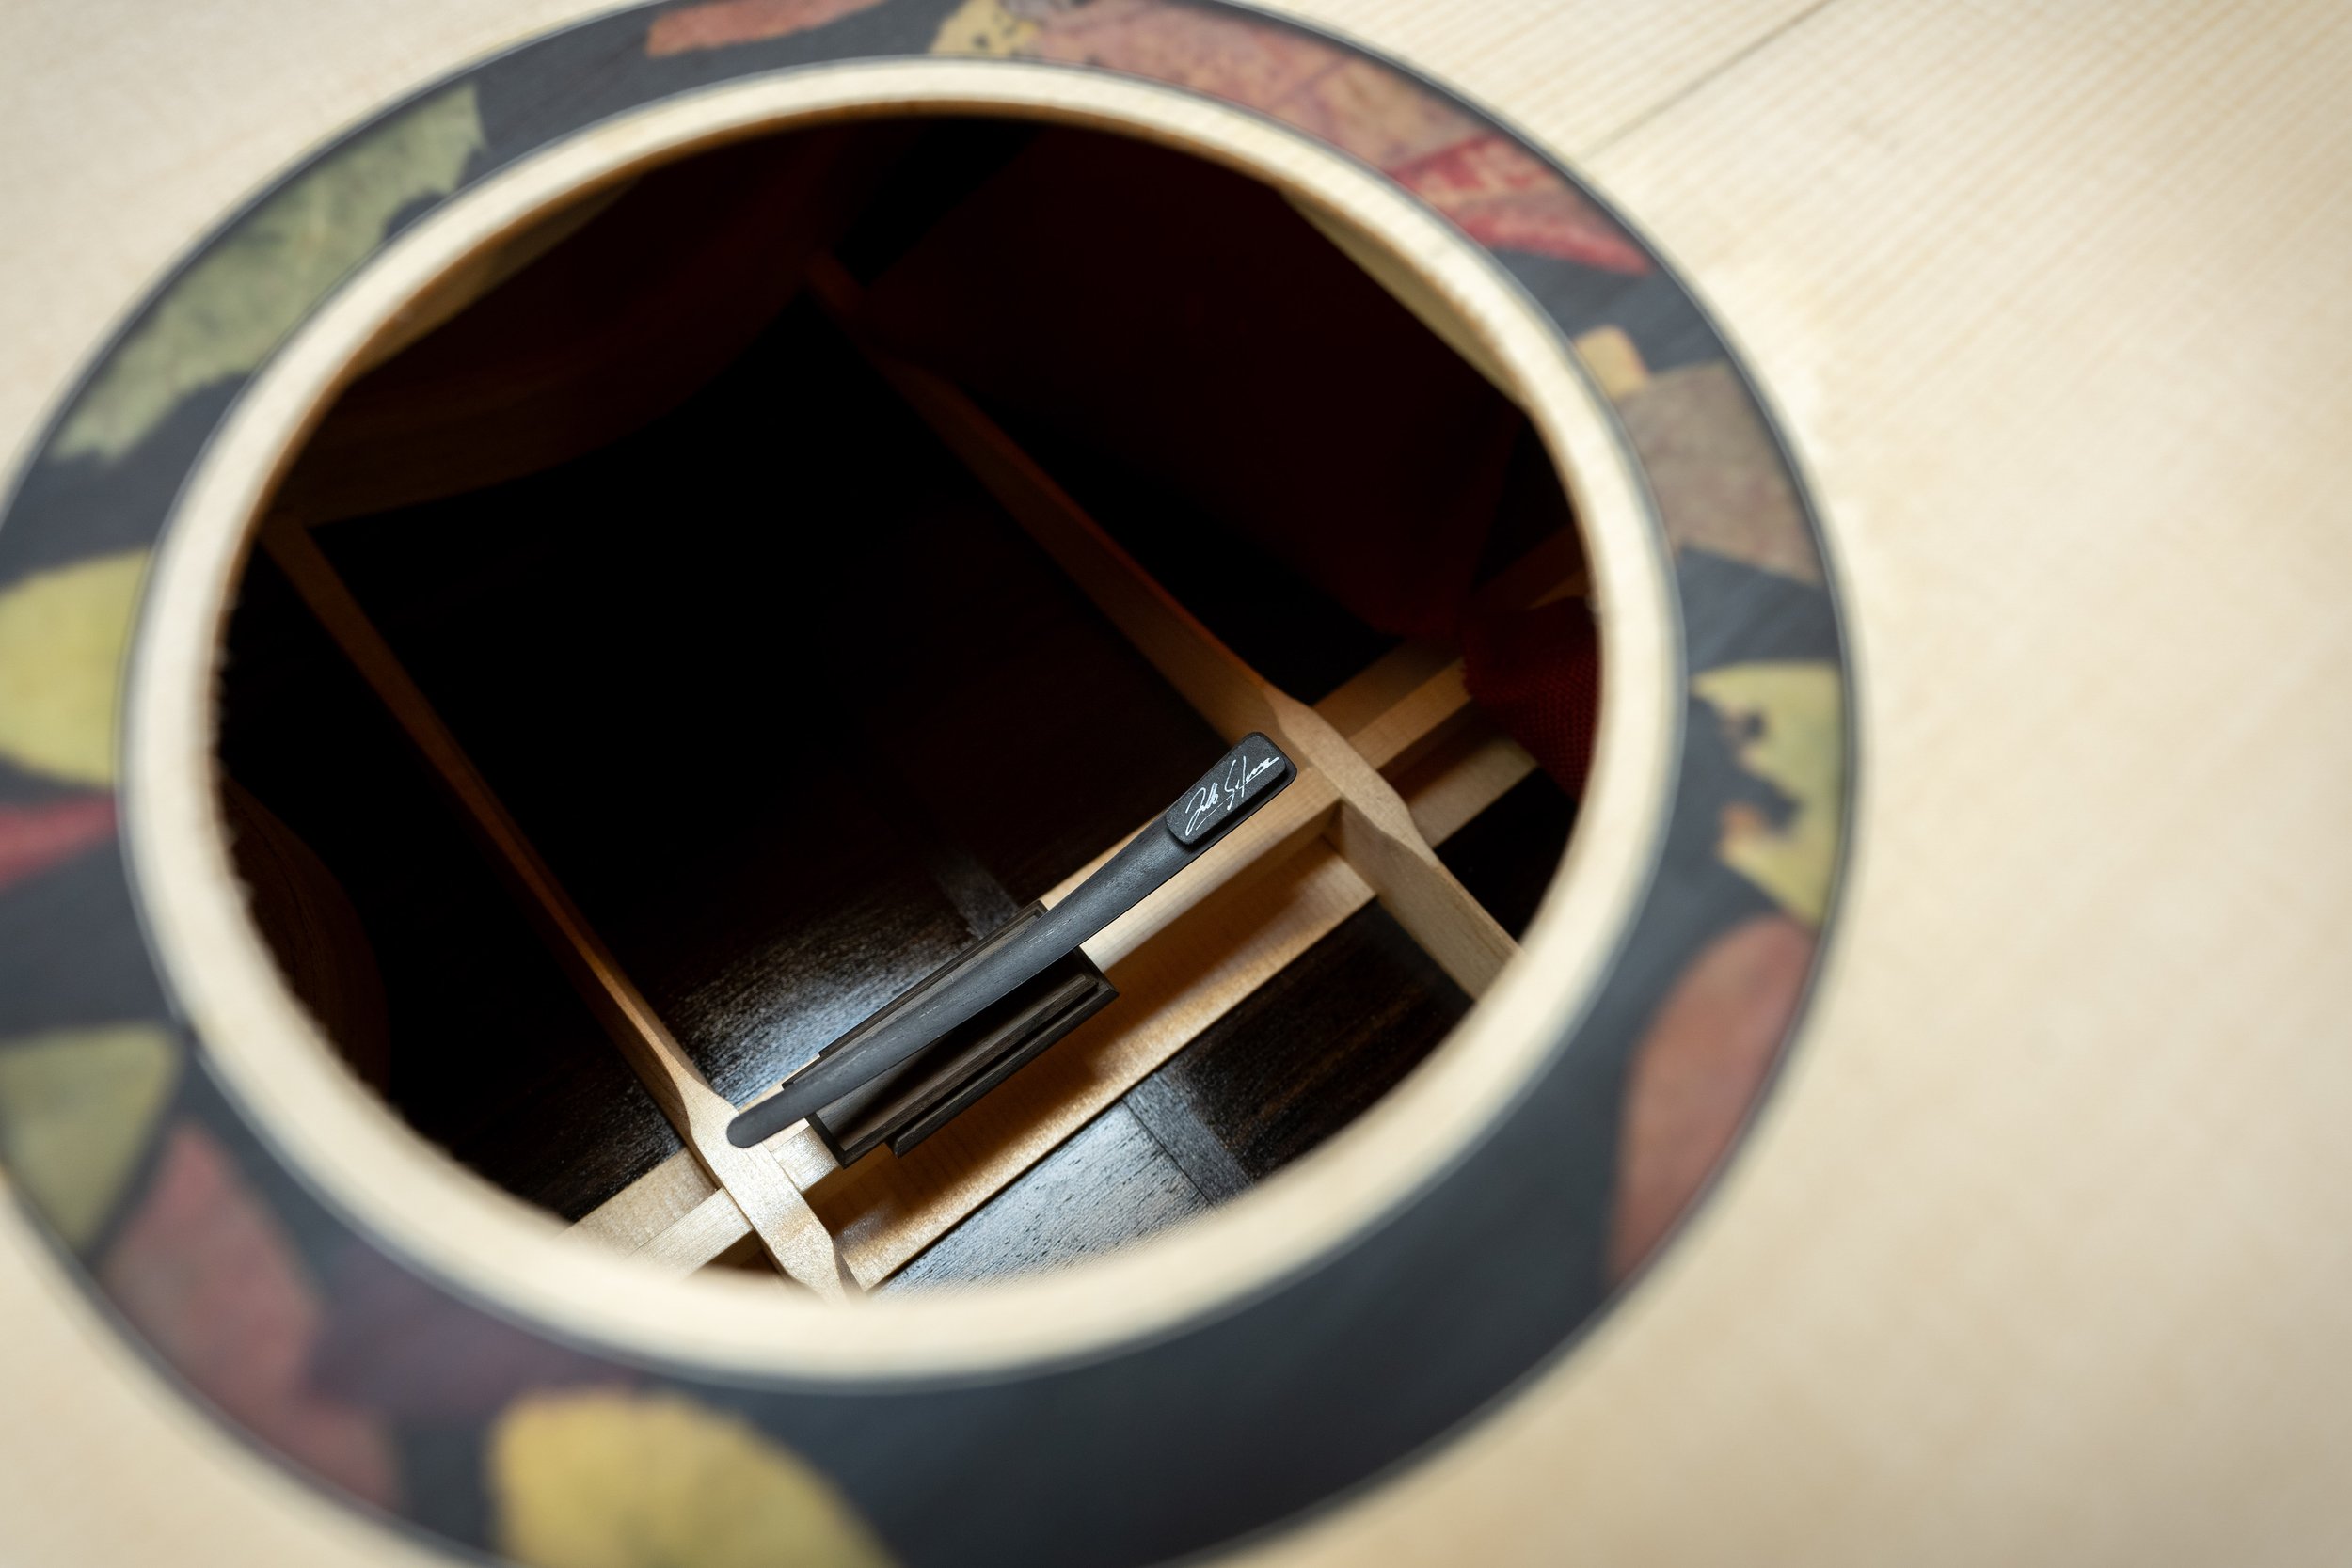
Before glueing on the back, I made the label. The floating brace was in the way of doing a regular label on the back centerstrip, so I made this one instead. Some more info on the making of that in my blog post called "Simply a Label". Inspired by the work of Chris Morimoto.
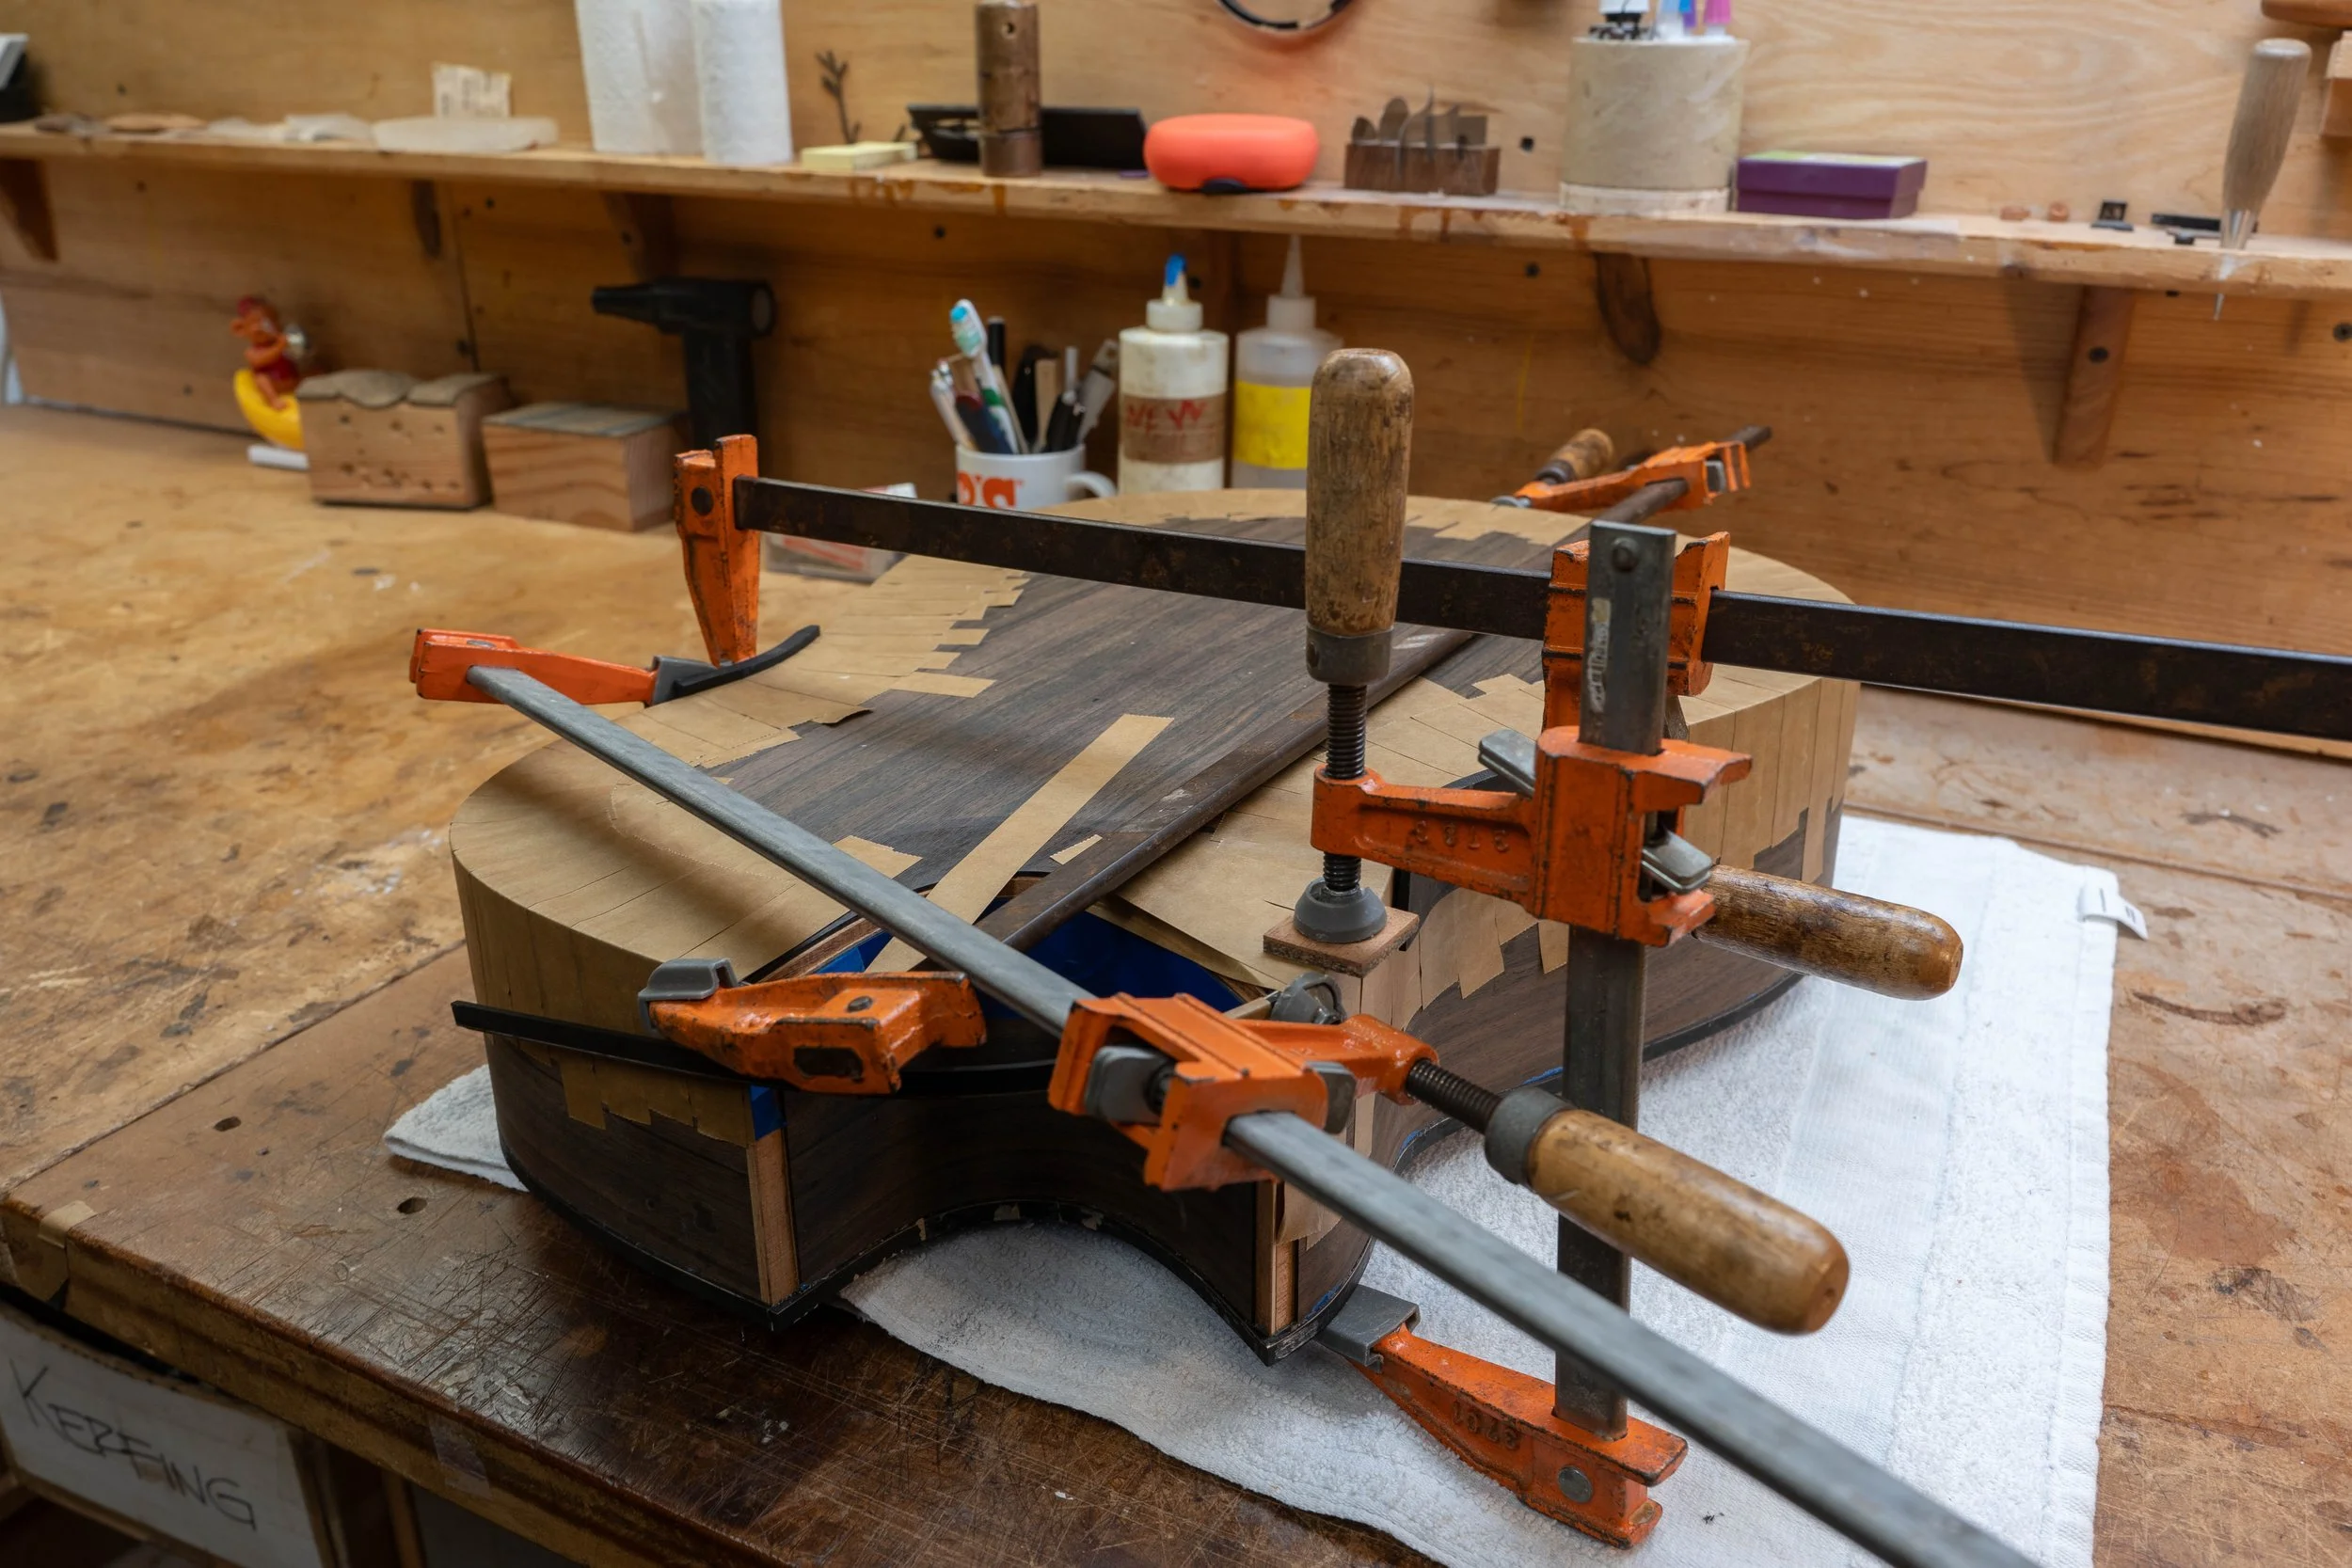
The back was then glued on.
And routed flush.
Time to make some binding!
Routing the binding.
Installing the binding on the back.
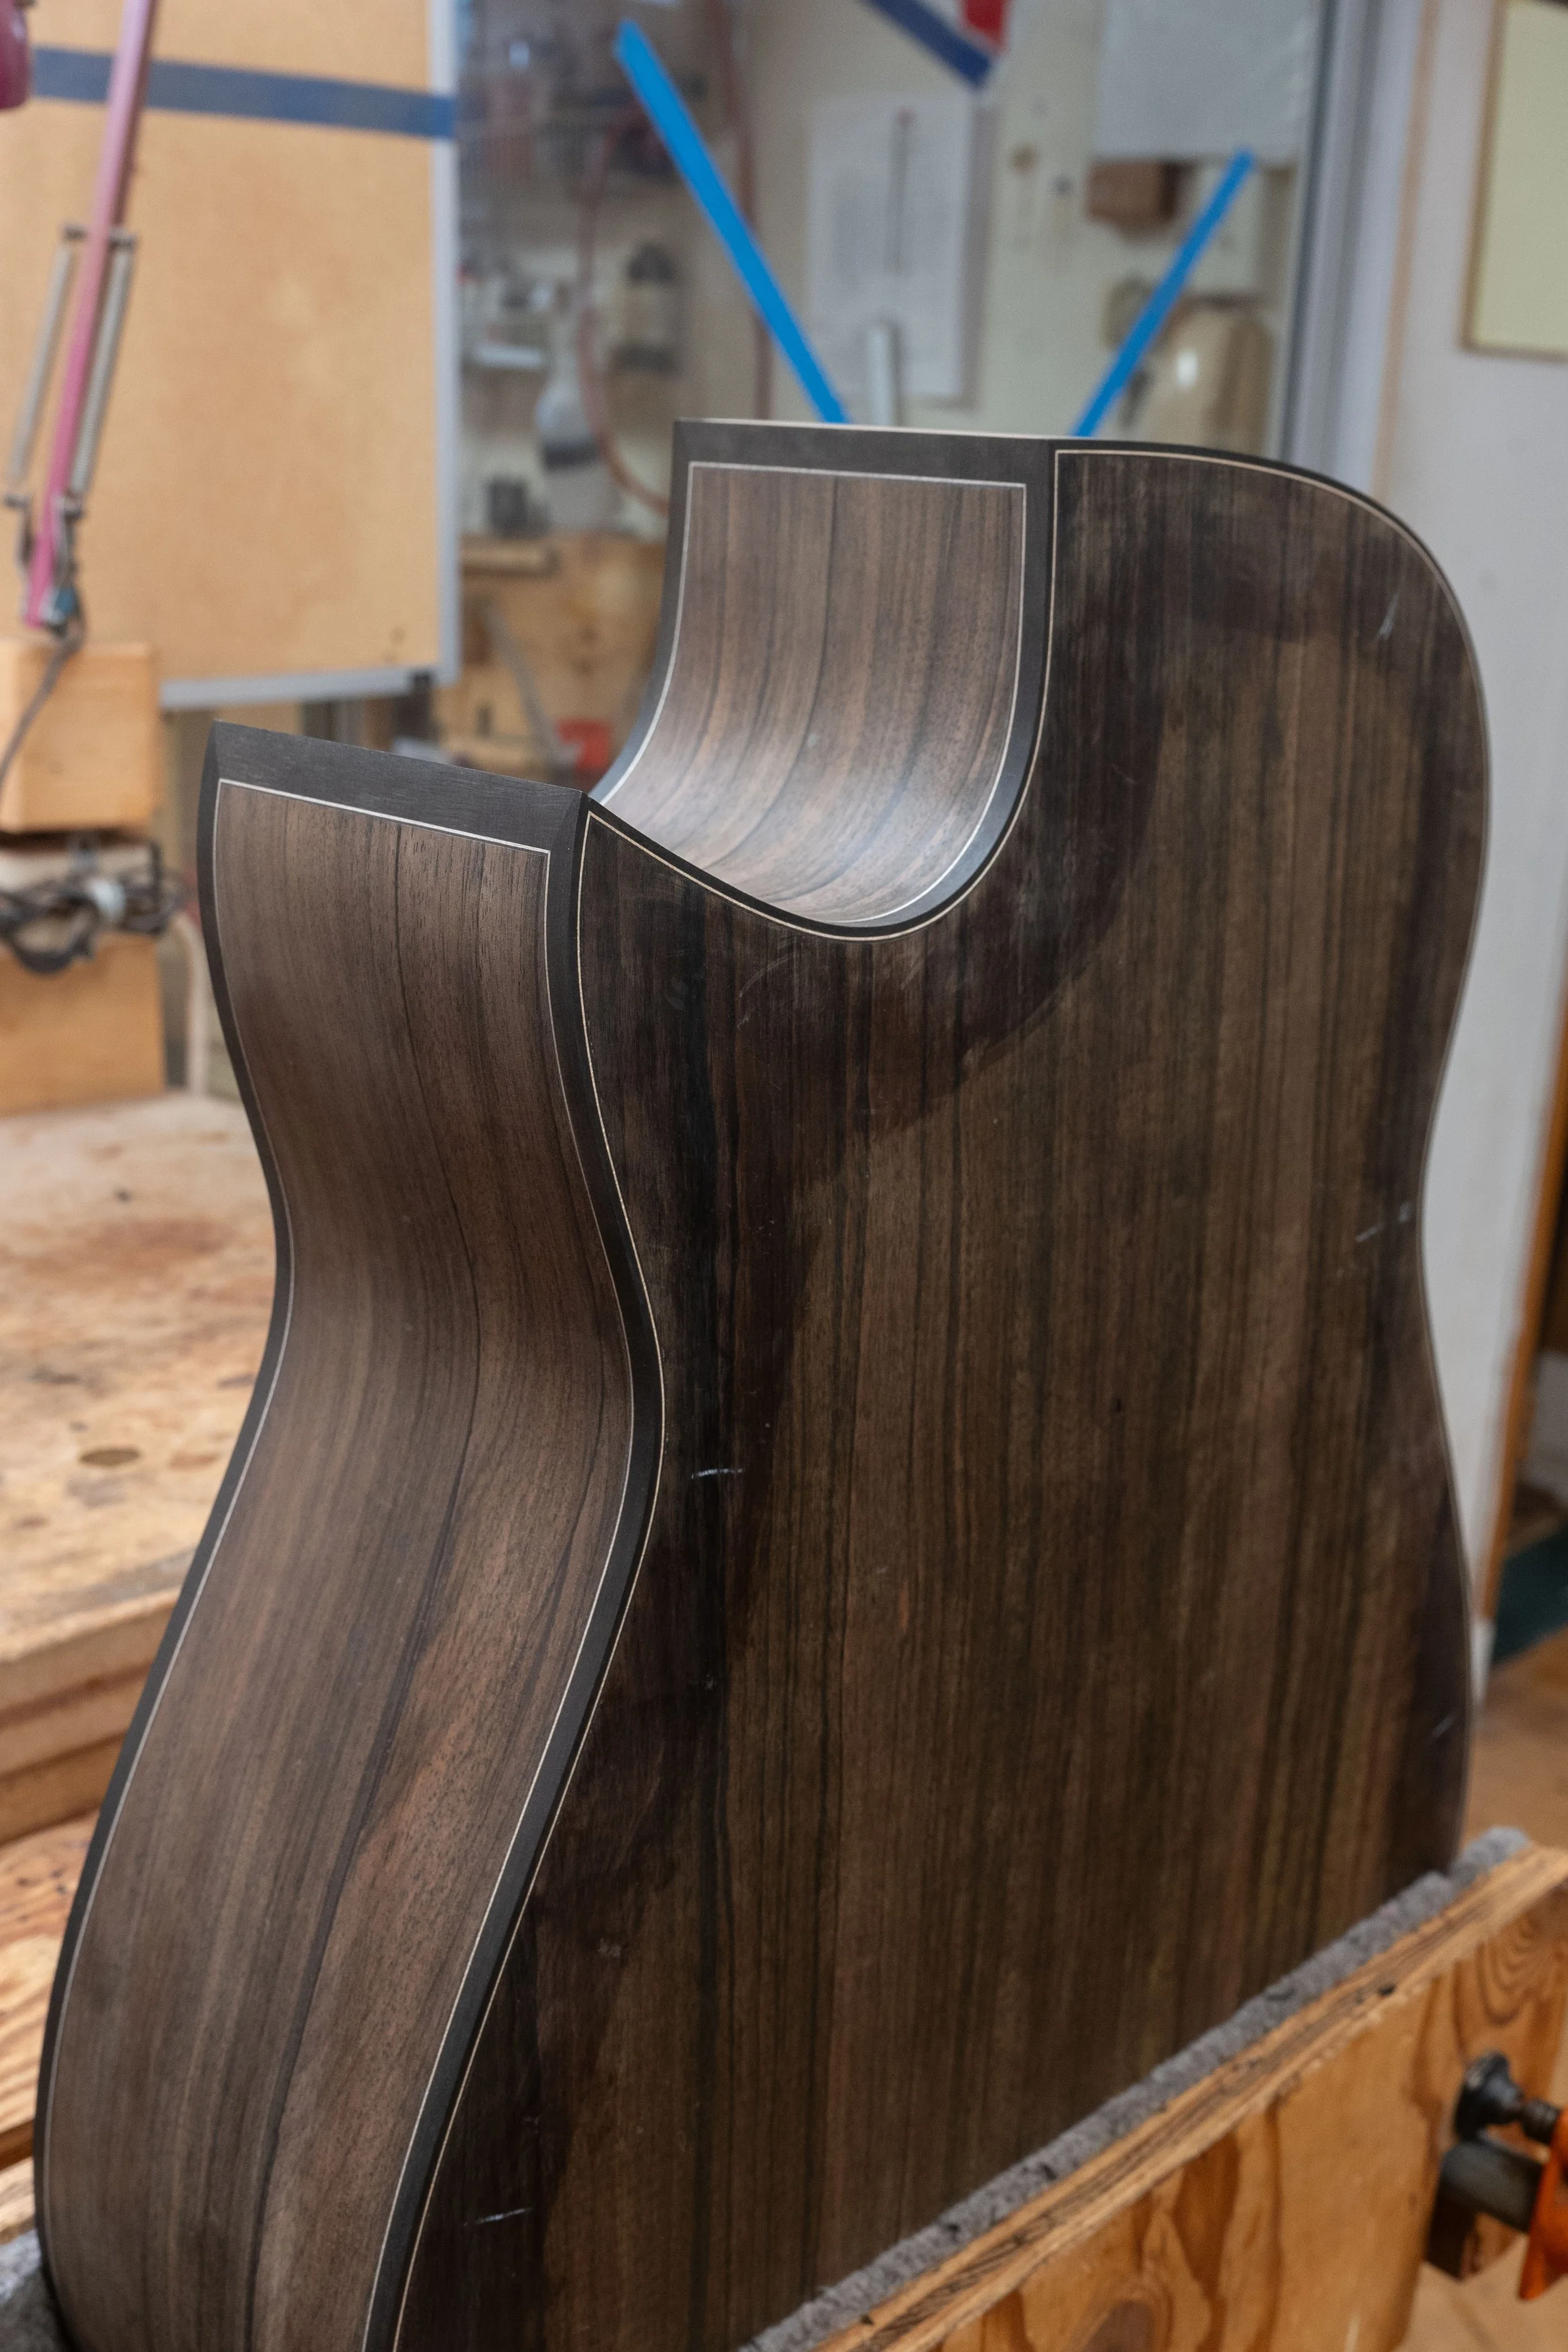
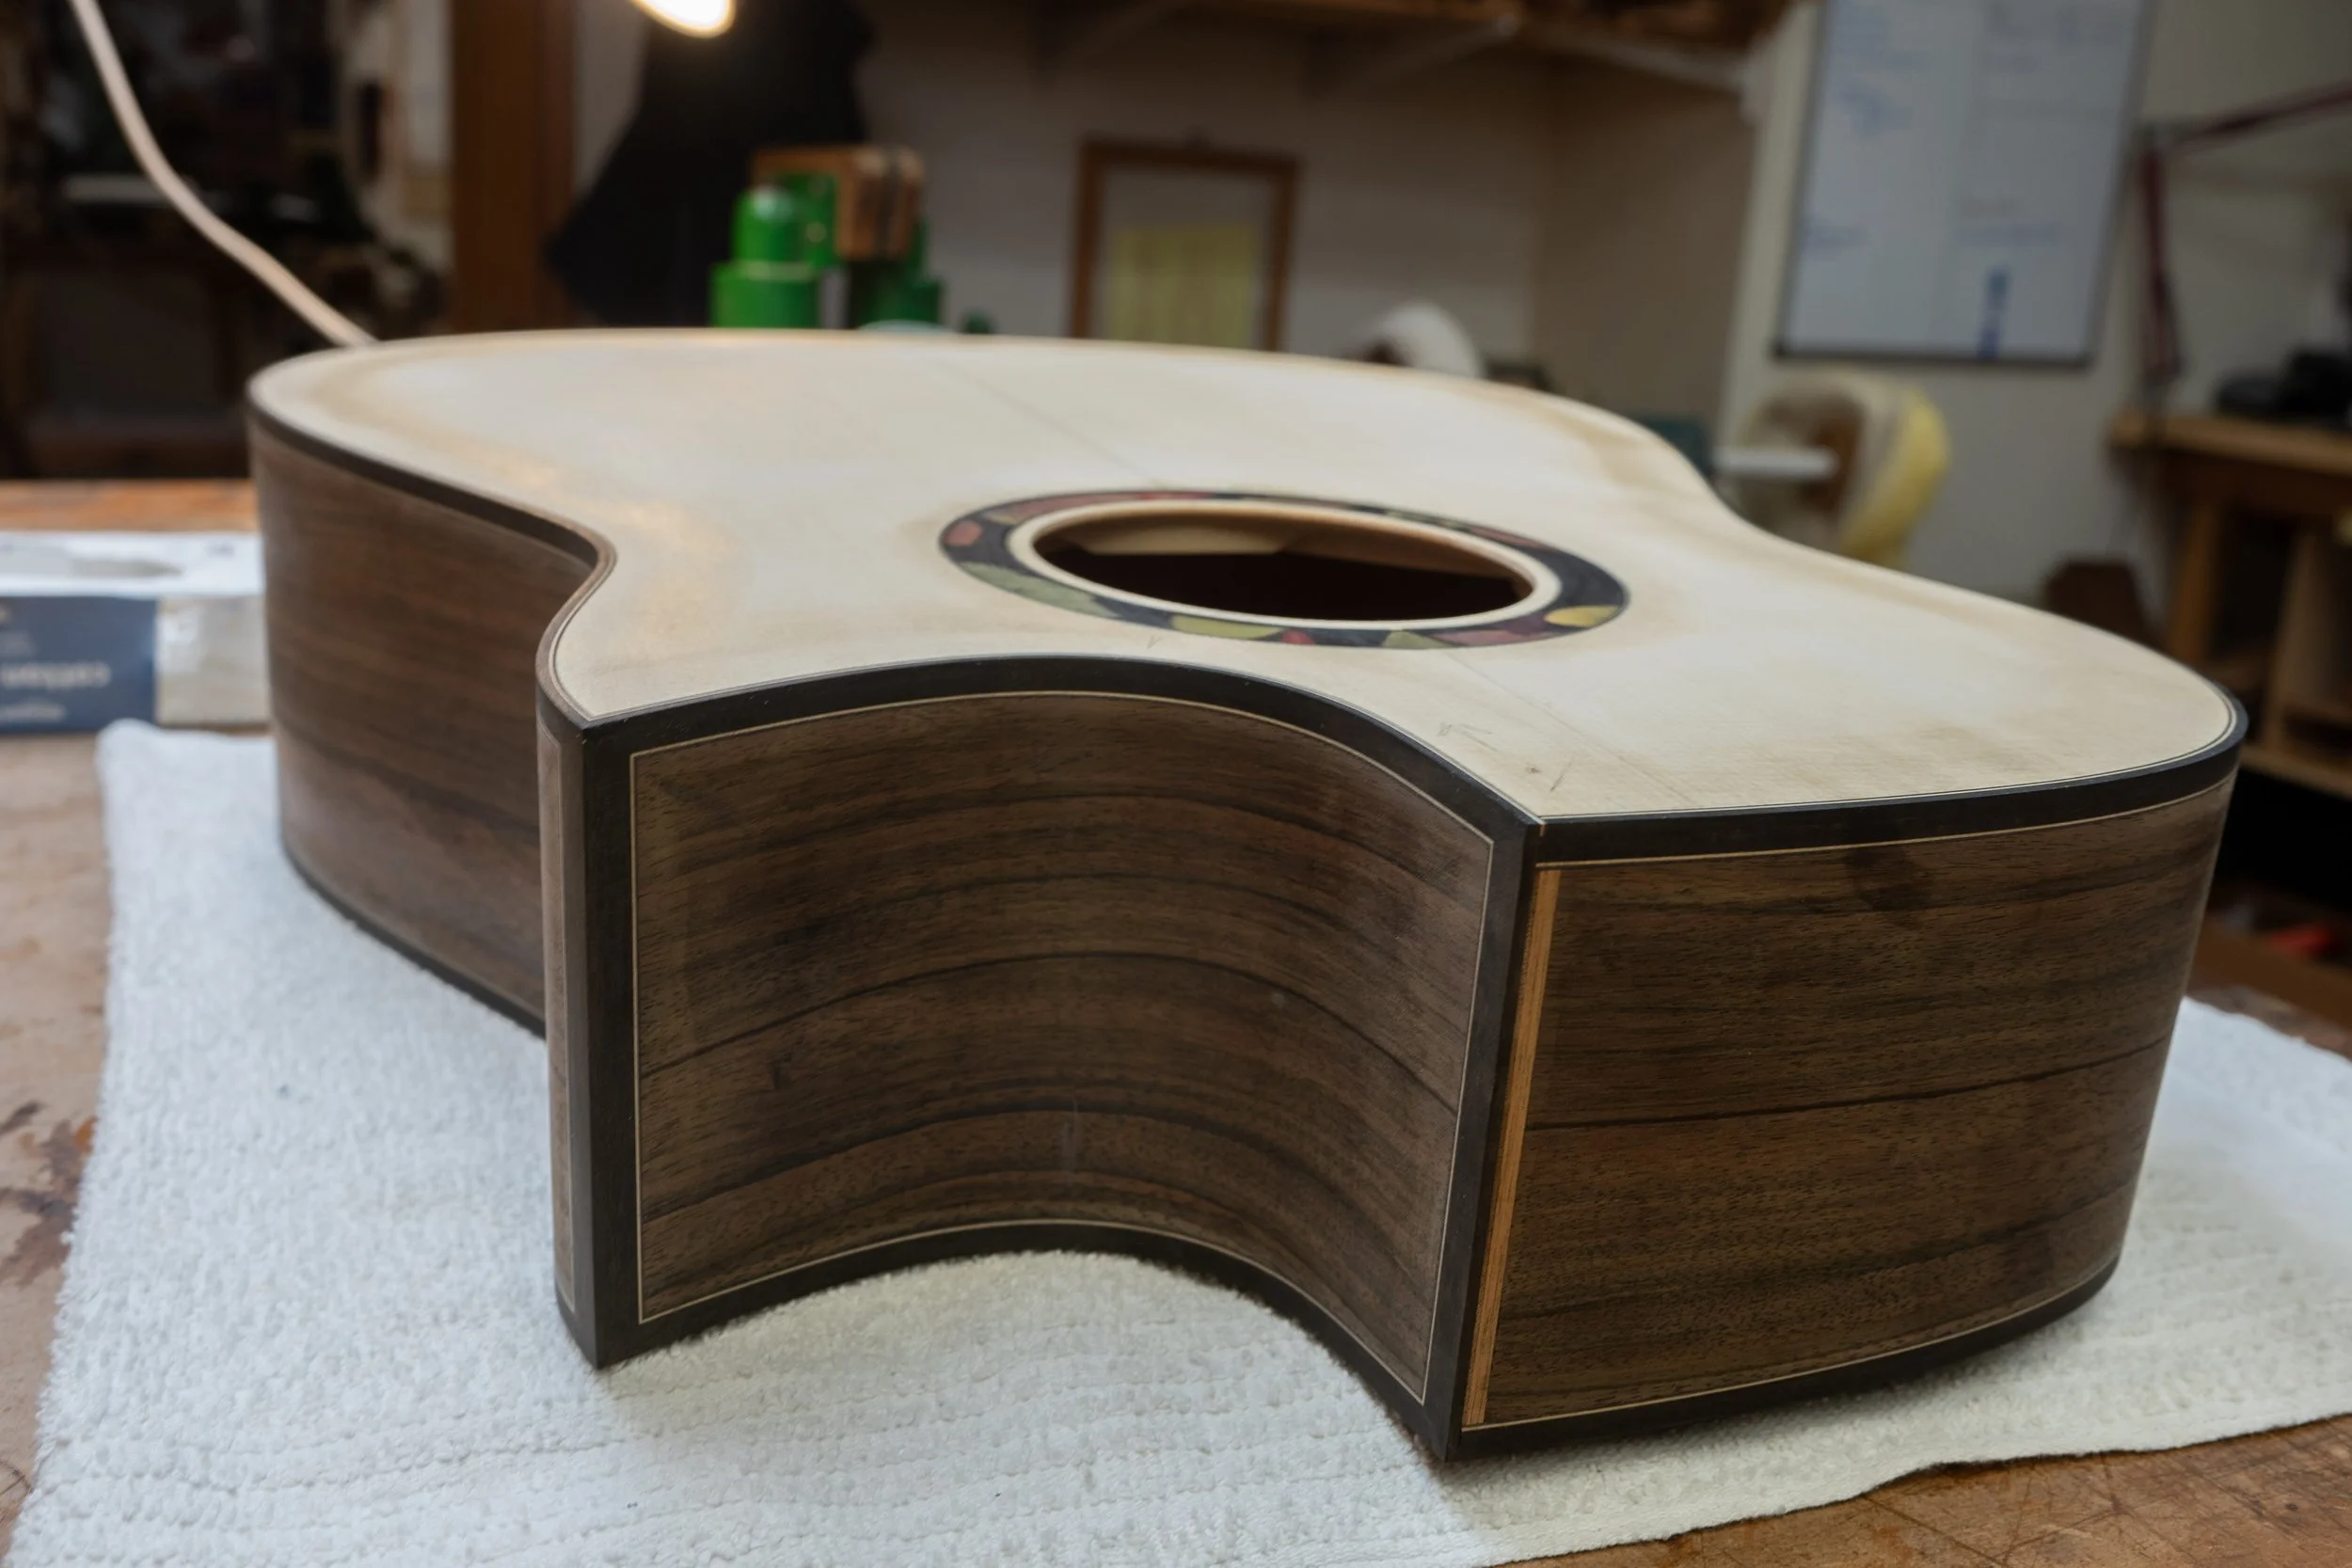
With the binding installed.

Mahogany for the neck.
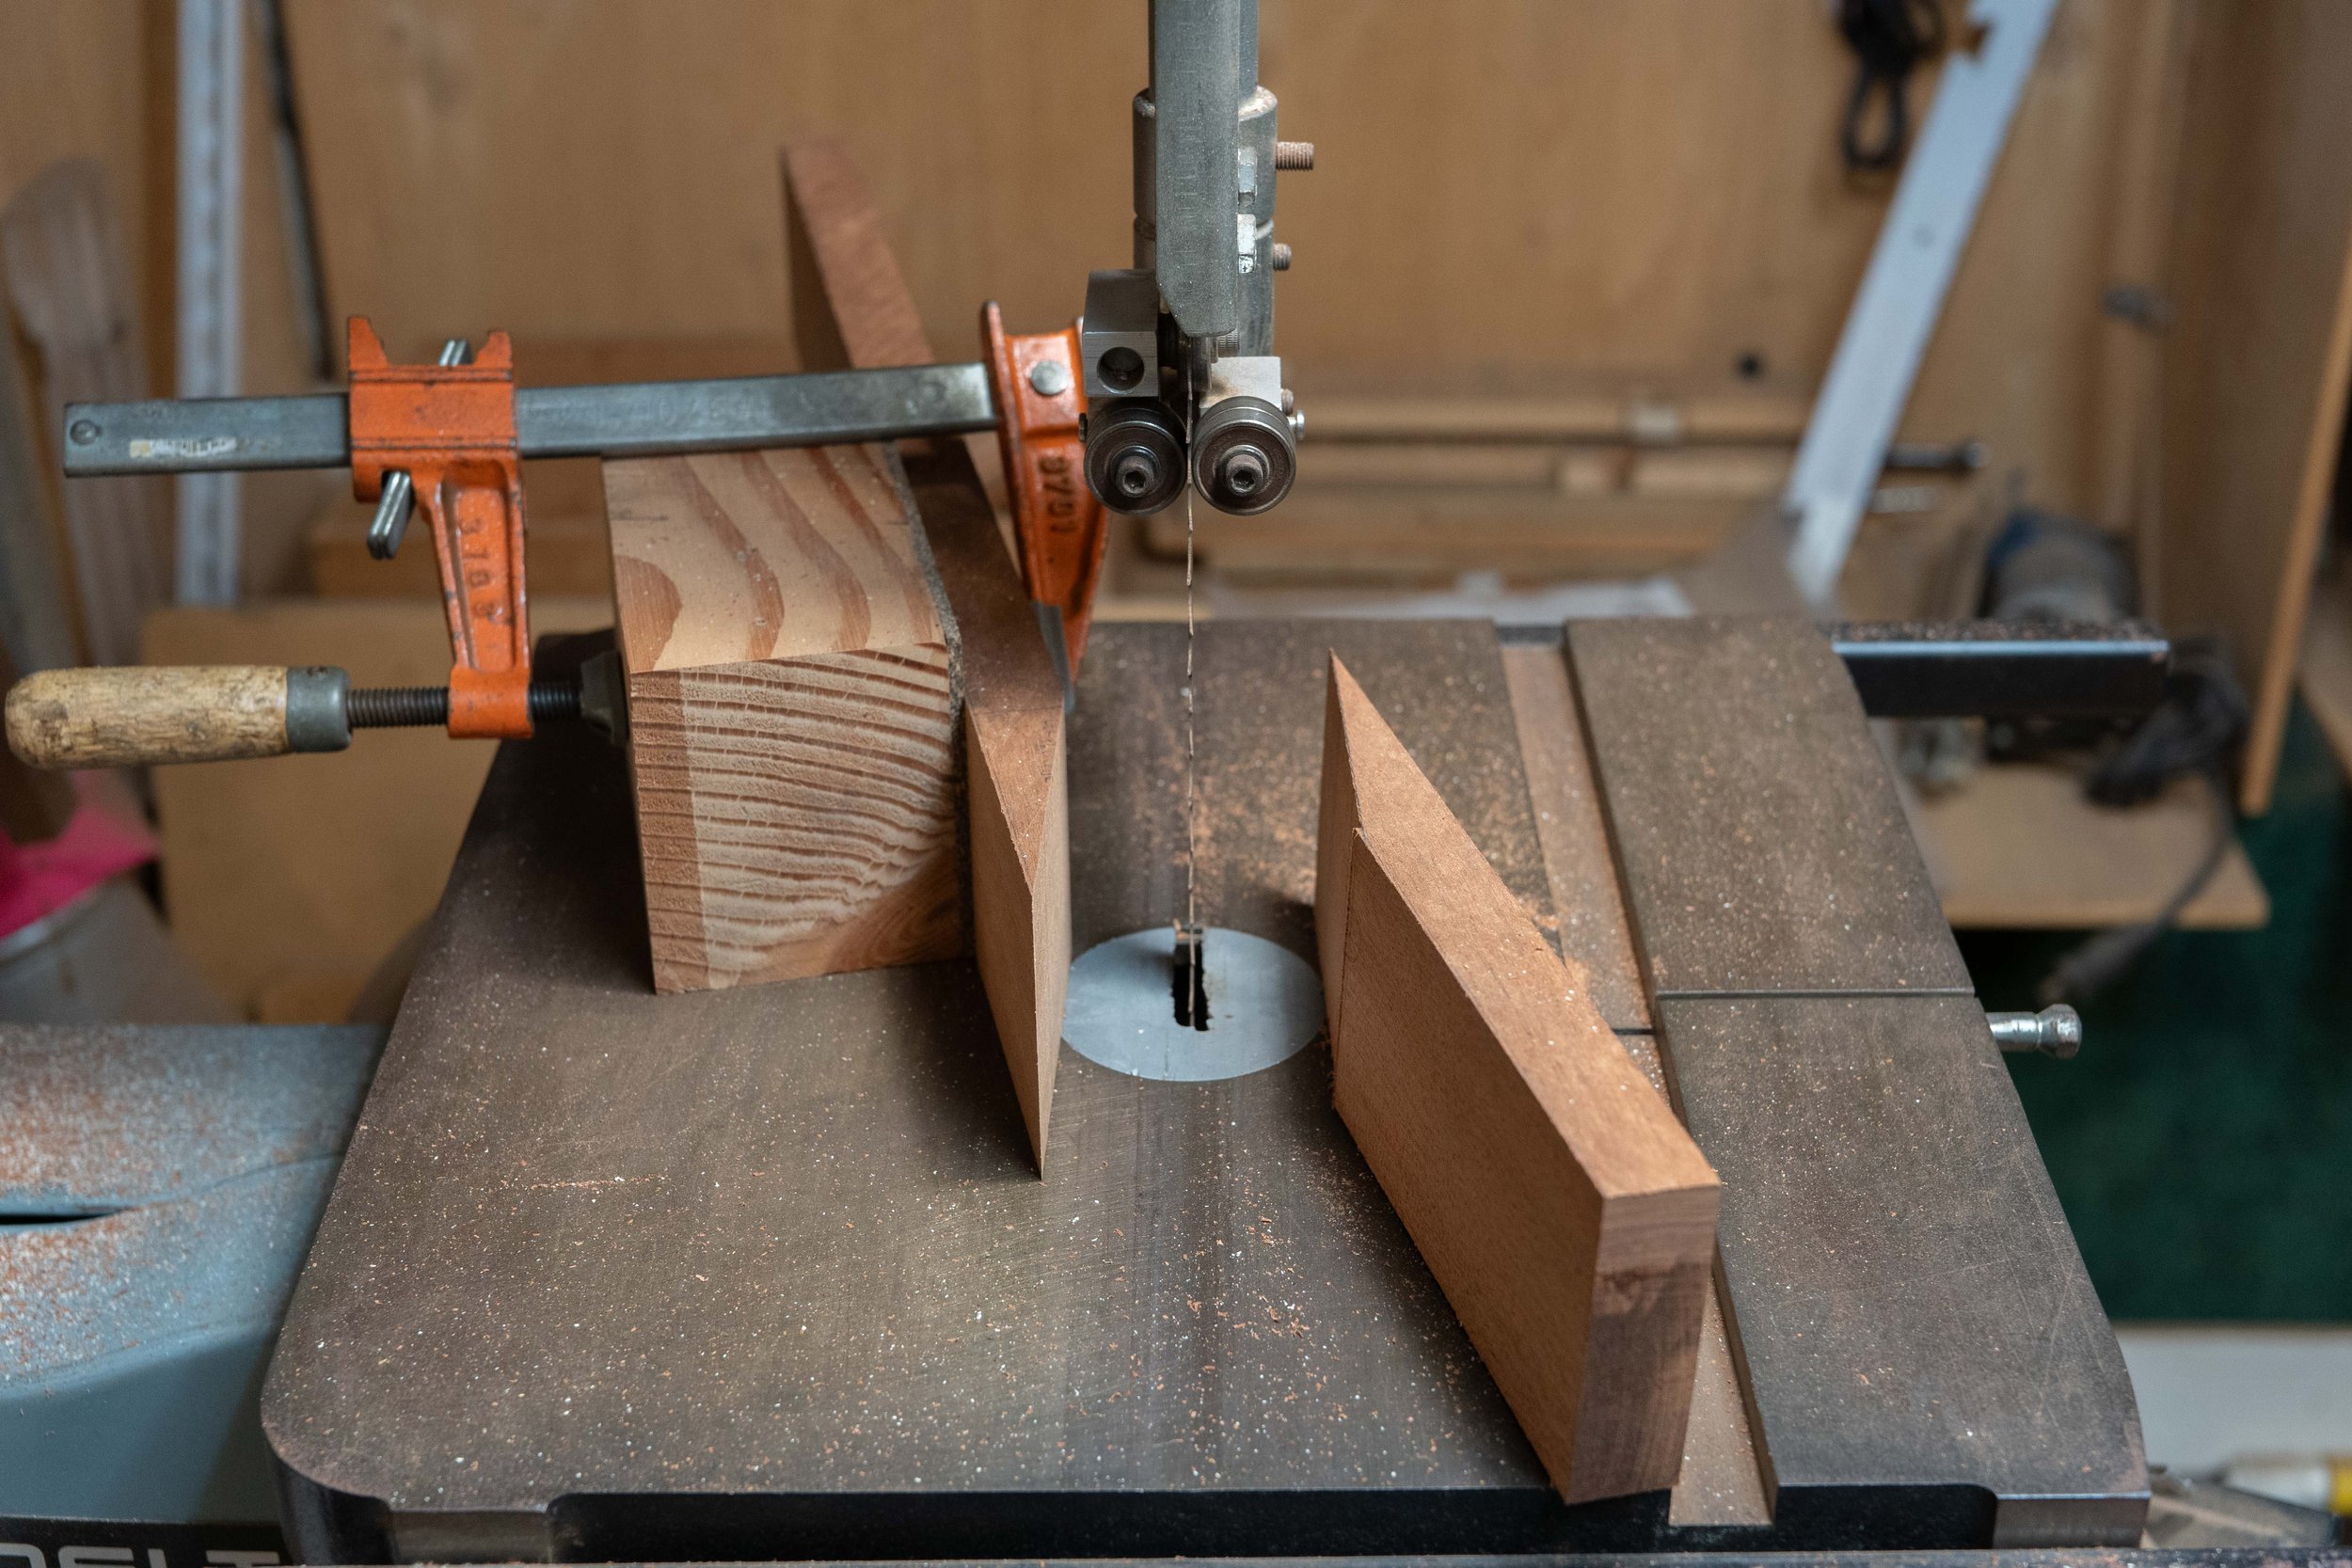
Cutting the scarf joint.
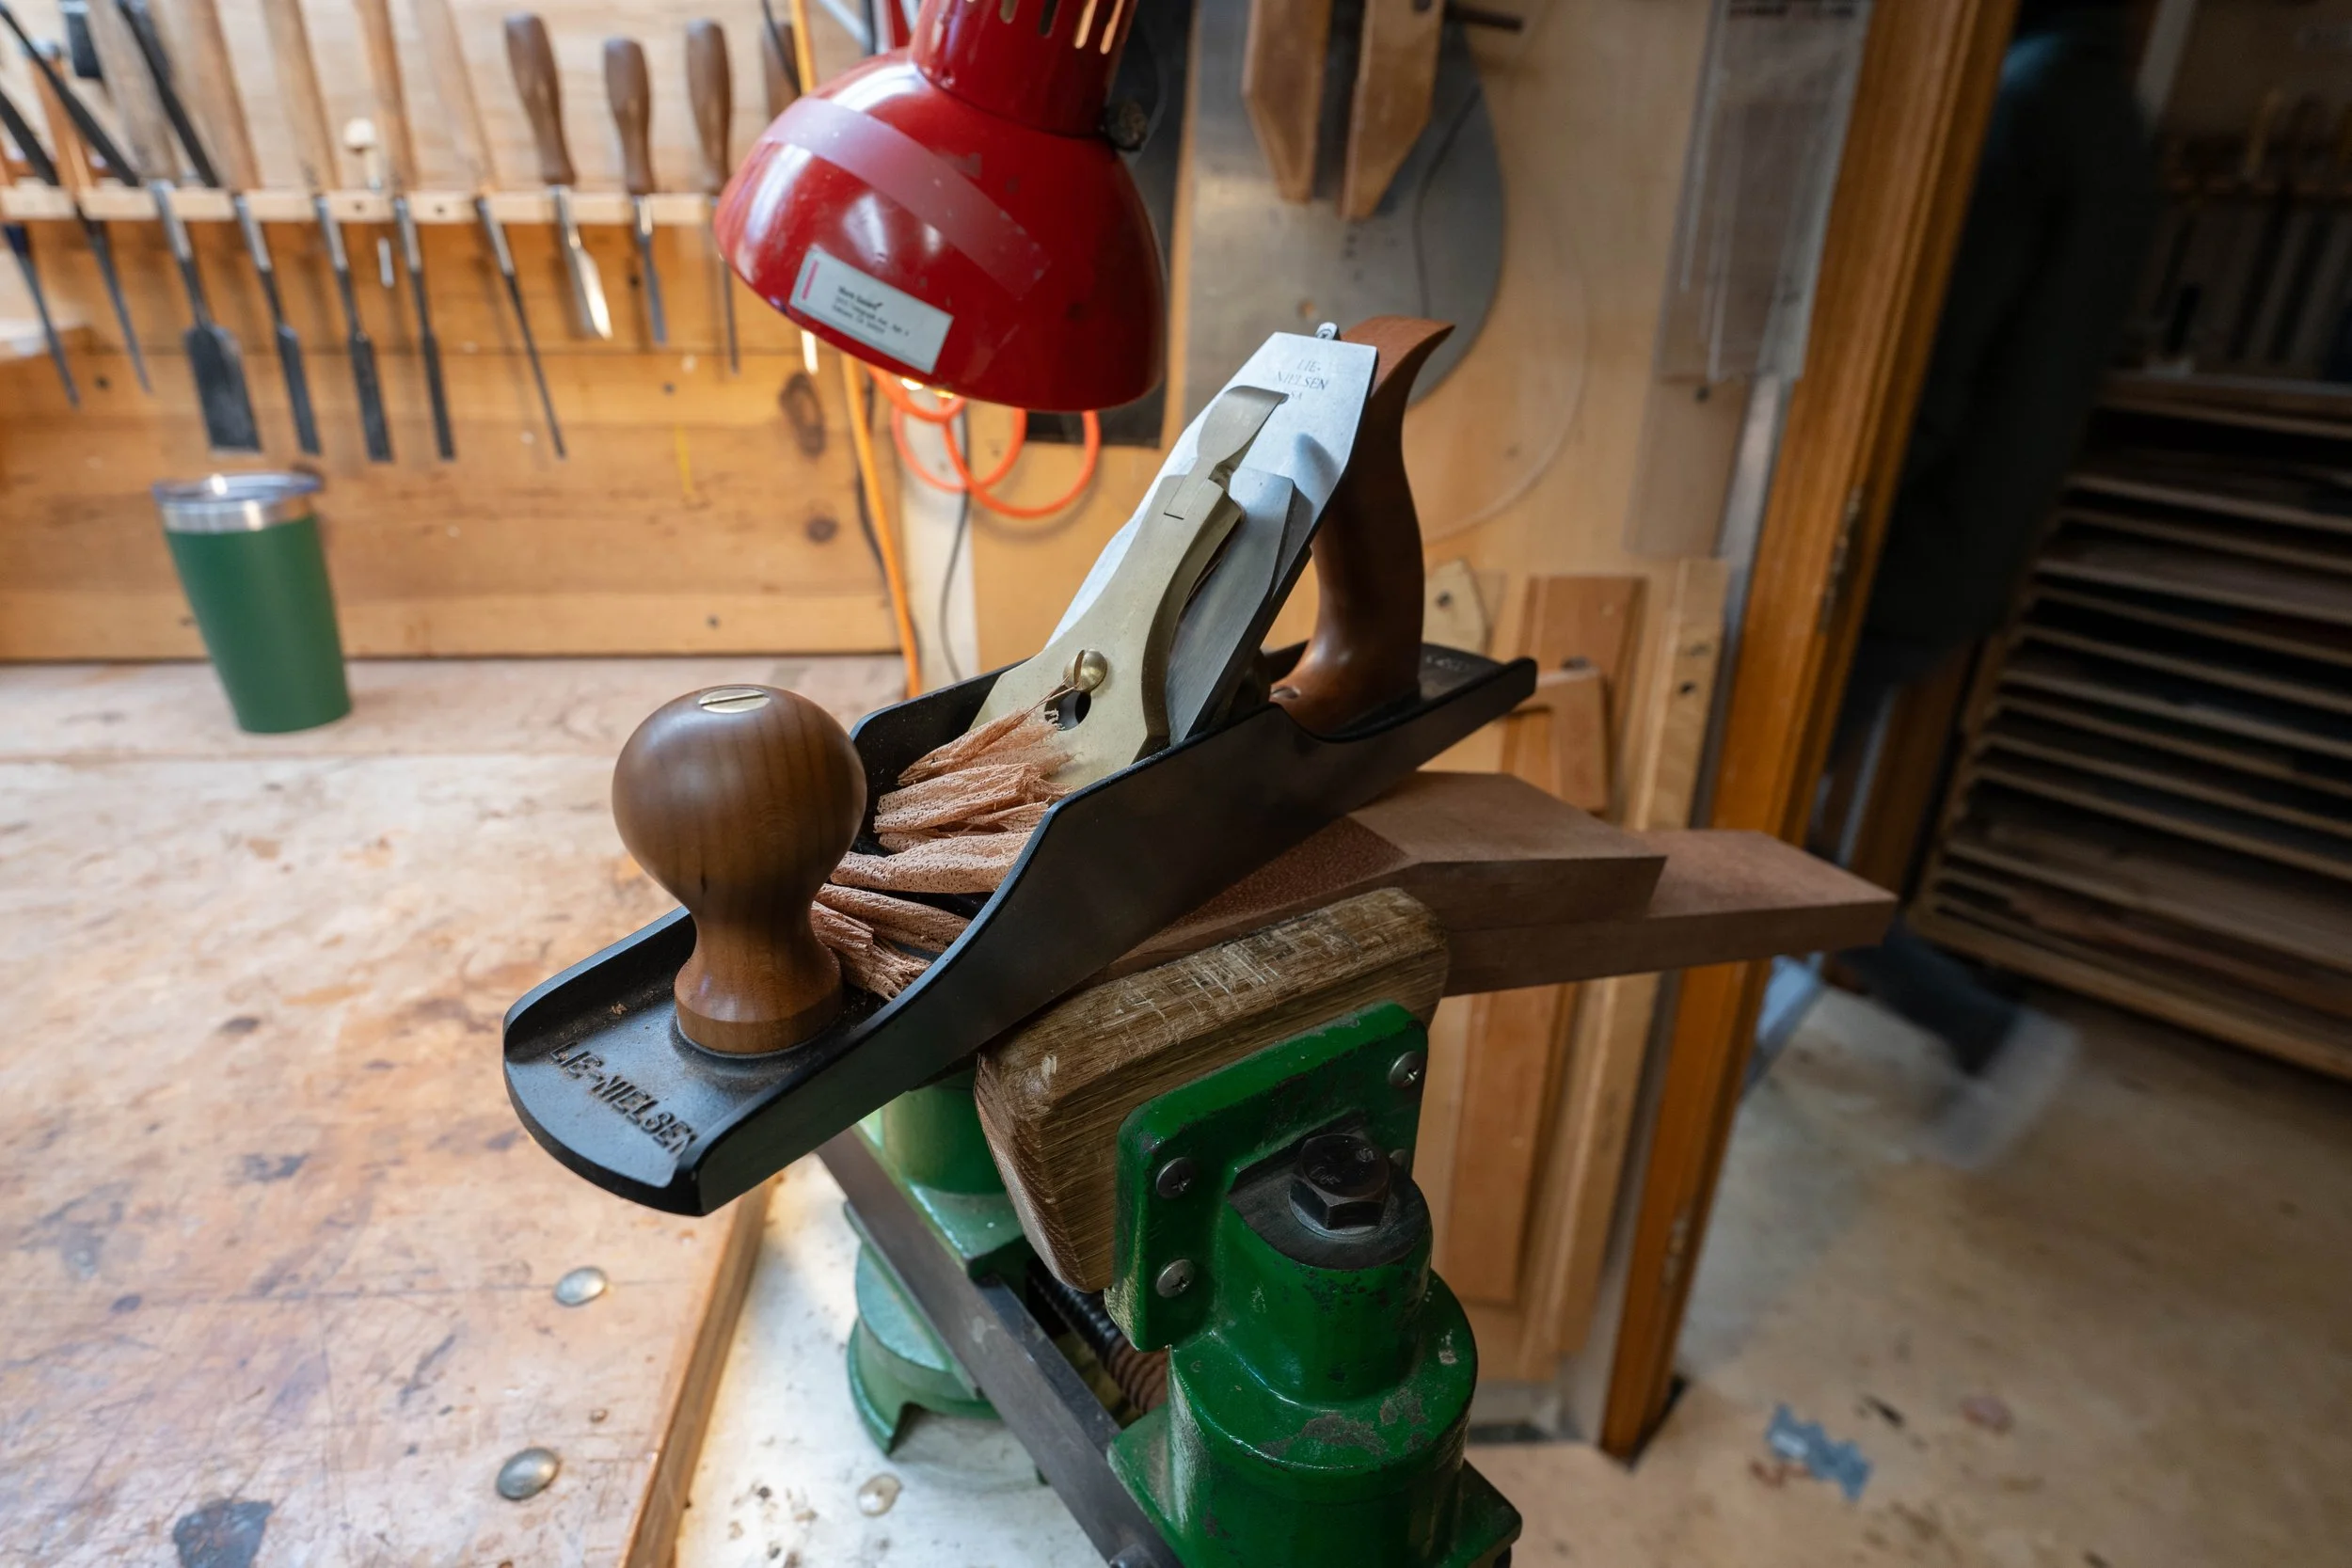
Cleaning up the scarf joint.
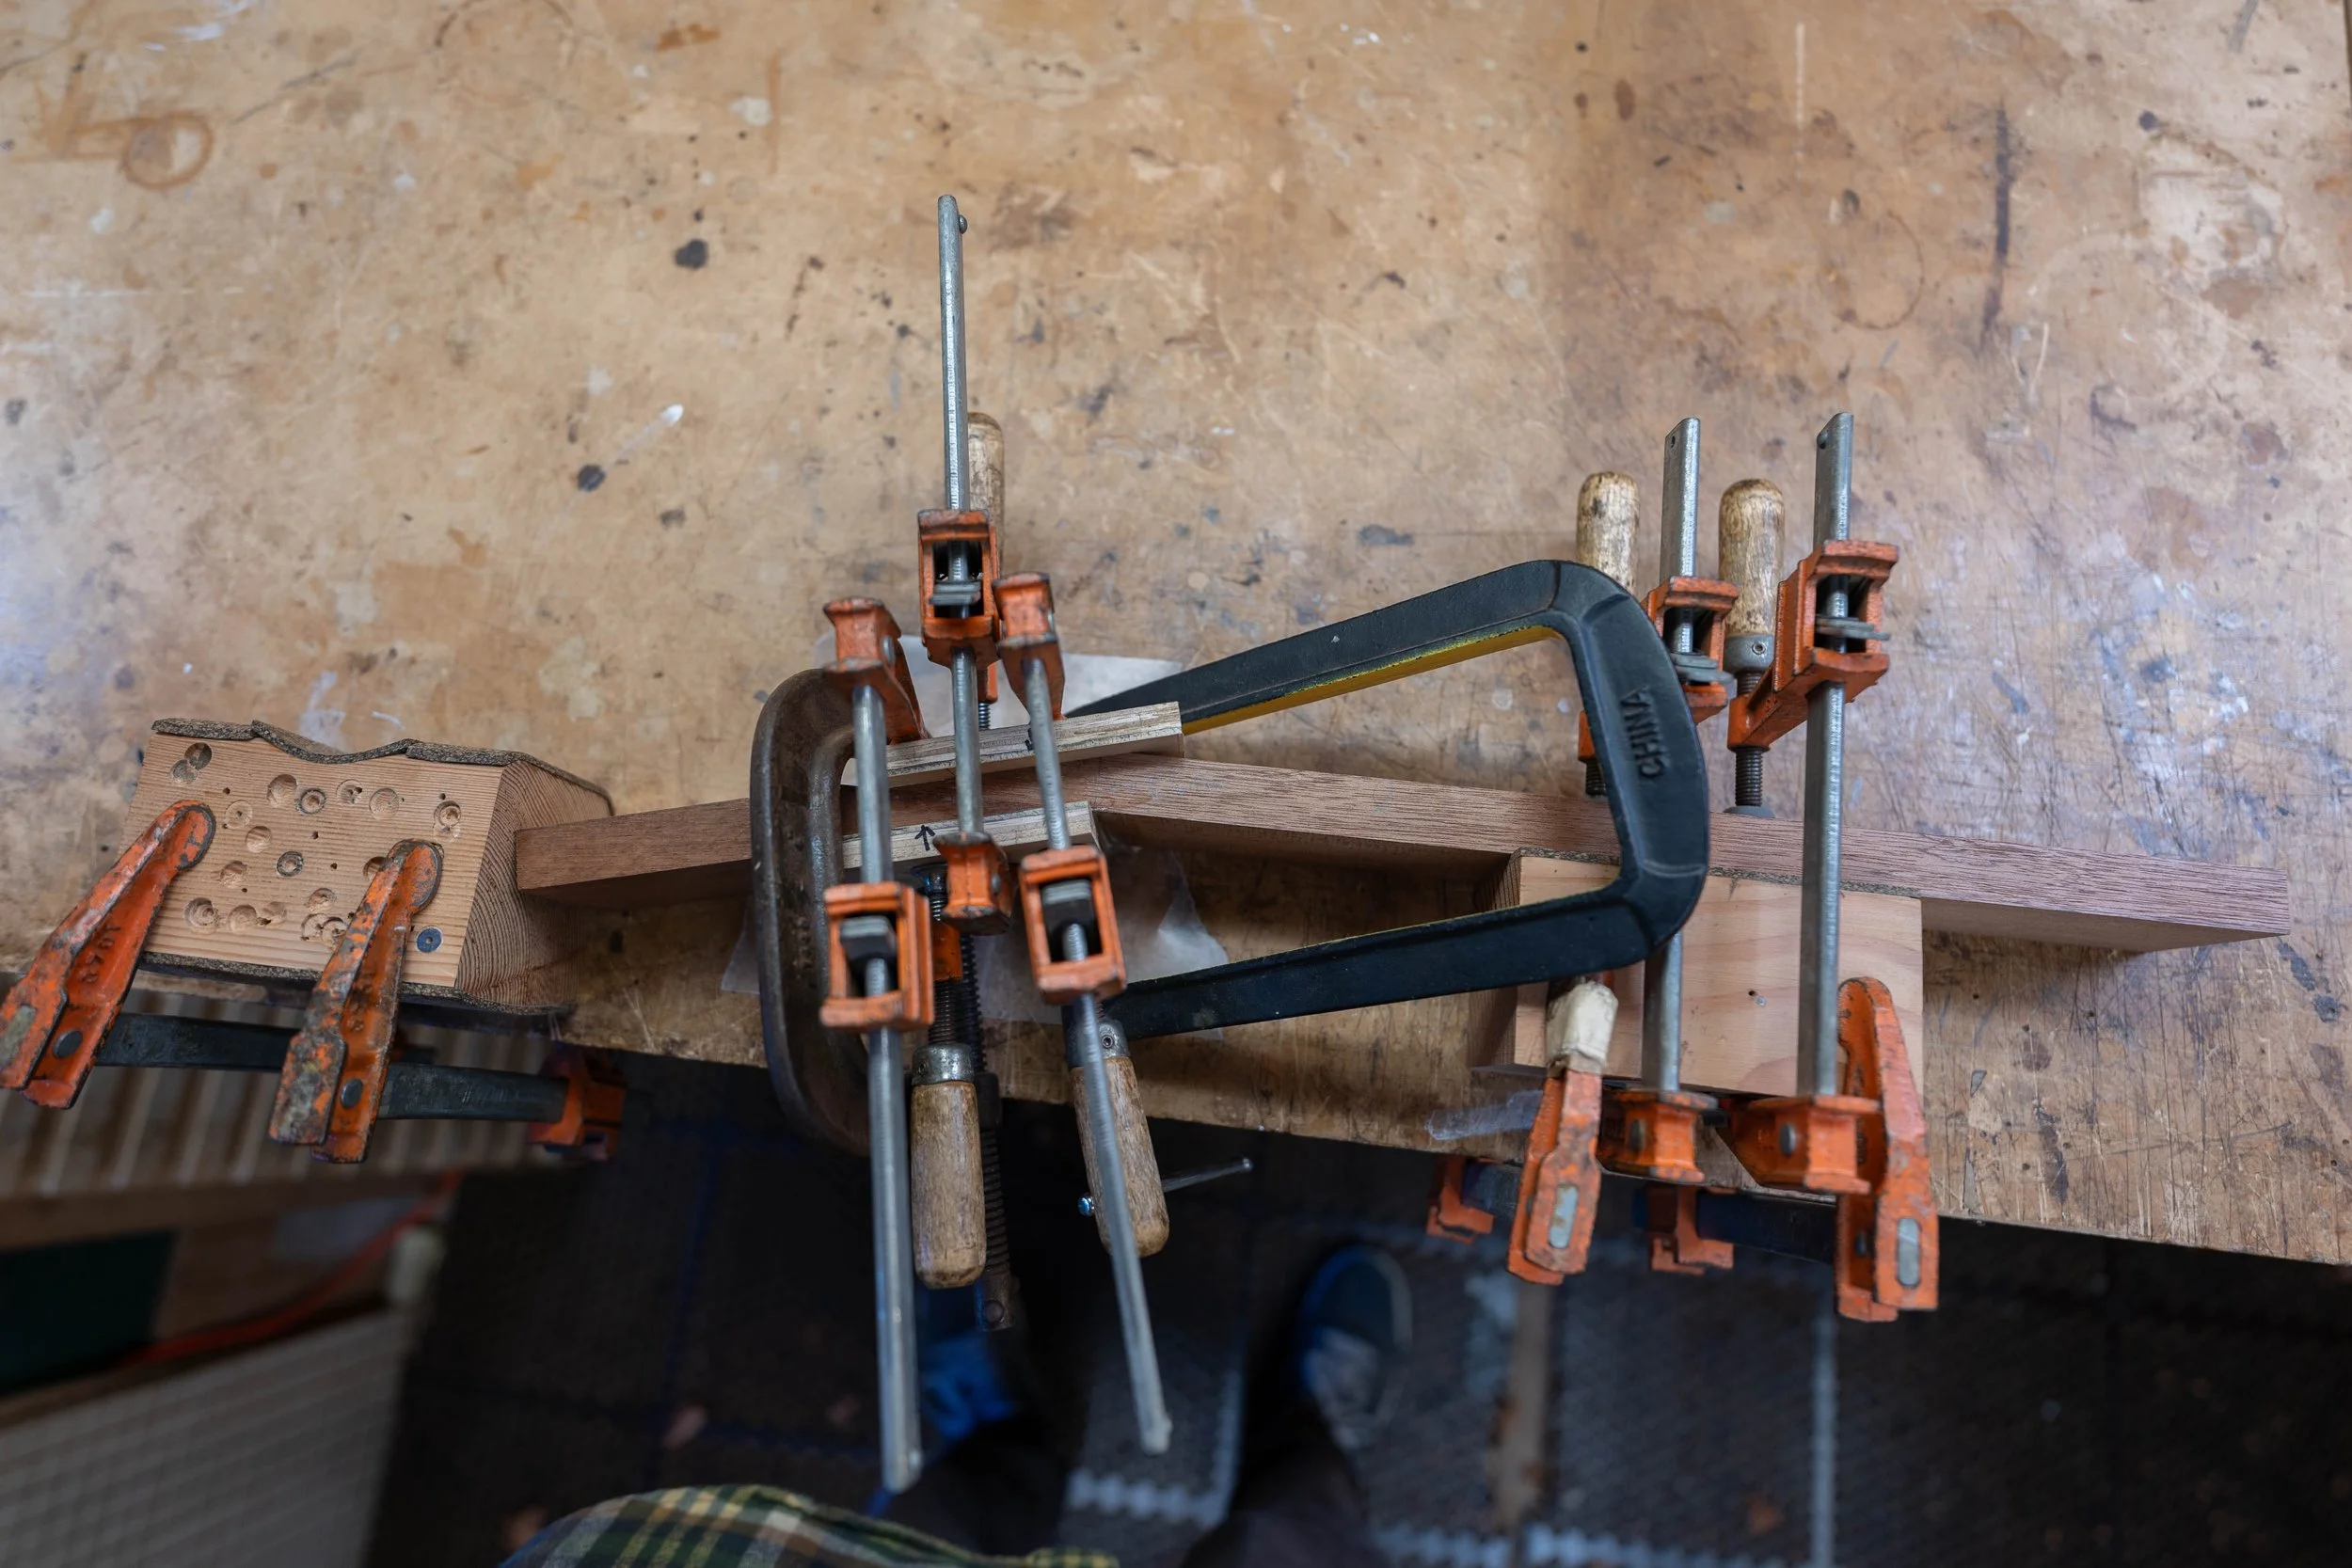
Glueing the scarf going.
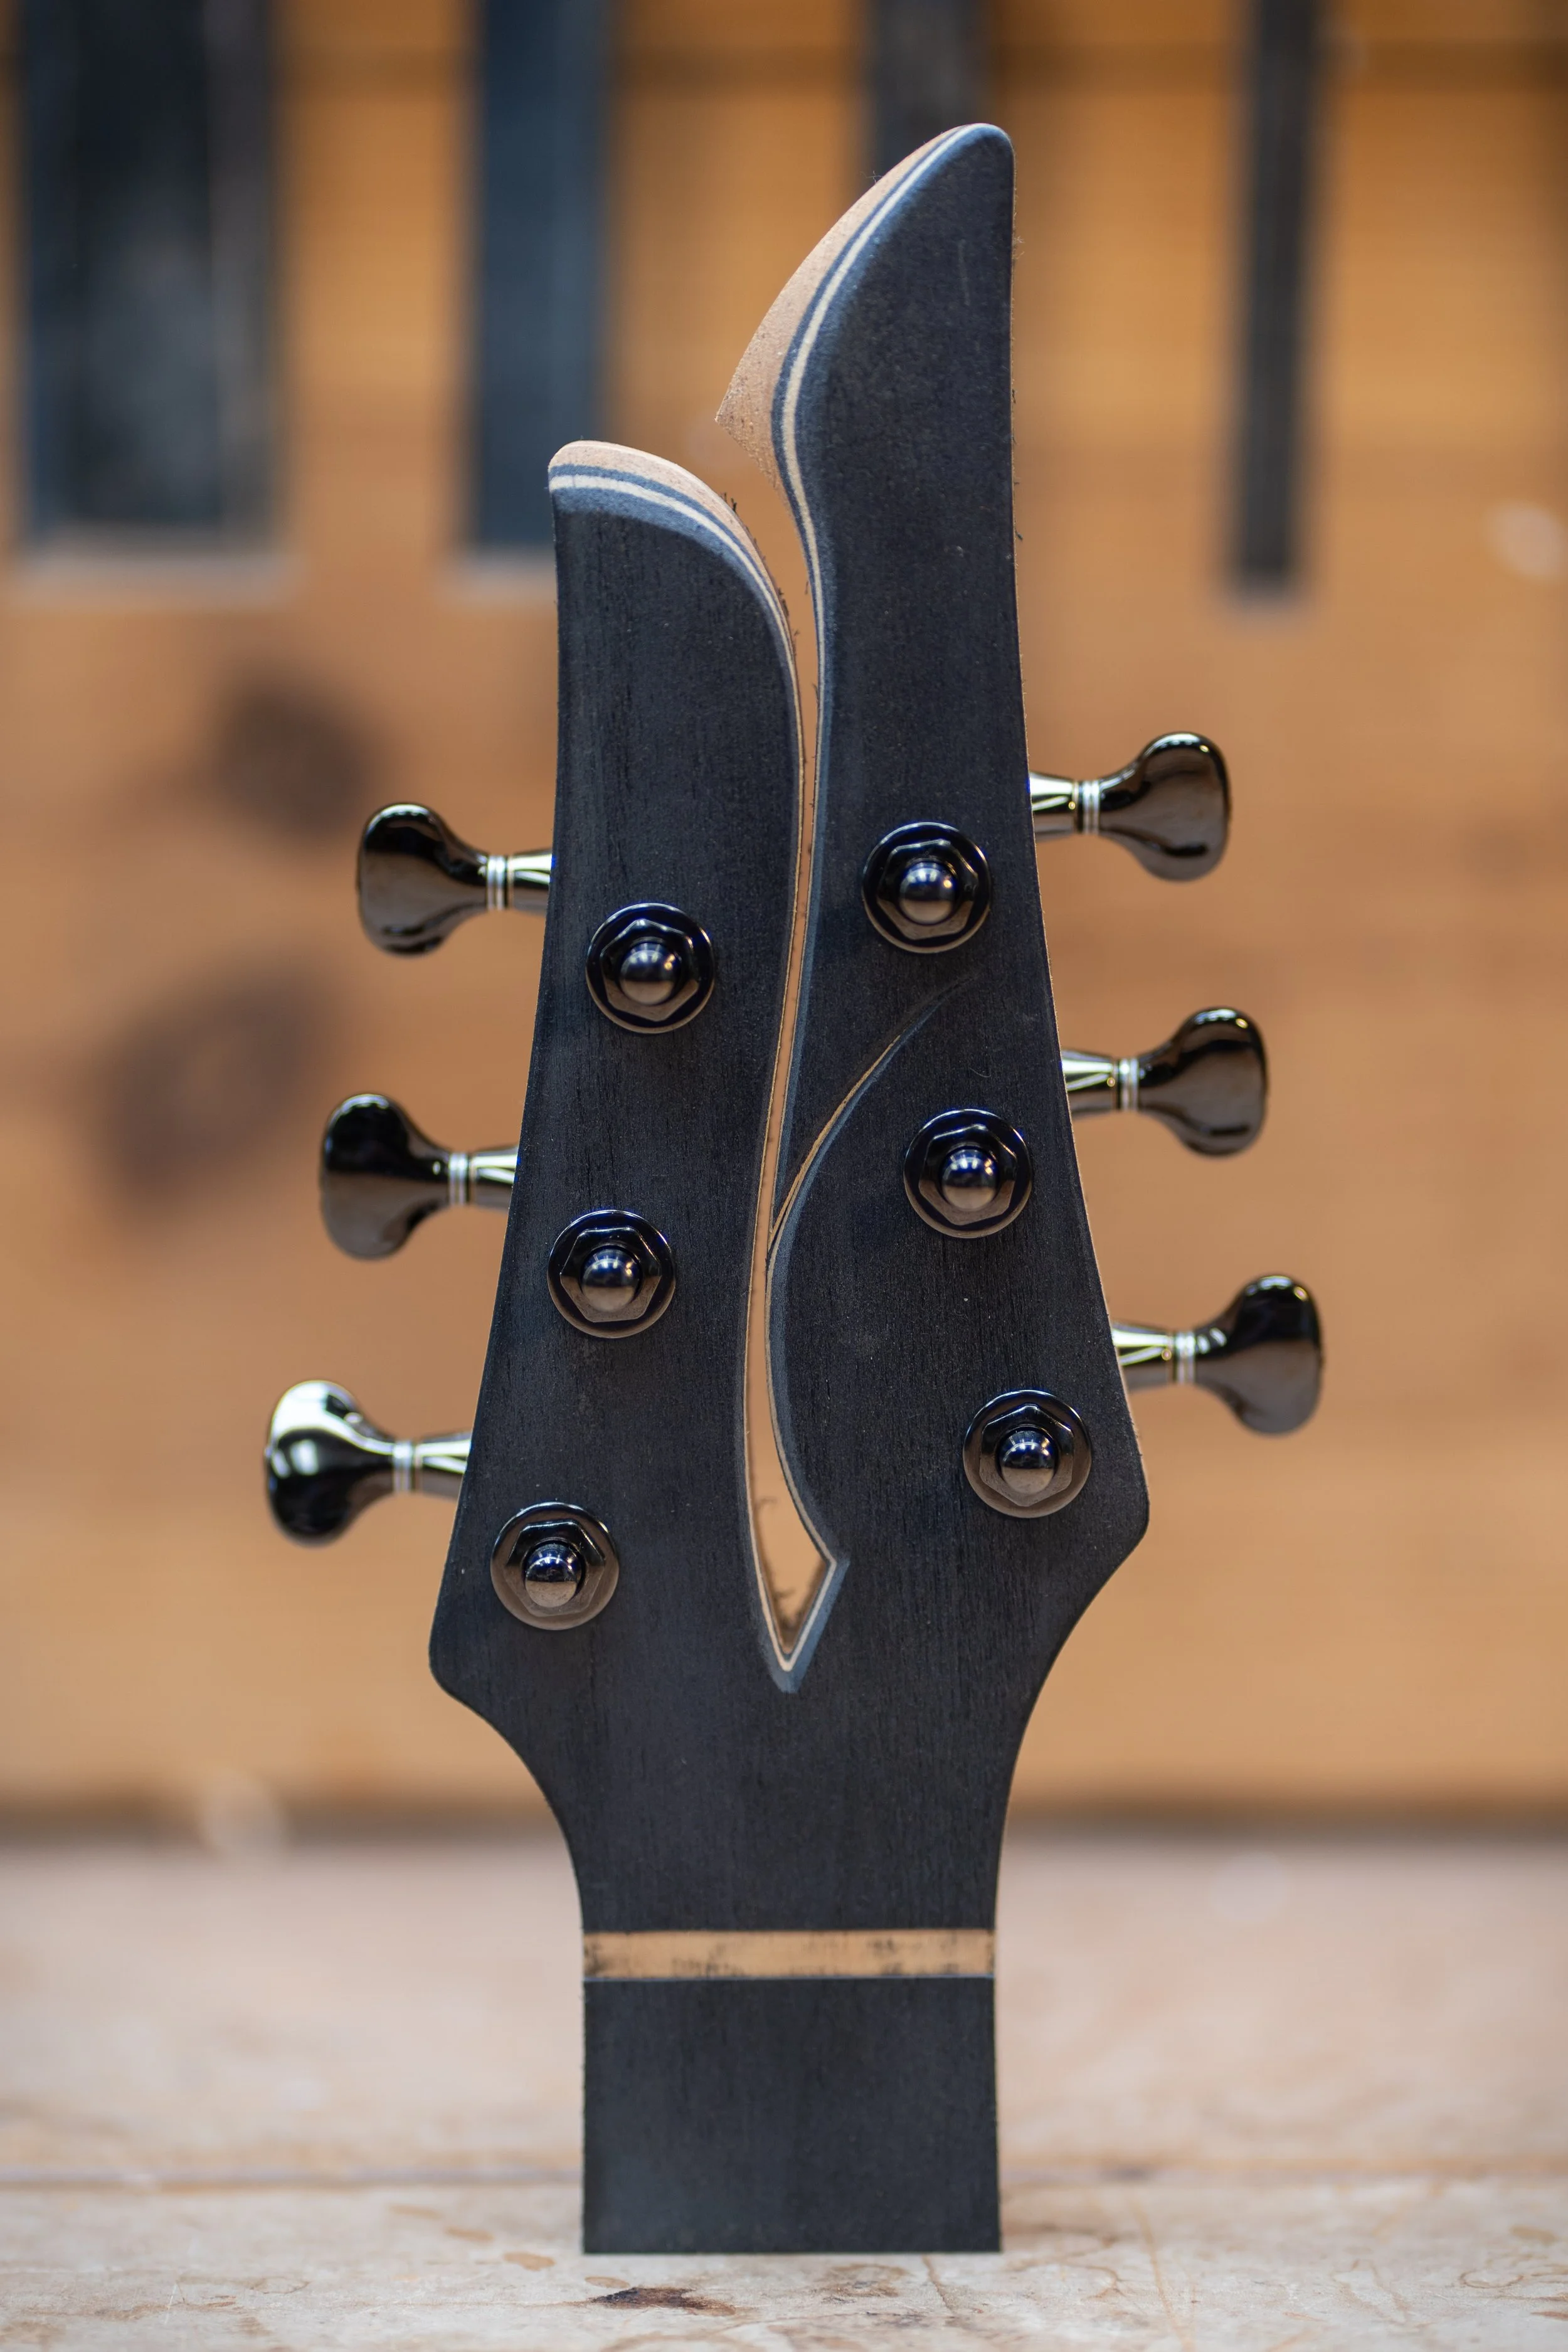
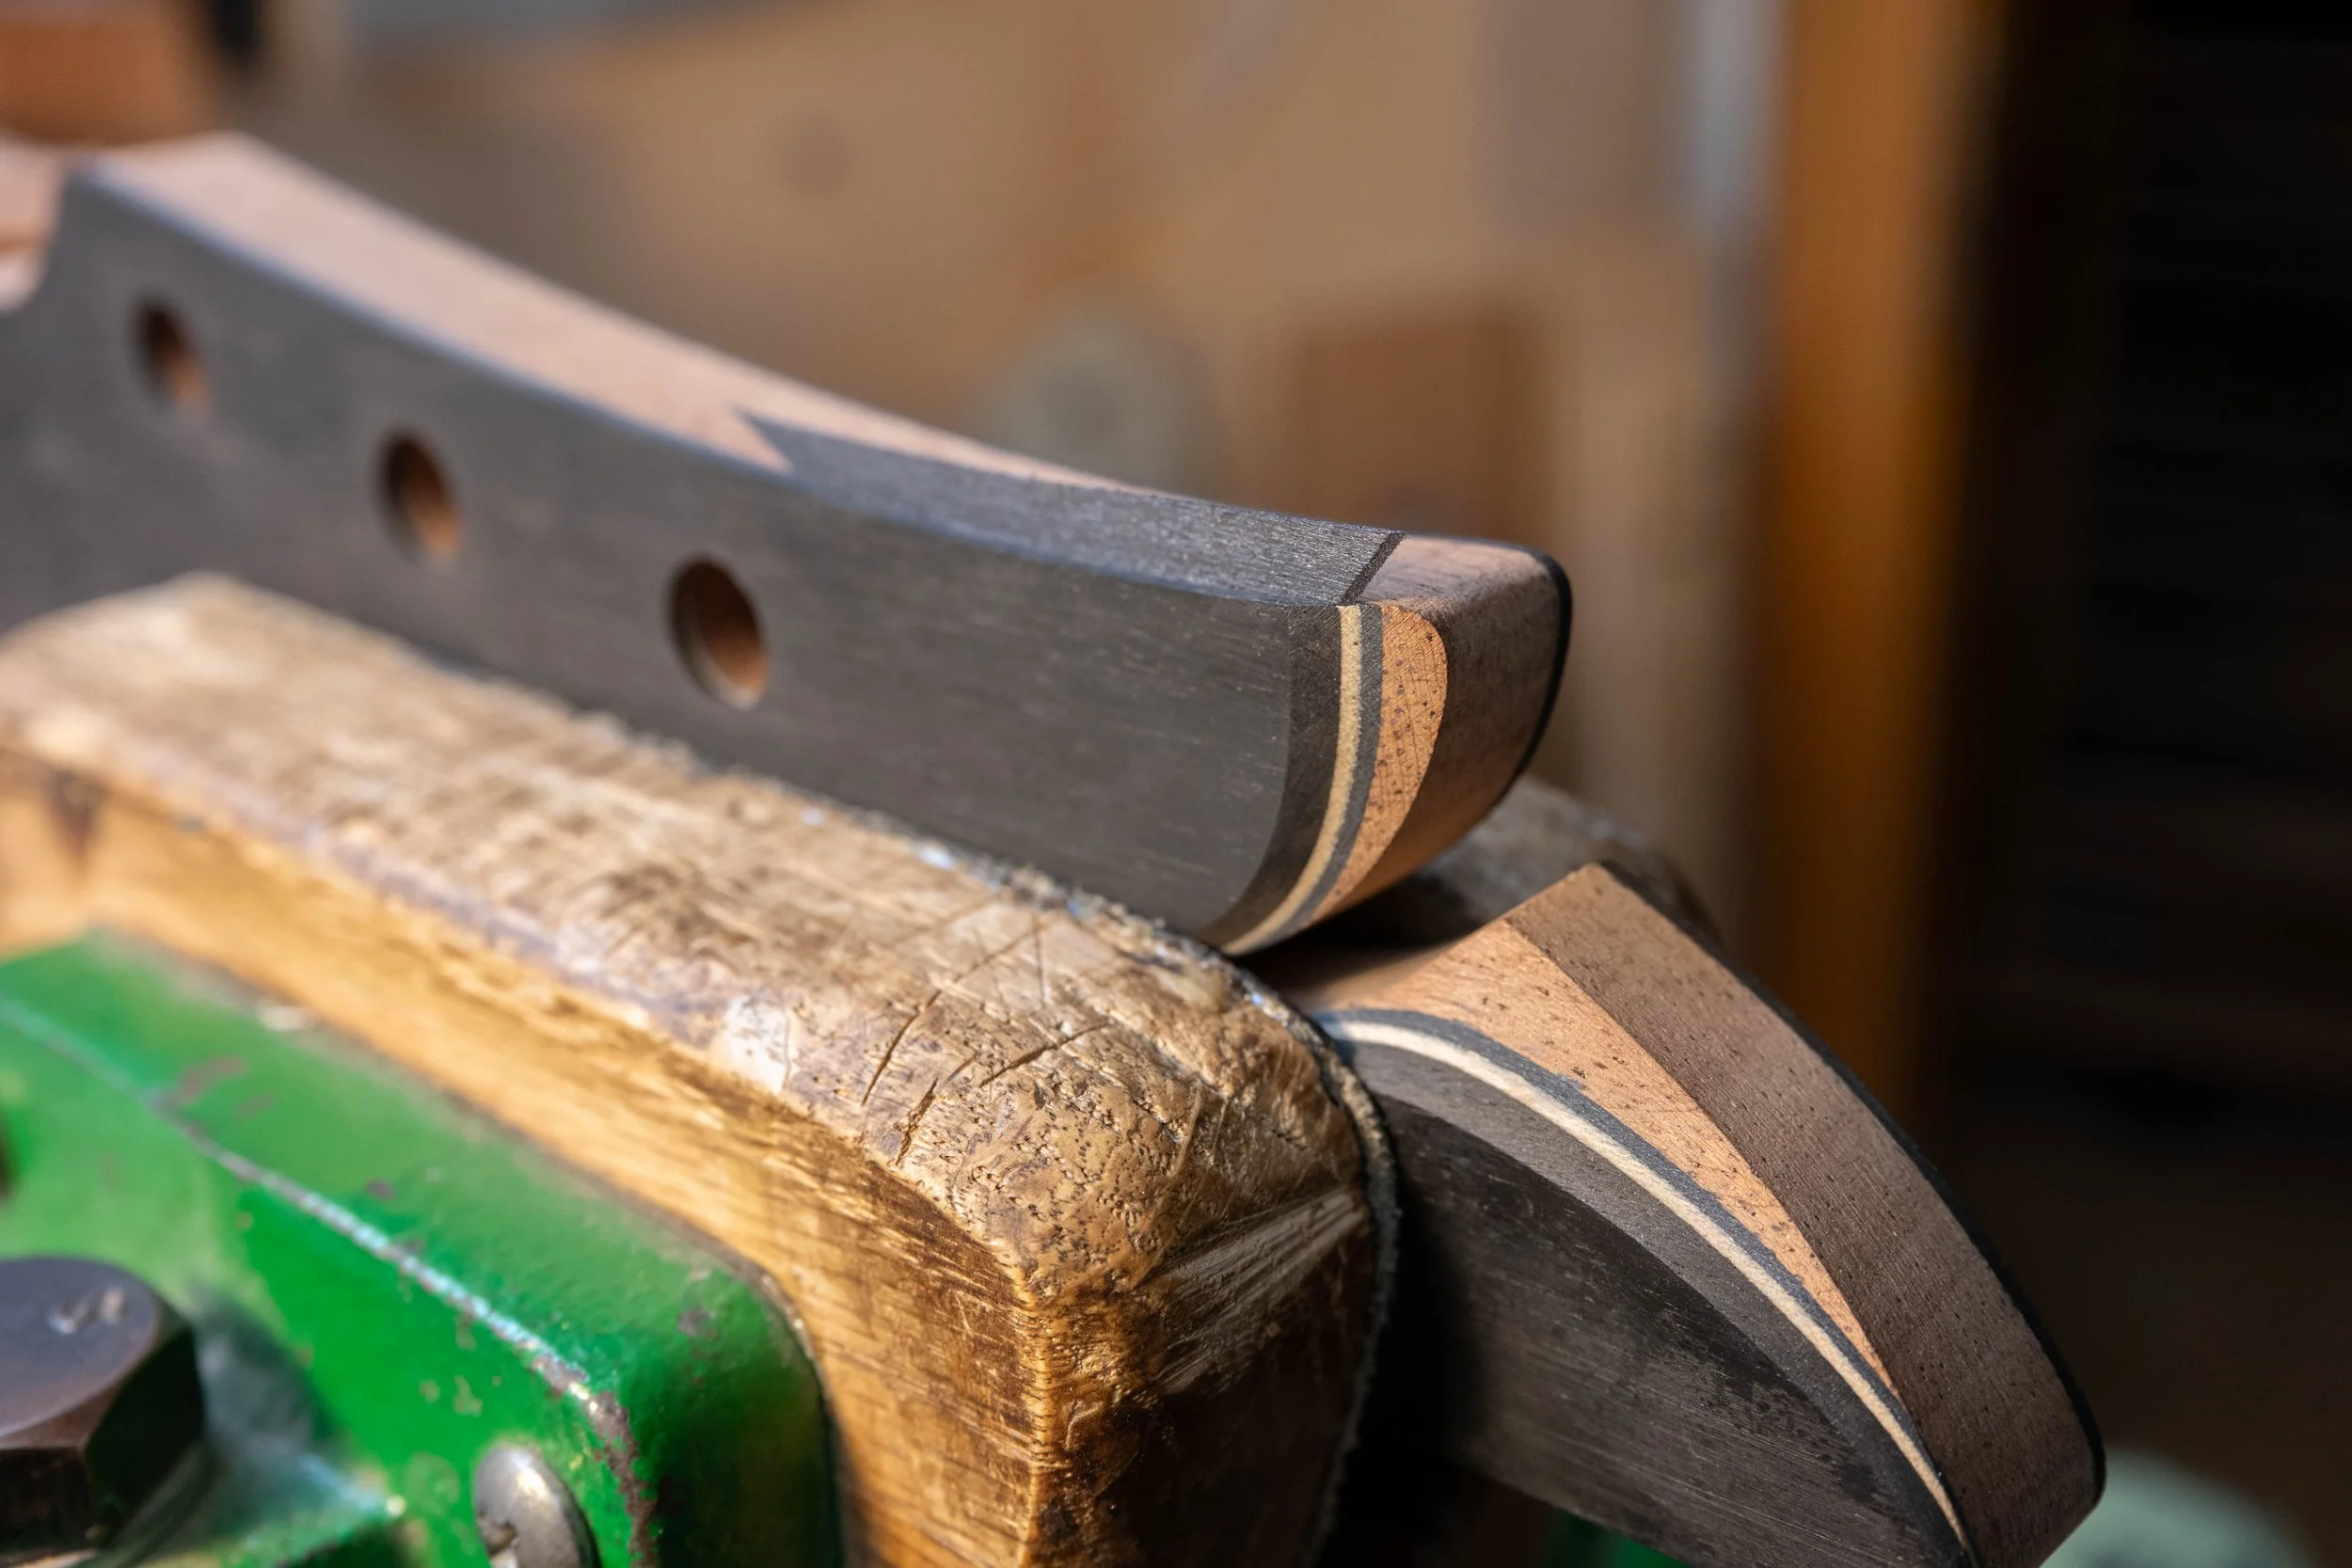
New headstock design prototype. Inspired by the split headstock designs of Michi Matsuda.
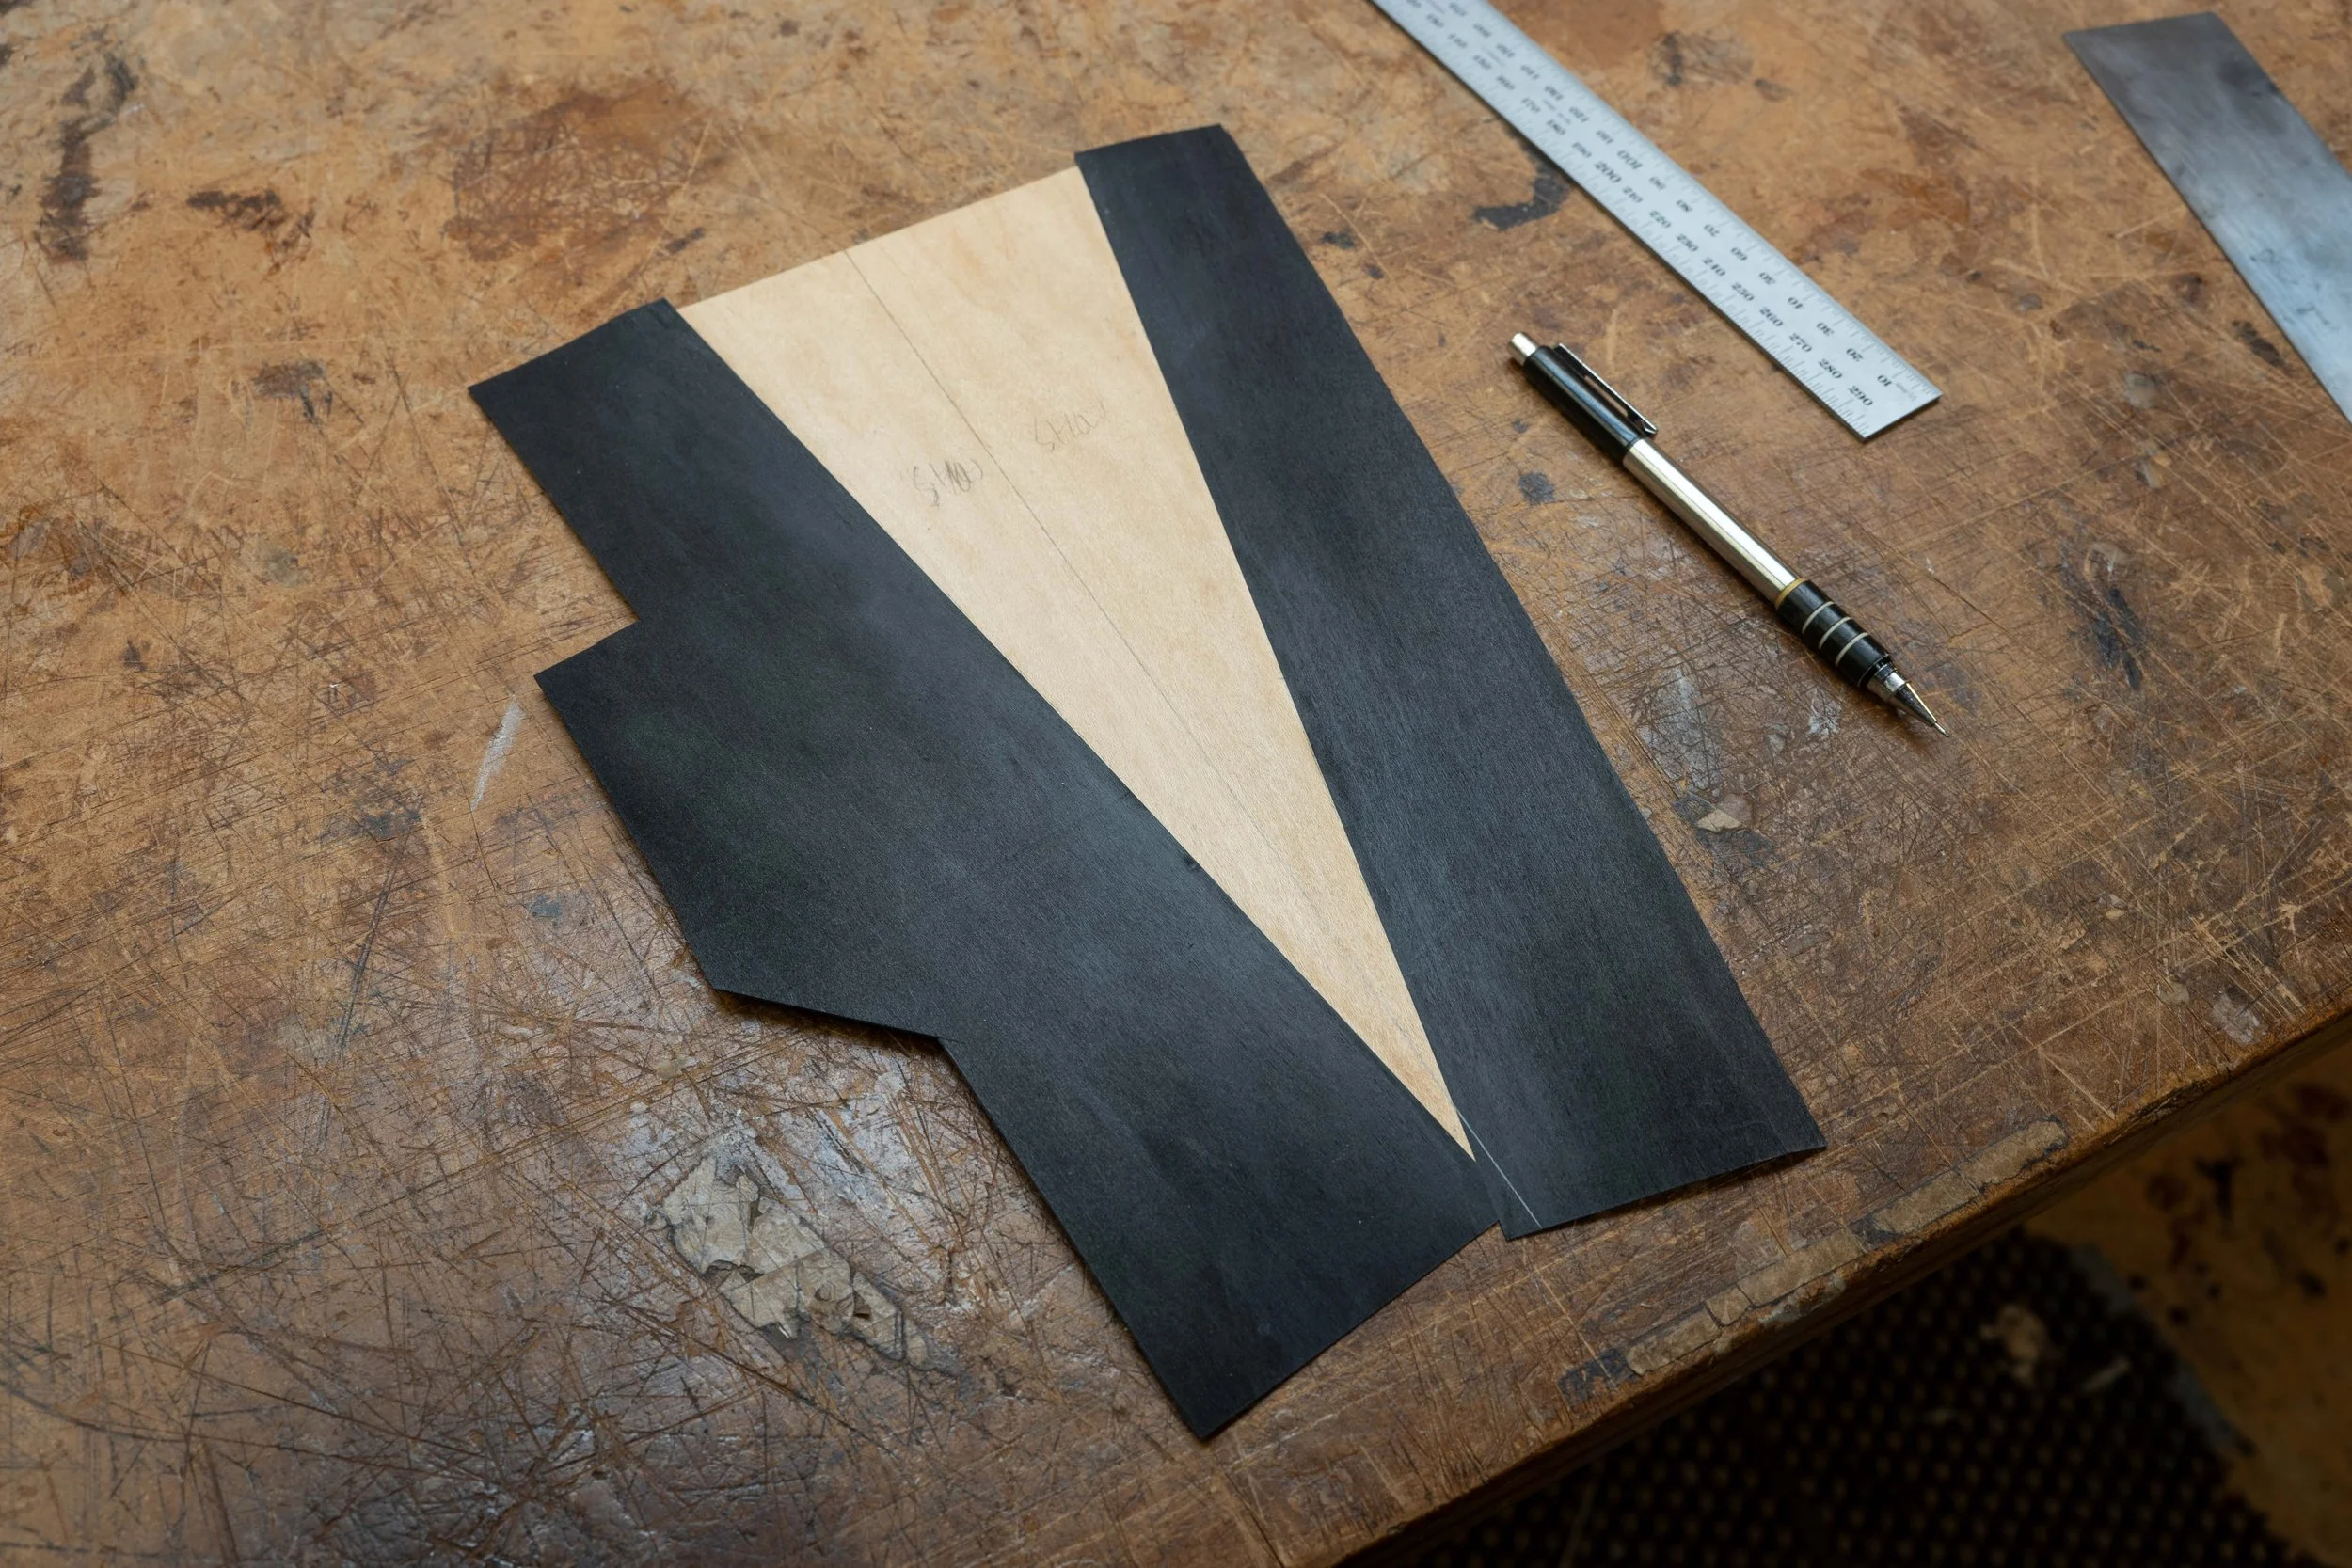
After thicknessing the headstock, I added the front and back veneers. For this design I wanted to have white veneer revealed only in the centre split part, and not on the edges. To create this effect, for that layer of veneer I glued up some black and white veneers like so.
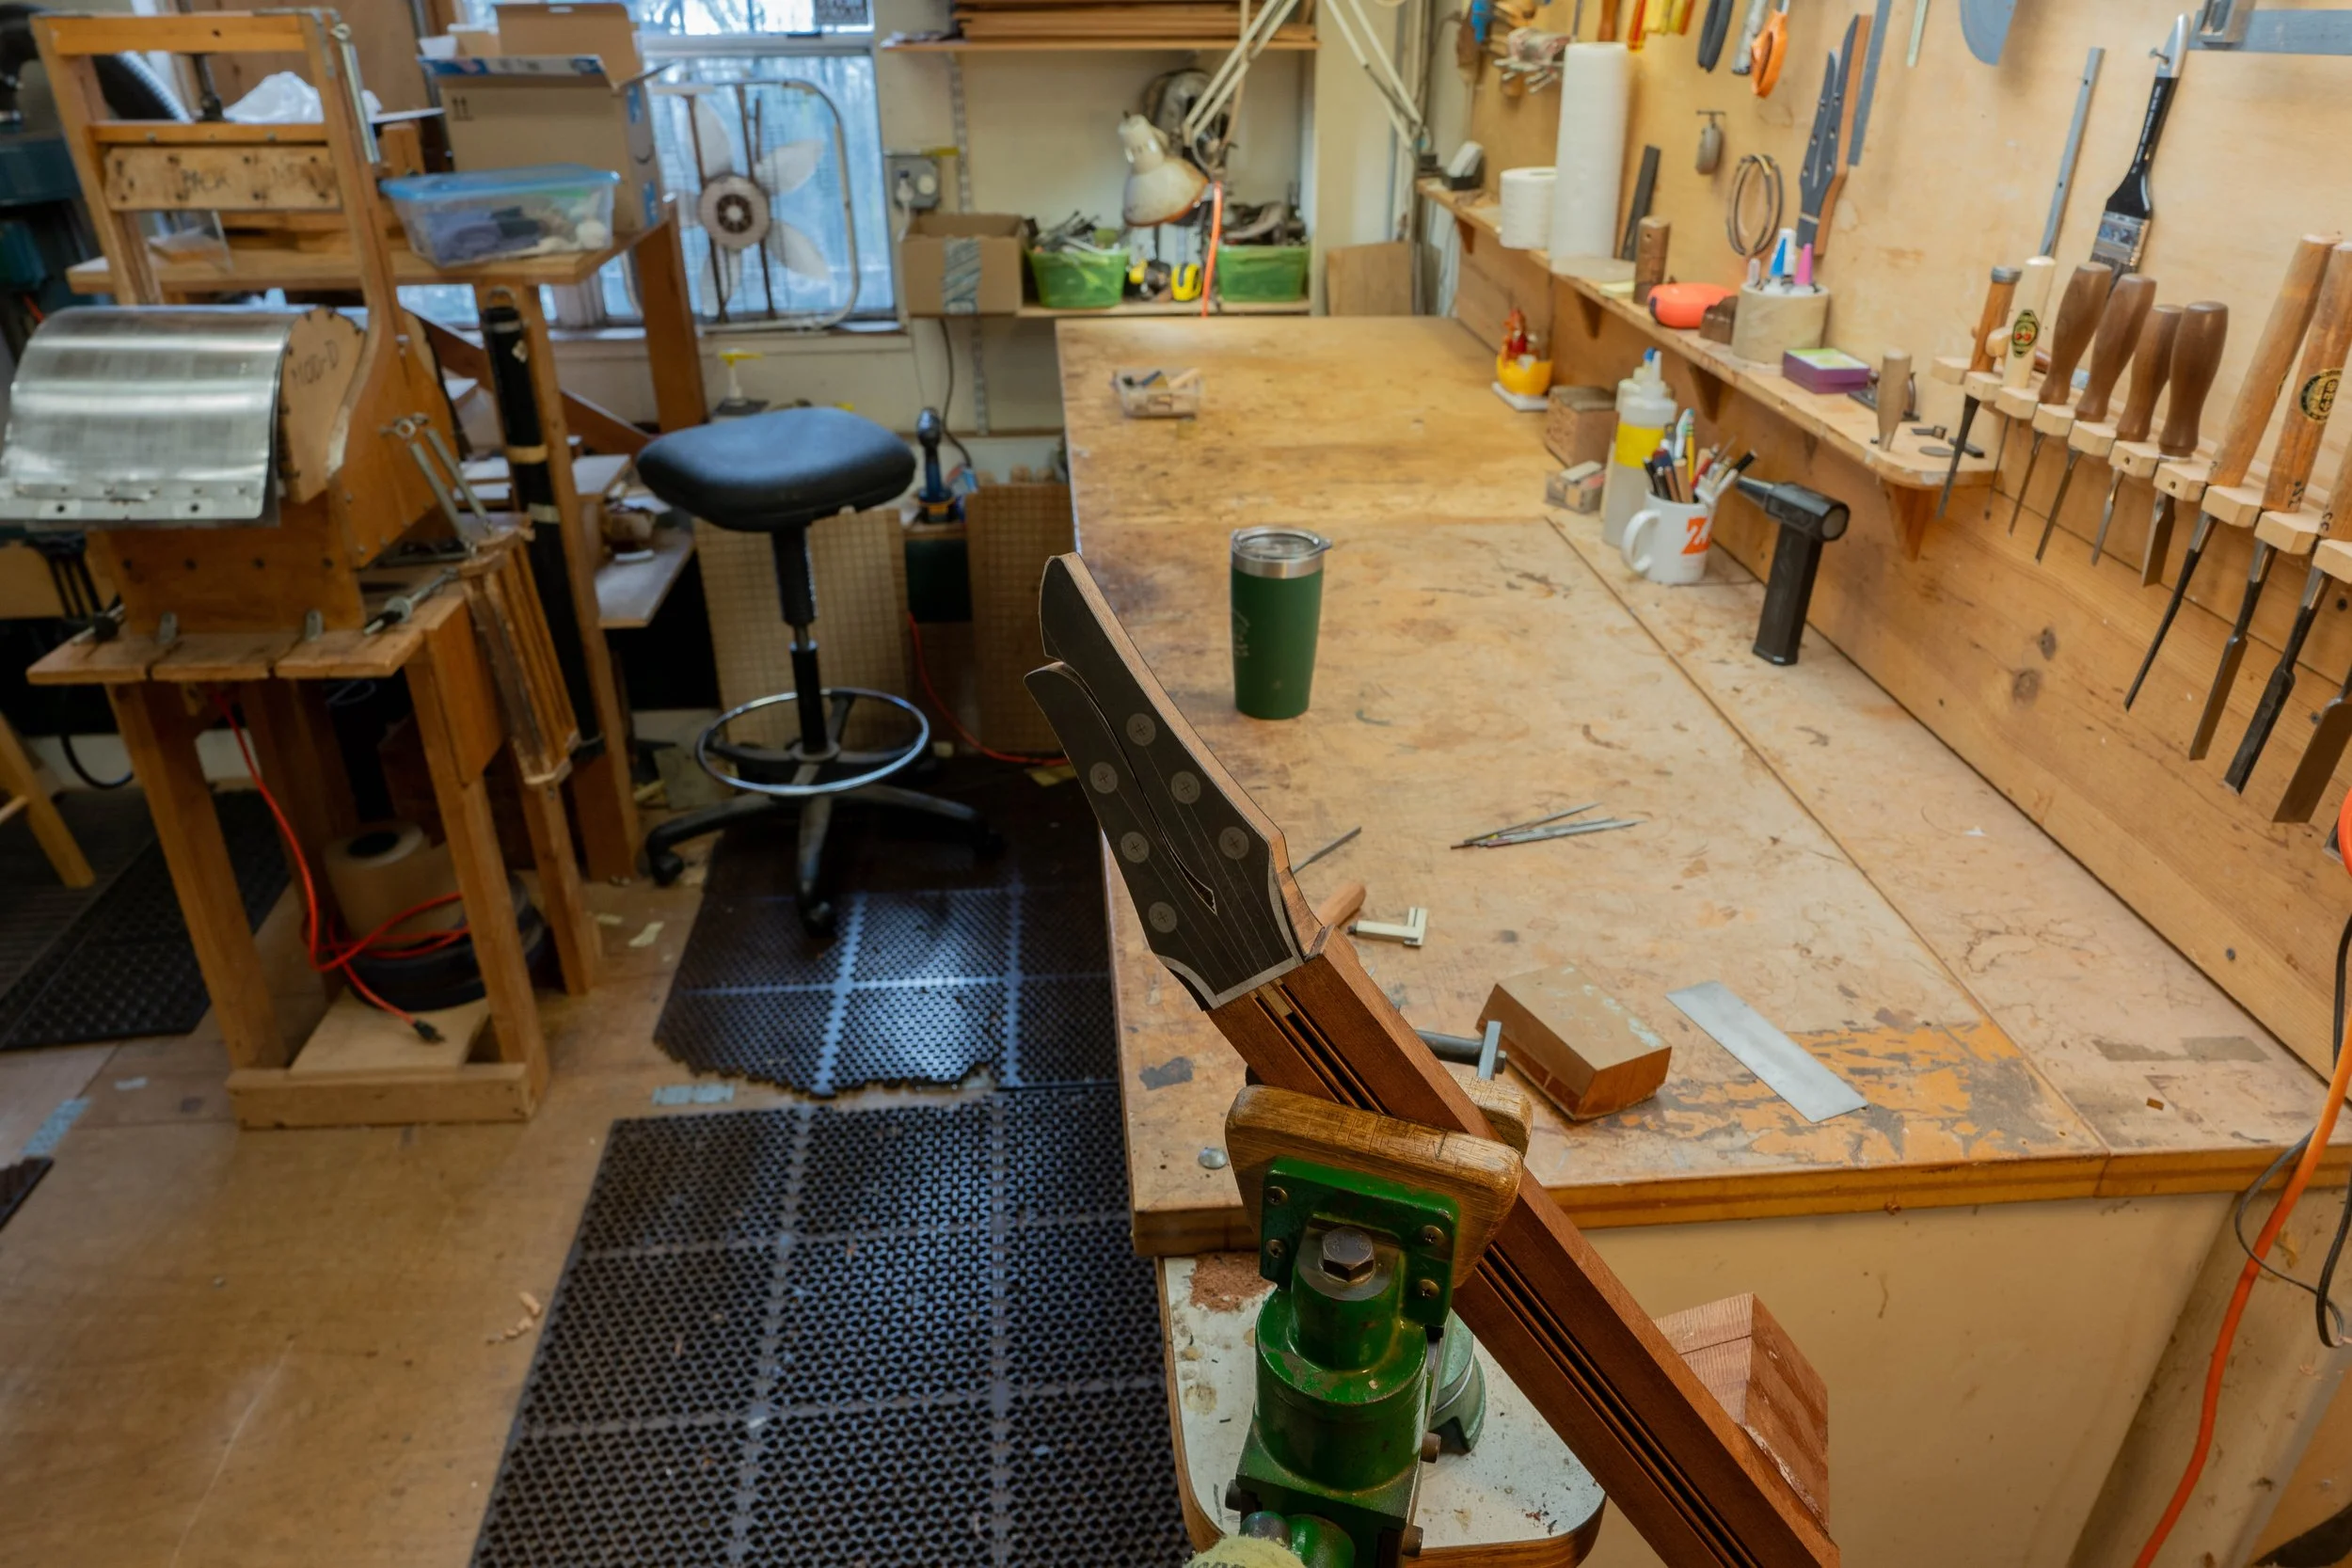
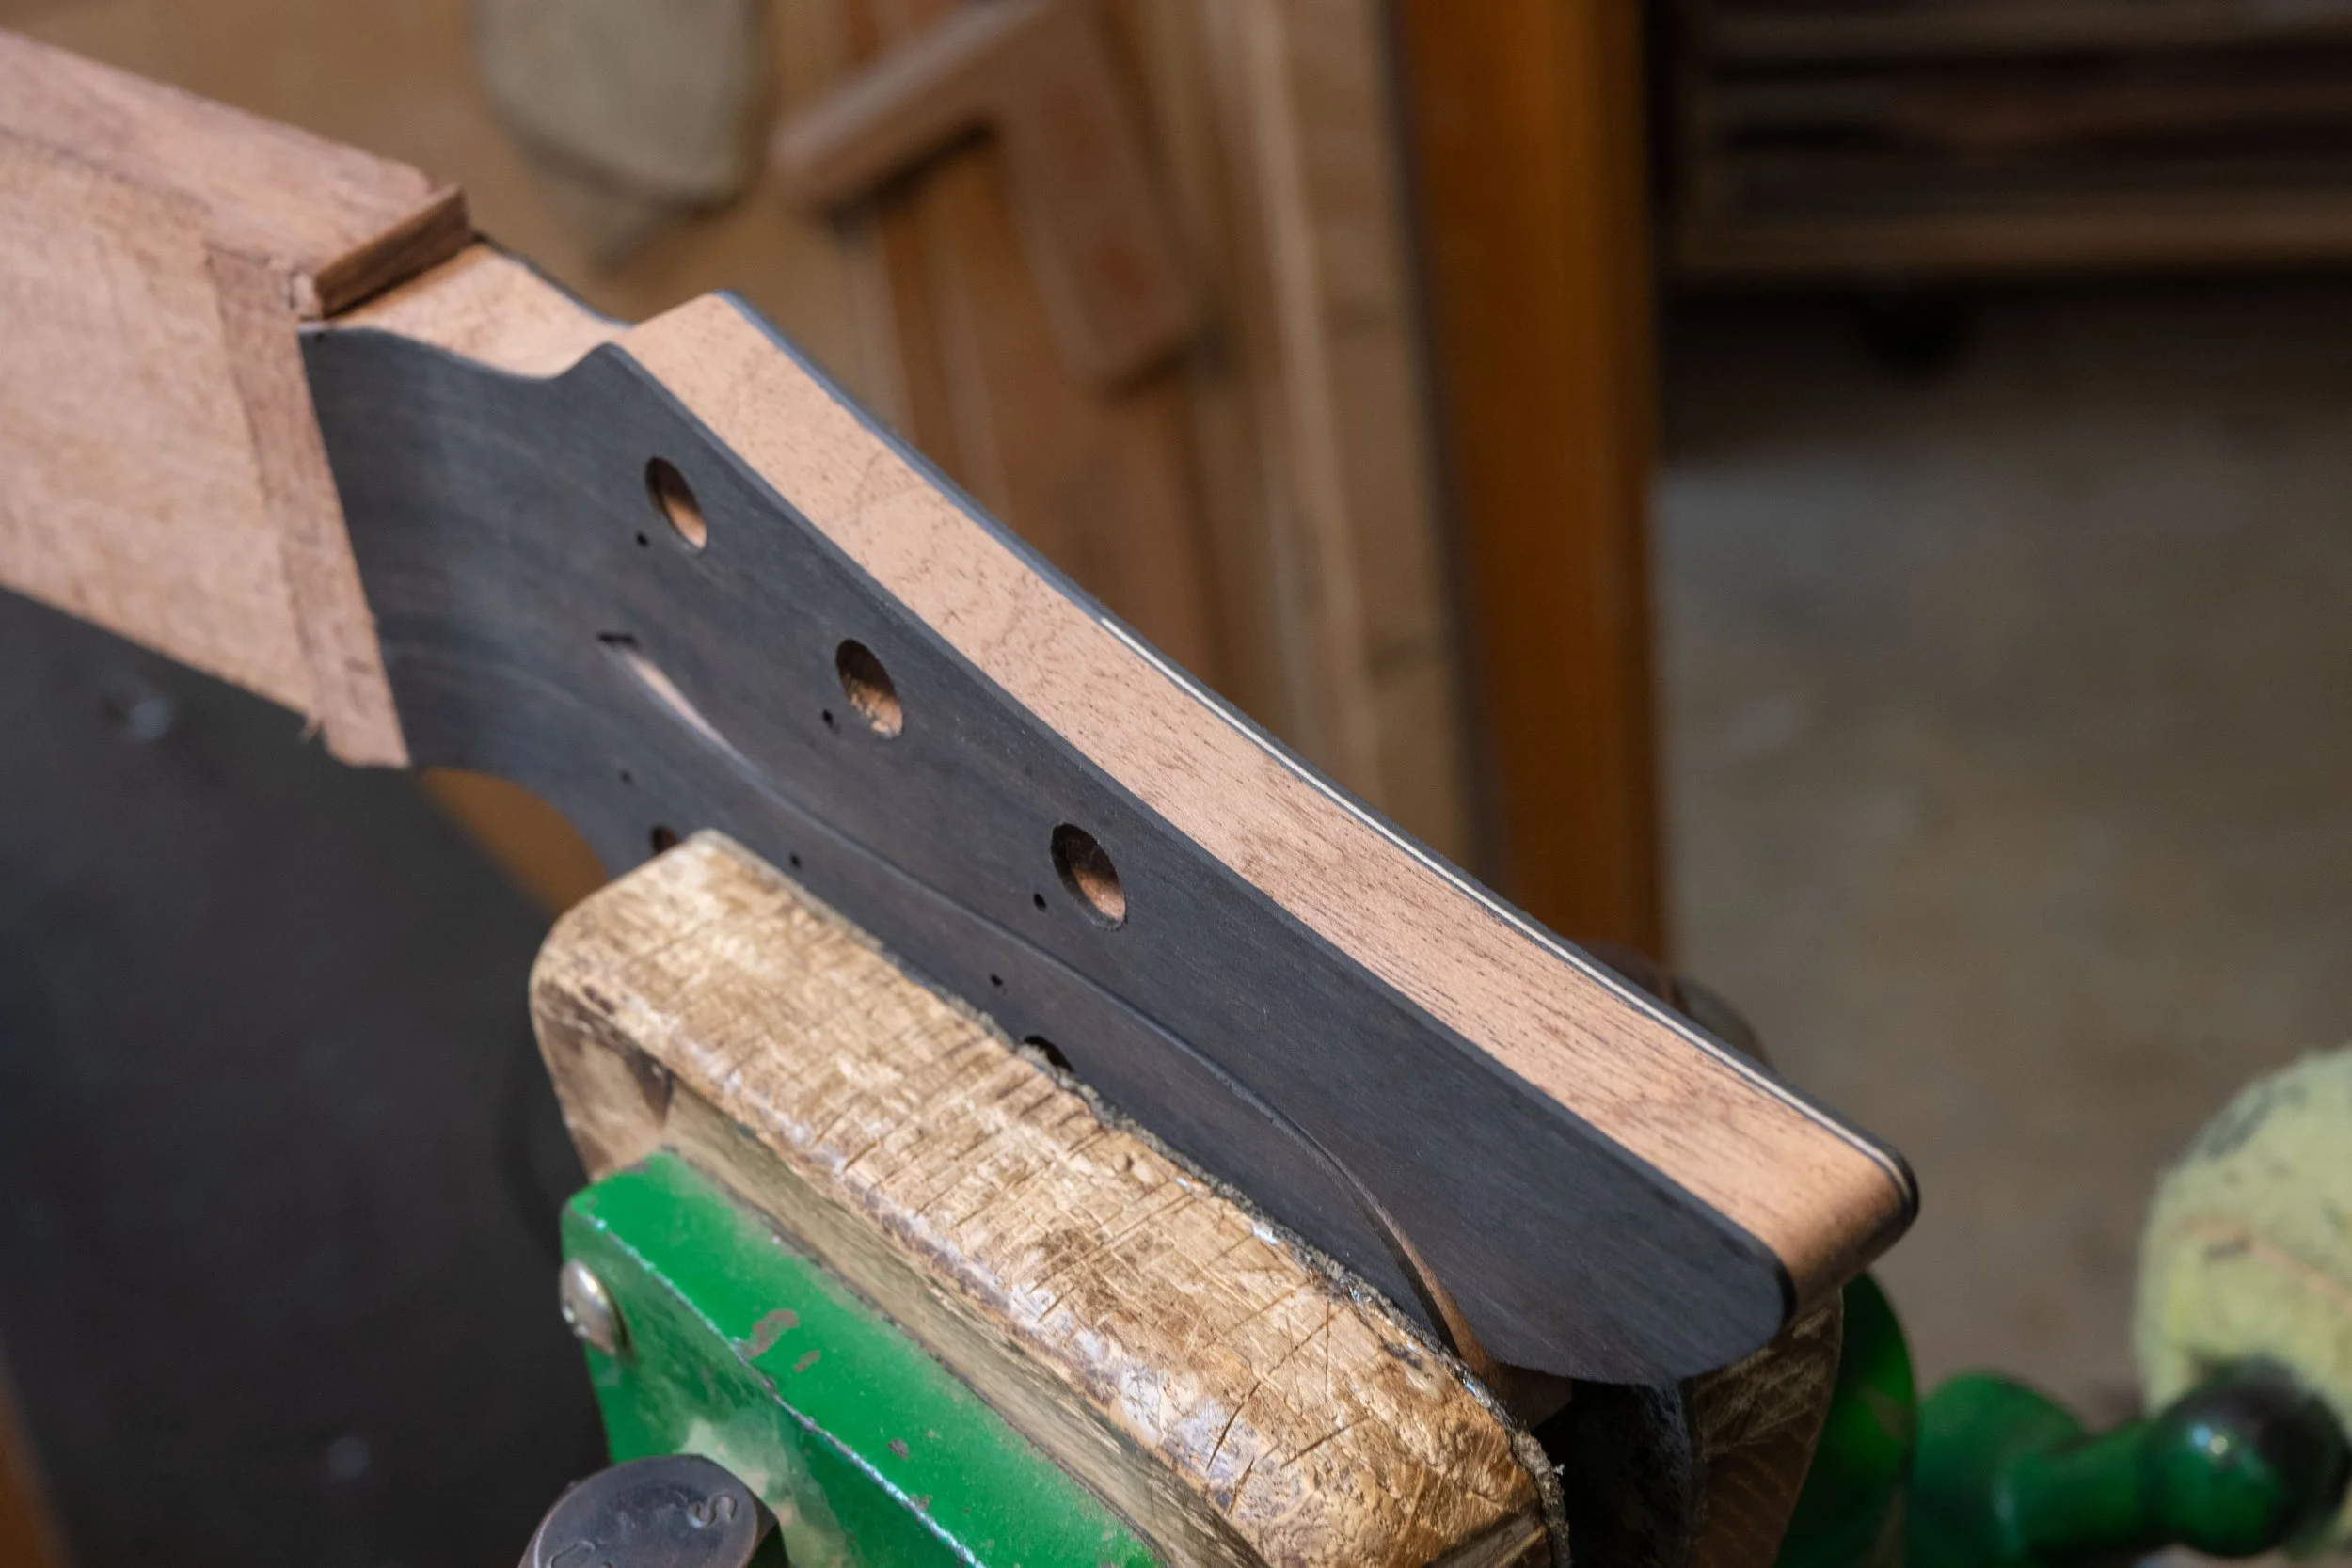
I then shaped the headstock.
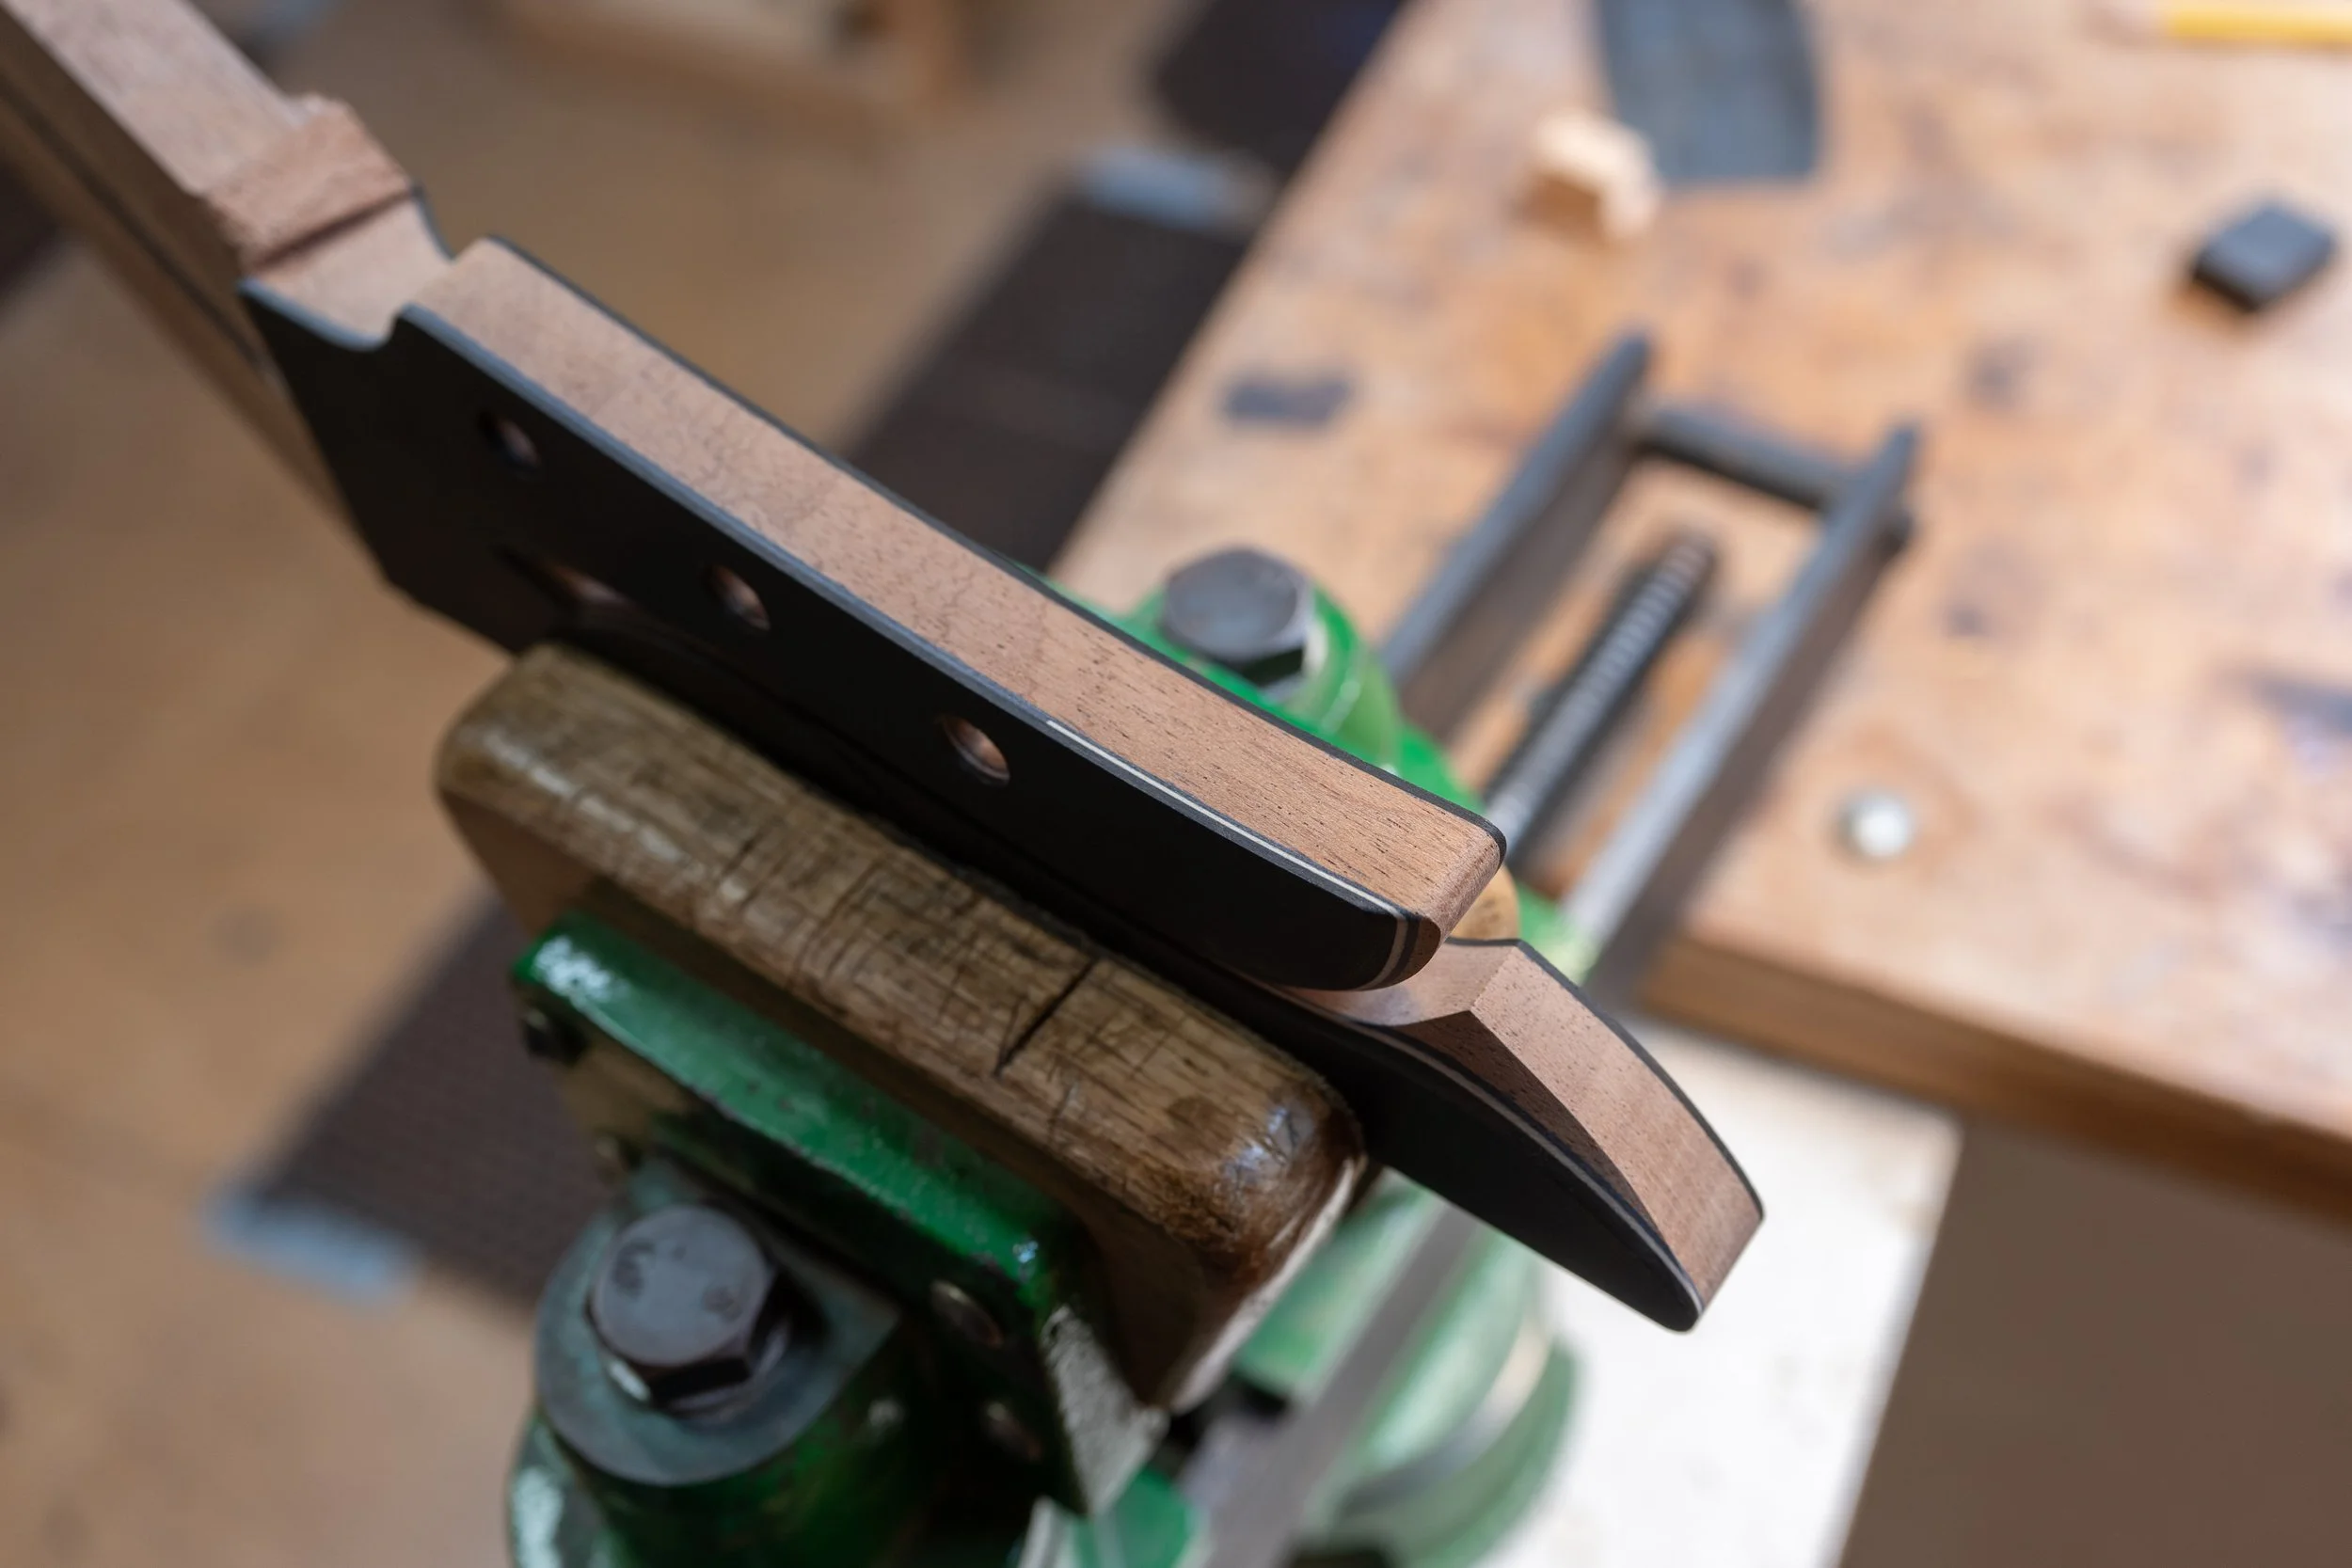
After shaping, the white veneer was revealed partially on the sides.
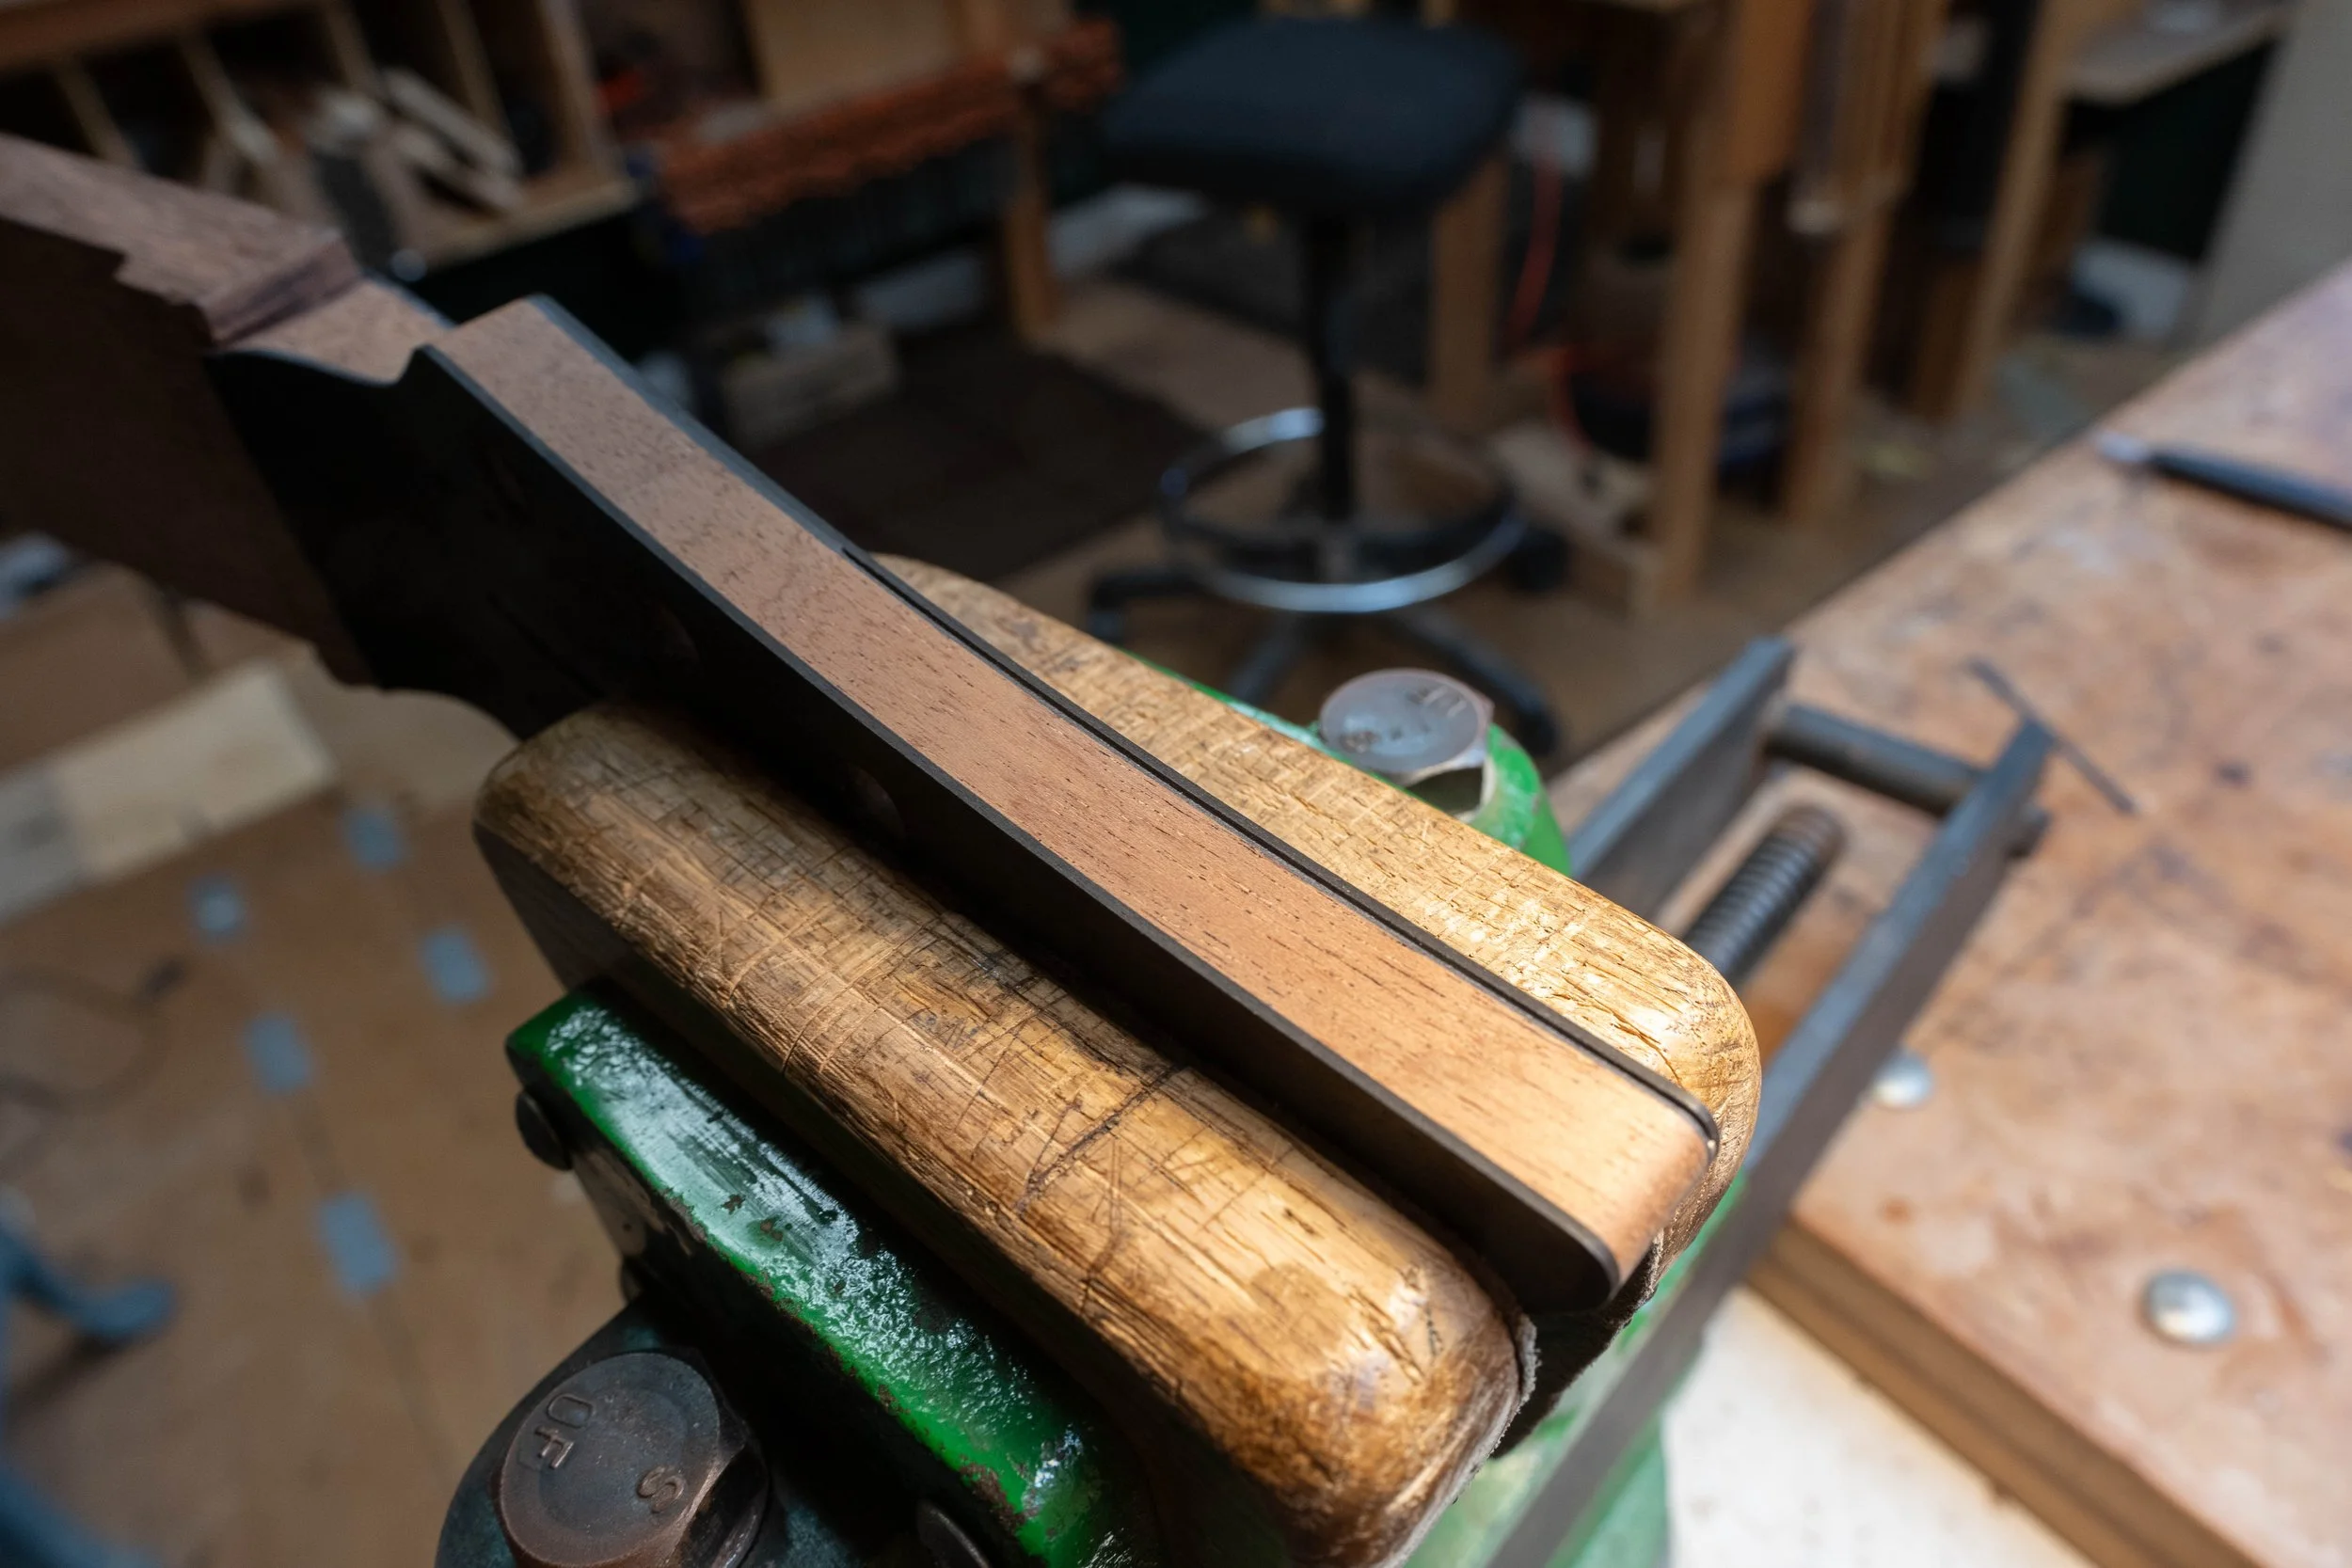
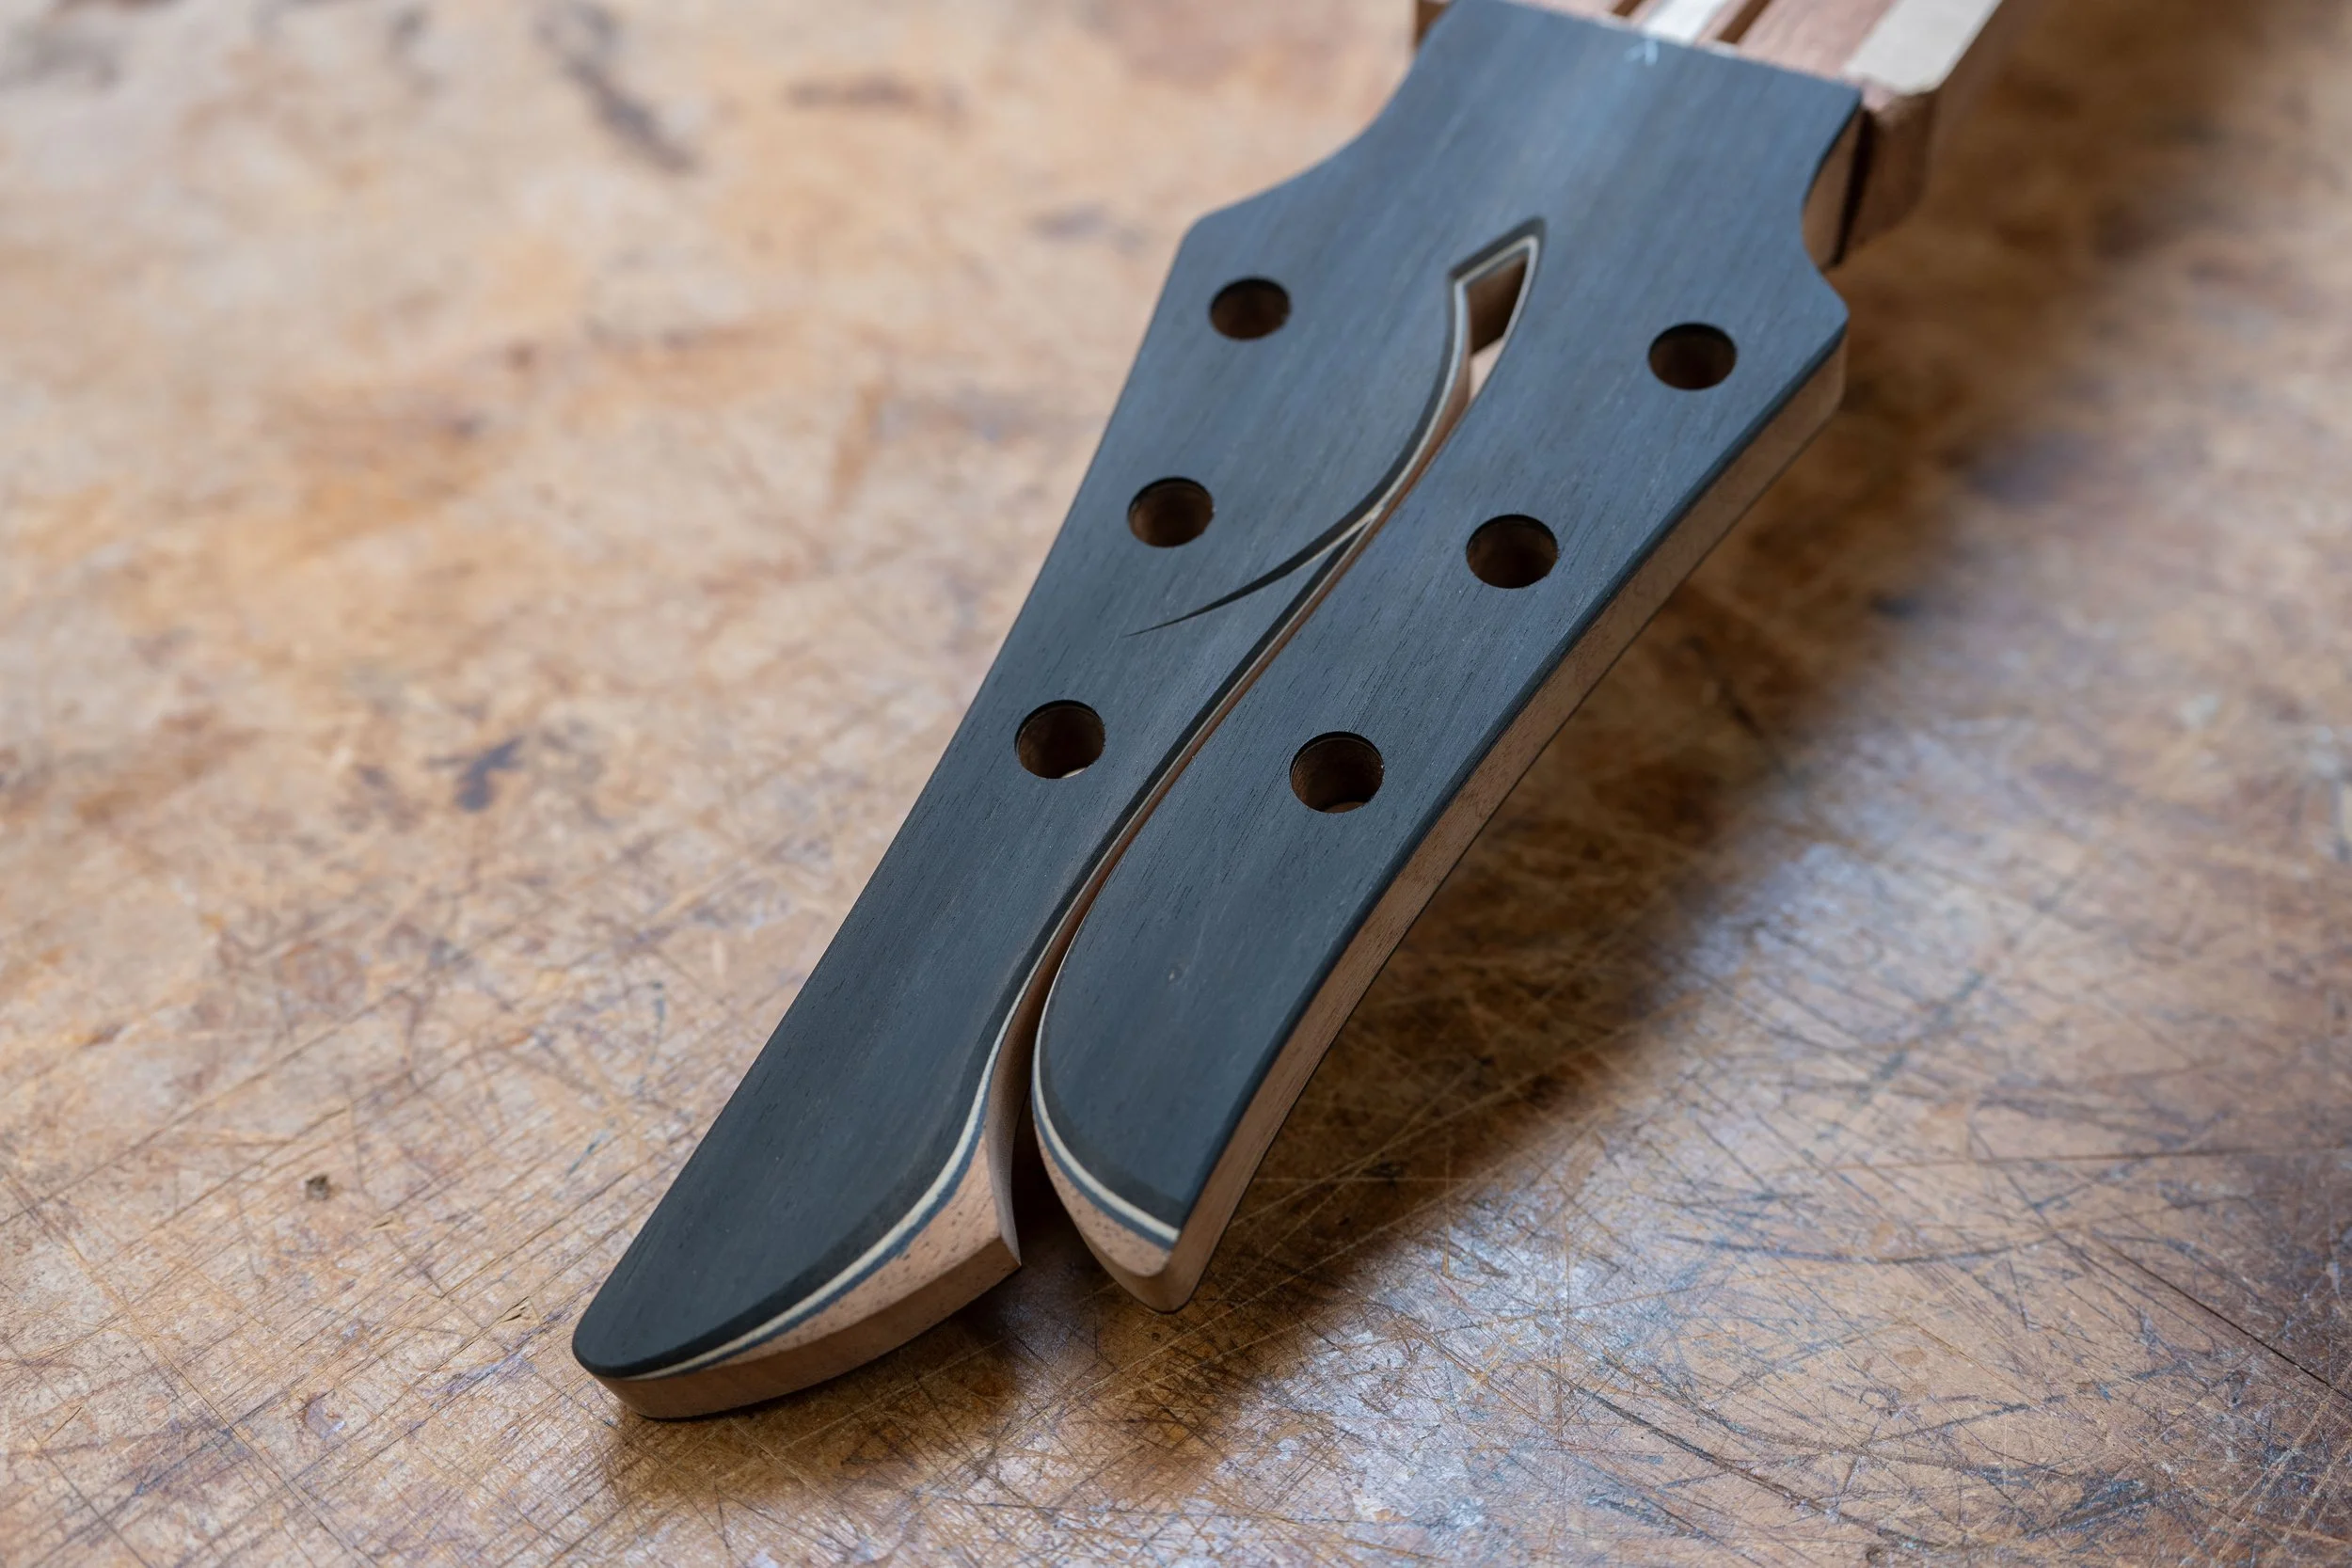
I chiselled out the white veneer from the sides.
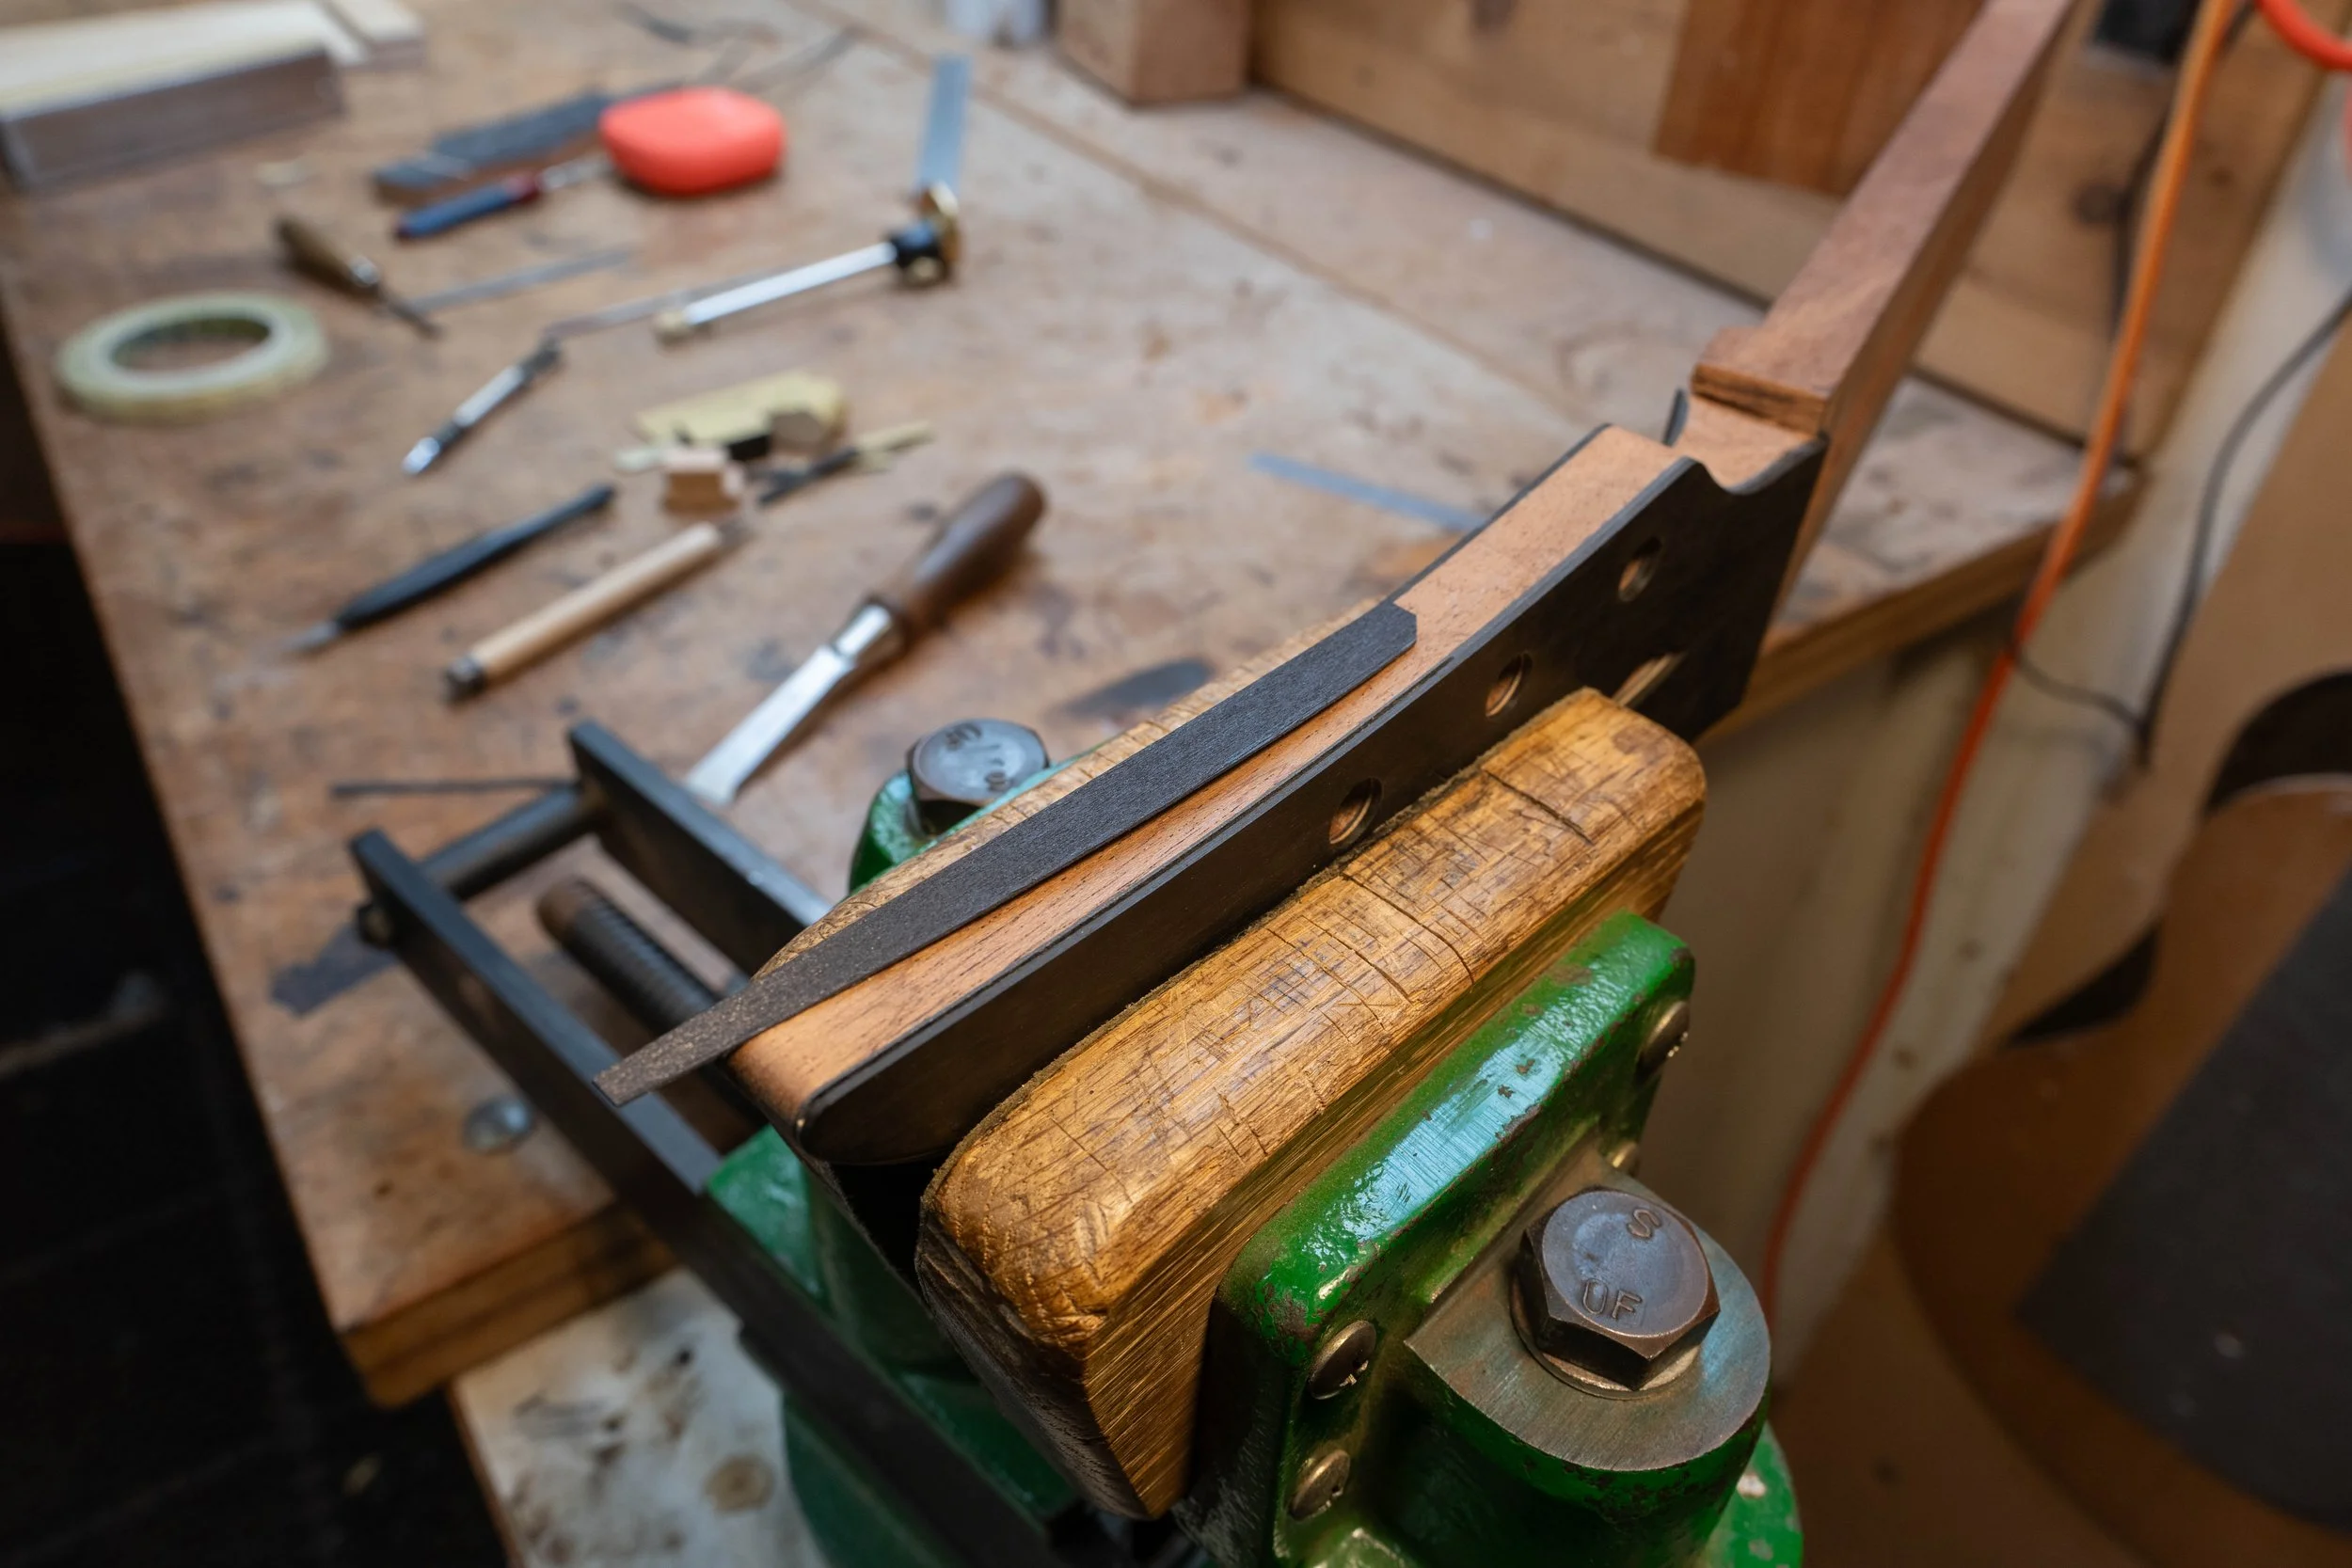
And glued in some black.
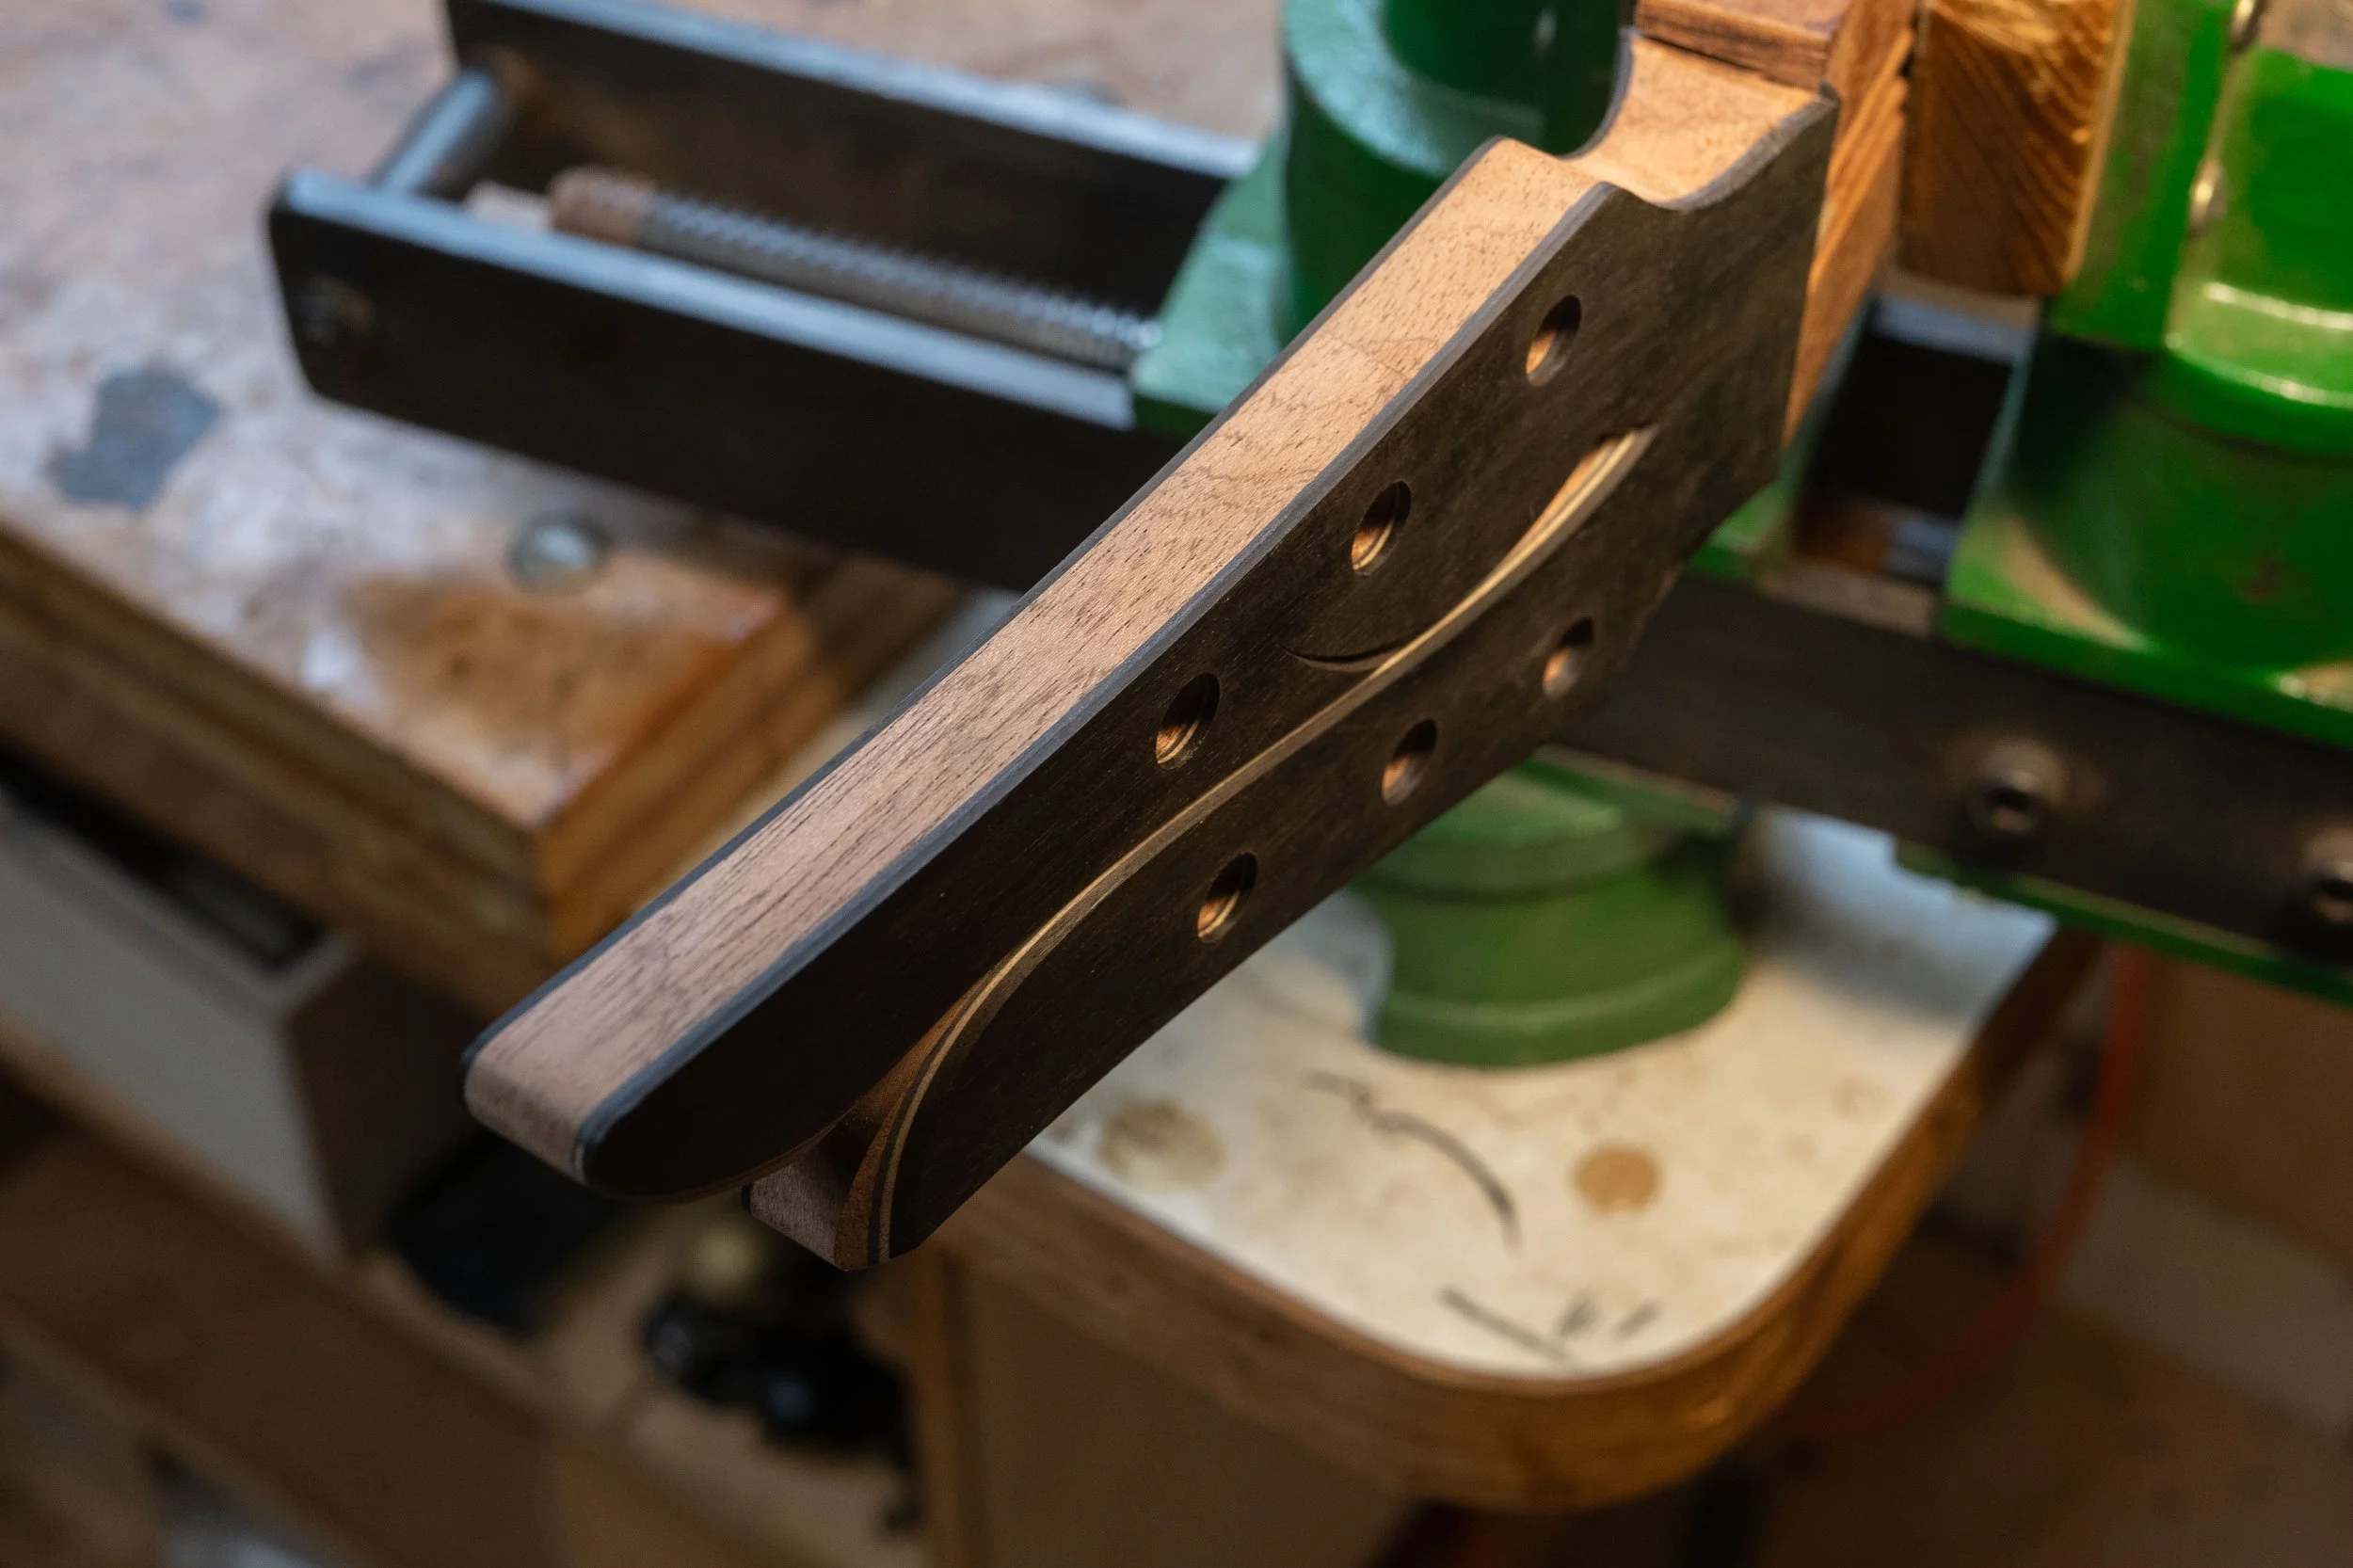
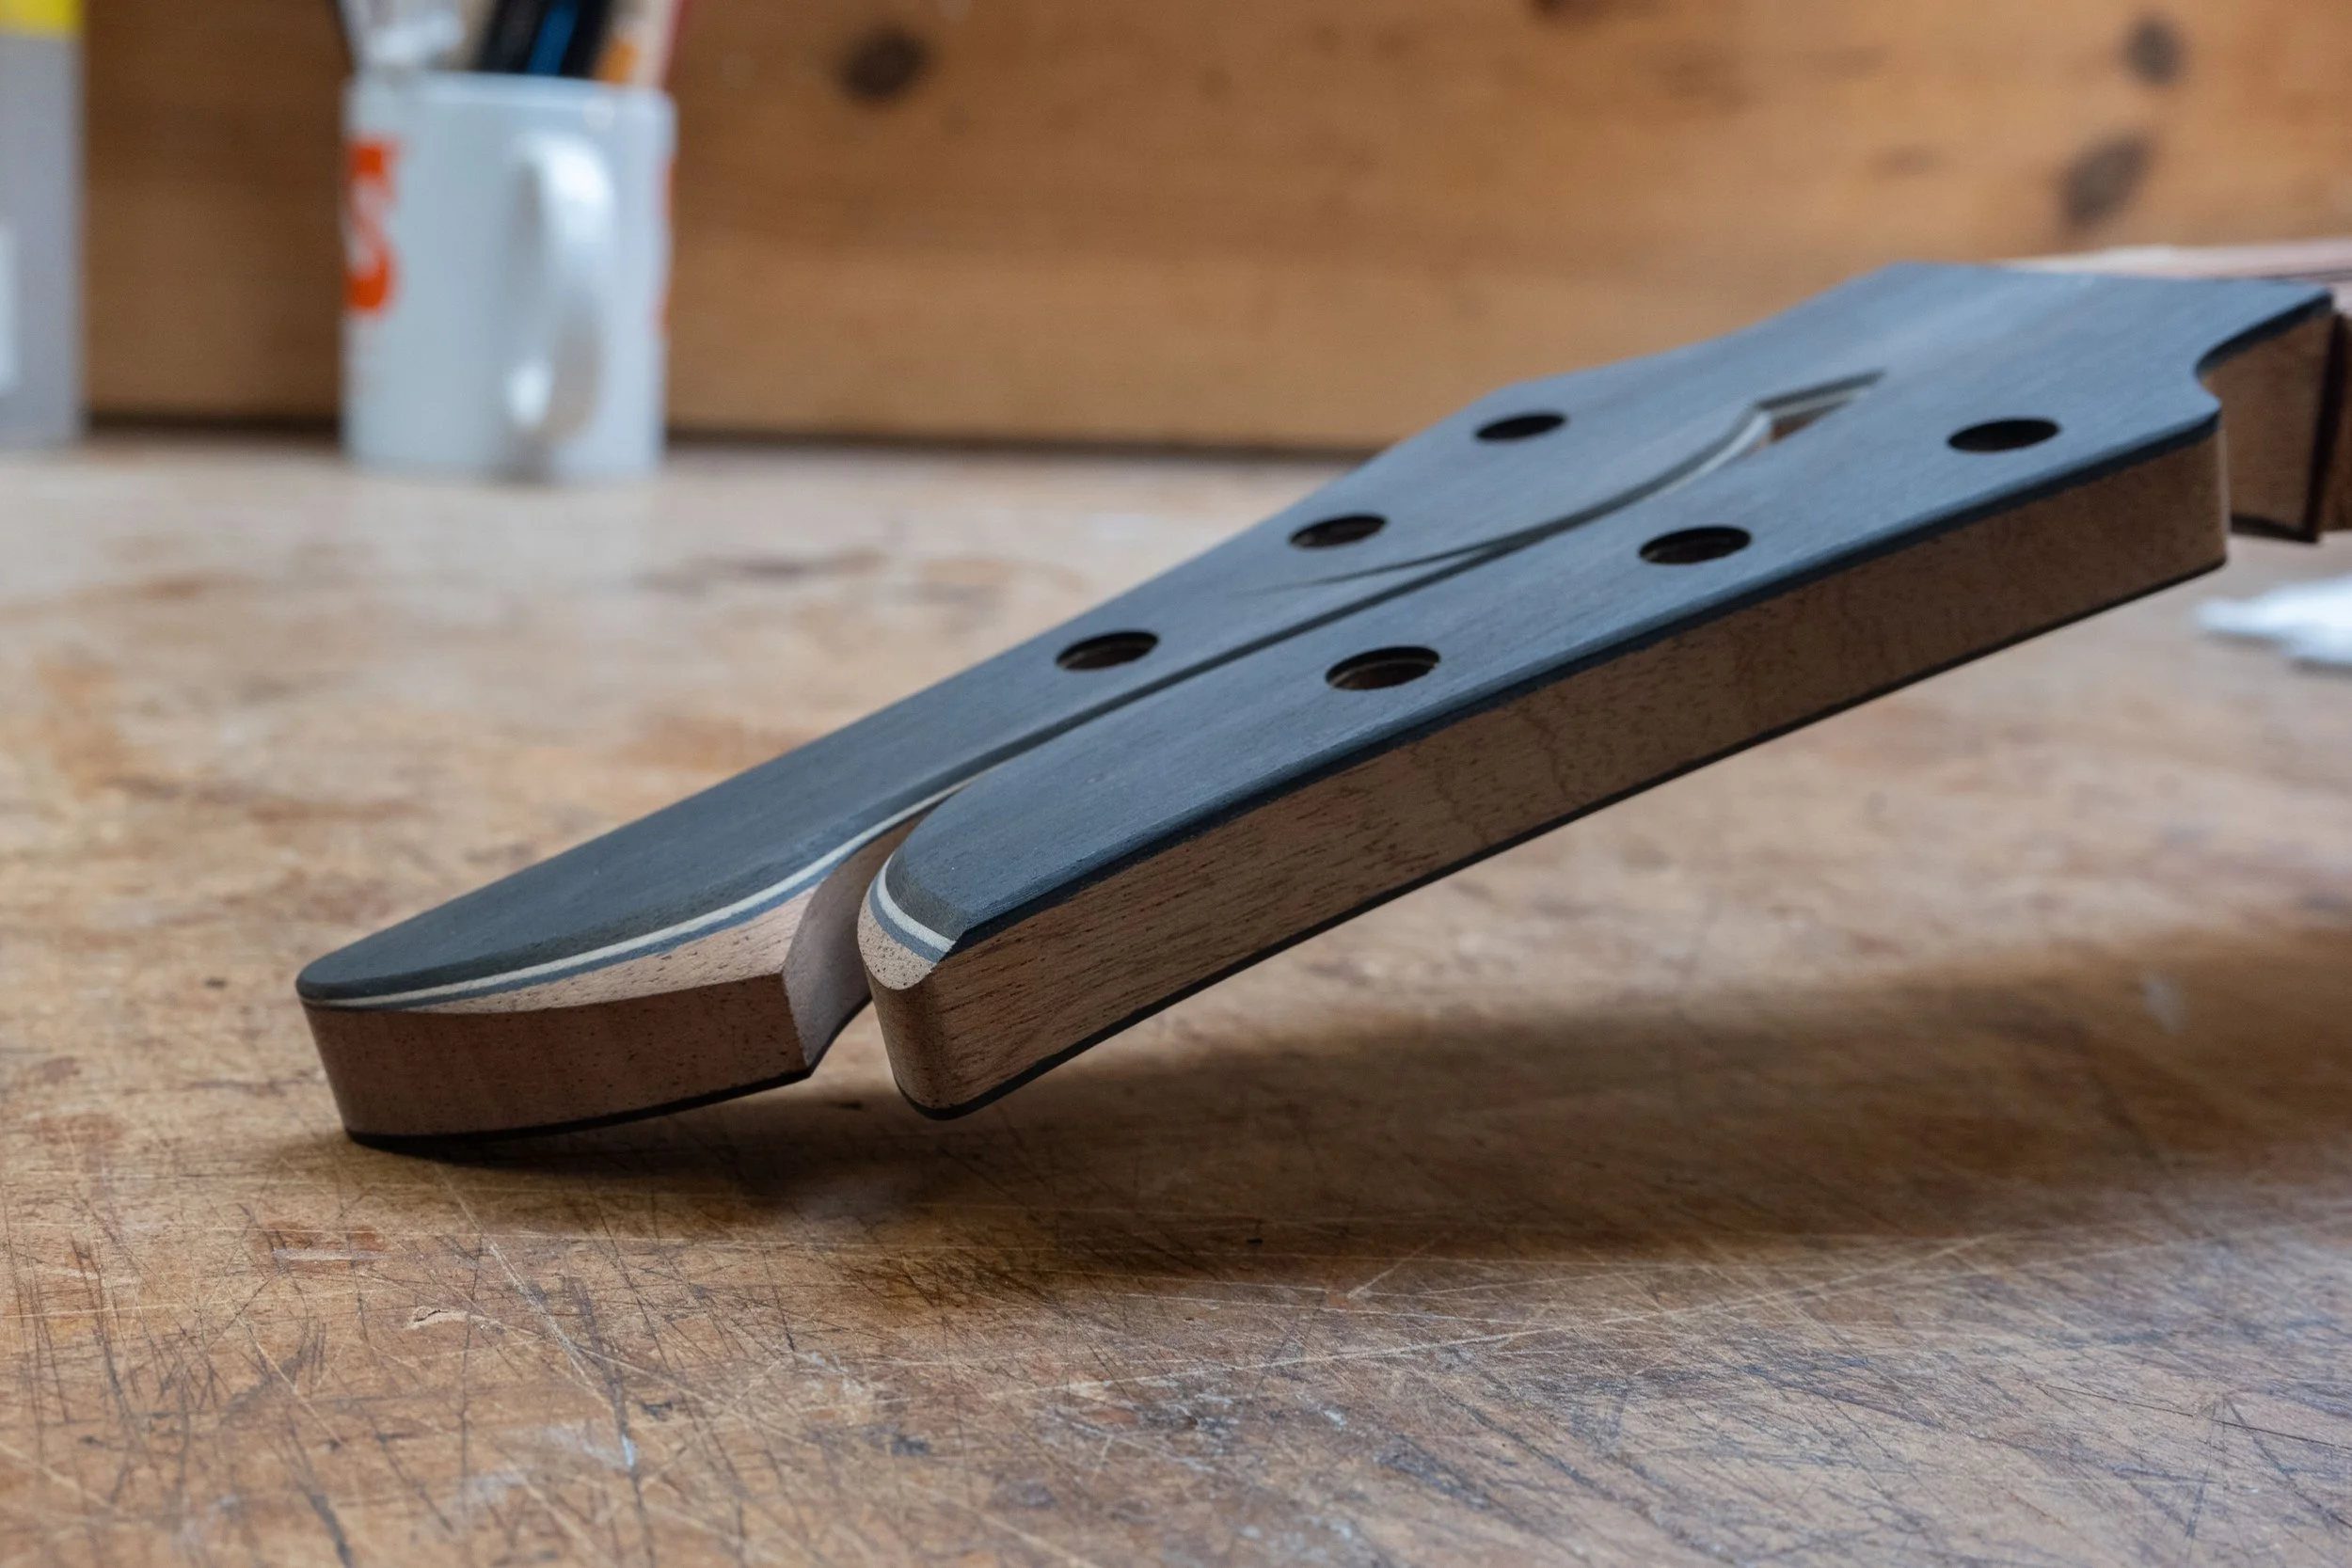
This way I could make the transition exactly where I wanted it to be.
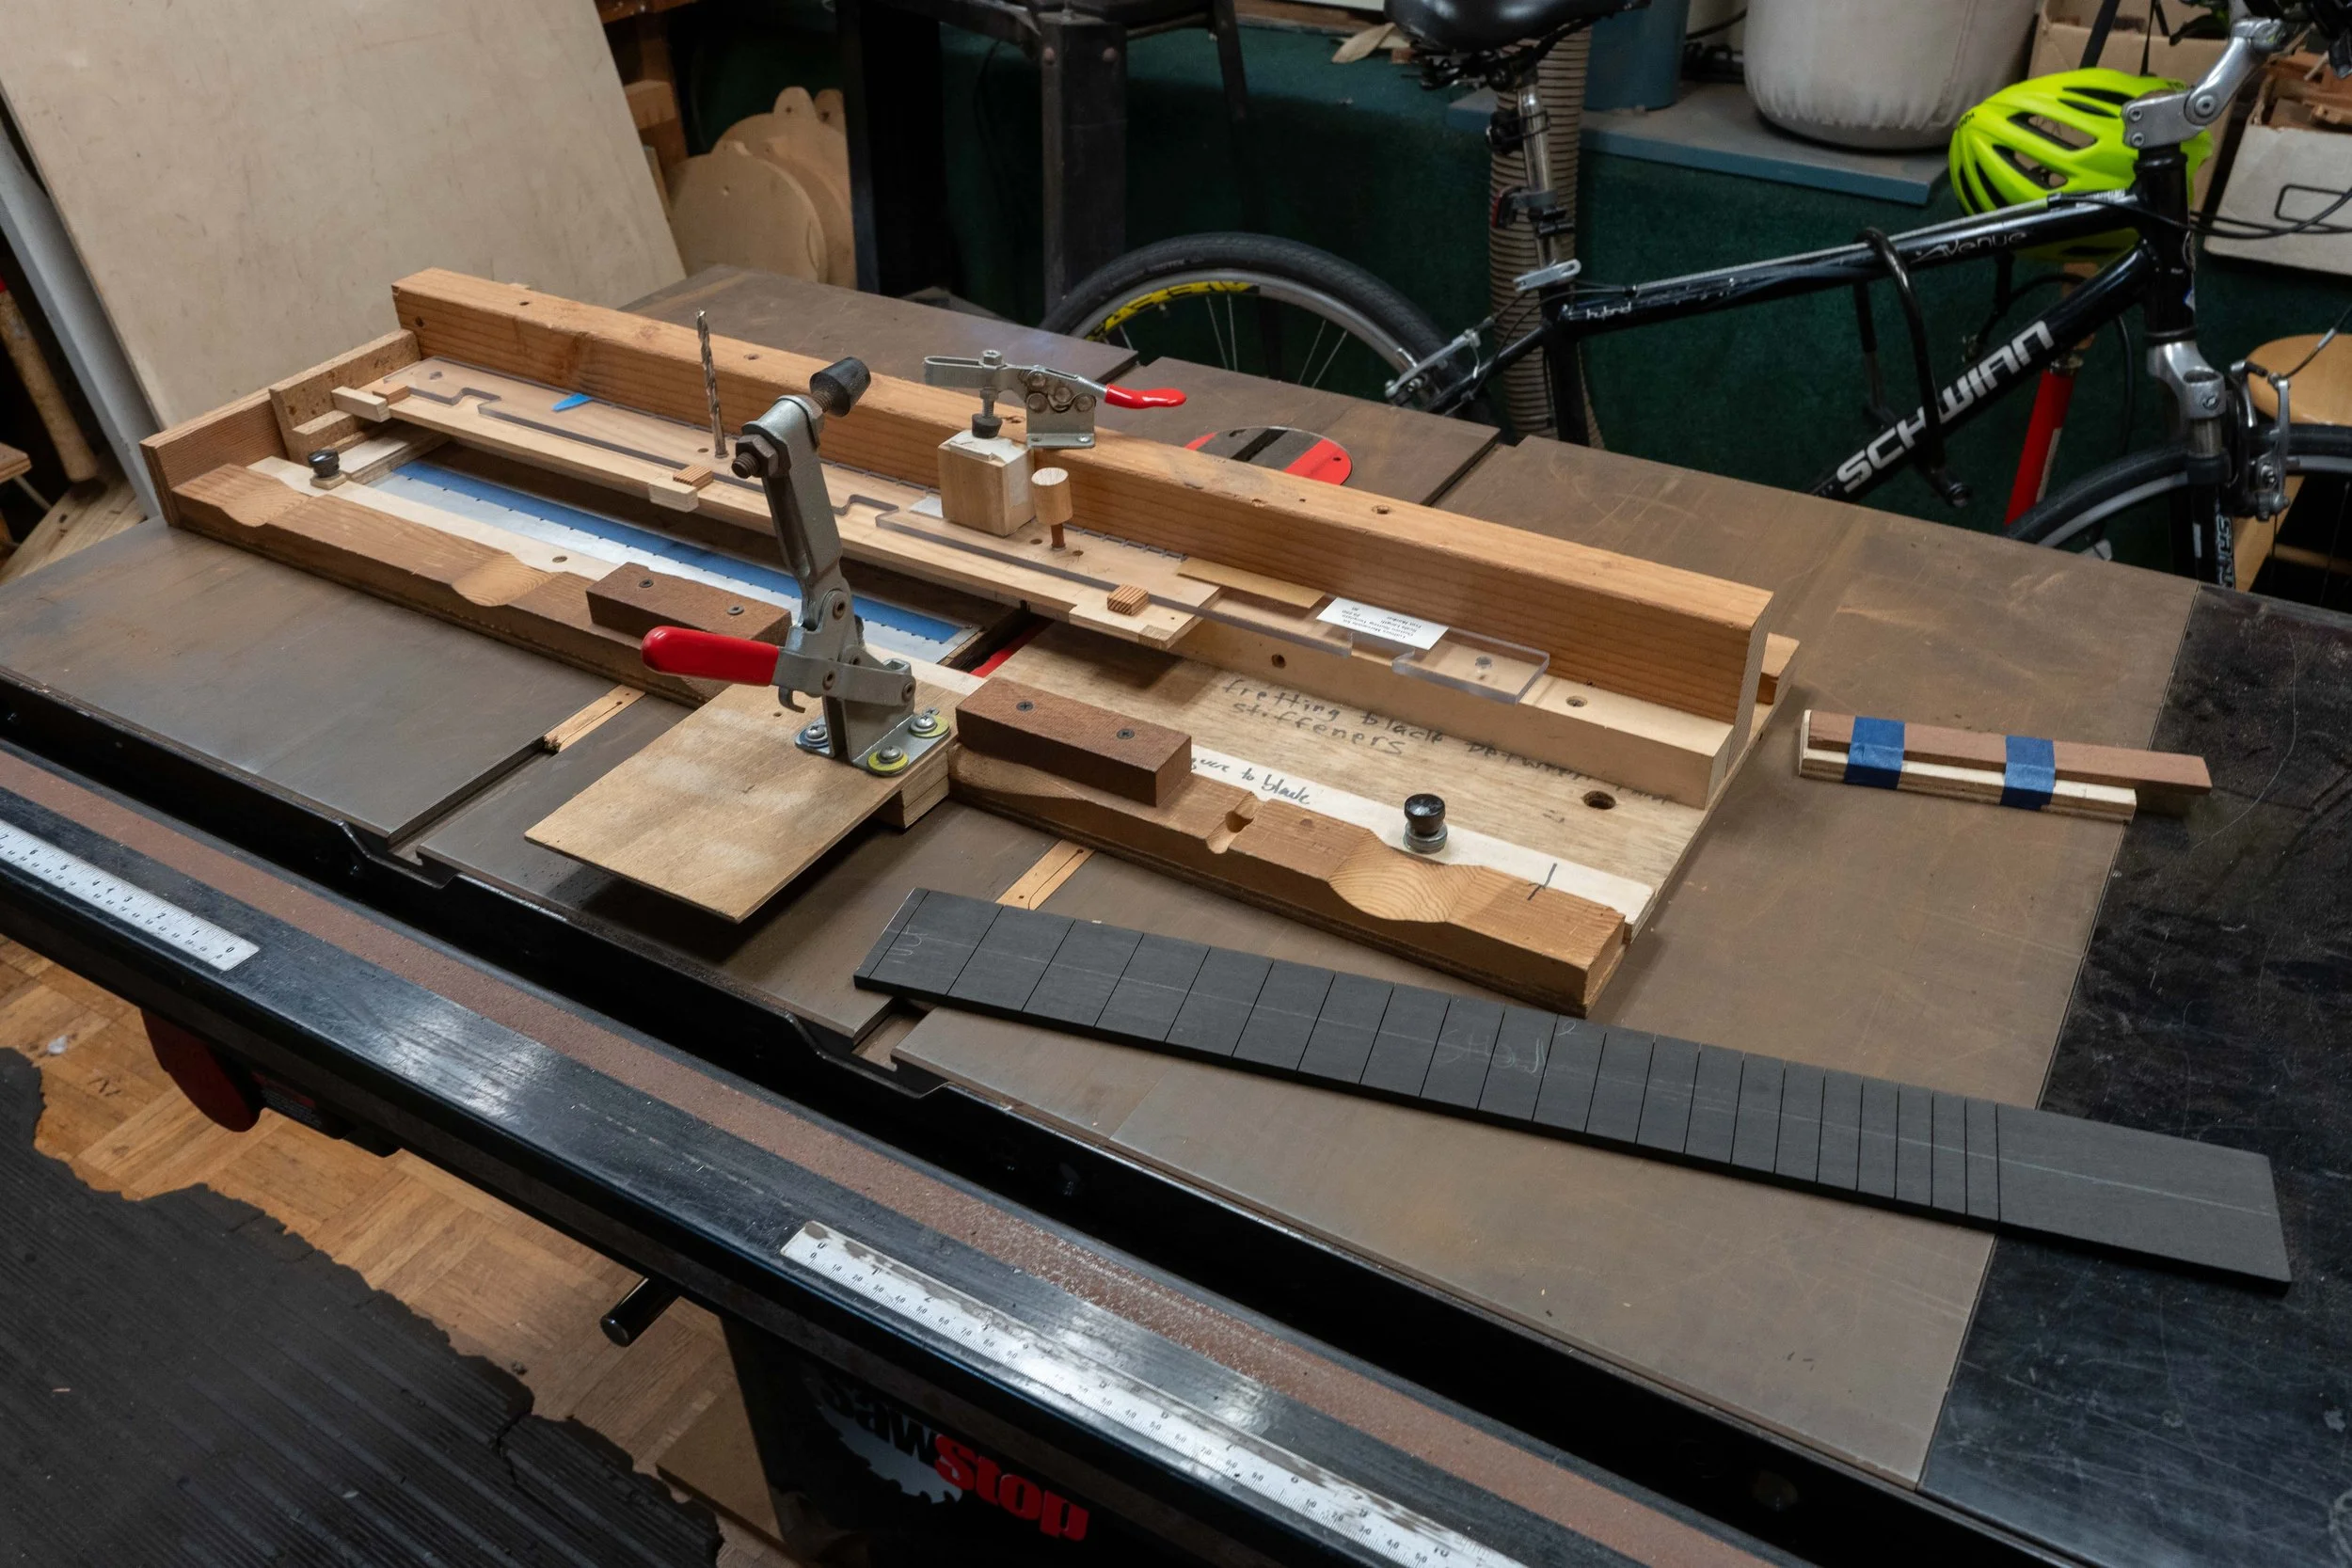
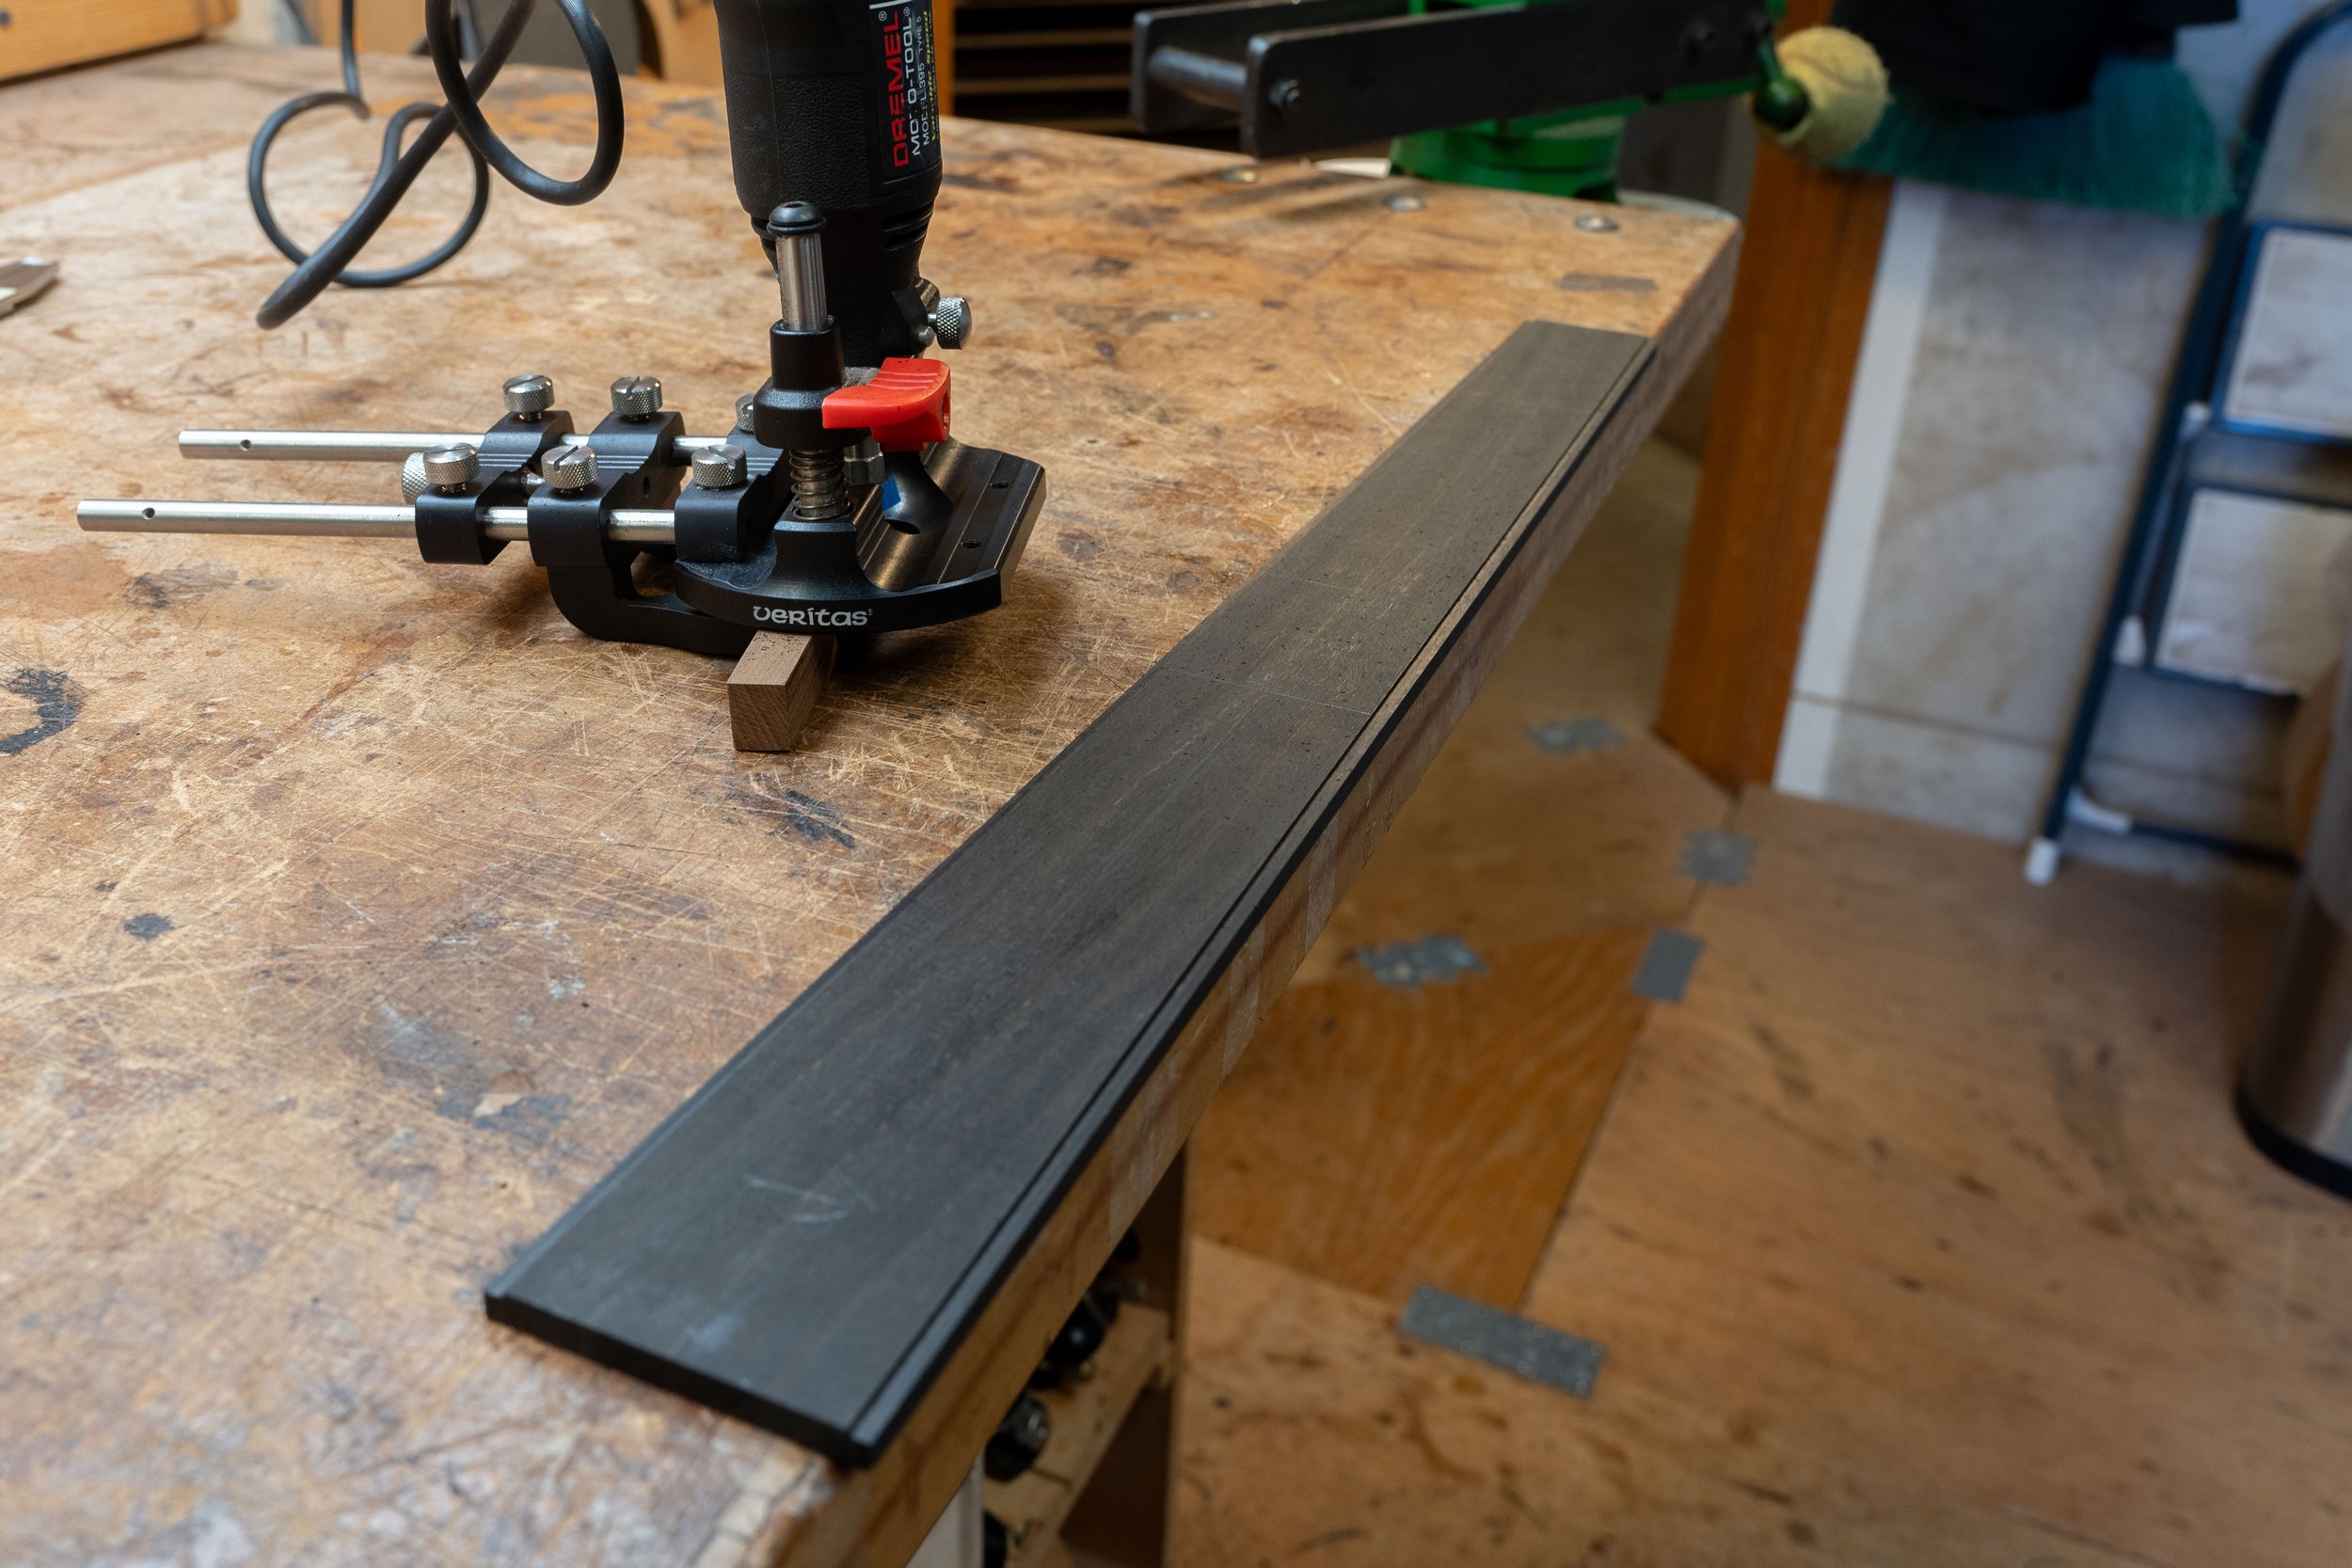
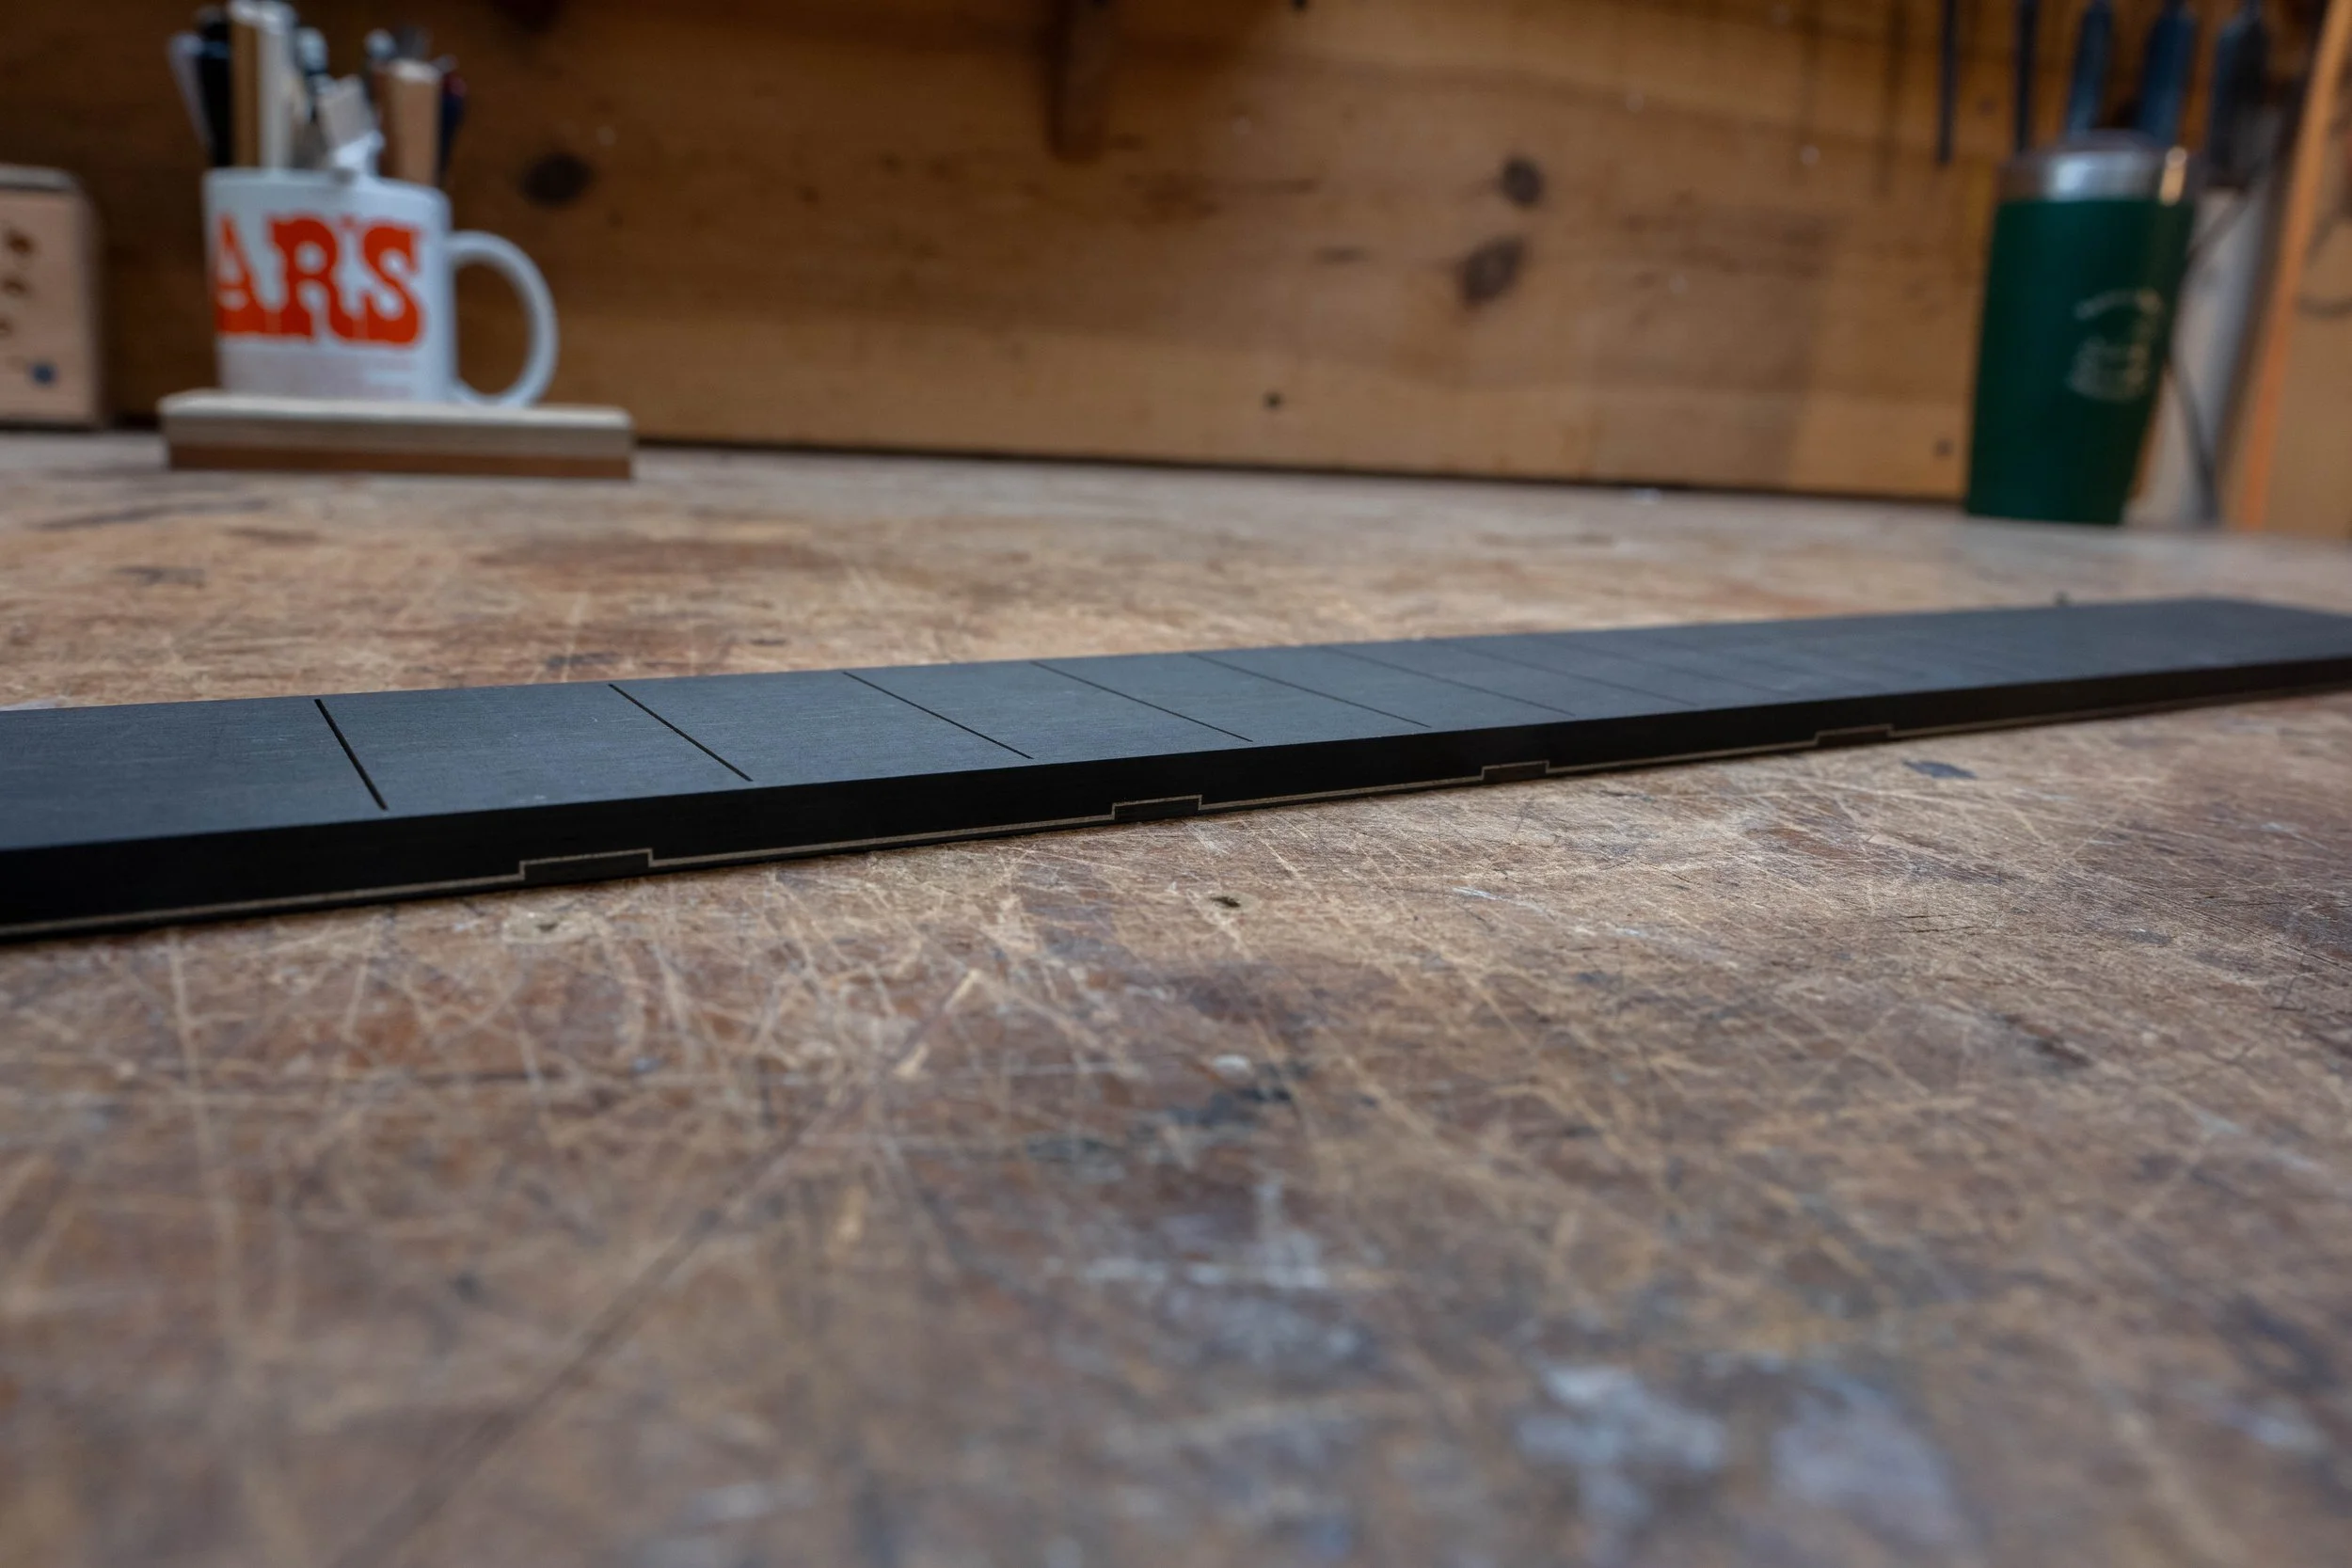
Ervin's jig for cutting fret slots.
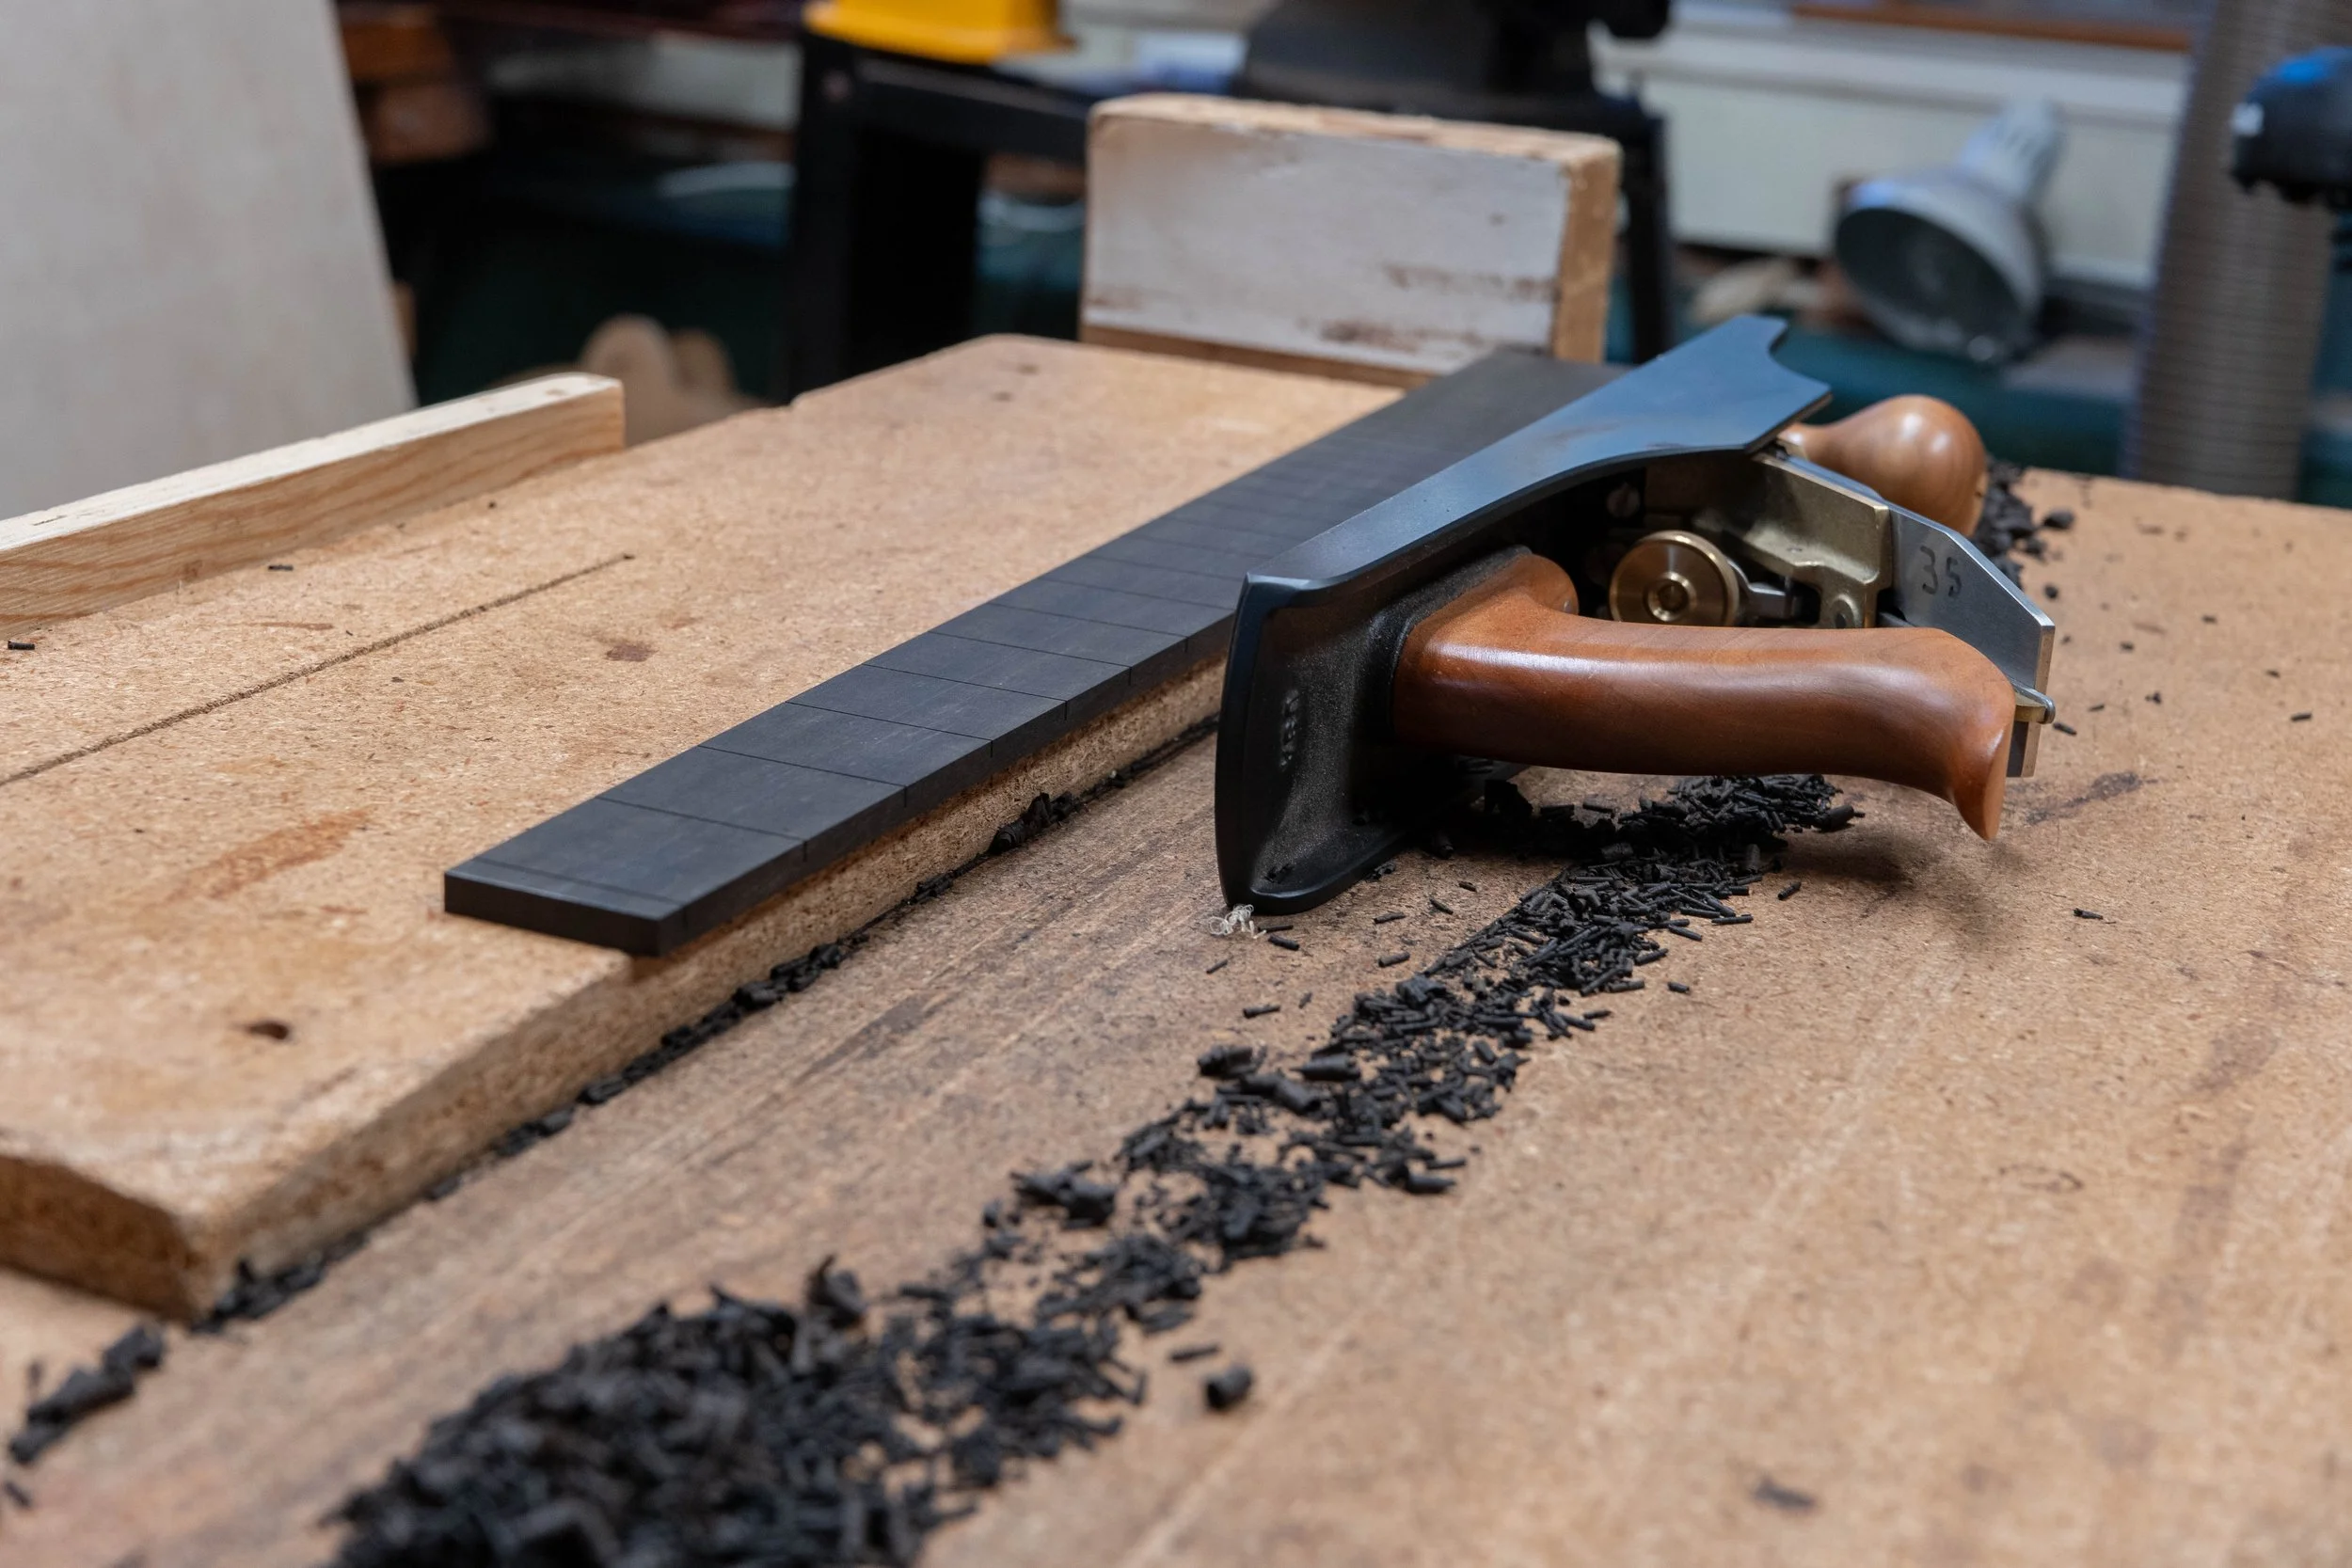
Trimming the fretboard width.
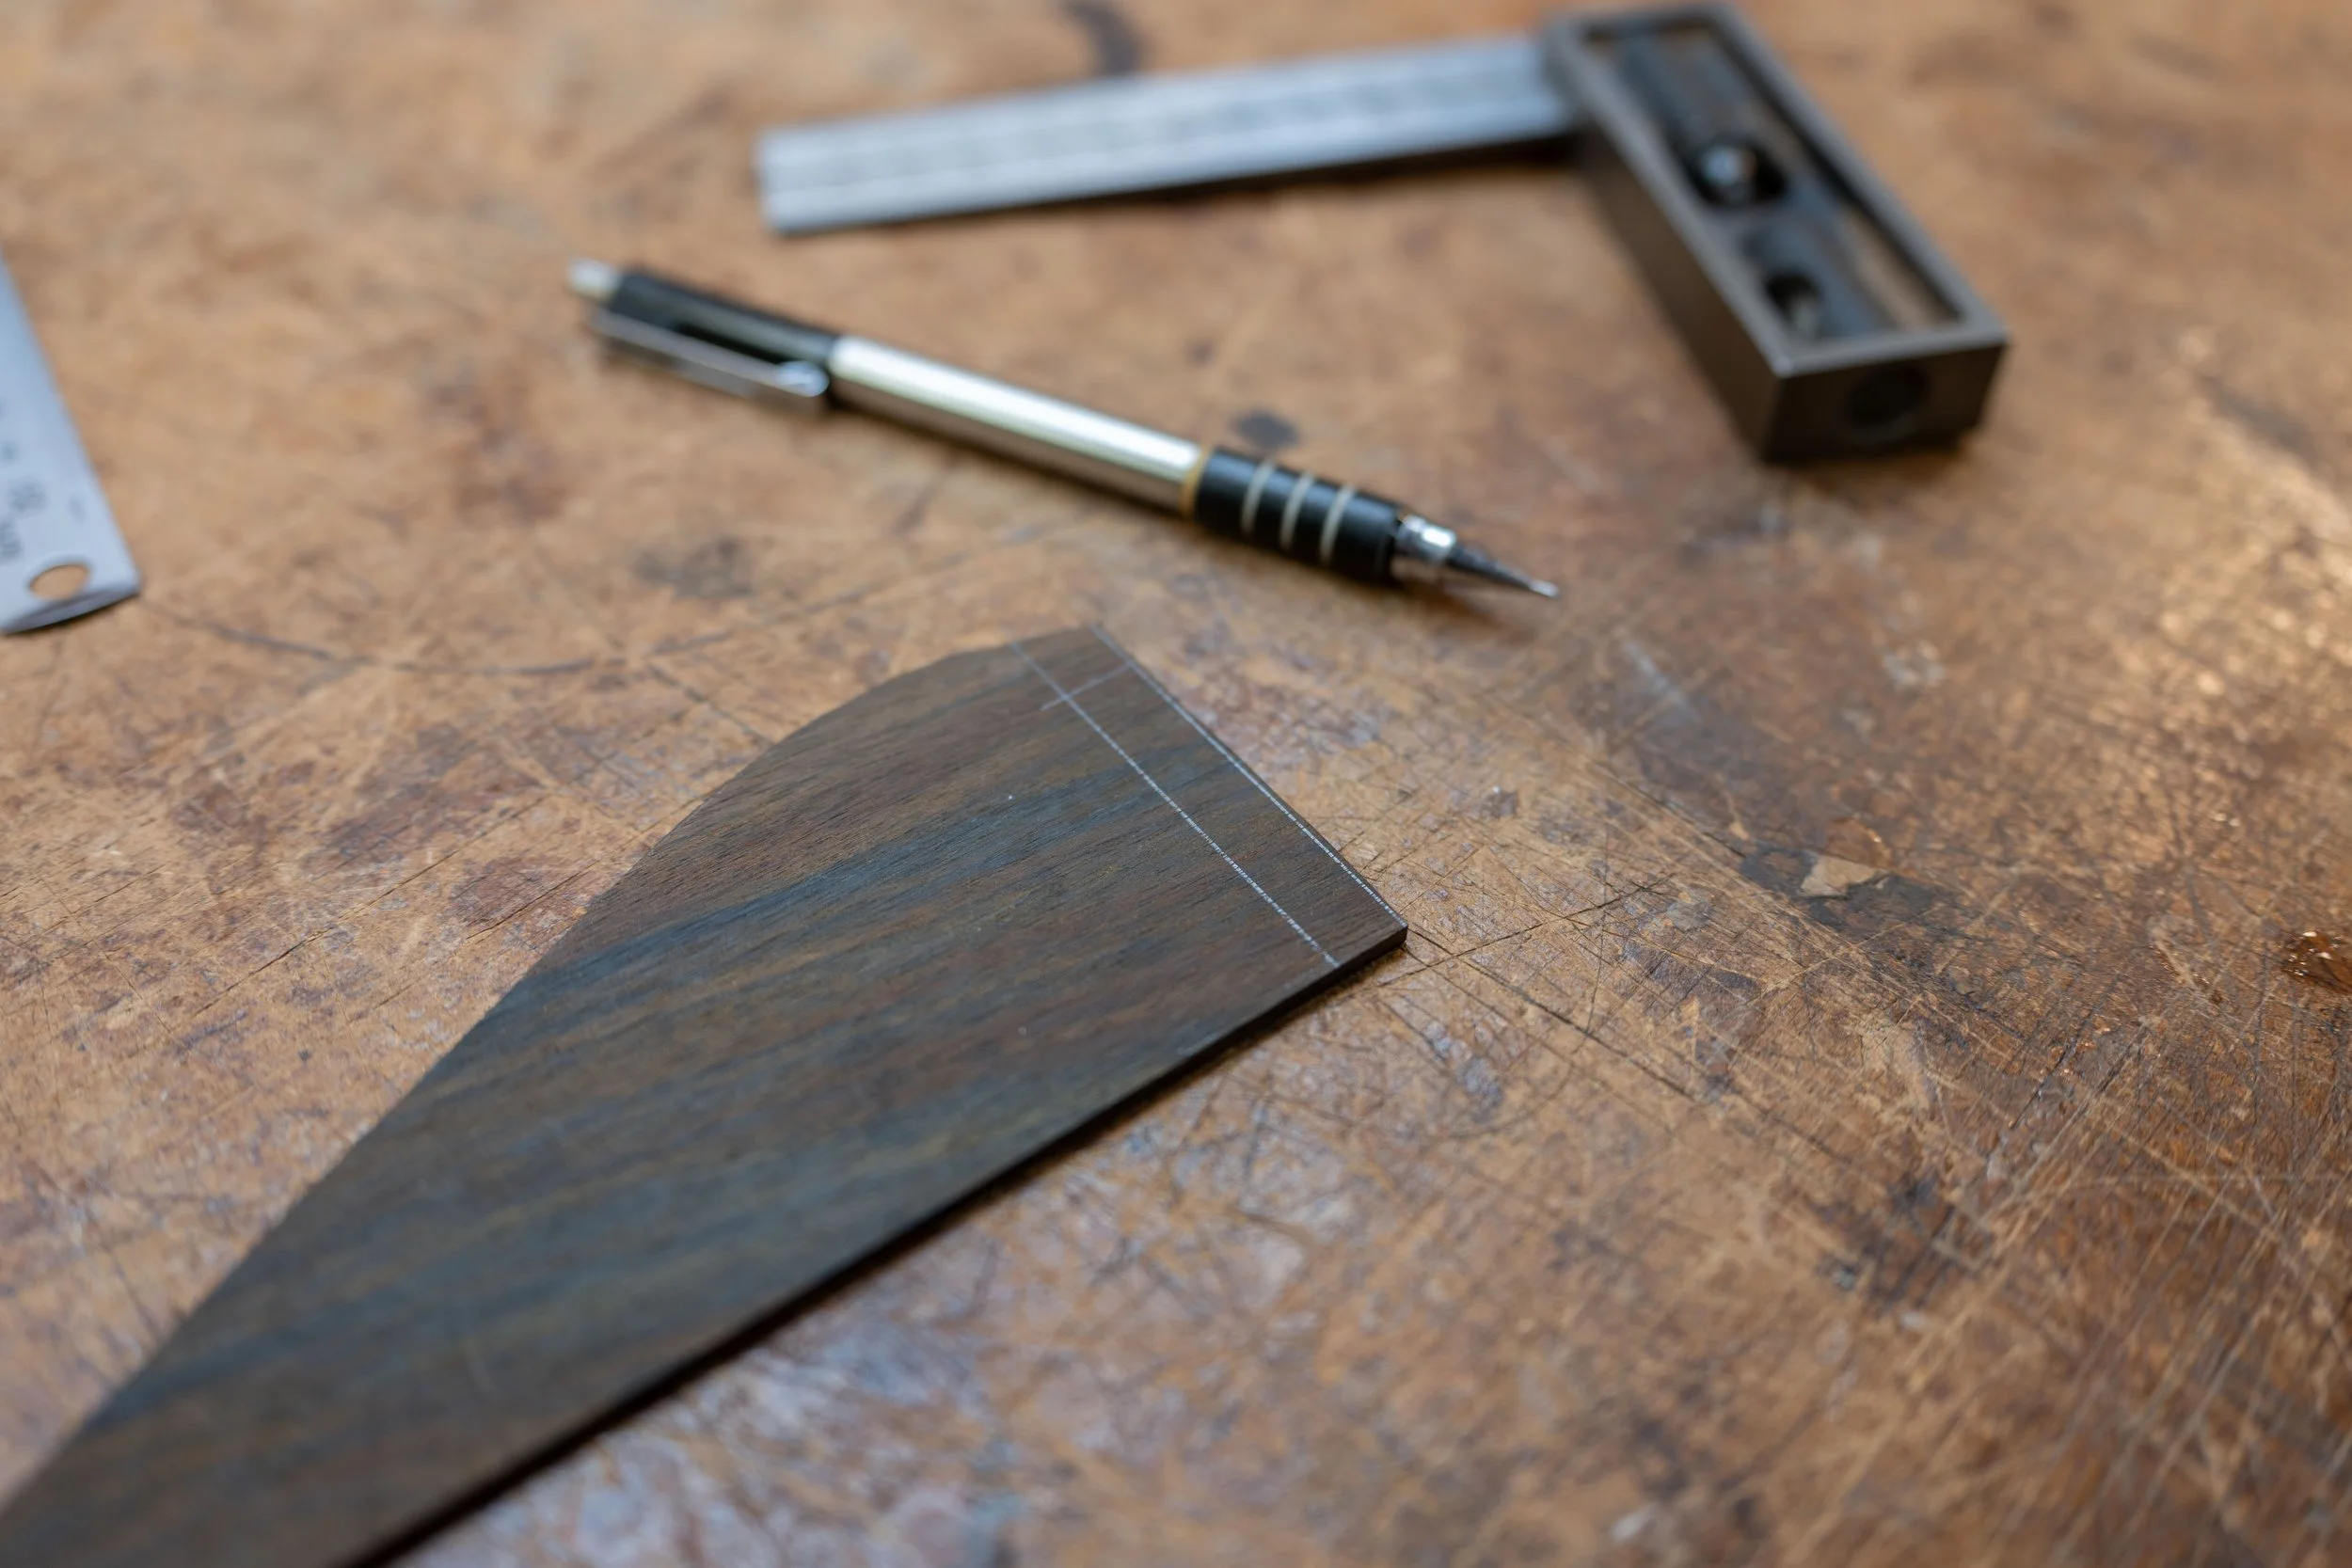
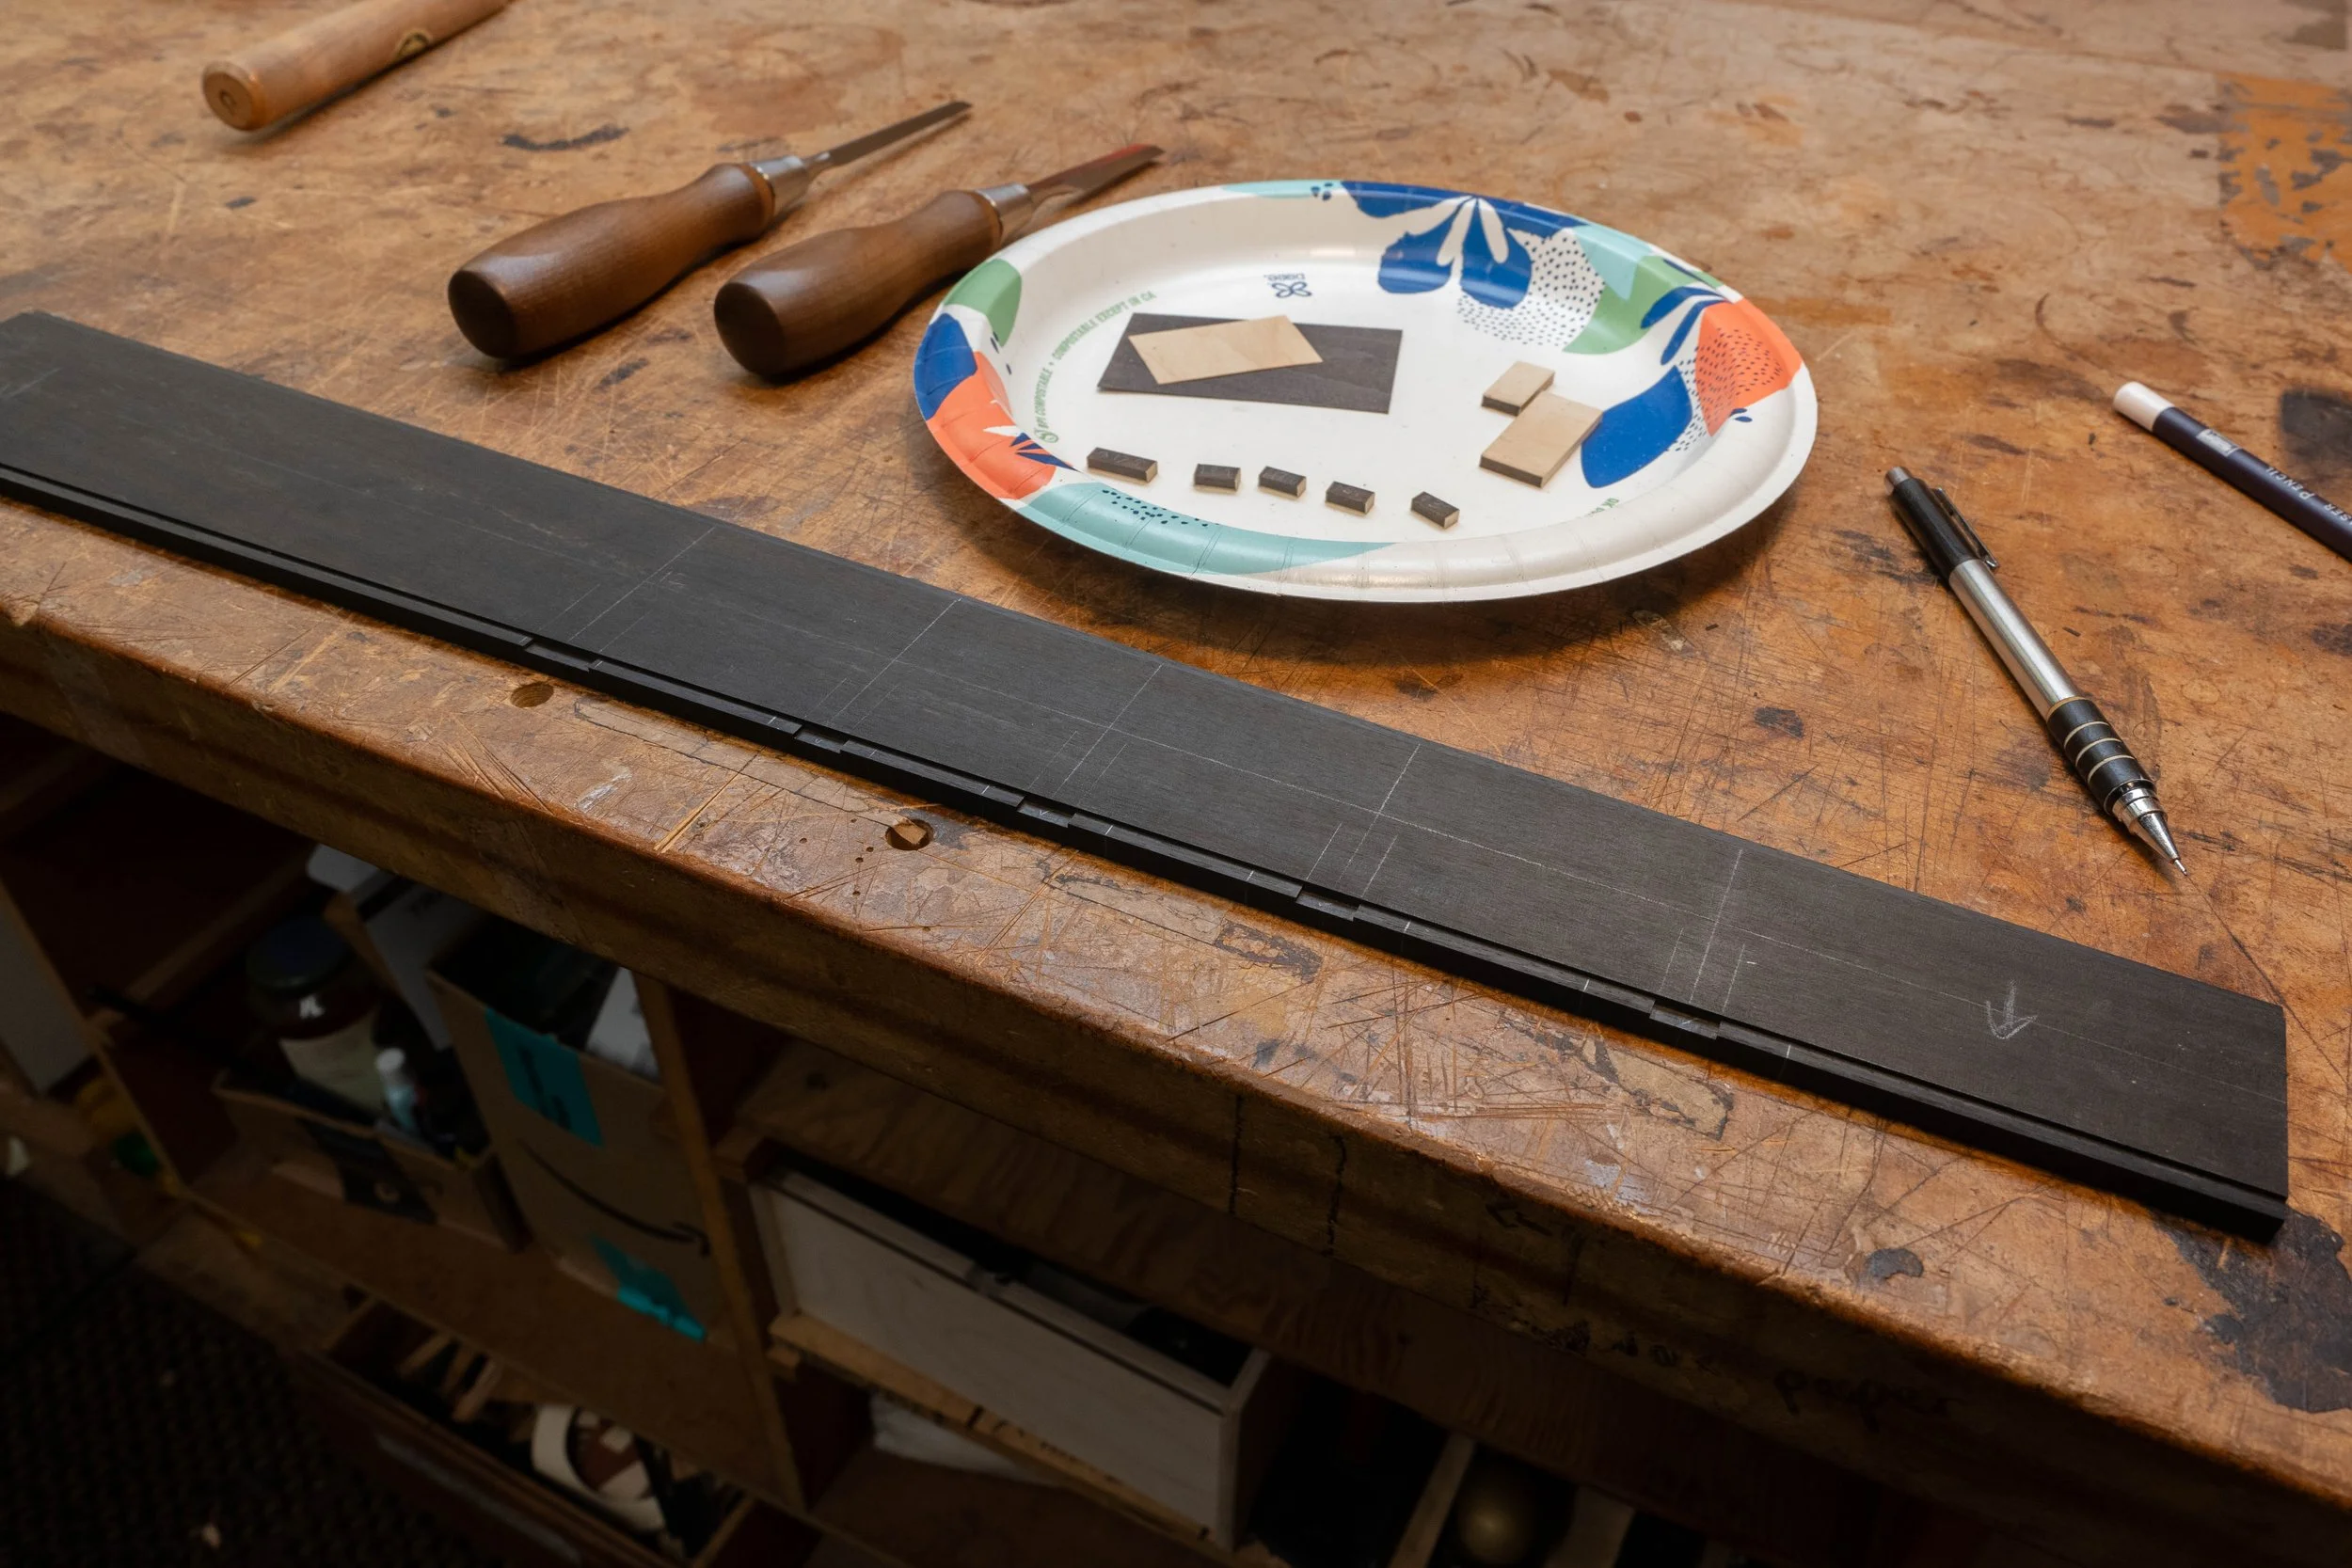
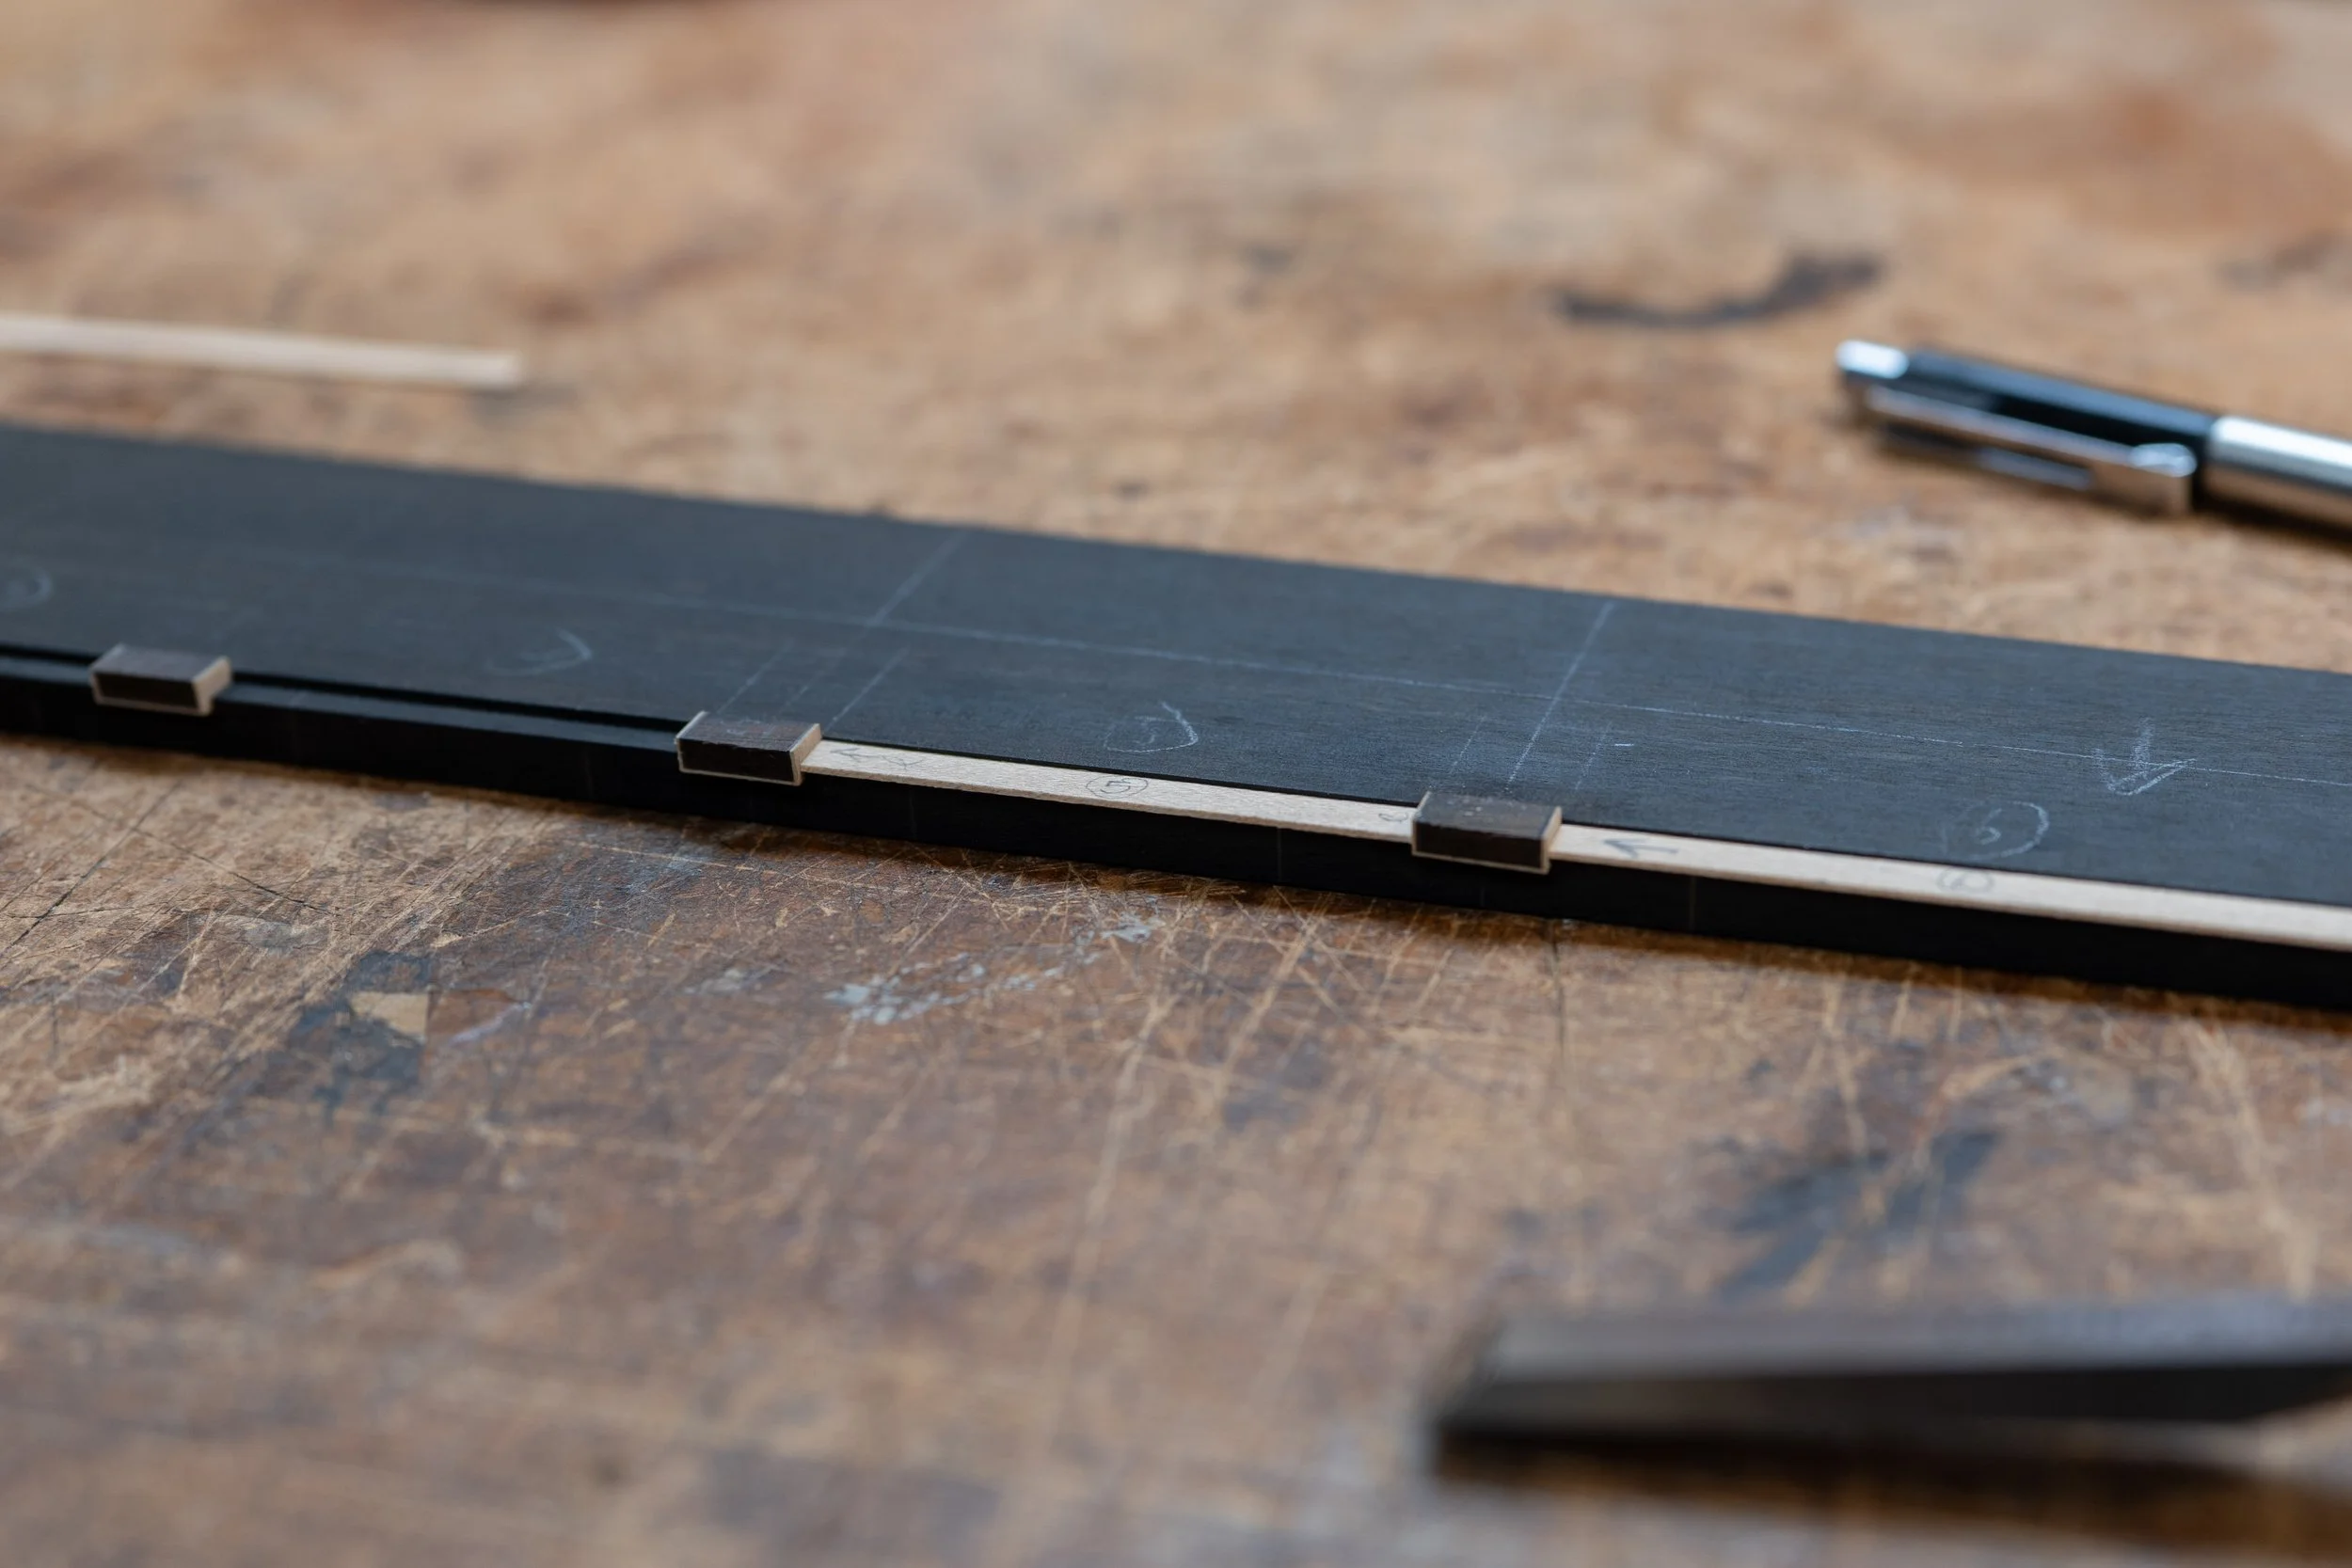
I wanted to integrate the side fret markers into the bottom of fretboard purfling. My process for doing this was to inlay into the bottom of the fretboard. I first cut a channel for the purfling.
Then I made a rectangle out of an off cut from the back.
The sides had to be nice and square.
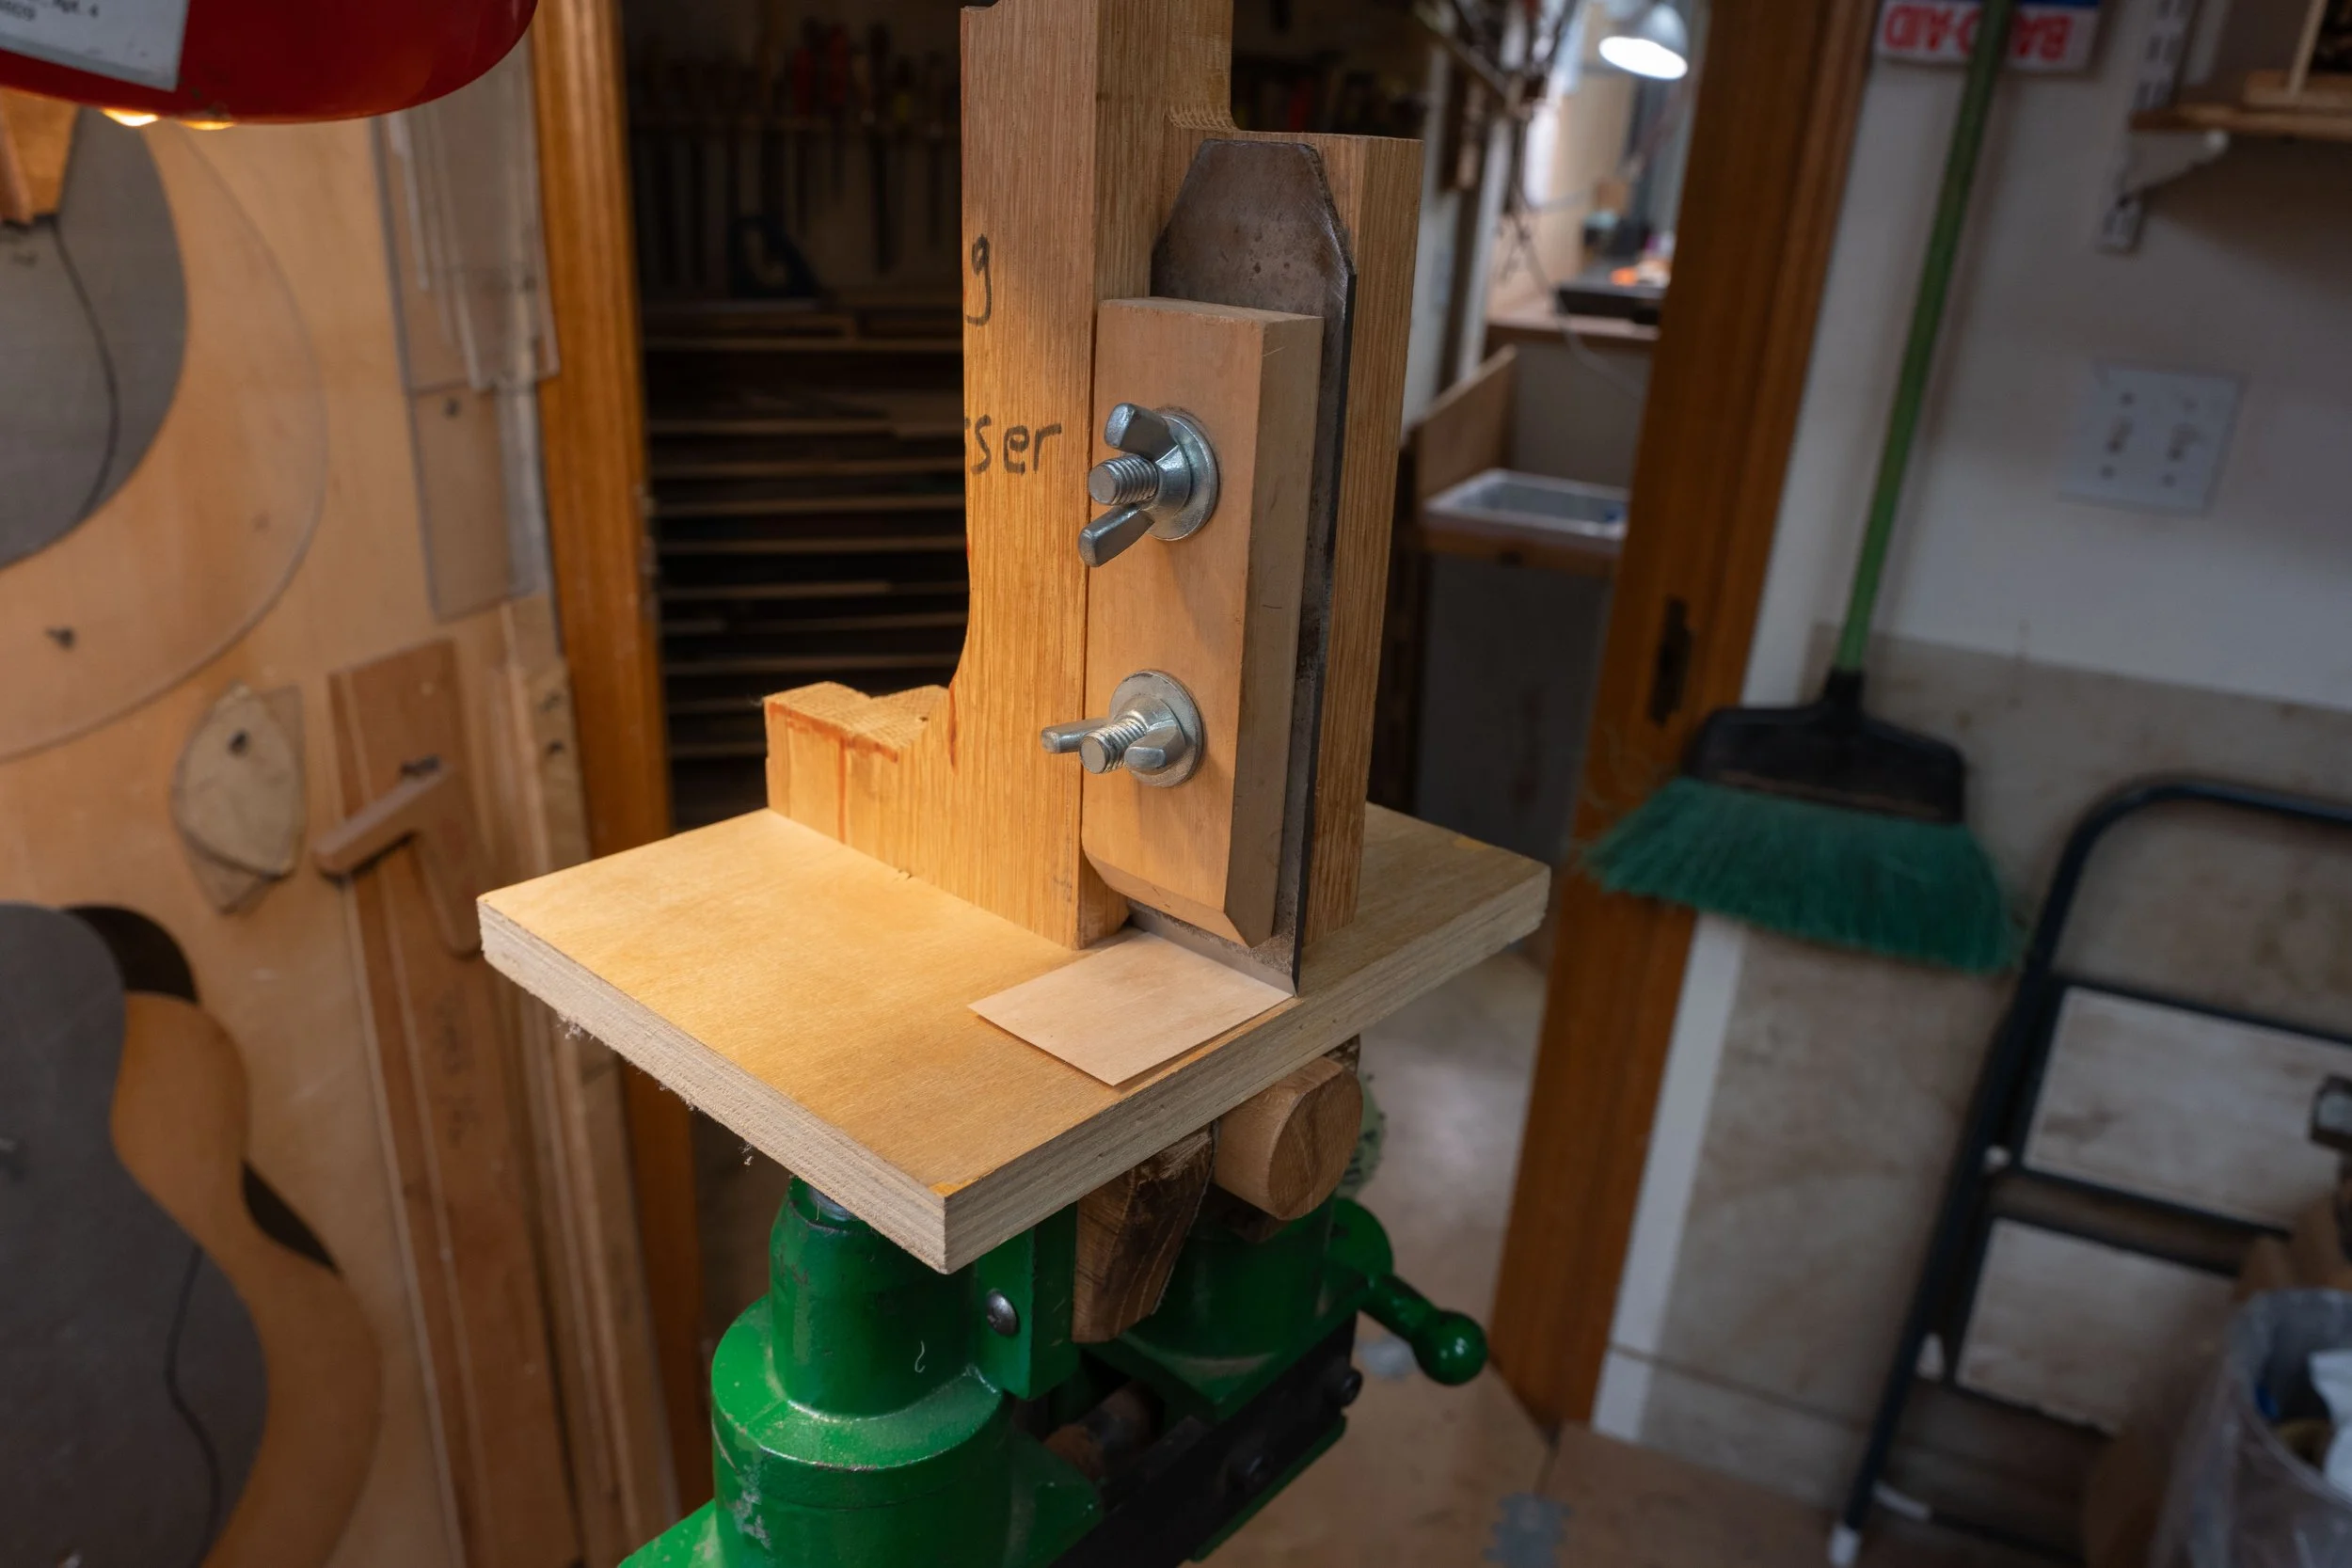
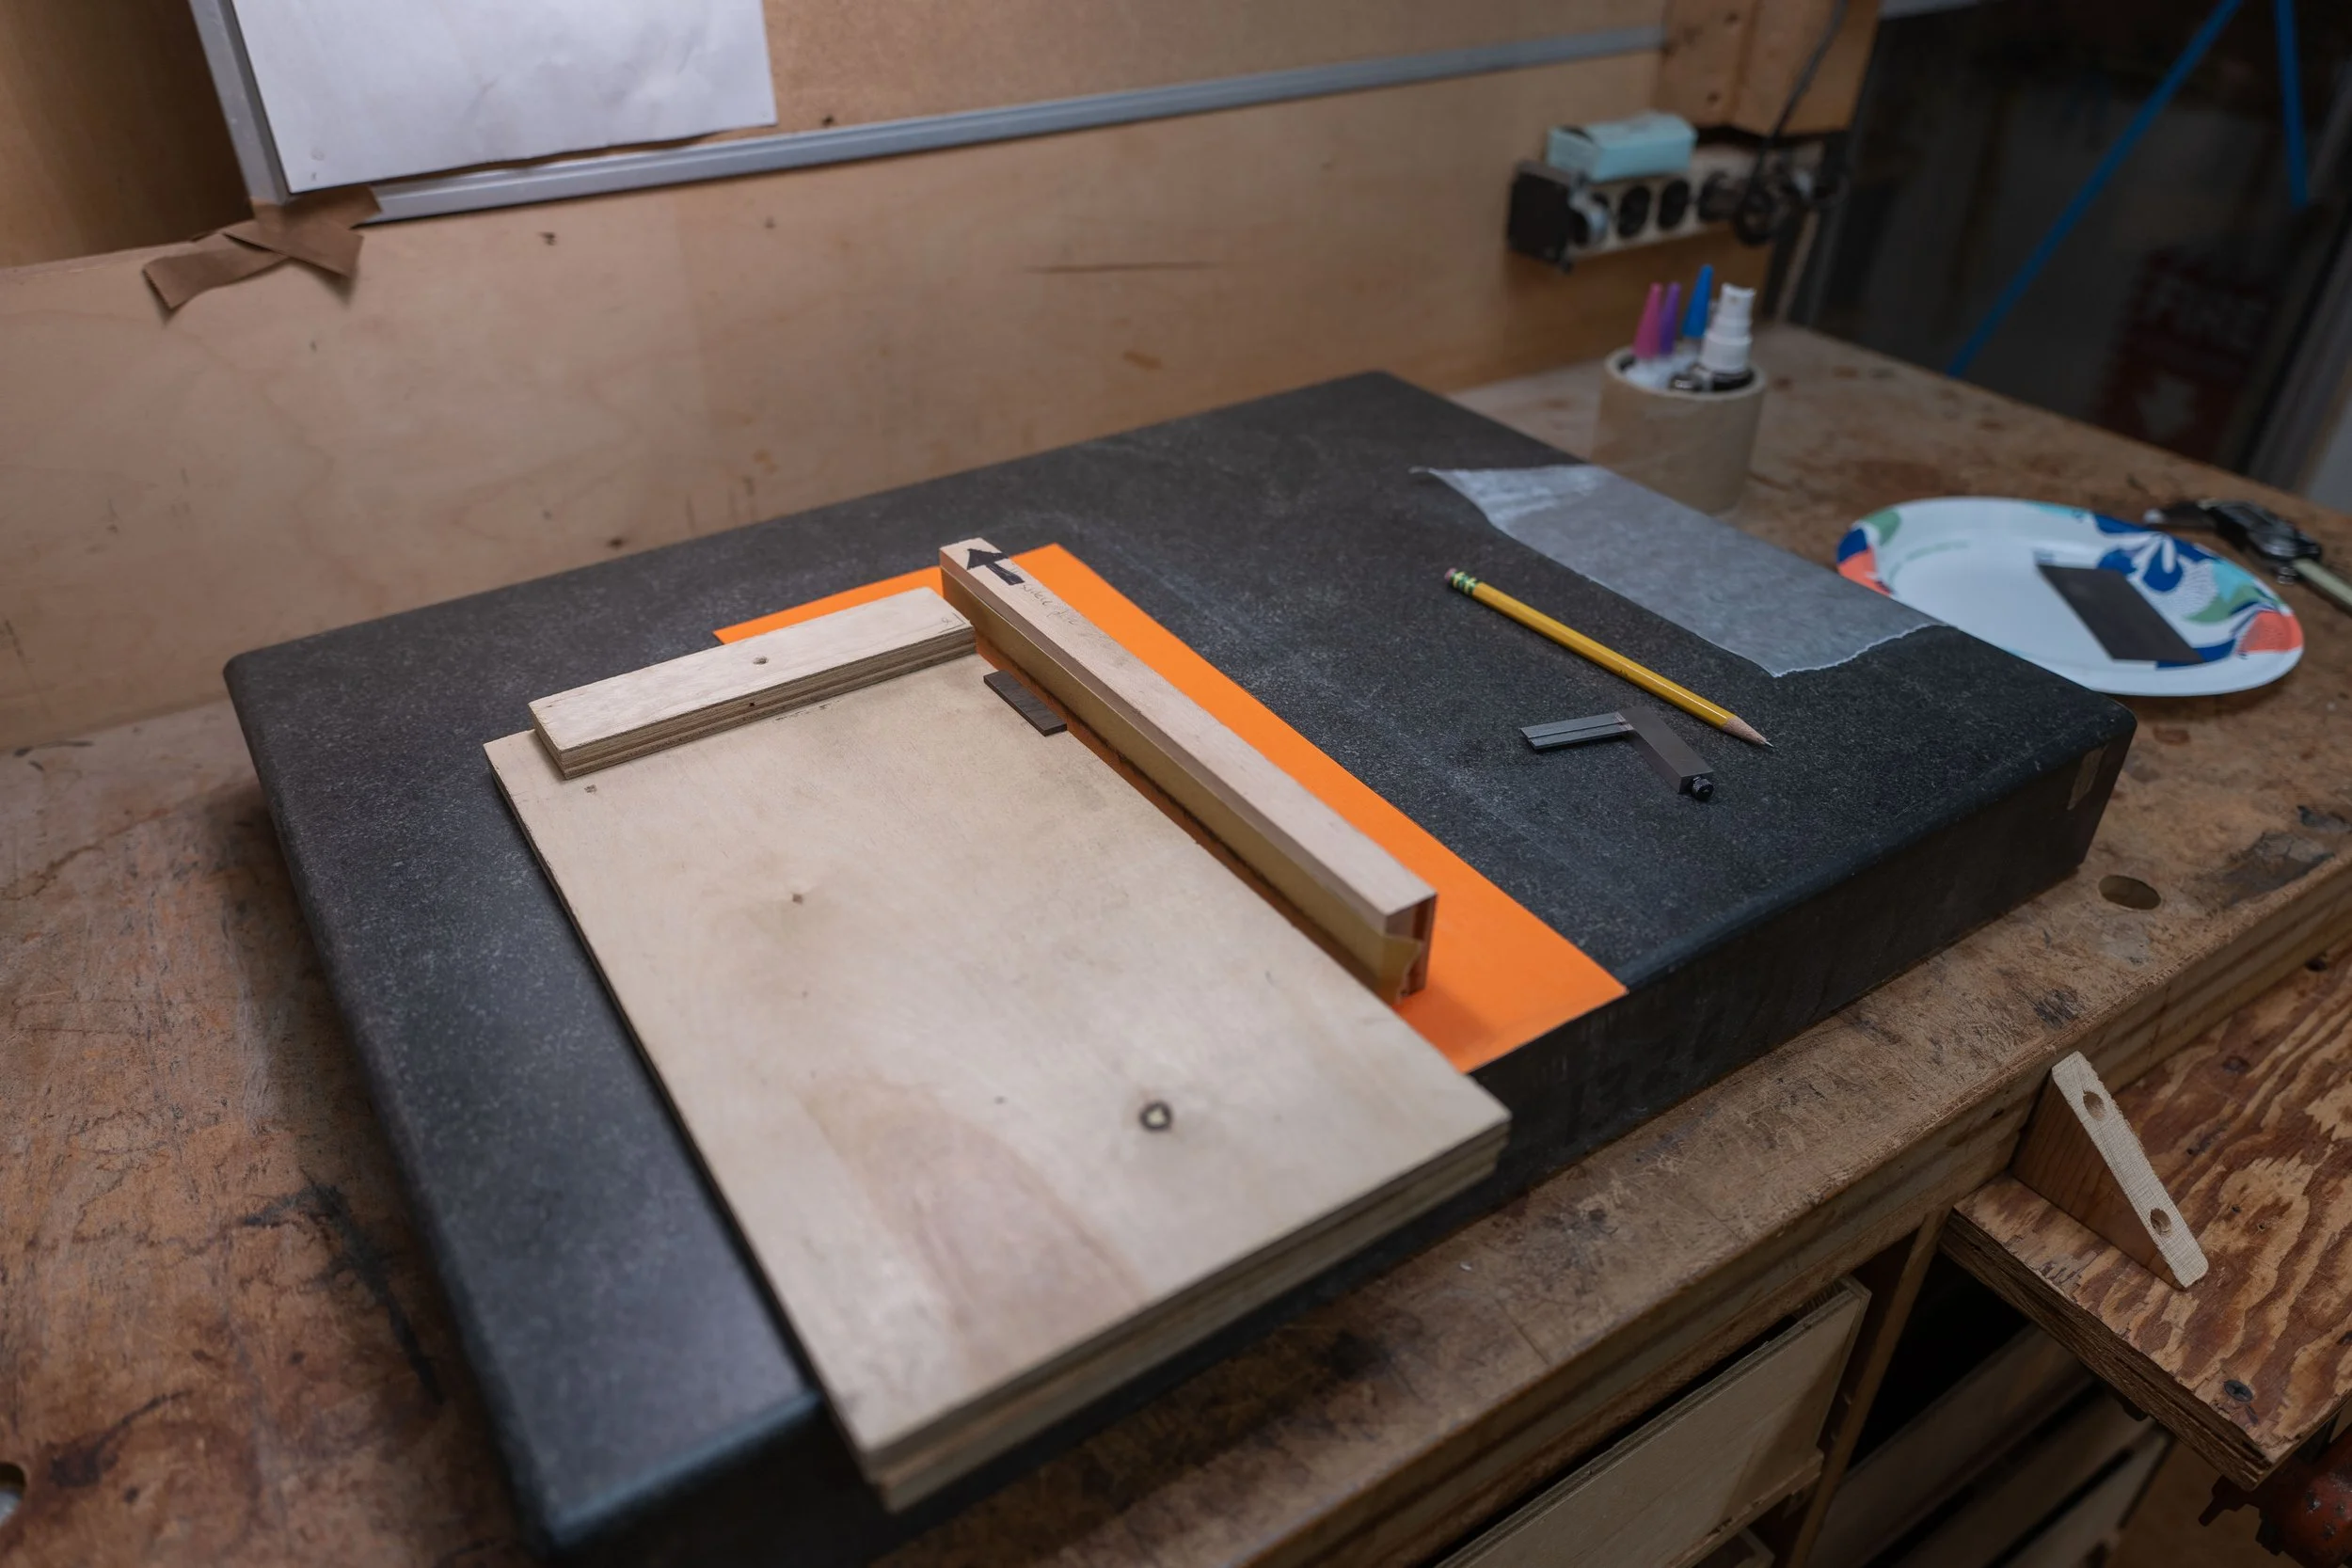
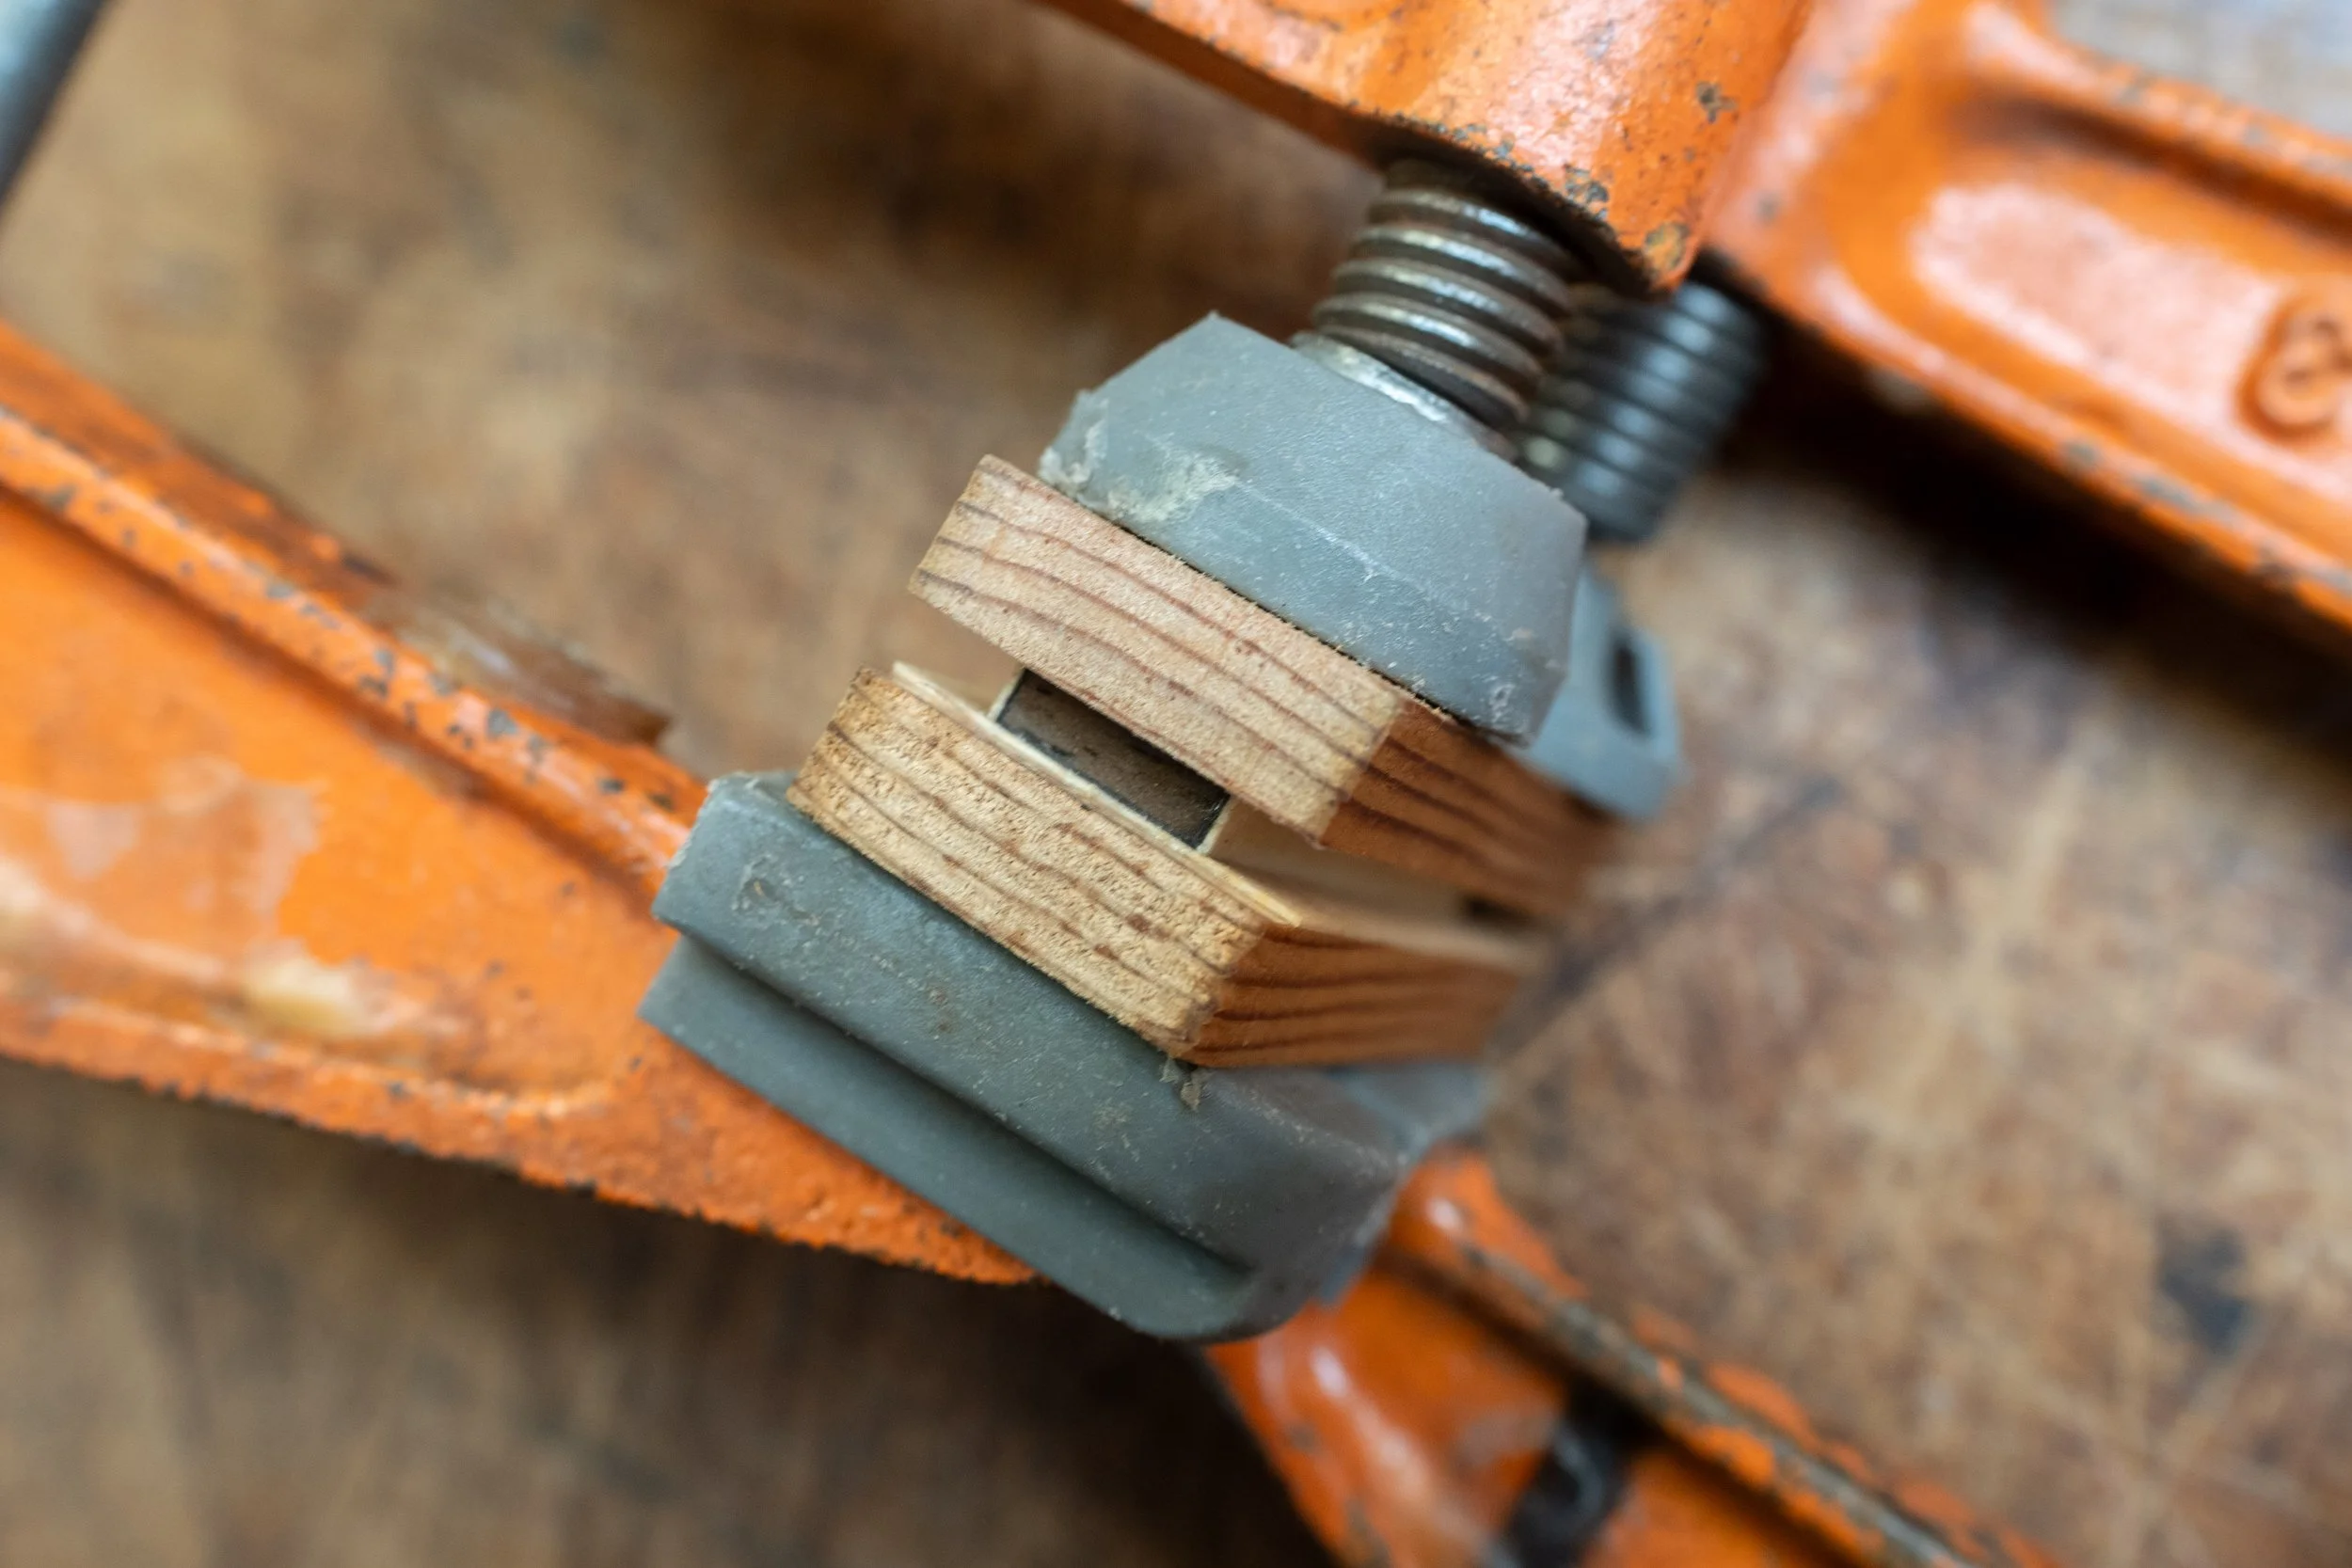
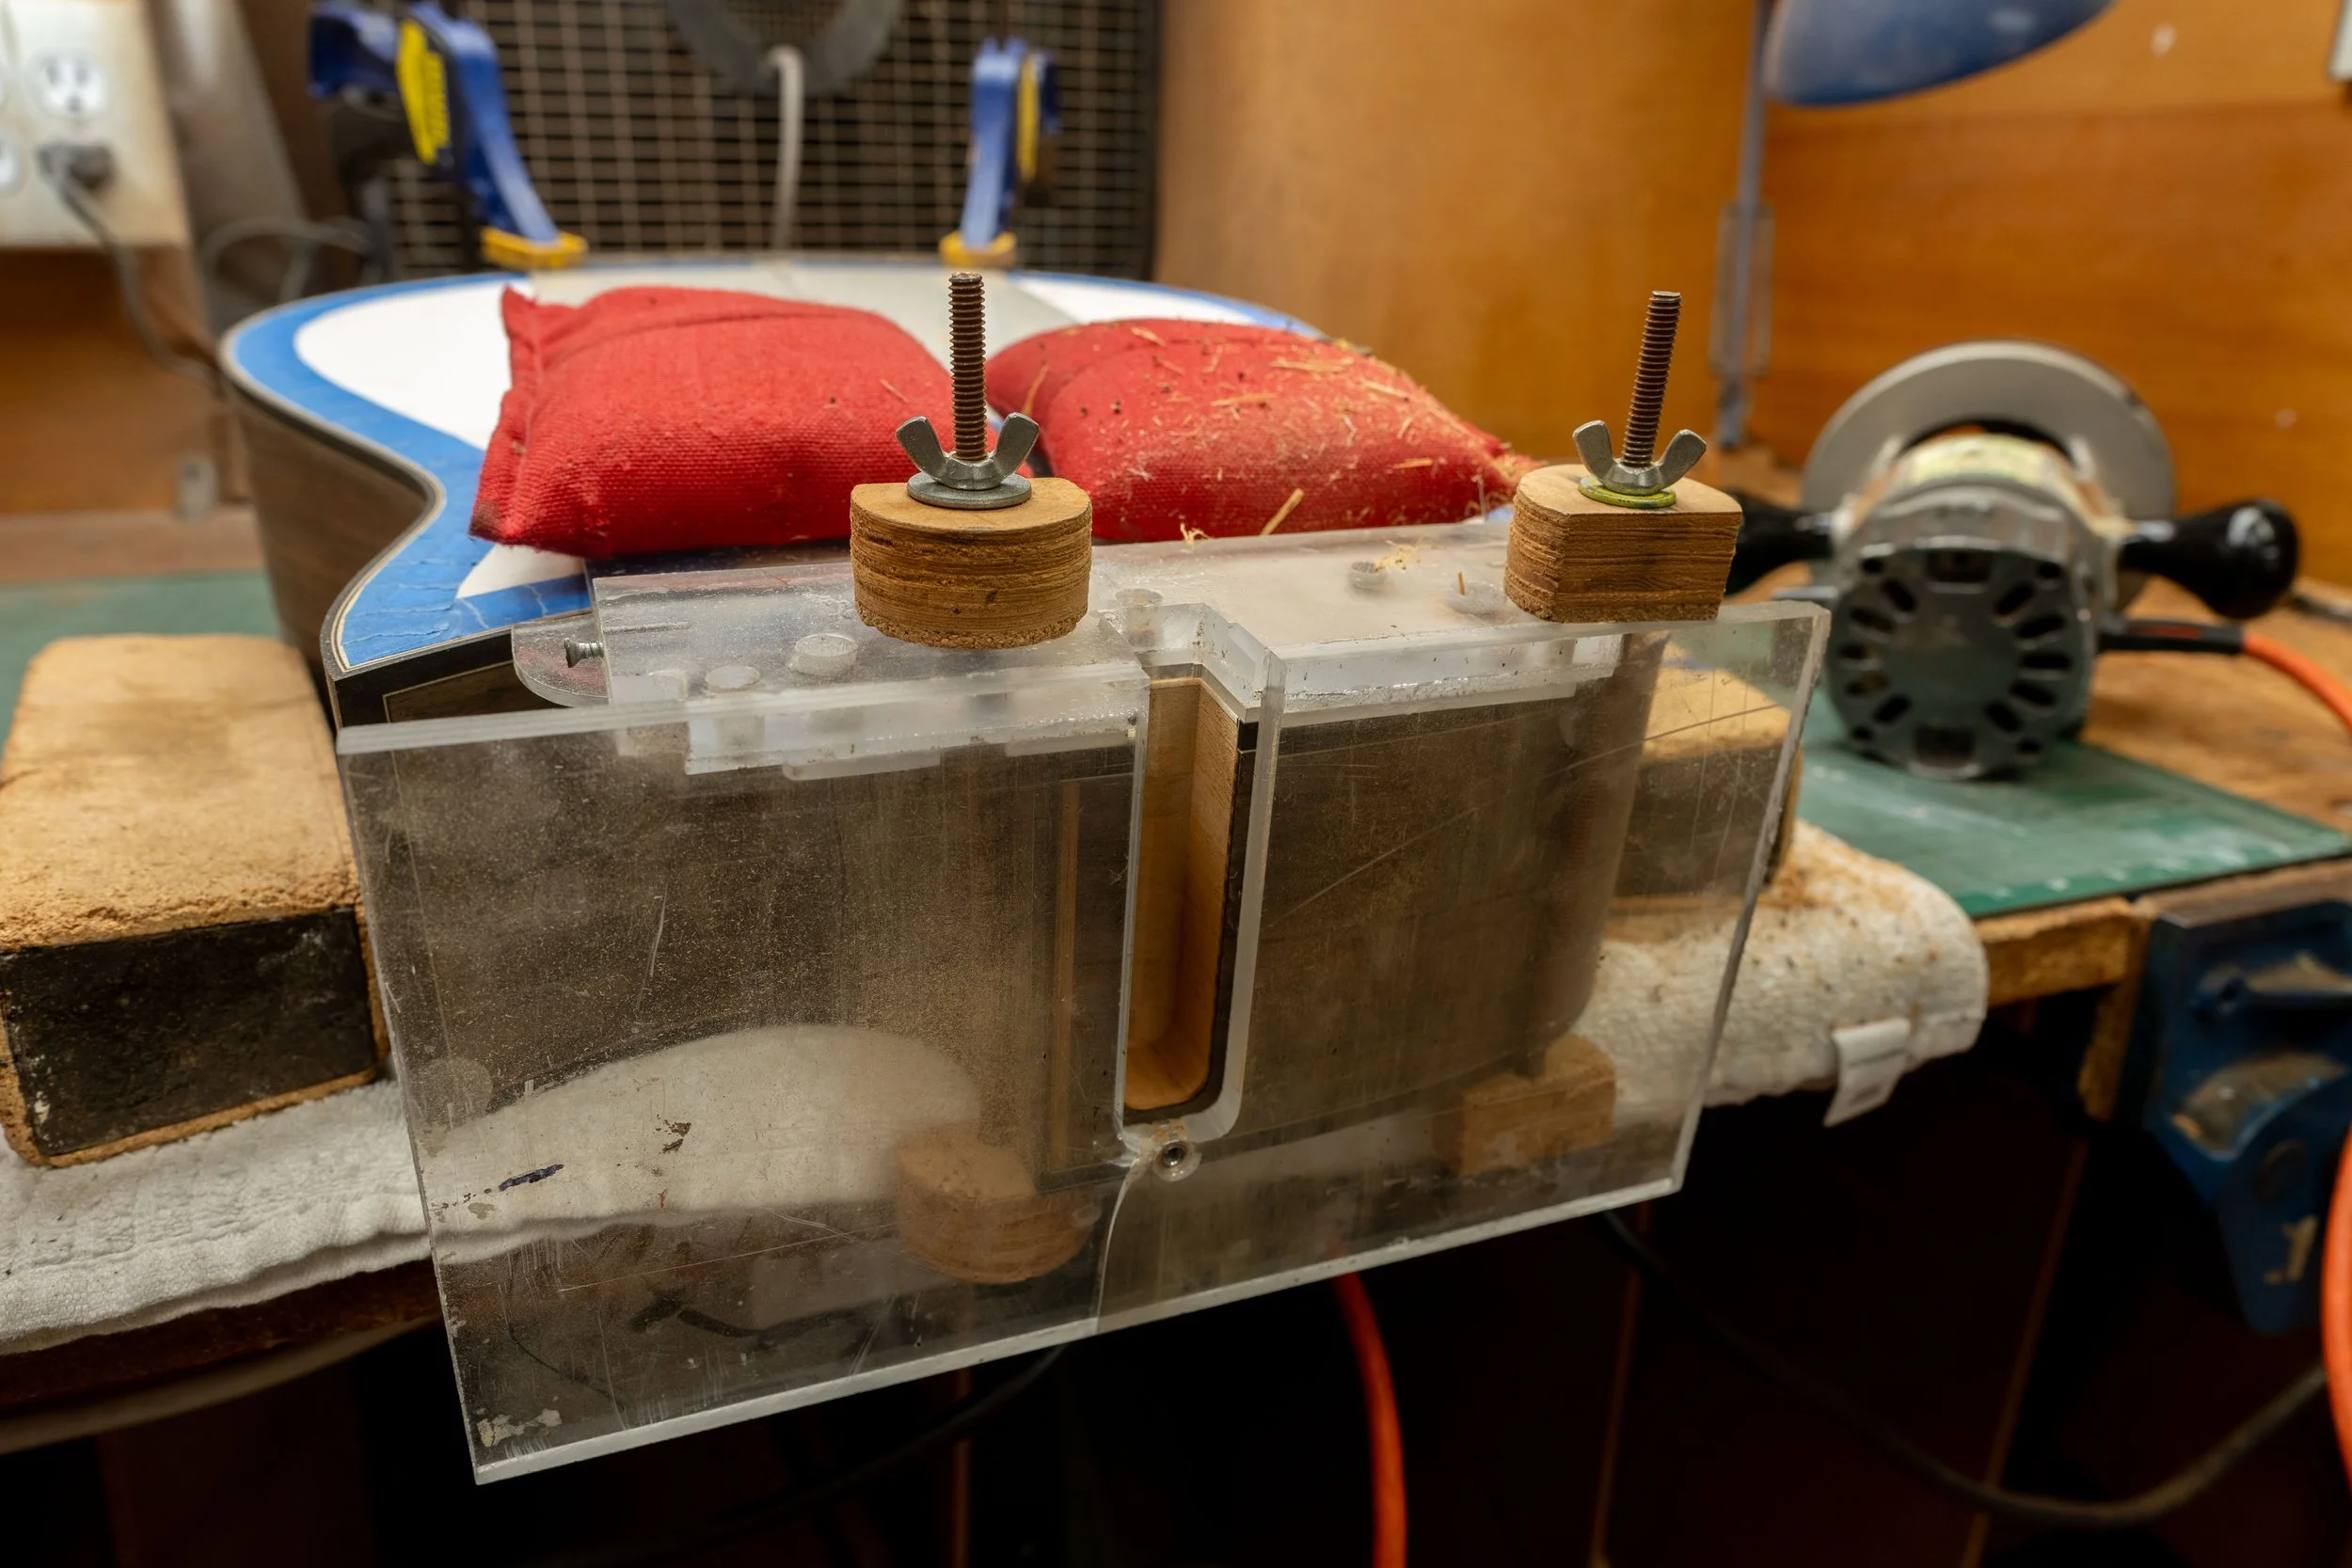
I made a piece of purfling thinner by pulling it under the blade of this jig.
And then I glued a layer of black, and then a layer of white purfling around the rectangle.
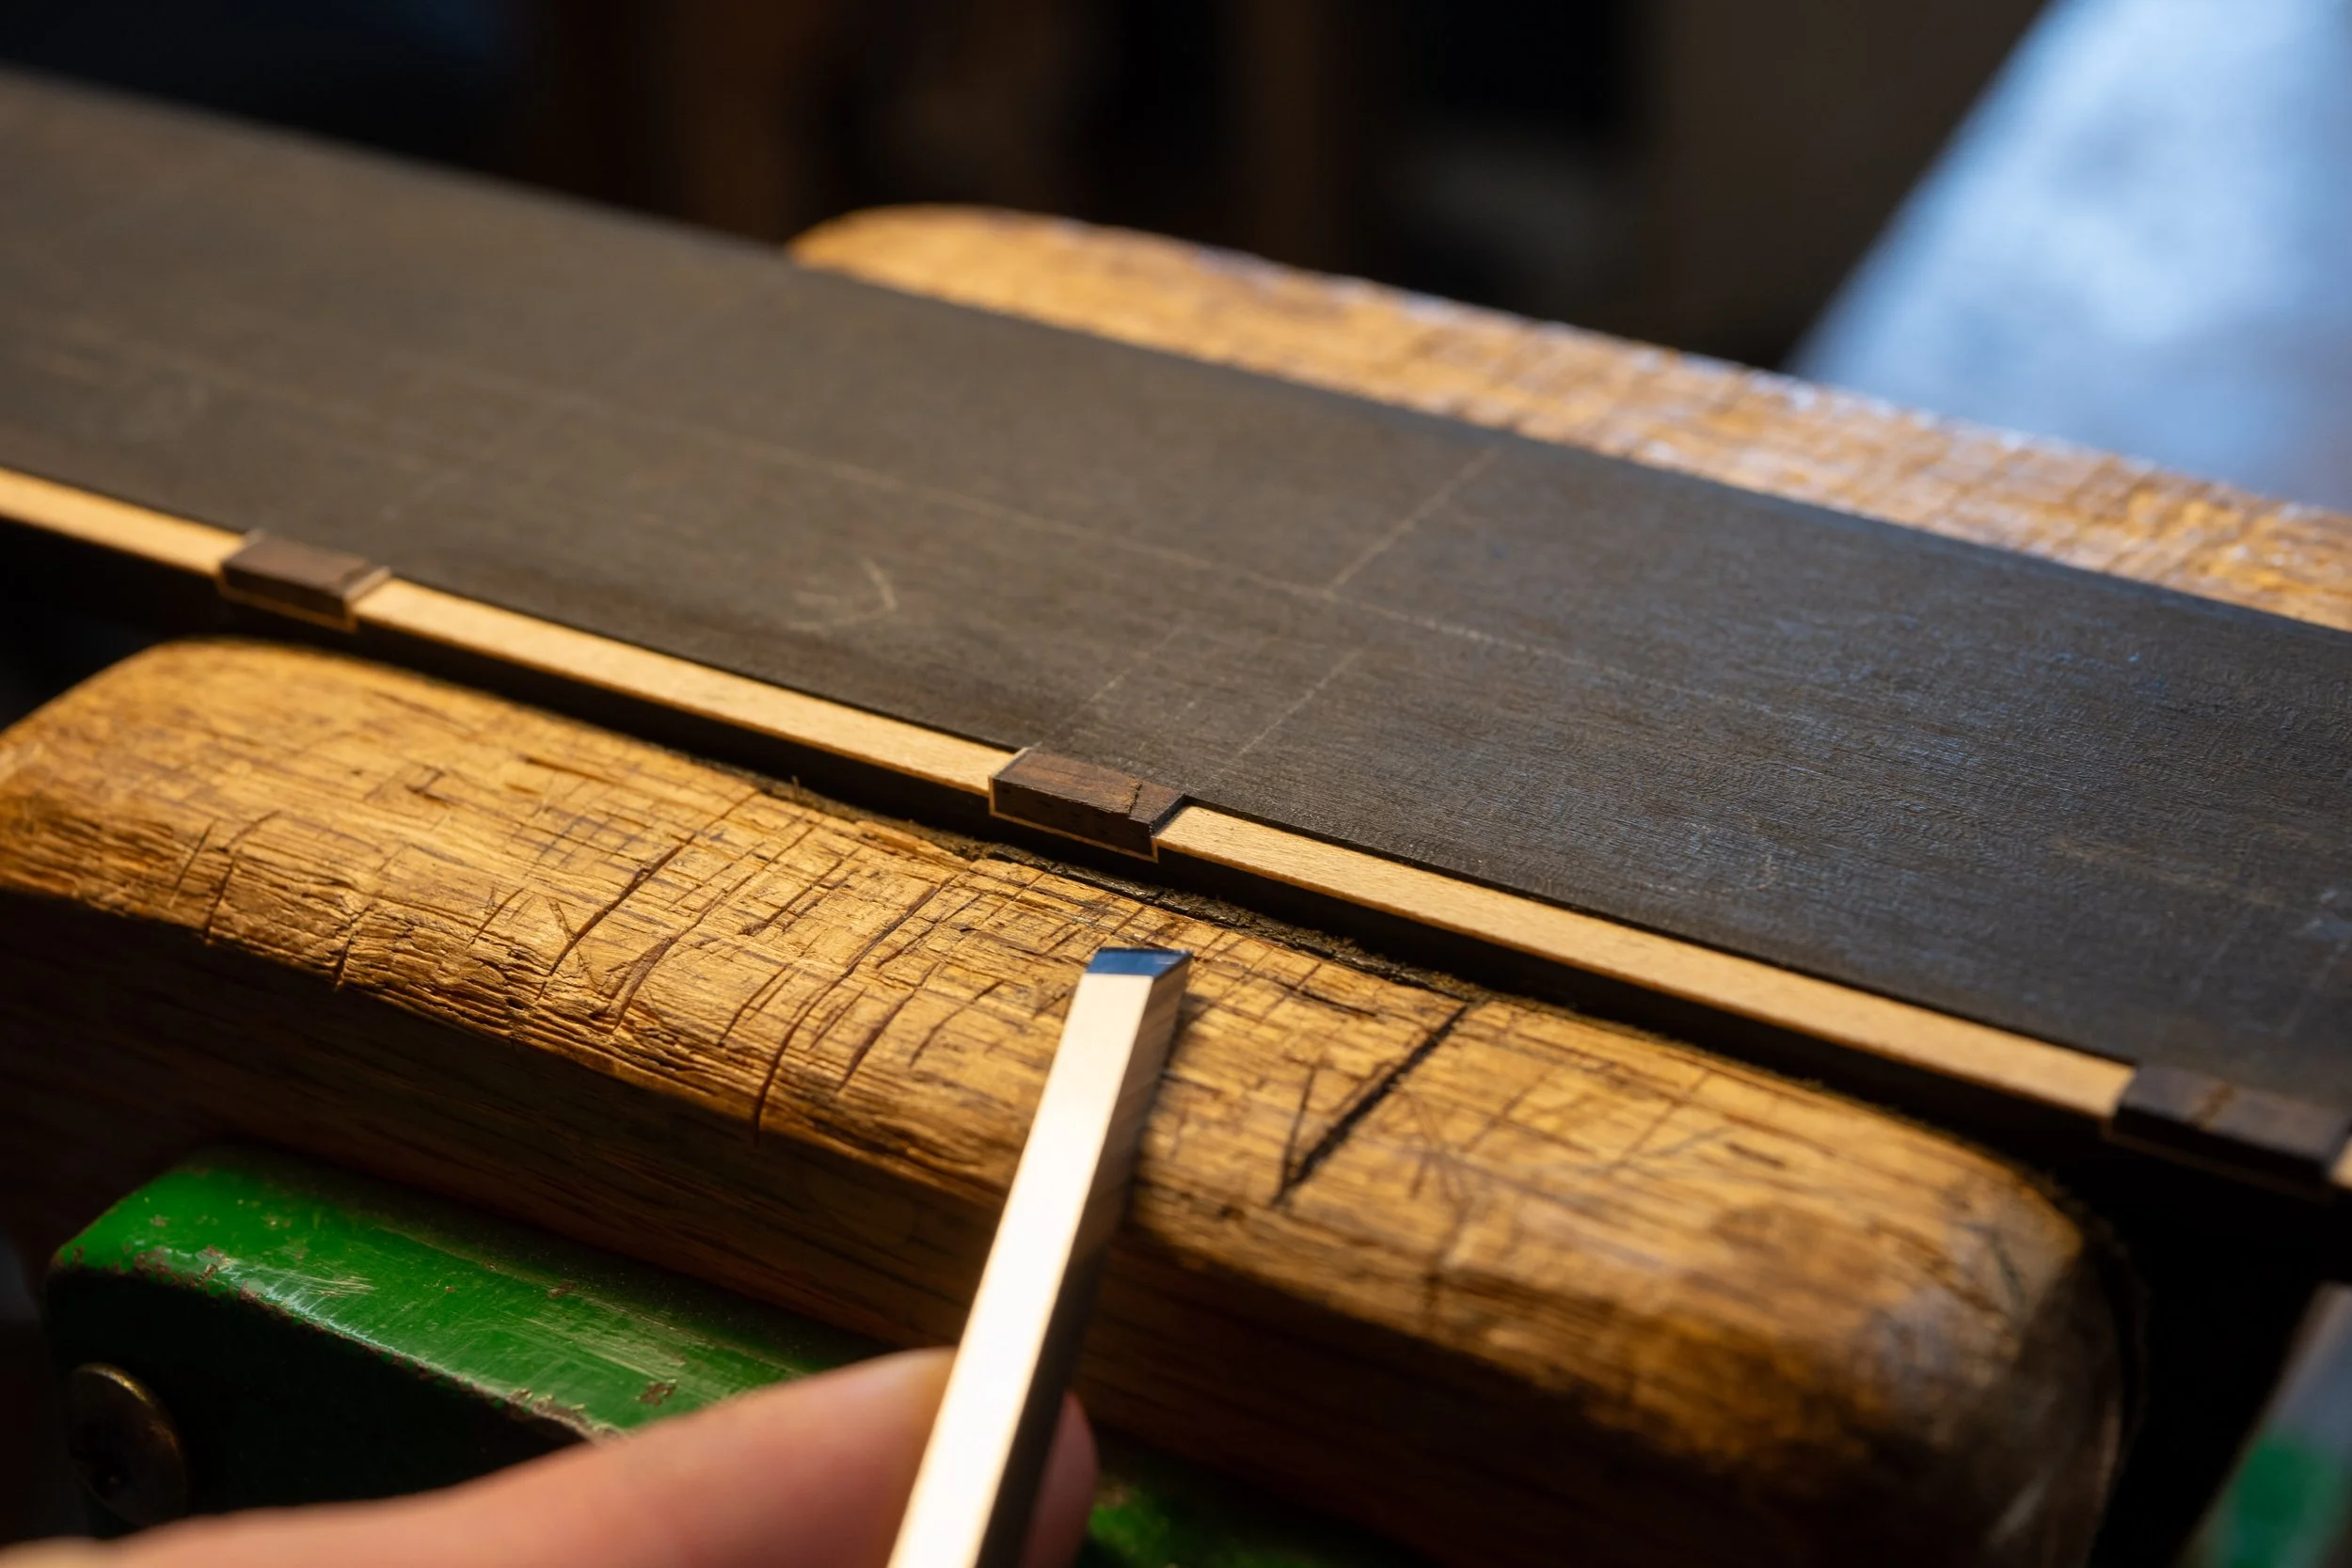
I then cut some notches in the centre of the frets to be marked.

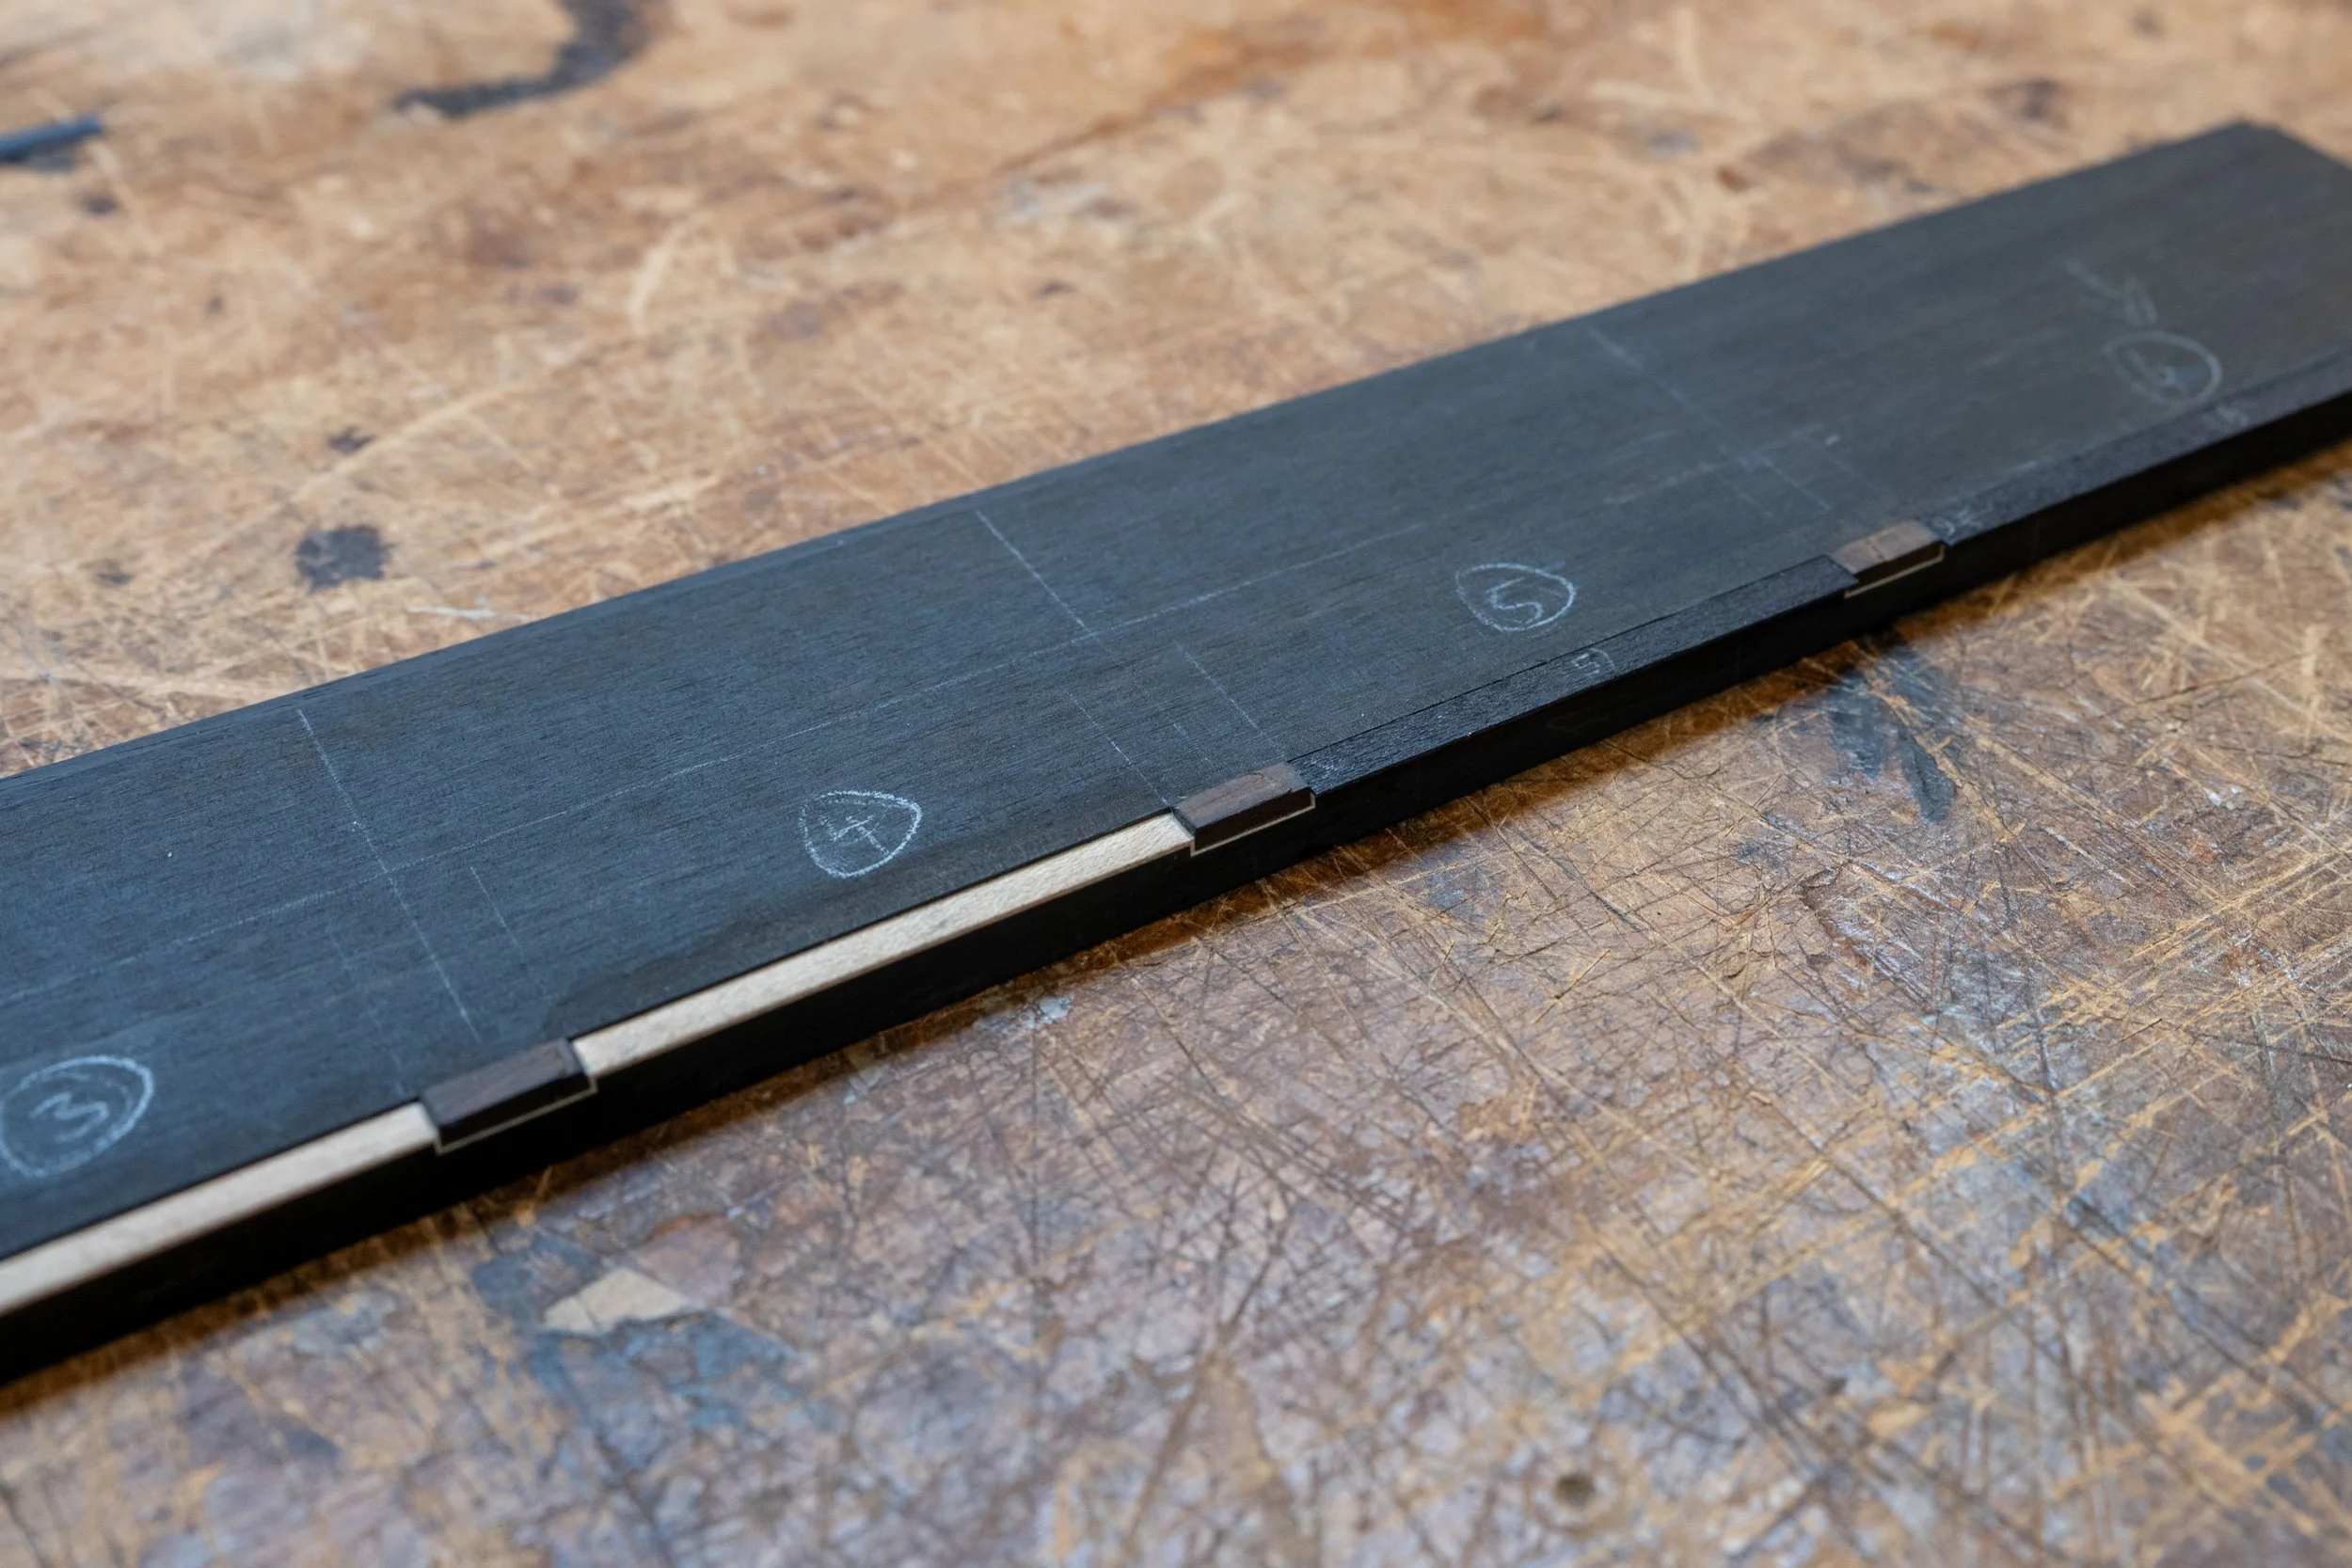
And glued slices from the rectangle with purfling.
I then fit and glued white purfling in between.
And trimmed the white purfling around the rectangle down to the level of the white fretboard purfling.
Then I fit and glued black purfling in between.
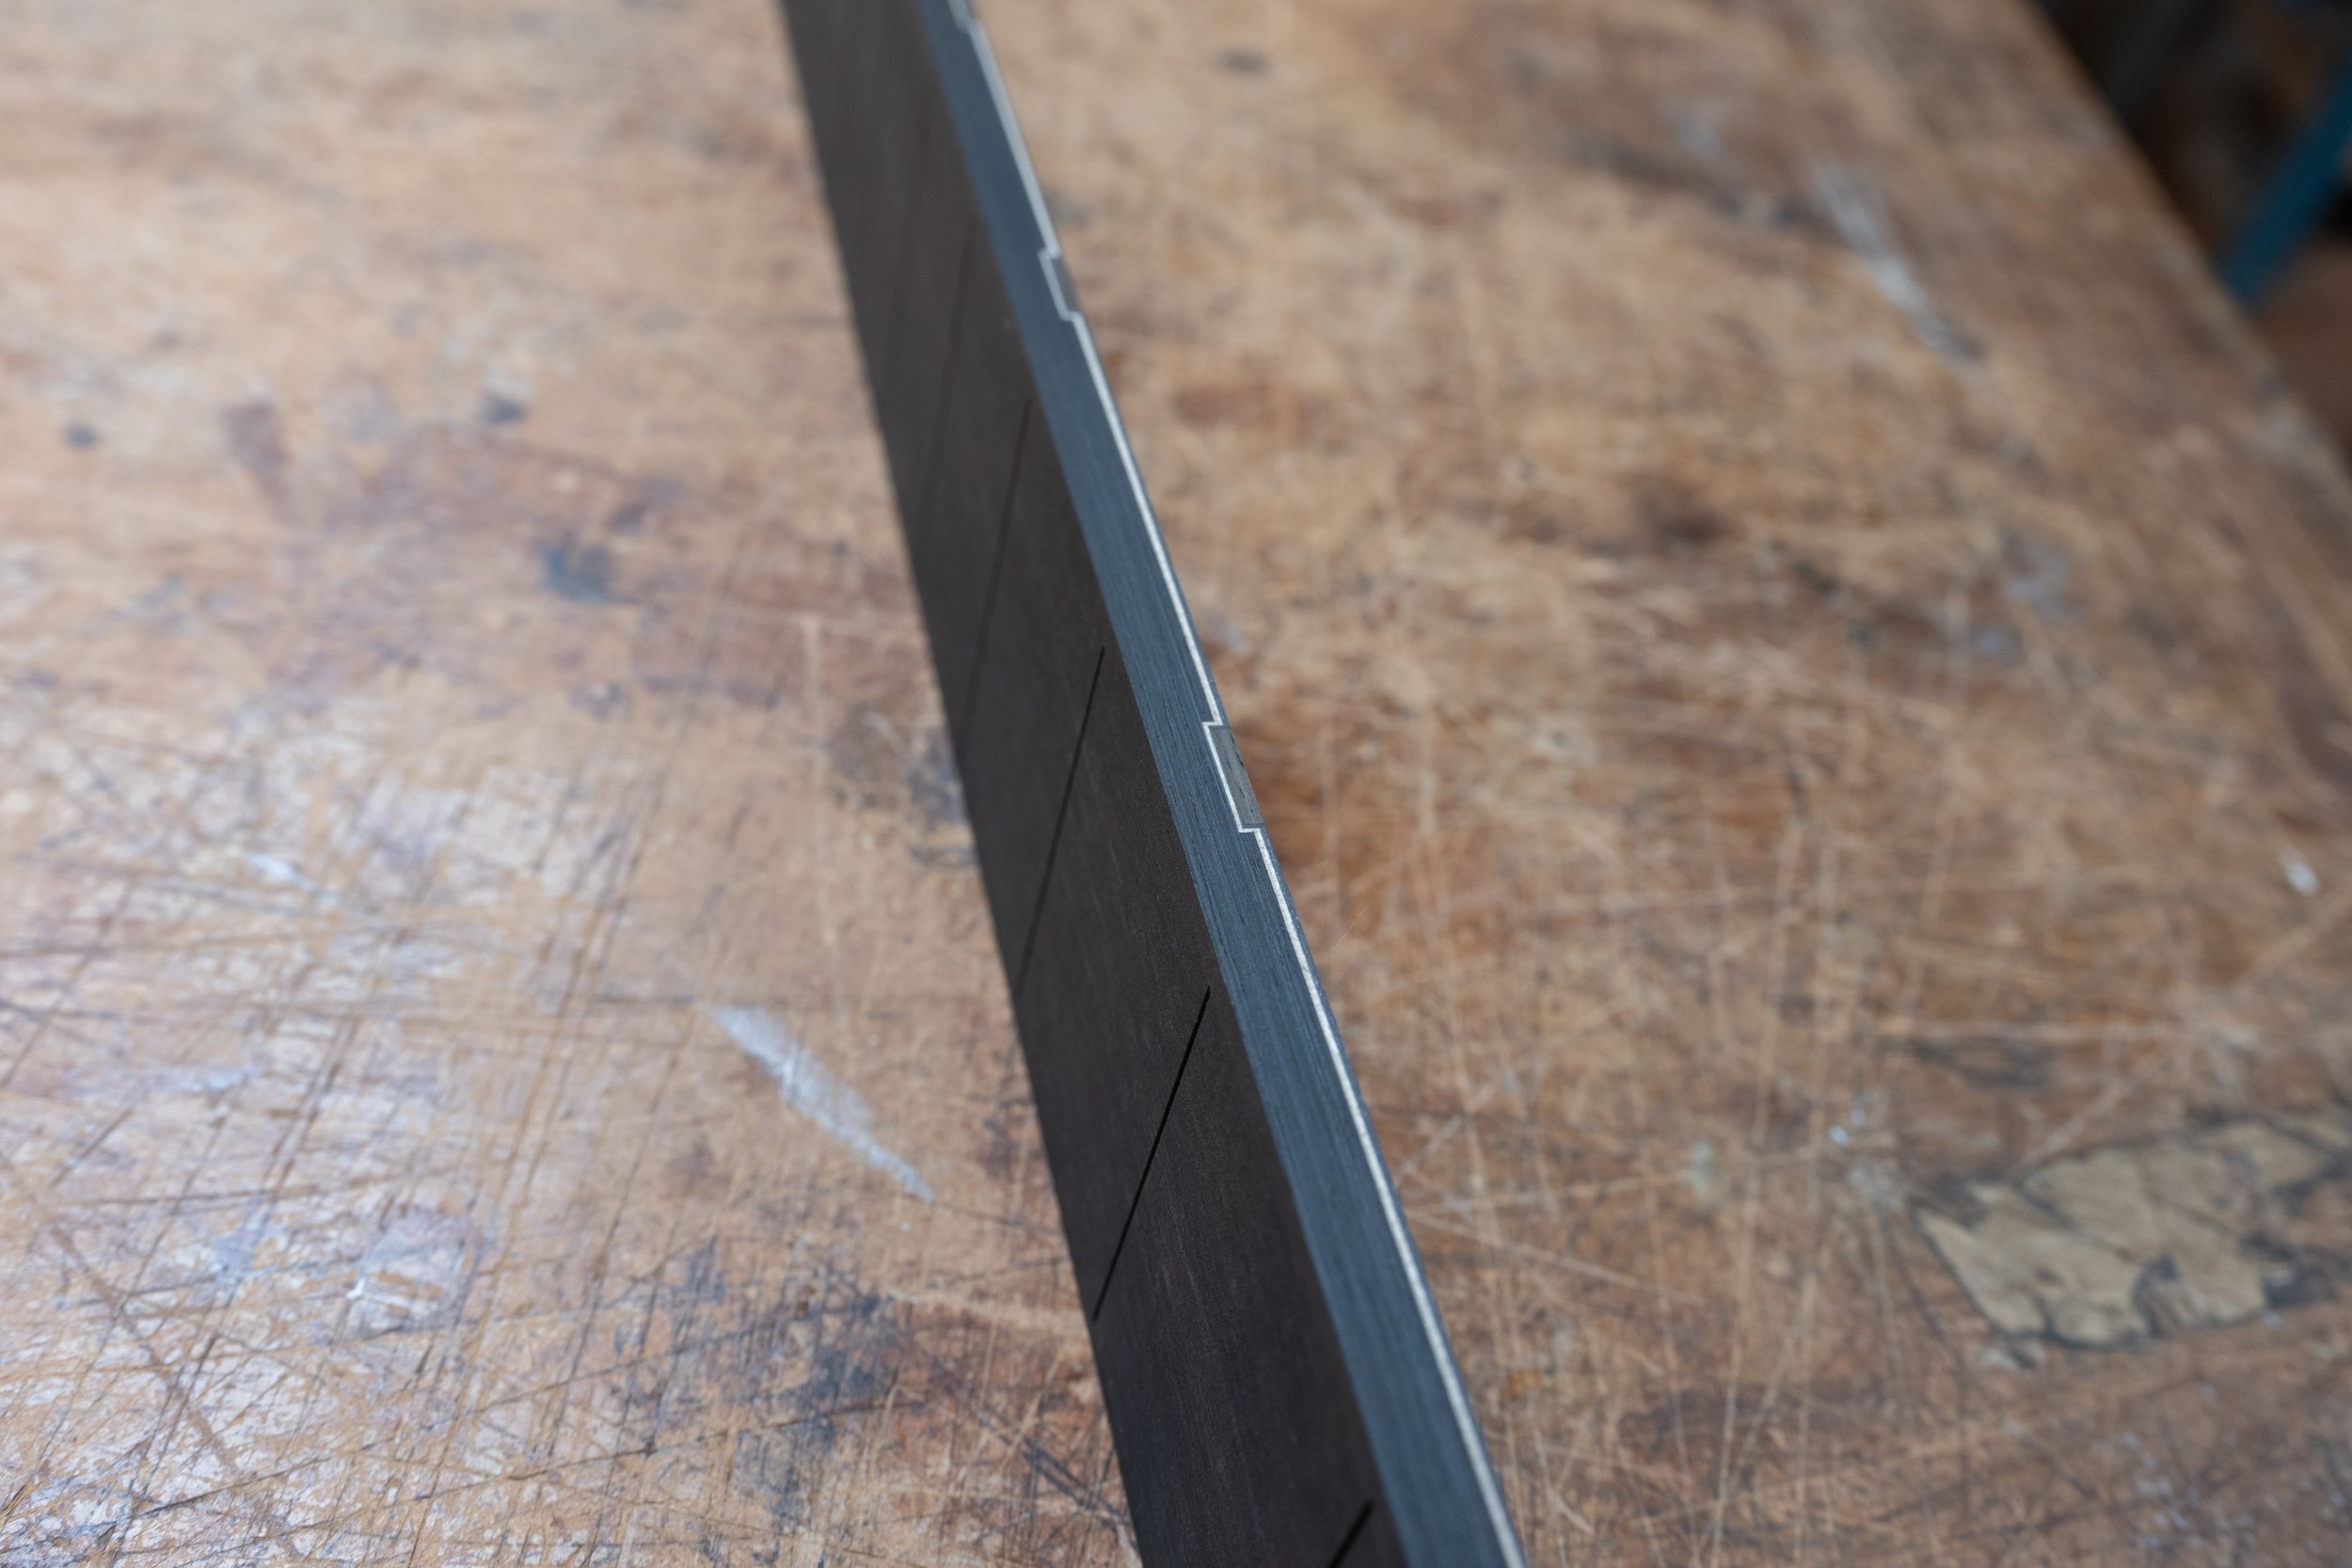
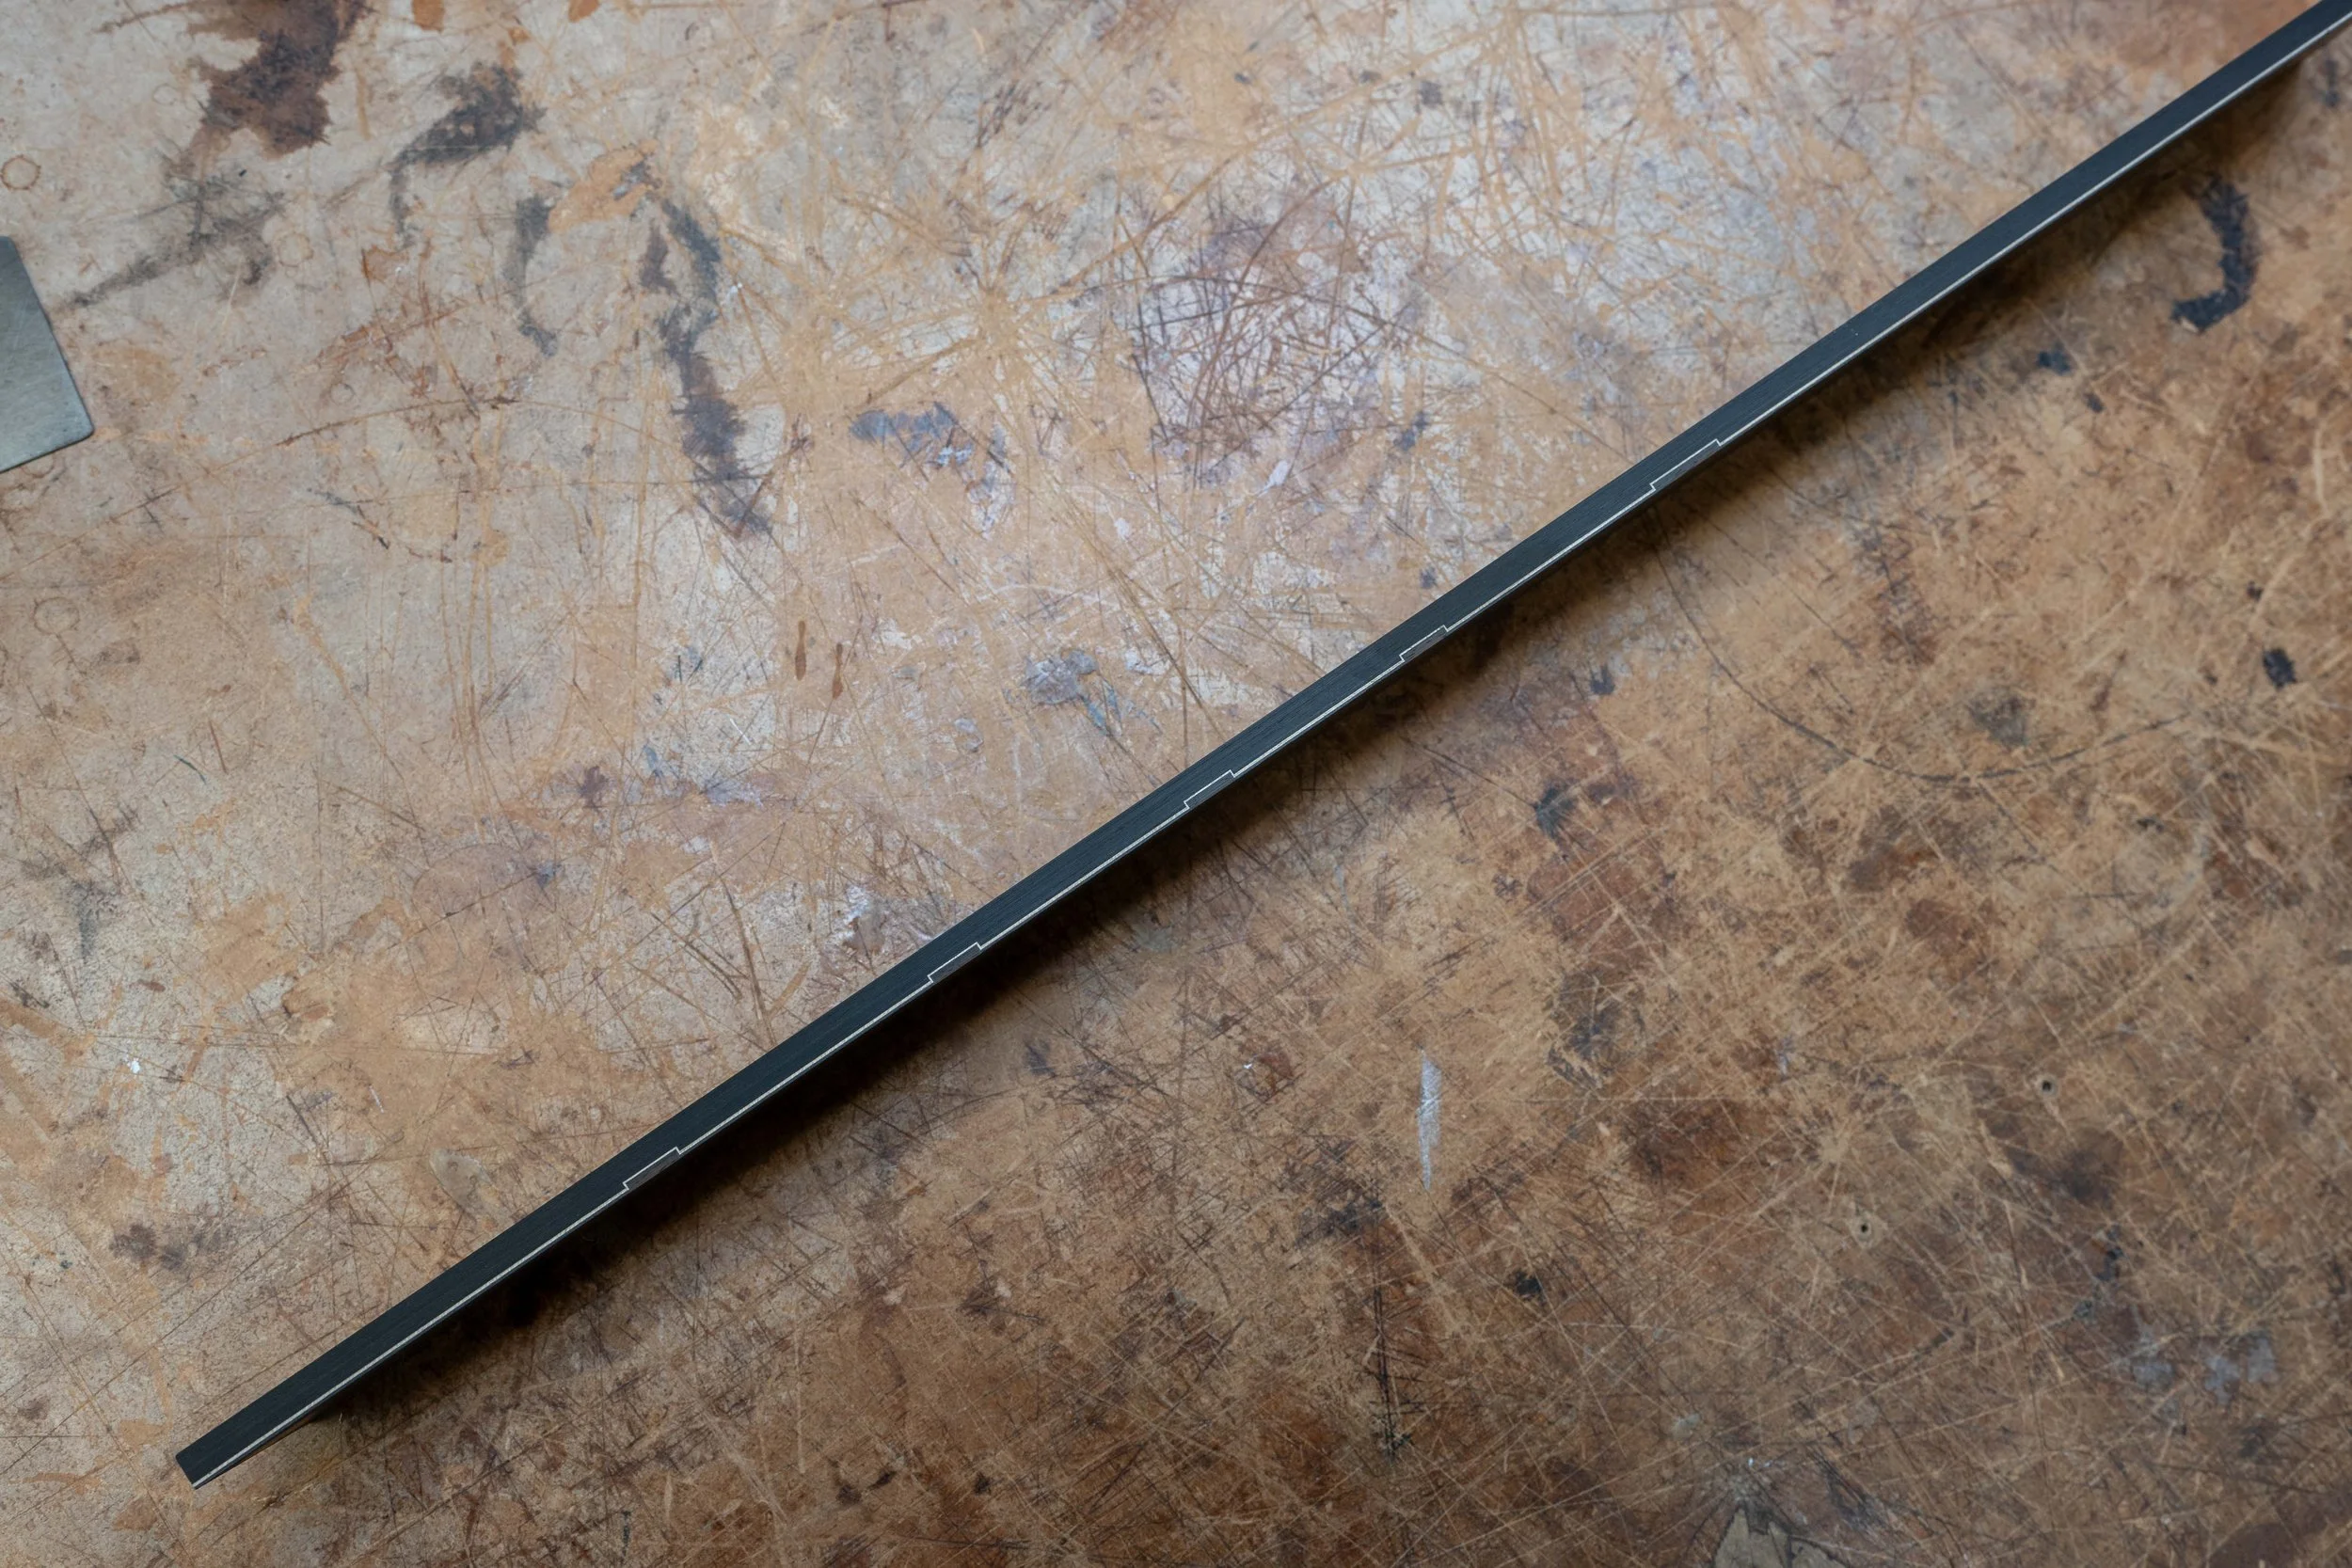
To create this effect.
Routing the mortise for attaching the neck.
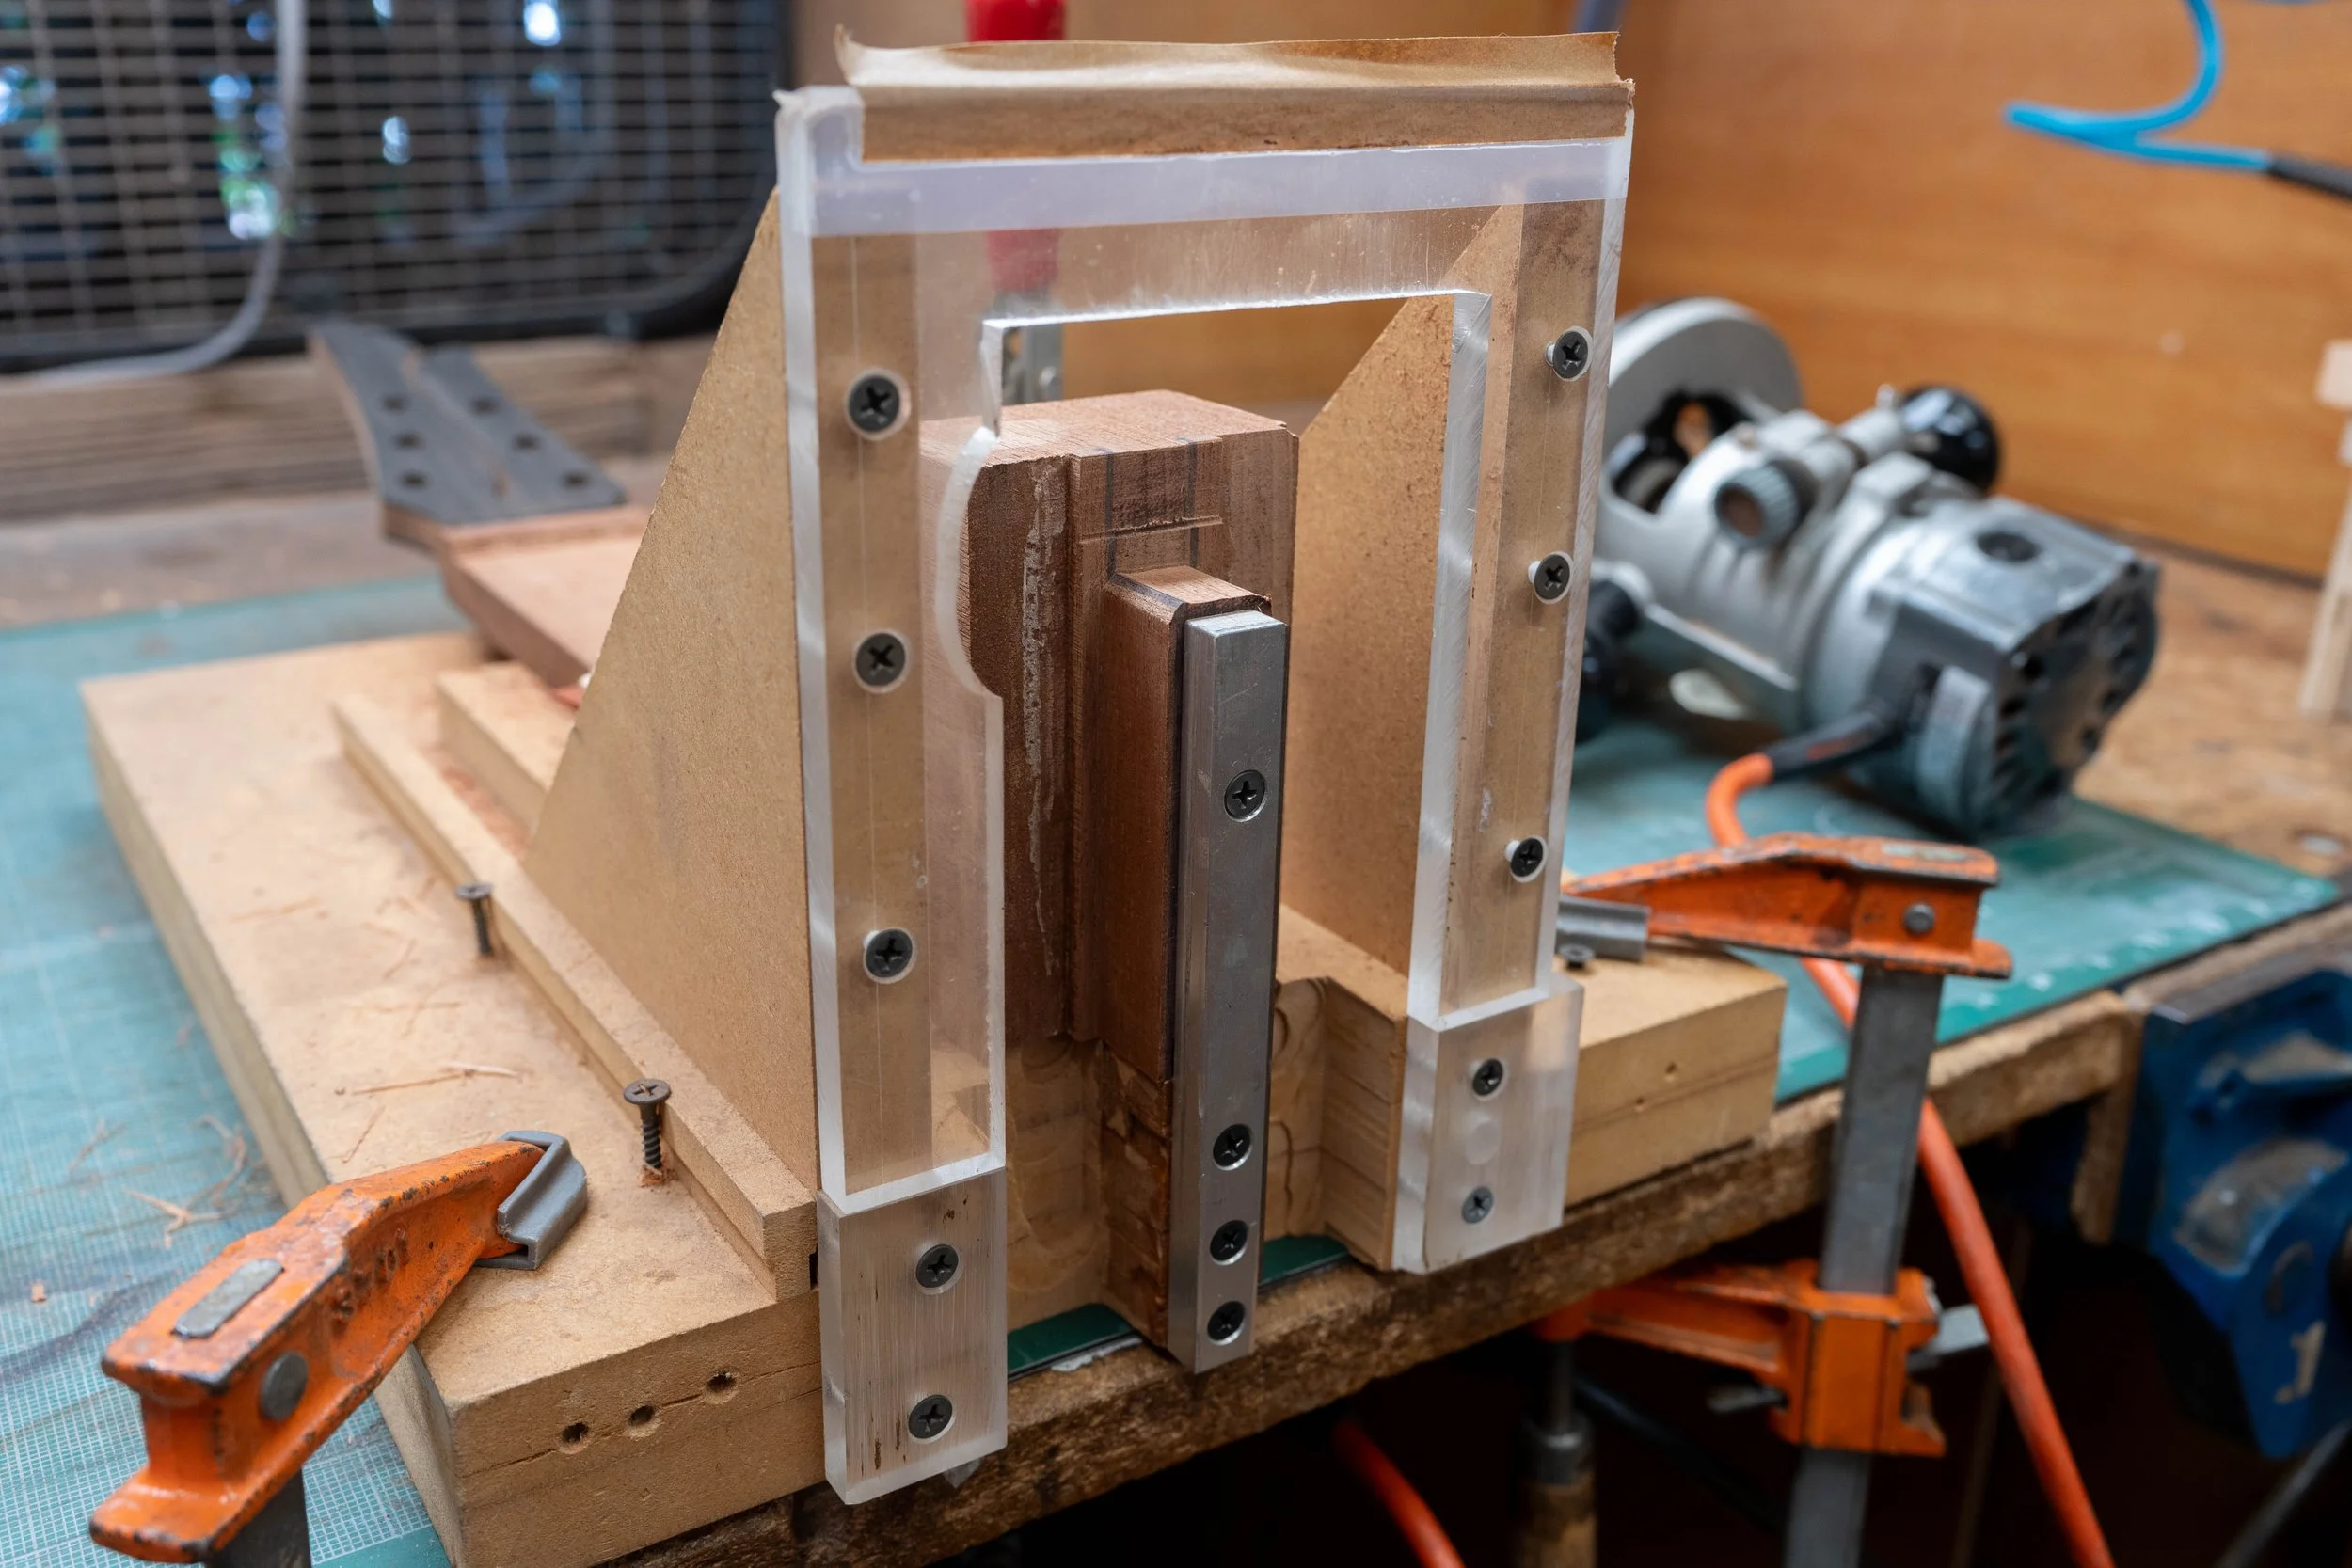
Routing the tenon on the neck.

Then fitting the tenon into the mortise and setting the neck.
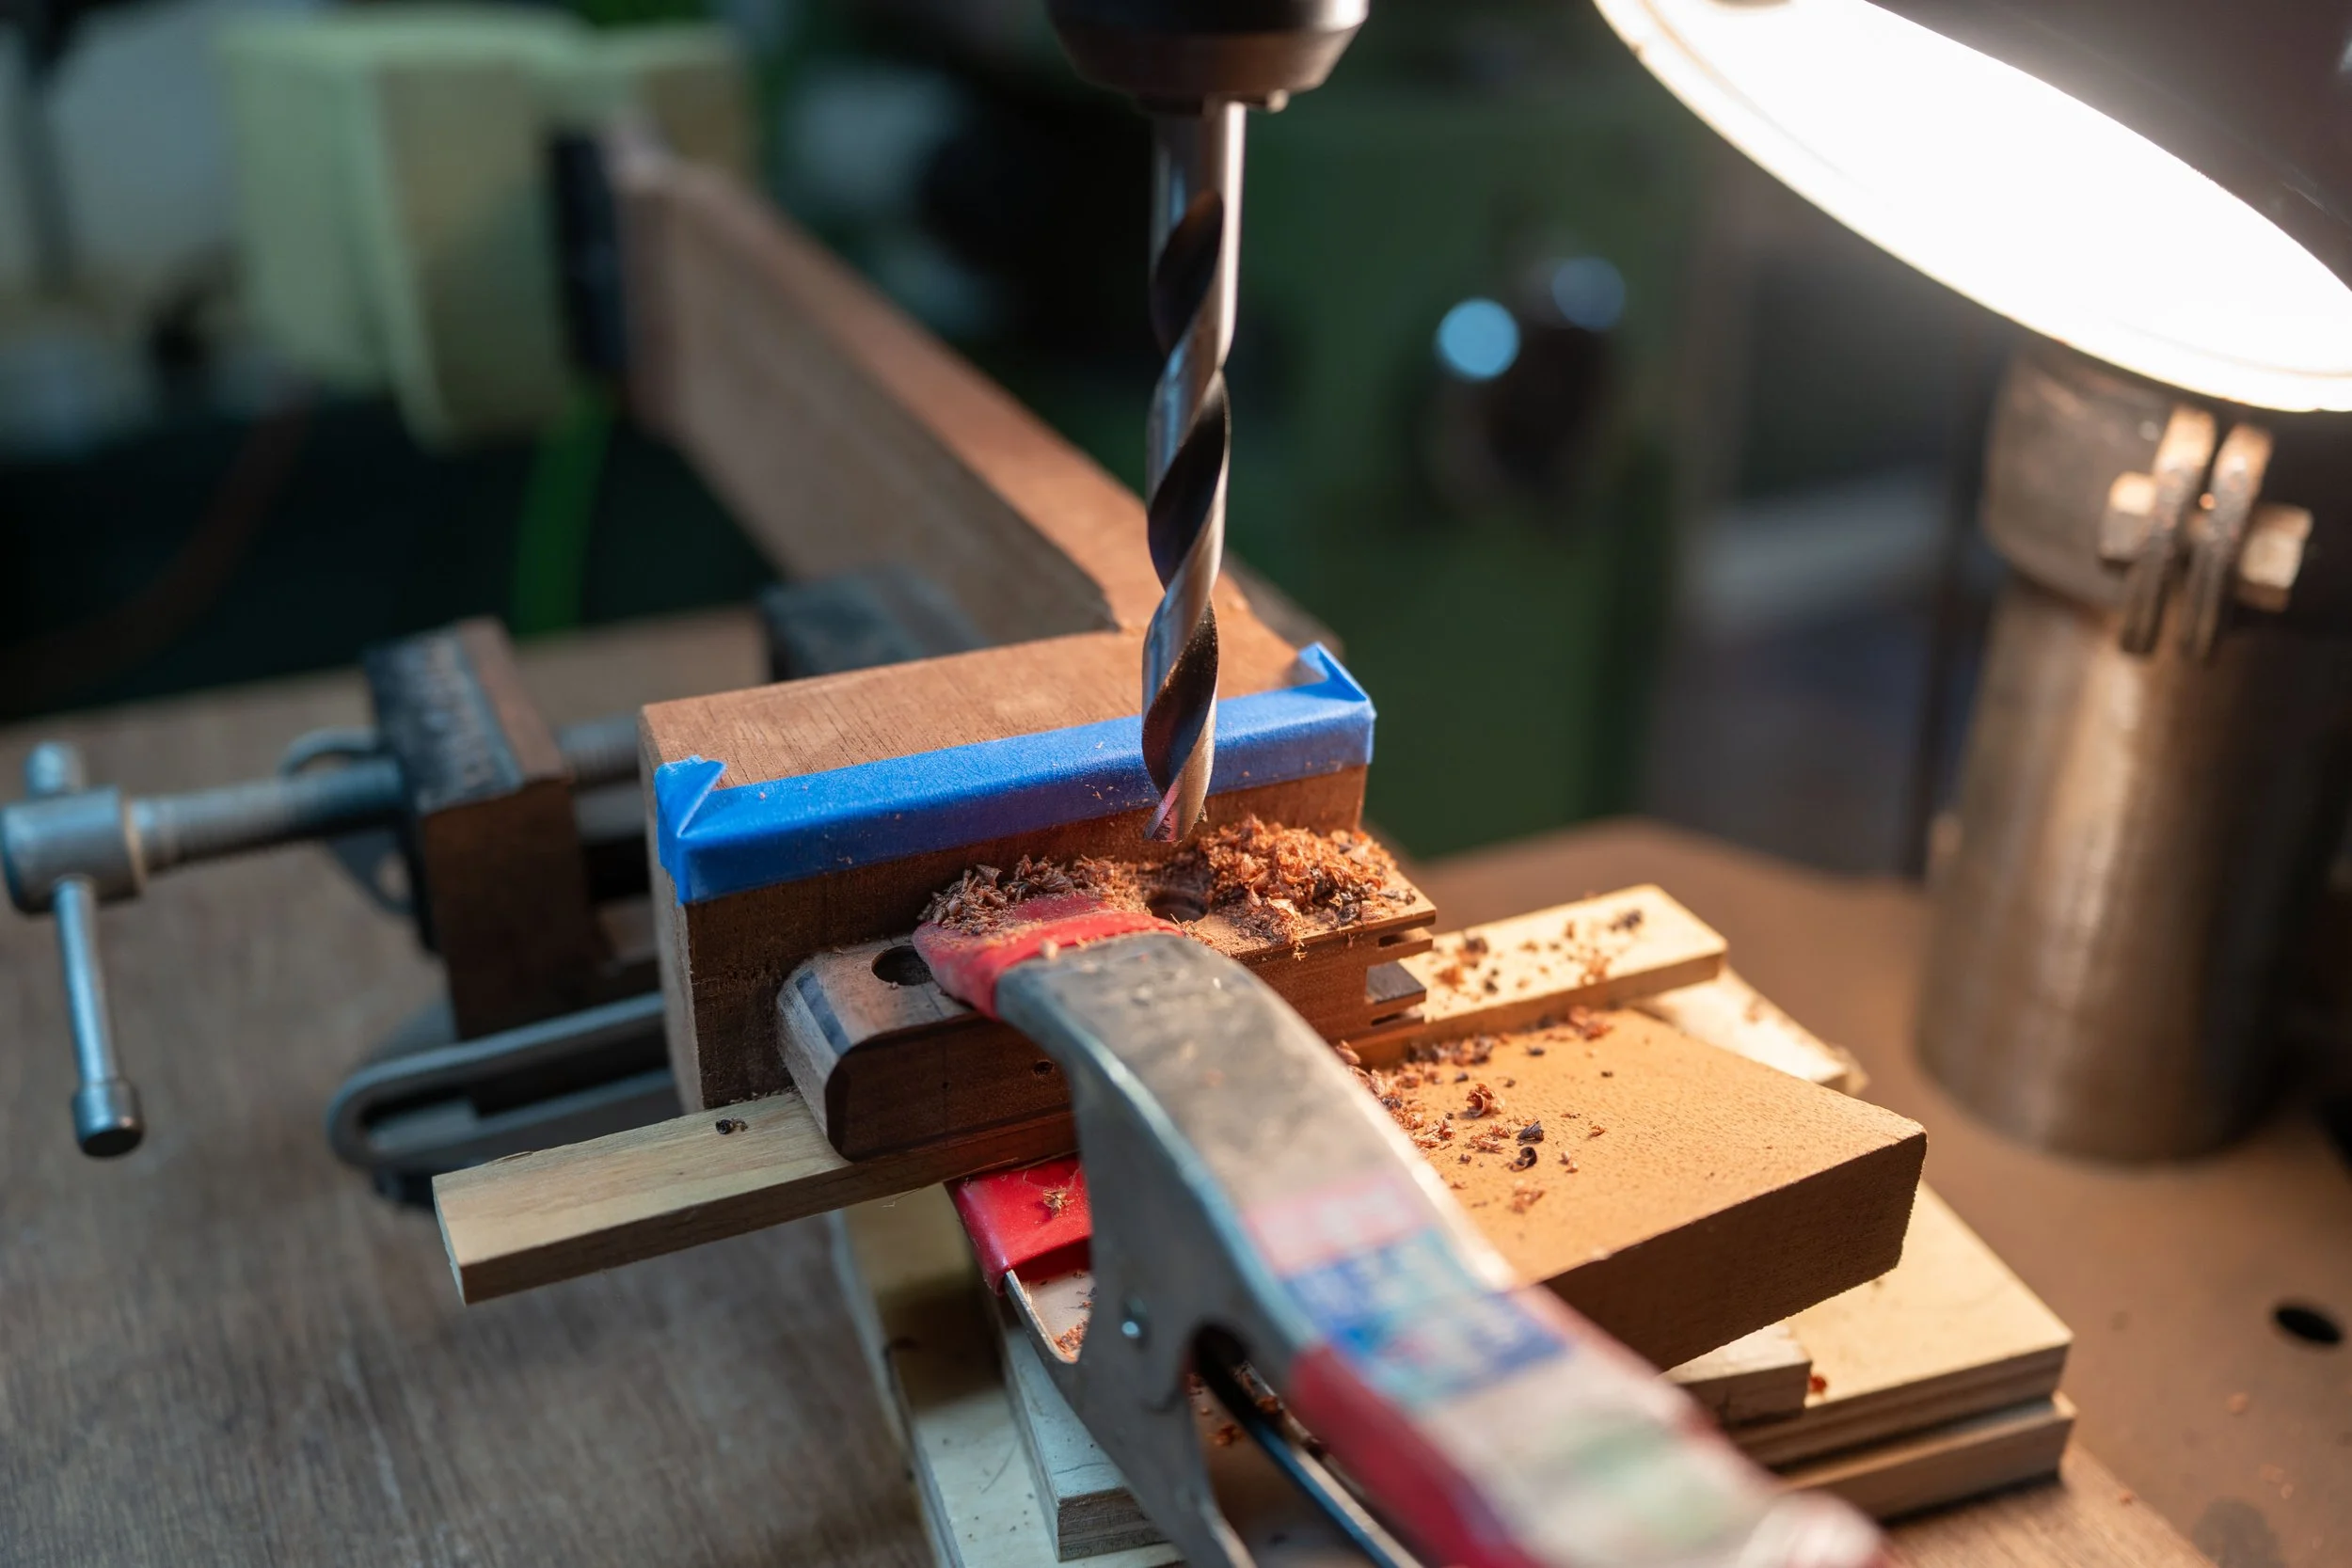
And drilling for the barrel nuts in the tenon.